How to Plan Vegan Backpacking Meals Without Refrigeration 🌱🥾
Introduction
Planning vegan food for a backpacking trip can seem complicated when you don’t have a refrigerator, freezer, or full kitchen.
But you don’t actually need them.
A good vegan backpacking menu can be built almost entirely from shelf-stable, lightweight foods that are easy to pack, store, and prepare with a small stove or hot water.
The key is to stop thinking about backpacking meals as ordinary meals that happen to be vegan.
Instead, build your menu around four things:
Calories + carbohydrates + plant protein + practical shelf stability.
Add some fat for energy density, choose foods that tolerate your expected conditions, and package each meal before you leave.
With a little planning, your food bag can be simple, nutritious, and completely refrigerator-free. 🎒
1. Start With Foods That Are Naturally Shelf-Stable 🥜
The easiest vegan backpacking ingredients are foods that are already designed to remain stable at room temperature.
Good choices include:
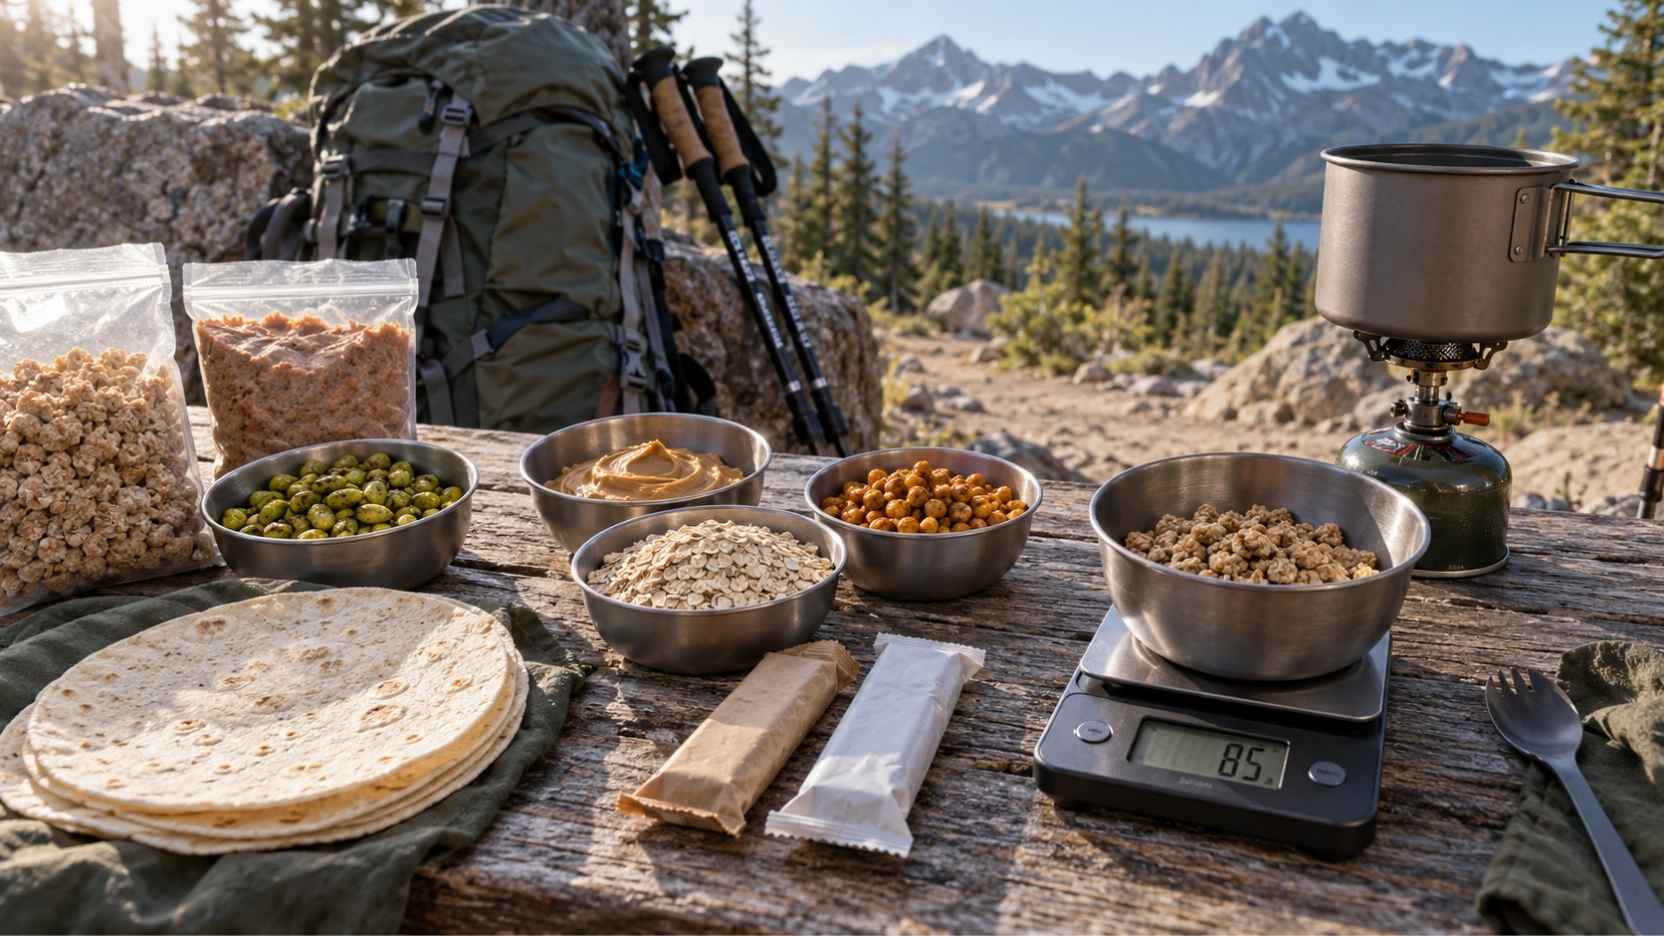
- Instant oats
- Rice
- Couscous
- Instant noodles
- Tortillas
- Dehydrated vegetables
- Dried fruit
- Nuts
- Seeds
- Nut butter
- Dried beans
- Lentils
- Roasted chickpeas
- TVP
- Soy curls
- Peanut powder
- Plant-based protein powder
- Coconut milk powder
Always check the packaging and storage instructions for the specific product.
A food being plant-based does not automatically mean it is safe to keep at room temperature indefinitely.
2. Build Your Menu Around Calories 🔥
Backpacking is not the time to accidentally under-eat.
Long days of hiking can substantially increase energy requirements, and individual needs vary according to body size, pace, terrain, weather, and trip length.
Instead of choosing foods based only on whether they are “healthy,” consider how much energy they provide relative to their weight.
Foods such as:
- Nuts
- Seeds
- Nut butter
- Olive oil
- Coconut products
- Dried fruit
- Granola
can provide a lot of energy without requiring refrigeration.
This matters because carrying large amounts of low-calorie food can quickly make your pack heavier.
3. Add a Protein Source to Every Main Meal 🫘
Vegan meals don’t contain meat, dairy, or eggs, but you still have plenty of shelf-stable protein options.
Try:
Breakfast
Oats + peanut butter + chia seeds
Lunch
Tortilla + hummus powder + TVP
Dinner
Instant rice + lentils + dehydrated vegetables
Snacks
Nuts + roasted chickpeas + protein bars
You don’t need to find one perfect protein food.
Combining several plant foods throughout the day can make it much easier to build a balanced menu.
4. Use Dehydrated Ingredients to Save Weight
Water is heavy.
That’s why backpacking food often works better when the water has already been removed.
Dehydrated foods can include:
- Vegetables
- Beans
- Lentils
- Fruit
- Tomato sauce
- Mushrooms
- Cooked grains
You can buy commercially dehydrated ingredients or prepare certain foods yourself if you have appropriate equipment and know how to dehydrate them safely.
For homemade dehydrated food, follow reliable food-safety guidance rather than assuming that drying automatically makes food shelf-stable.
5. Choose Foods That Need Minimal Cooking ⛺
A backpacking meal becomes much easier when you only need boiling water.
Good choices include:
- Instant oats
- Couscous
- Instant rice
- Instant mashed potatoes
- Quick-cooking noodles
- Dehydrated lentils
- TVP
- Dehydrated vegetables
For example:
Instant rice + TVP + dehydrated vegetables + peanut sauce
can become a complete dinner with very little cooking.
This saves fuel, time, and cleanup.
6. Build a Simple Vegan Backpacking Formula
Instead of planning every meal from scratch, use a repeatable formula.
🌾 Base
Choose one:
- Rice
- Couscous
- Oats
- Noodles
- Instant potatoes
- Tortillas
🫘 Protein
Choose one:
- Lentils
- Beans
- TVP
- Soy curls
- Pea protein
- Soy protein
🥕 Vegetables
Choose one or two:
- Dehydrated carrots
- Peas
- Corn
- Spinach
- Mushrooms
- Mixed vegetables
🥜 Fat
Choose one:
- Peanut butter
- Nuts
- Seeds
- Olive oil
- Coconut milk powder
🌶️ Flavor
Choose one:
- Curry powder
- Chili powder
- Soy sauce
- Nutritional yeast
- Garlic
- Lemon powder
- Dried herbs
Put those components together and you’ve got a meal.
7. Example: Three Days of Vegan Backpacking Meals 🎒
Here’s a simple example.
Exact nutrition and calories depend on the brands and quantities you use, so check your product labels before packing.
Day 1
Breakfast
Peanut Butter Banana Oatmeal
- Instant oats
- Peanut butter
- Dried banana
- Chia seeds
- Plant milk powder
Lunch
Hummus Couscous Wrap
- Couscous
- Hummus powder
- Tortilla
- Dehydrated vegetables
- Olive oil
Snack
- Trail mix
- Roasted chickpeas
- Dried fruit
Dinner
TVP Chili Rice
- Instant rice
- TVP
- Dehydrated beans
- Dehydrated corn
- Tomato powder
- Chili seasoning
Day 2
Breakfast
Apple Cinnamon Protein Oats
- Oats
- Plant protein powder
- Dried apple
- Pumpkin seeds
- Cinnamon
Lunch
Lentil Potato Bowl
- Instant mashed potatoes
- Dehydrated lentils
- Dehydrated vegetables
- Olive oil
- Seasoning
Snack
- Peanut butter tortilla
- Dried fruit
Dinner
Peanut Noodles
- Quick-cooking noodles
- TVP
- Peanut butter
- Dehydrated vegetables
- Soy sauce
- Chili flakes
Day 3
Breakfast
Granola and Seed Bowl
- Vegan granola
- Plant milk powder
- Pumpkin seeds
- Dried berries
- Peanut powder
Lunch
Bean Tortilla Wrap
- Dehydrated refried beans
- Tortilla
- Dehydrated vegetables
- Seasoning
- Hot sauce packet
Snack
- Nuts
- Roasted chickpeas
- Vegan protein bar
Dinner
Coconut Lentil Rice
- Instant rice
- Dehydrated lentils
- Dehydrated vegetables
- Coconut milk powder
- Curry powder
- Garlic
This gives you variety without requiring a huge ingredient list.
8. Be Careful With Fresh Vegan Foods 🥑
“Vegan” and “refrigeration-free” are two different concepts.
Some vegan foods are highly perishable.
Examples include:
- Fresh tofu
- Plant-based yogurt
- Fresh hummus
- Cut fruit
- Cut vegetables
- Cooked grains
- Plant-based meat products that require refrigeration
Unless the product is specifically shelf-stable and labeled for room-temperature storage, don’t assume it is safe to carry unrefrigerated for several days.
For longer trips, shelf-stable or properly dehydrated alternatives are generally much easier to manage.
9. Don’t Forget Food Safety
Backpacking does not eliminate food-safety rules.
Before leaving, check:
- The product’s storage instructions
- Whether it requires refrigeration before opening
- Whether it becomes perishable after opening
- Recommended storage temperature
- Expiration or best-before information
- Packaging integrity
Once you’ve added water to a food, its storage requirements can change.
For example, dry dehydrated ingredients may be shelf-stable, while the rehydrated meal can become perishable.
Cook only the amount you plan to eat.
Avoid carrying leftover rehydrated meals for hours unless you have an appropriate way to keep them at a safe temperature.
10. Make Your Own “Meal Bags” 📦
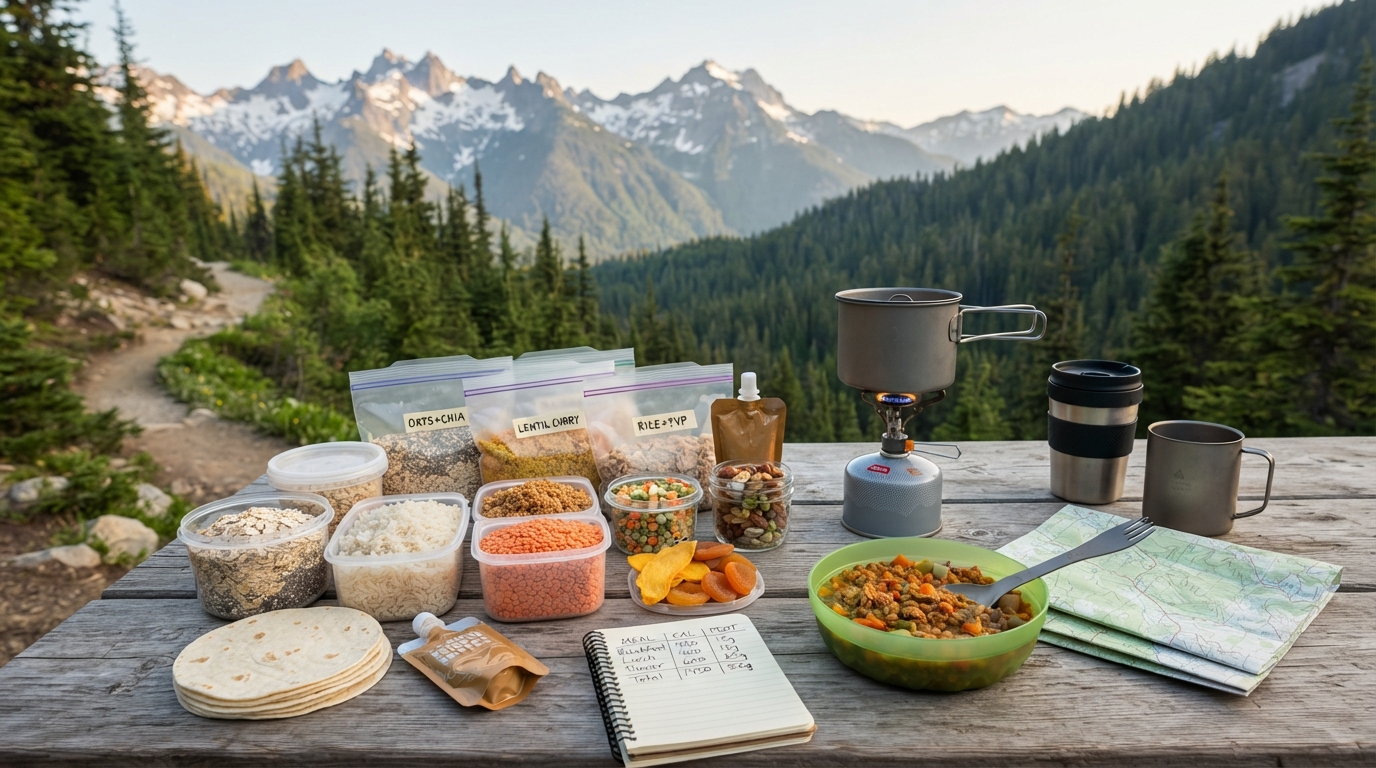
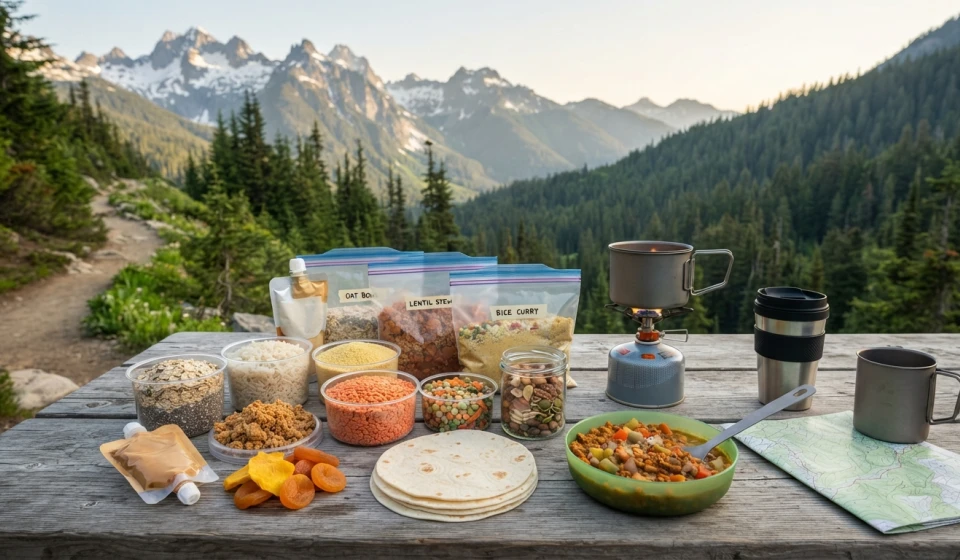
One of the easiest ways to simplify a backpacking menu is to prepackage each meal.
For example:
DAY 1 – BREAKFAST
Oats + banana + chia + peanut butter powder
DAY 1 – DINNER
Rice + TVP + vegetables + seasoning
Then label the outside with:
- Meal name
- Water amount
- Cooking time
- Additional ingredients
This eliminates measuring and searching through your food bag at camp.
It also makes it much easier to calculate how much food you’re actually carrying.
11. Bring a Variety of Textures
Eating the same soft meal every night can get old quickly.
Add different textures through:
- Nuts
- Seeds
- Roasted chickpeas
- Crispy onions
- Crackers
- Tortillas
- Dried vegetables
A little crunch can make a simple dehydrated meal much more enjoyable.
12. Use Seasonings to Create Different Meals 🌶️
You can carry the same basic ingredients and change the flavor.
Mexican-inspired
Rice + beans + corn + chili + cumin
Thai-inspired
Rice + TVP + vegetables + peanut butter + curry seasoning
Indian-inspired
Lentils + potatoes + vegetables + curry powder
Mediterranean-inspired
Couscous + chickpeas + vegetables + lemon + herbs
This is a great way to avoid carrying dozens of ingredients.
13. Calculate Weight Before You Pack 🎒
Don’t estimate the food weight after everything is packed.
Calculate it beforehand.
For each meal, record:
Ingredient → amount → weight → calories → protein
Then add the totals.
You can also calculate:
Total food weight ÷ number of days
This gives you an average food weight per day.
Your ideal food weight depends on the trip, your appetite, your calorie needs, and how much food you can comfortably carry.
There is no universal “perfect” backpacking food weight.
14. Test the Menu at Home
This is one of the most important steps.
Make your planned meals before your trip.
Check:
- Do you like the taste?
- Is the portion large enough?
- Does the food rehydrate properly?
- How much water does it require?
- How long does it take?
- Does it make you feel satisfied?
- Is cleanup easy?
A meal that looks perfect on paper may be disappointing after a long day of hiking.
Your taste preferences matter.
Final Thoughts 🌿🥾
Planning vegan backpacking meals without refrigeration is mostly about choosing the right food format.
Instead of trying to carry ordinary vegan meals into the wilderness, build your menu around shelf-stable ingredients that are lightweight, energy-dense, easy to prepare, and safe to store.
Think:
Whole grains + legumes or plant protein + vegetables + healthy fats + flavor.
Then divide everything into daily meal bags, calculate the nutrition and weight using the actual products you’re carrying, and test your meals before the trip.
The best backpacking menu isn’t necessarily the most elaborate one.
It’s the one that gives you enough food, fits your pack, cooks easily, stays appropriate for the conditions, and still sounds delicious after a long day on the trail. 🌄🎒🌱