🎒 The 3-Day Resupply Box Template for Long-Distance Backpackers
Introduction
A well-packed resupply box can make a long-distance backpacking trip easier, more organized, and less stressful. Instead of shopping for food while tired, hungry, or short on time, you can prepare your next three days of meals and essentials before leaving home.
The trick is to create a repeatable resupply system: three daily meal sets, snacks portioned by day, replacement supplies, and a final checklist that helps prevent forgotten essentials.
Whether you’re hiking a long trail, planning a multi-day wilderness trip, or preparing for a route with limited shopping options, this template gives you a practical starting point. 🏕️
1. Plan Your Three Days of Food
Start by deciding how many calories you need each day. Your requirements depend on body size, terrain, temperature, pack weight, and hiking intensity. A long-distance hiker may need substantially more food than someone doing a short, easy walk.
For planning purposes, some backpackers use approximately 2,500–3,500 calories per day as an initial estimate, then adjust based on experience and individual needs. This is not a universal target.
Aim for foods that are compact, shelf-stable for the planned conditions, easy to prepare, and familiar enough that you’ll actually want to eat them.
A sample three-day menu
<text color=”secondary” size=”sm”>Illustrative menu only. Check package labels and adjust portions to your energy needs.</text>
| Day | Breakfast | Lunch | Dinner | Snacks |
|---|---|---|---|---|
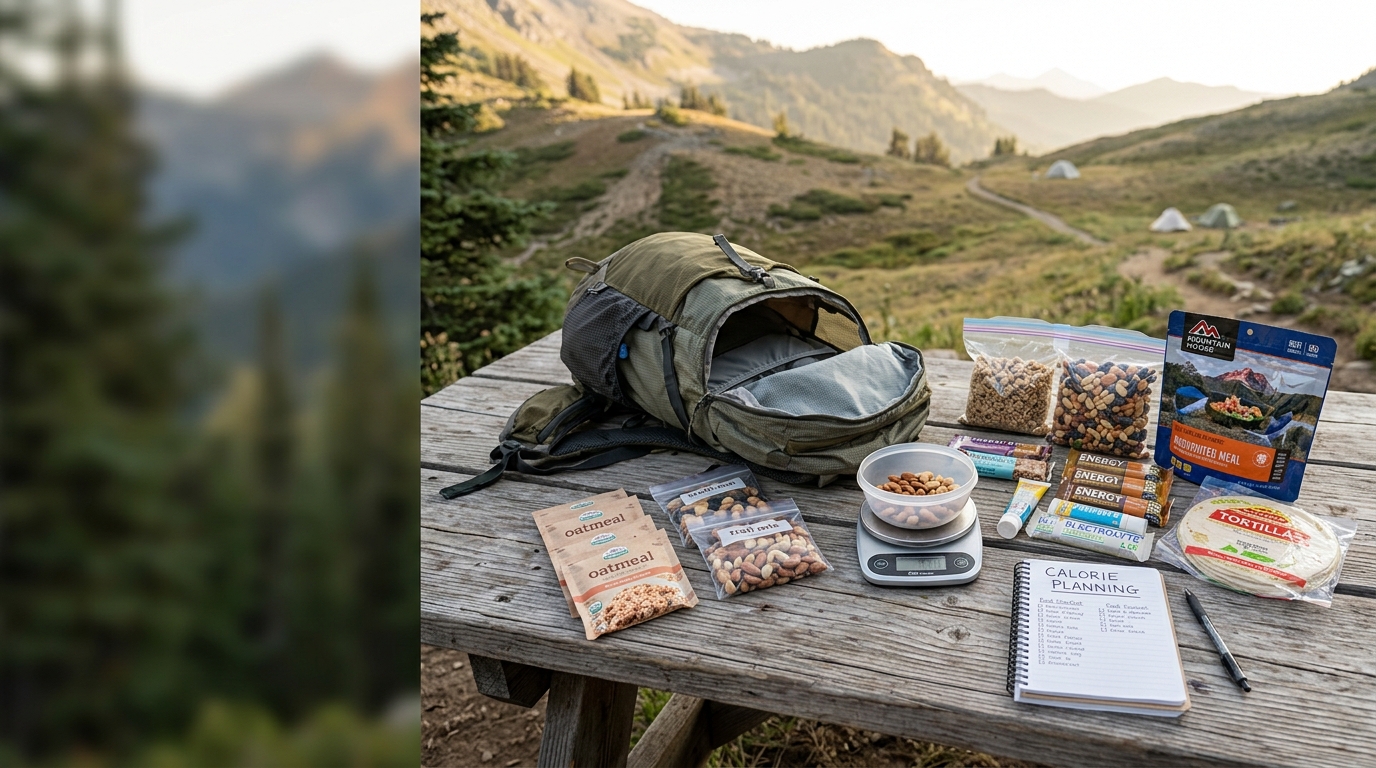
| Day 1 | Instant oatmeal, powdered milk, dried fruit | Tortilla with peanut butter and dried fruit | Dehydrated meal or instant couscous with olive oil | Trail mix, energy bar, dried mango |
| Day 2 | Granola with powdered milk | Crackers, tuna or a shelf-stable alternative | Instant rice with dehydrated beans and seasonings | Nuts, chocolate, fruit leather |
| Day 3 | Oatmeal with nuts and raisins | Tortilla with nut butter or a preferred protein filling | Instant noodles with dehydrated vegetables and protein | Trail mix, bars, salty snacks |
Choose products that fit your dietary needs and cooking setup. If you’re carrying no-cook meals, replace dishes that require boiling water. For hot weather, be especially careful with perishable ingredients.
2. Use a Quantity Checklist for Each Day
Portioning food into daily bags makes it easier to see what remains and reduces the chance of accidentally eating tomorrow’s dinner today.
Here is a sample starting point for one hiker:
| Item | Day 1 | Day 2 | Day 3 | Total |
|---|---|---|---|---|
| Breakfast portions | 1 | 1 | 1 | 3 |
| Lunch portions | 1 | 1 | 1 | 3 |
| Dinner portions | 1 | 1 | 1 | 3 |
| Snack portions | 3–4 | 3–4 | 3–4 | 9–12 |
| Electrolyte servings, if needed | 0–1 | 0–1 | 0–1 | 0–3 |
The snack count is a planning example, not a nutritional prescription. Add more food if your energy needs, trail conditions, or personal experience call for it.
A useful trick: Put each day’s food in a separate labeled bag. Write the day number and identify any meal that requires fuel or water.
3. Estimate Your Food Budget 💰
Your actual cost depends on the country, retailer, brands, portion sizes, and whether you buy individual servings or larger packages.
The following is an illustrative U.S. grocery-budget range, not a current price quote.
| Category | Estimated cost for 3 days |
|---|---|
| Breakfast ingredients | $6–12 |
| Lunch ingredients | $9–18 |
| Dinner ingredients | $12–24 |
| Snacks and trail food | $12–24 |
| Estimated food total | $39–78 |
Buying bulk oats, nuts, dried fruit, and other suitable staples may reduce the cost per serving. Commercial freeze-dried meals can cost more, but they may simplify preparation and portioning.
To calculate your actual budget, add the price of the quantities you will use rather than the full cost of every package you purchase.
Remember that the total does not include shipping, packaging, fuel, replacement gear, or emergency food.
4. Add Replacement Supplies
A resupply box should include more than meals. Use it to replace items you expect to run low on before the next stop.
Possible additions include:
- Water-treatment consumables compatible with your system.
- Batteries or charged replacement power supplies.
- Headlamp batteries, if your model uses replaceable ones.
- Small quantities of toiletries and sunscreen.
- First-aid items you have used, provided they are appropriate and in date.
- Repair materials suitable for your gear.
- Socks or other clothing only if you genuinely need replacements.
- Maps, permits, or printed itinerary information when relevant.
Keep medications in their original packaging where practical, follow storage requirements, and make sure any prescription refills comply with applicable rules. Do not put essential medication or critical safety equipment in a box that may arrive late unless you have a safe backup plan.
Avoid adding heavy “just in case” items that you do not need. The goal is to replenish essentials, not turn every resupply into a second gear load.
5. Plan Mailing and Pickup Carefully 📦
A resupply box only helps if it reaches the correct location at the right time.
Before mailing anything, confirm the receiving location’s current policies, opening hours, address format, accepted delivery services, holding period, identification requirements, and whether packages must be addressed to a specific person.
Before you seal the box
- Contact the receiving location. Ask whether it accepts hiker resupply packages and confirm any special instructions.
- Check the timing. Allow for shipping delays, weekends, holidays, and your realistic hiking pace.
- Use a clear label. Include the recipient’s name and any required pickup notation, following the location’s instructions.
- Keep a backup plan. Identify a nearby store or alternative resupply point if delivery or collection fails.
- Check shipping restrictions. Fuel canisters, certain batteries, liquids, and other regulated items may be prohibited or restricted. Never assume they can be mailed.
- Track the shipment. Keep the tracking number and delivery details accessible offline if necessary.
For remote trail locations, mail services and package-holding arrangements can differ significantly. Verify details directly with the destination instead of relying on old trip reports.
6. Pack the Box in a Logical Order
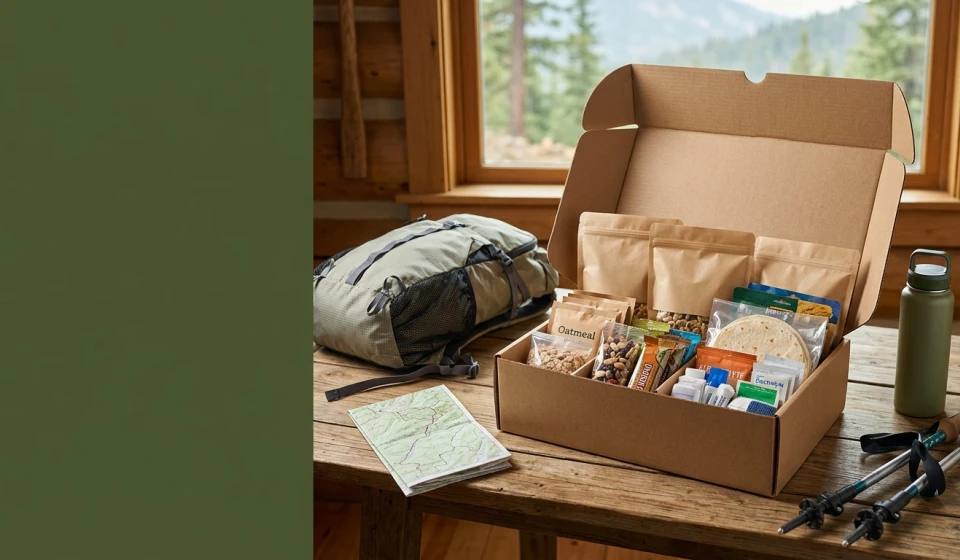
Use a simple arrangement so you can inspect the contents quickly.
- Top layer: Pickup instructions, a printed inventory, and anything you need to check first.
- Daily food bags: Three clearly labeled meal-and-snack sets.
- Replacement supplies: Grouped together in a smaller, labeled bag.
- Backup food: A modest reserve suited to the route and your safety plan.
- Bottom layer: Lightweight, non-fragile items that are less urgent to access.
Keep food sealed and protected from moisture. Avoid including items that could leak onto food or contaminate other supplies. If the box may sit in warm conditions, check the storage needs of every food and product you include.
7. Your Reusable Three-Day Resupply Template
Copy this blank template for each resupply point. Fill it out before purchasing or packing.
<text color=”secondary” size=”sm”>Complete the checklist as you pack.</text>
Trip details
- Trail or route: ______________________________
- Resupply location: __________________________
- Expected pickup date: ______________________
- Next resupply or finish date: ________________
- Daily calorie target: ________________________
- Food budget: _______________________________
Daily food plan
| Item | Day 1 | Day 2 | Day 3 |
|---|---|---|---|
| Breakfast | __________ | __________ | __________ |
| Lunch | __________ | __________ | __________ |
| Dinner | __________ | __________ | __________ |
| Snacks | __________ | __________ | __________ |
| Drinks/electrolytes | __________ | __________ | __________ |
Replacement supplies
- Water-treatment supplies checked
- First-aid supplies checked
- Batteries or charging needs checked
- Toiletries and sunscreen checked
- Gear repair items checked
- Essential medications and storage needs checked
- Backup food included
Shipping and final packing
- Receiving location confirmed
- Address and labeling requirements checked
- Delivery and pickup timing confirmed
- Shipping restrictions reviewed
- Food portions and package dates checked
- Daily bags labeled
- Inventory included
- Tracking details saved
- Backup resupply option identified
- Box sealed and ready
Final Thoughts 🌲
A reliable three-day resupply box is built around three things: food you will actually eat, replacement supplies you genuinely need, and delivery arrangements you have verified.
Start with a simple daily menu, calculate quantities before shopping, and keep a reusable inventory. After each trip, note what you ran out of, what you carried unnecessarily, and what you would change next time.
Over several resupplies, that feedback can help you create a system that is more efficient, less wasteful, and easier to repeat.
Pack with a plan, label everything clearly, and leave room for the unexpected. Your future self on the trail will appreciate the preparation.