BV500 Food Packing Plan: A Practical Menu and Volume-Testing Checklist
Introduction 🏕️
Planning backpacking meals is not just about counting calories or keeping food weight low. If your trip requires a bear-resistant food canister, you also need to make sure everything fits inside the container.
The BearVault BV500 is a popular hard-sided canister for backcountry trips, but its usable capacity depends on the shape of your food, packaging, and the other items you must store inside. A menu that looks compact on paper may take up much more space when packed.
The solution is to plan your meals by calories, weight, and physical volume, then test the complete load before leaving home.
This guide walks you through a practical multi-day menu, food-volume estimates, packaging strategies, and a final checklist to help you avoid unpleasant surprises at camp.
1. Understand Your Canister Before Planning Meals
The <Entity value=”BearVault BV500″ category=”product” disambig=”bear-resistant food storage canister for backpacking”/> is commonly listed with a capacity of approximately 11.5 liters (700 cubic inches). However, nominal capacity does not guarantee that a particular menu will fit.
Actual packing space is affected by:
- The shape and size of food packages.
- Air trapped inside bags.
- Bulky freeze-dried meal pouches.
- Rigid containers and leftover packaging.
- Required storage for toiletries, trash, and other smellable items.
- How easily the lid can close and lock.
Before planning your trip, verify the canister’s current specifications and check the rules for your destination. Some areas require a particular approved canister model, and local regulations determine which items must be stored inside.
Important: Do not assume a BV500 can hold a fixed number of days of food. A compact menu of dense ingredients may fit more easily than a menu containing bulky commercial meal pouches, even when both provide similar calories.
2. Plan for Calories, Weight, and Volume Together
A reliable packing plan considers three separate measurements.
Calories tell you how much energy your food provides. Hiking energy requirements vary with body size, pace, terrain, weather, and daily distance.
Weight tells you how much food you must carry. Nuts, peanut butter, olive oil, and other energy-dense ingredients can provide substantial calories in relatively small amounts.
Volume determines whether the food physically fits inside the canister. Crackers, bread, large pouches, and loosely packed bags may occupy more space than expected.
For example, two meals may weigh the same but occupy different amounts of space. A compact bag of oatmeal can fit into gaps between other packages, while a rigid or air-filled pouch may leave unused space around it.
Do not reduce your food intake simply to make the canister fit. If the required food does not fit, consider changing packaging, selecting more compact foods, using an appropriate larger approved storage solution, or adjusting the trip plan where feasible.
3. Build a Sample Five-Day Menu
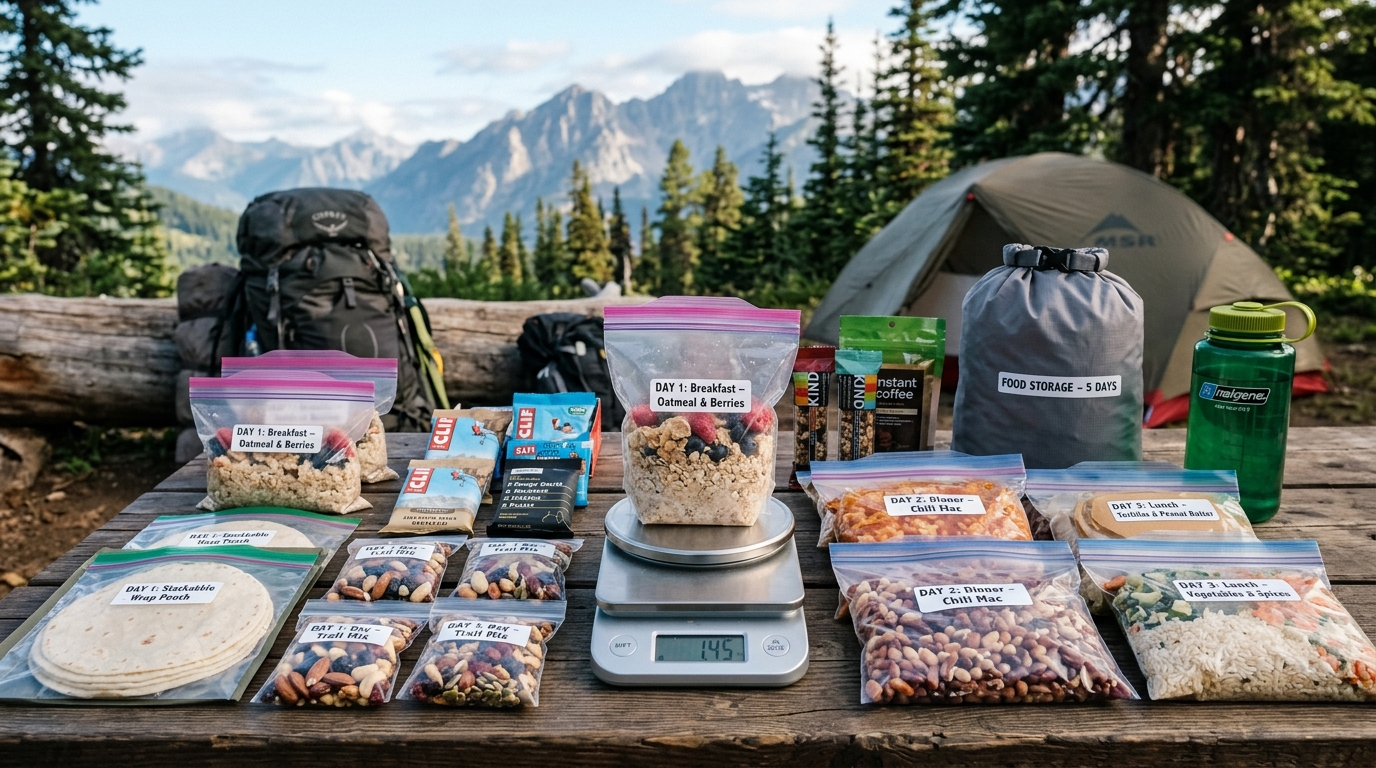
The following menu is an example of how to organize five days of food for a canister-based backpacking trip. It emphasizes compact ingredients, simple preparation, and a mix of carbohydrates, fats, and protein.
Portion sizes and calories should be adjusted to your needs. The volume figures are rough planning estimates, not verified measurements of a packed BV500 load.
| Day | Breakfast | Lunch | Dinner | Snacks |
|---|---|---|---|---|
| 1 | Instant oats, powdered milk, chia seeds | Tortillas with peanut butter | Dehydrated rice and bean meal | Trail mix, energy bar, dried fruit |
| 2 | Granola and powdered milk | Tortillas with nut butter | Couscous with olive oil and dried vegetables | Nuts, chocolate, dried fruit |
| 3 | Oats with walnuts and raisins | Crackers with a shelf-stable protein option | Dehydrated pasta meal | Trail mix, energy bar |
| 4 | Granola with chia seeds | Tortillas with peanut butter | Instant rice with dehydrated beans | Nuts, chocolate, dried fruit |
| 5 | Oats with powdered milk | Tortillas with nut butter | Dehydrated dinner meal | Trail mix, energy bar |
This is a menu framework, not a complete nutrition prescription. Add enough portions and snacks to meet your actual energy requirements. For long or strenuous days, you may need additional food.
4. Estimate Food Volume Before Packing
Food volume is difficult to calculate accurately from a menu alone. The best approach is to measure your own portions in their final storage bags.
Use the following as a rough starting point for organizing a five-day load:
| Food category | Approximate planning volume |
|---|---|
| Five breakfasts | 1.5–2.5 liters |
| Five lunches | 2–3 liters |
| Five dinners | 2–3 liters |
| Snacks and extras | 1.5–2.5 liters |
| Combined loose estimate | 7–11 liters |
These estimates are illustrative and may overlap with the space occupied by the same ingredients in combined bags. They are not measurements of a tested menu.
A nominal 11.5-liter canister may accommodate some loads in this range, but a menu near the upper end may not fit once packaging and required smellables are included. The combined estimates also do not account for the way differently shaped items leave gaps.
The only dependable fit test is packing the actual load into the actual canister.
5. Use Packaging Strategies That Save Space
Smart packaging can make a meaningful difference without changing the food you eat.
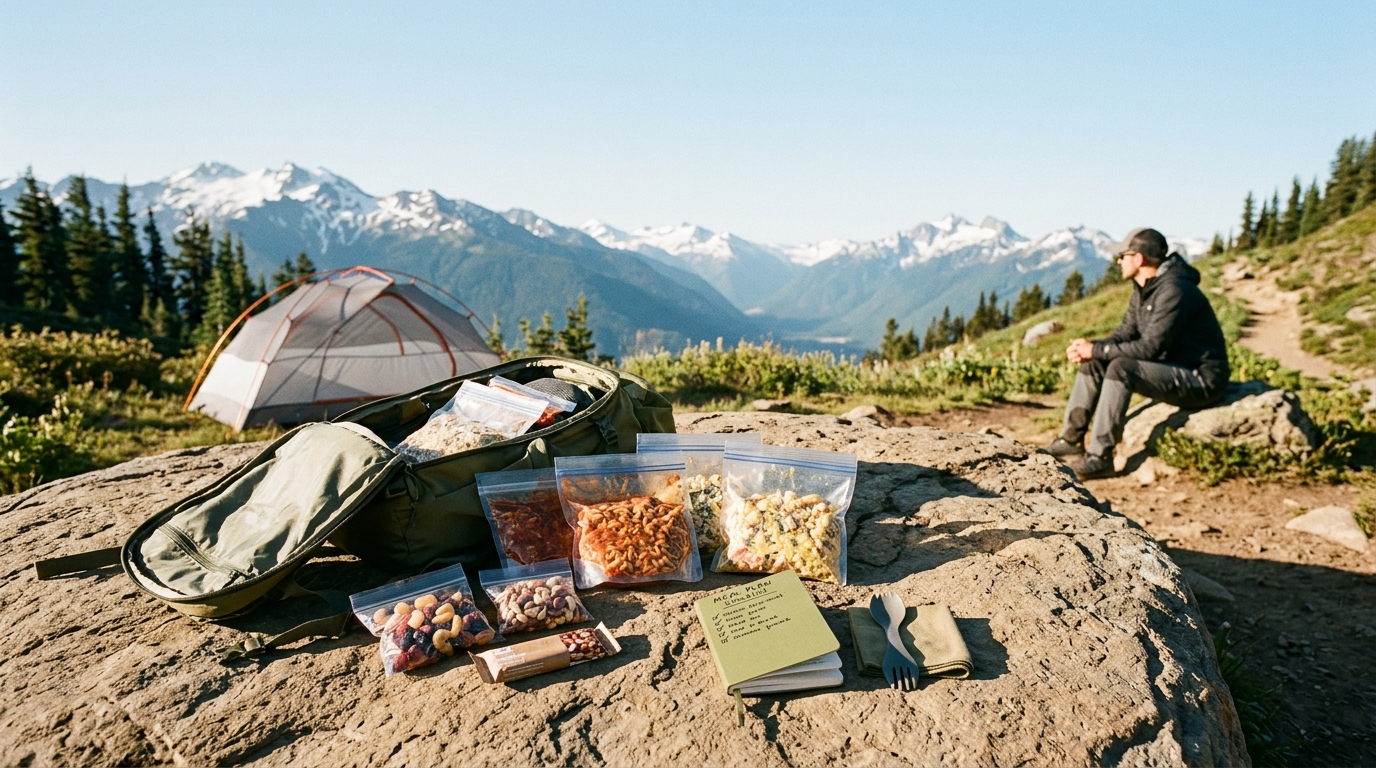
- Repackage dry ingredients: Transfer oatmeal, powdered milk, spices, and similar foods into appropriately sized food-safe bags.
- Remove unnecessary outer packaging: Discard cardboard sleeves and bulky secondary packaging when safe and practical.
- Combine ingredients: Pre-mix dry breakfast ingredients or dinner components when this simplifies preparation.
- Reduce trapped air: Use bags that closely fit their contents, while leaving adequate space for sealing and avoiding leaks.
- Choose compact snacks: Compare the volume of trail mix, nuts, bars, and other snacks rather than judging by weight alone.
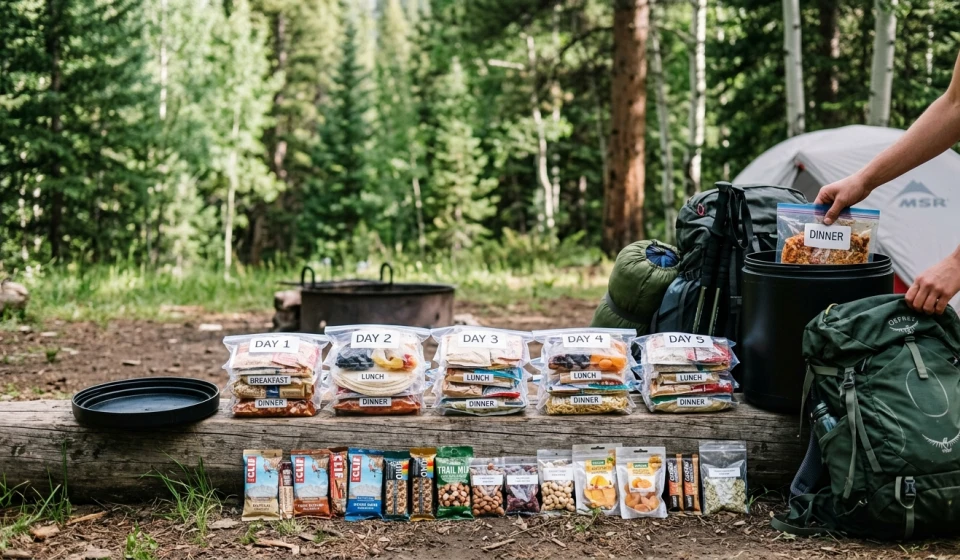
- Keep meals organized: Label bags by day and meal to make finding food easier.
Do not remove essential cooking instructions, allergen information, or food-safety information if you may need them later. Avoid crushing foods that need to remain intact, and protect oily ingredients from leaking.
Also remember that packaging food more compactly does not remove the need to store food scraps, wrappers, and other smellables according to local requirements.
6. Make a Day-by-Day Inventory
Before packing, create a complete list of everything that will be carried.
| Day | Inventory to verify |
|---|---|
| Day 1 | Breakfast, lunch, dinner, snacks, drinks, condiments |
| Day 2 | Breakfast, lunch, dinner, snacks, drinks, condiments |
| Day 3 | Breakfast, lunch, dinner, snacks, drinks, condiments |
| Day 4 | Breakfast, lunch, dinner, snacks, drinks, condiments |
| Day 5 | Breakfast, lunch, dinner, snacks, drinks, condiments |
For each item, record its weight, estimated calories, package volume, and storage requirements. Add a separate list for anything not consumed as a meal, including food-related waste and smellable personal-care products.
This inventory helps prevent a common planning mistake: counting five dinners and five breakfasts but forgetting snacks, drink mixes, cooking oil, or other small items that accumulate over several days.
7. Test the Actual Canister Load Before Departure
A written menu is only the first step. Perform a physical packing test several days before your trip so you have time to make changes.
- Gather everything. Collect all food, packaging, required toiletries, trash-storage supplies, and other items that local rules require to be secured in the canister.
- Pack by day. Organize meals into labeled bags and arrange them in the canister.
- Use available gaps. Fit small bags into spaces between larger packages without damaging food or creating a lid obstruction.
- Add every required smellable. Do not test only the food if other items must also be stored inside.
- Close and lock the lid correctly. The lid must close and engage as designed, without forcing it or leaving it partially secured.
- Repack if necessary. Reduce excess packaging, choose more compact ingredients, or revise the storage plan.
- Weigh the complete food load. Record total food and packaging weight separately from the canister itself.
A successful test means the actual required load fits securely. It does not establish that the canister meets every local regulation, so check destination-specific requirements before departure.
8. Don’t Forget Food Safety and Storage Rules
Bear-resistant canisters are designed to reduce access by bears when used correctly, but they are not a substitute for following local wildlife-storage rules.
Keep food and other smellables secured as required, including toothpaste, scented toiletries, garbage, and cooking-related waste where applicable. Follow the destination’s instructions for where to place the canister at night.
Choose foods that remain safe under your expected temperatures and trip conditions. Refrigeration-dependent ingredients should not be packed for several days without a suitable way to maintain safe temperatures.
If the full load does not fit, do not leave required food or smellables unsecured merely to preserve your original menu. Repack, choose different foods, use an approved alternative storage system where permitted, or reconsider the plan.
Final Thoughts 🏕️
A successful BV500 food-packing plan starts with more than counting meals. You need to consider calories, food weight, packaging, volume, and every other item that must be stored securely.
Use the sample menu as a starting point, measure your own food, and treat volume estimates as preliminary. Most importantly, test the entire load in your actual canister before departure.
The best backpacking menu is one that meets your energy needs, fits securely, and follows the rules for your destination. A little preparation at home can prevent a frustrating packing problem miles into the backcountry.