The Ultimate Cold Soaking Guide for UL Hikers
Why Leave the Stove Behind? The Case for Cold Soaking
When you’re counting every gram for a 200-mile thru-hike, a stove, fuel canister, and pot add up fast—often over a pound of dead weight. Cold soaking replaces that entire system with a single plastic jar weighing less than 50 grams. No simmering, no cleanup with soap, no waiting for water to boil. You simply add water, wait, and eat. For ultralight hikers, weekend warriors, and anyone crossing dry terrain or strict fire-ban zones, cold soaking isn’t a compromise—it’s a strategic upgrade. This guide covers the containers, recipes, and field tricks that turn raw dehydrated food into satisfying trail meals, even when you have zero fuel and a dry campsite.
When Does Cold Soaking Actually Work?
Cold soaking shines in three specific scenarios. First, arid environments like the desert sections of the Pacific Crest Trail or Arizona Trail, where carrying fuel is both heavy and a fire hazard. Second, international travel—flying with no stove means no fuel disposal headaches at airports. Third, ultralight long-distance hikes where every ounce matters over weeks or months. Under 20 lbs base weight? Cold soaking often trims that last half-pound off your cook system.
But cold soaking has limits. Anything that requires boiling to rehydrate—think thick beans, large pasta shapes, or raw grains—won’t work. Temperatures below 40°F (4°C) also slow rehydration drastically; in snow, you might need to pre-warm your soak water inside your sleeping bag. And if you crave a hot meal after a freezing day, cold soaking won’t satisfy that psychological need. Know your trip and your mood before committing.
“I cold soaked for my entire 800-mile Arizona Trail thru-hike. The weight savings let me carry an extra liter of water through the dry stretches. Would I do it on the Colorado Trail in July? Probably not—hot coffee is non-negotiable at 11,000 feet.” — Sarah K., PCT 2023 thru-hiker
Container Selection: Leak-Proof Jars That Survive Your Pack
Not all jars are born equal. The ideal cold-soak container is wide-mouthed, leak-proof when inverted, and made of lightweight BPA-free plastic or titanium. Avoid glass—one crack in your pack and your entire food supply (and sleeping bag) becomes a sticky mess. Below is a comparison of the most popular choices among UL hikers.
| Container | Material | Capacity | Weight | Leak-Proof? | Best For |
|---|---|---|---|---|---|
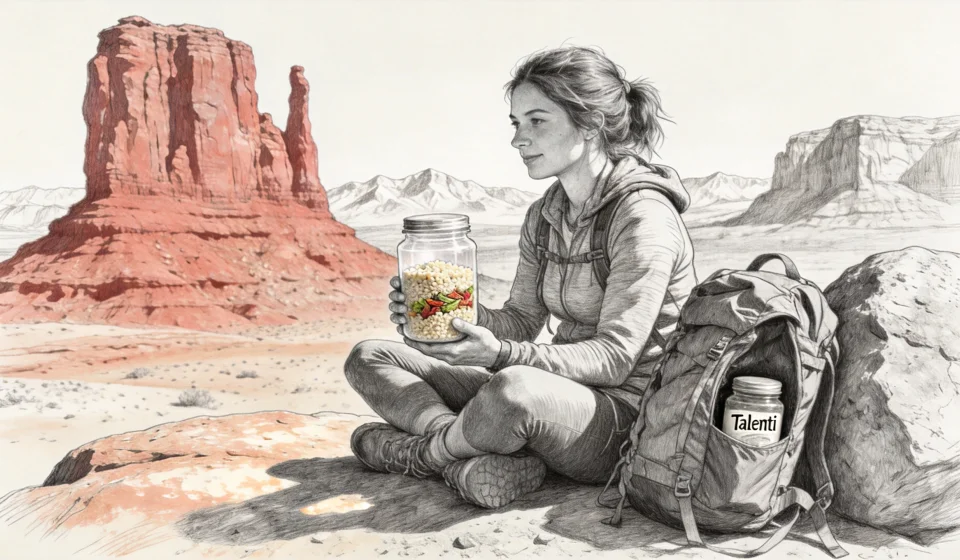
| Talenti Gelato Jar (original plastic) | #5 PP plastic | 500 ml (17 oz) | 28 g (1 oz) | Yes, with original lid | Budget option, fits most single meals |
| Vargo BOT 700 | Titanium + plastic lid | 700 ml (24 oz) | 90 g (3.2 oz) | Yes, screw-top seal | Dual-use as pot if you later add stove |
| Litesmith Wide-Mouth Jar | #2 HDPE plastic | 650 ml (22 oz) | 32 g (1.1 oz) | Yes, with O-ring lid | Best weight-to-volume ratio |
| Nalgene 32 oz Wide Mouth | #7 Tritan | 946 ml (32 oz) | 100 g (3.5 oz) | Yes, heavy-duty | Shared meals or double-batch dinners |
| Vargo 240 Ti Mug + lid | Titanium | 240 ml (8 oz) | 55 g (1.9 oz) | Yes, but small | Solo breakfasts (oats) or side dishes |
Key Features to Look For
- Wide mouth (≥ 70 mm diameter) – easy to eat from and clean with a bandana or finger.
- Screw-on lid with rubber or silicone gasket – prevents leaks when your jar is jostled upside down in your pack side pocket.
- Translucent or opaque – opaque jars keep food cooler and protect delicate ingredients from UV breakdown. Clear jars let you see rehydration progress but can attract heat.
- No sharp edges – titanium mugs often have rolled rims that are comfortable to drink from, but some ultralight plastic jars have sharp threads that can cut your lips.
Pro tip: Before a long trip, test your container with water overnight in a dry sack. Turn it upside down and squeeze gently. Any seepage means the lid might fail after days of rough handling. Apply a thin layer of silicone grease to the O-ring if needed.
Recipes and Soak Times: What Works and What Doesn’t
Not all dehydrated backpacking meals are cold-soak friendly. The key is surface area: small, thin, or powdered ingredients rehydrate quickly without heat. Flakes, granules, and fine mash absorb water in minutes. Whole grains, thick legumes, and dense blocks of freeze-dried meat require boiling. Here are proven combinations and their approximate soak times (assuming 60–70°F / 15–21°C water).
| Meal | Ingredients | Water Volume | Soak Time | Notes |
|---|---|---|---|---|
| Cold-Brew Oatmeal | ½ cup instant oats + 2 tbsp powdered milk + 1 tbsp brown sugar + pinch salt | ¾ cup | 20–30 min | Stir after 10 min for even hydration |
| Curried Couscous | ½ cup fine couscous + 1 tbsp curry powder + 1 tbsp olive oil sachet + 1 tbsp dried vegetables | ½ cup + extra 1 tbsp | 20 min | Fluff after soak; add oil for mouthfeel |
| Loaded Mashed Potatoes | ¾ cup instant potato flakes + 2 tbsp powdered cheese + 1 tsp garlic powder + 2 tbsp bacon bits | 1 cup | 10–15 min | Stir vigorously; let sit covered |
| Cold Ramen with Peanut Sauce | 1 block instant ramen (crushed) + 2 tbsp peanut butter powder + 1 tbsp soy sauce packet + chili flakes | 1 cup | 30–40 min | Break noodles into small pieces; stir halfway |
| Tuna & Rice (using instant rice) | ½ cup instant rice + 1 foil packet tuna (3 oz) + 1 tbsp mayo packet + dried dill | ¾ cup | 30 min (rice) then mix tuna | Add tuna AFTER rice rehydrates to avoid sogginess |
| Coconut Cherry Muesli | ½ cup muesli (no large oat flakes) + 2 tbsp coconut flakes + 2 tbsp dried cherries + ¼ cup powdered milk | ¾ cup | overnight (6+ hours) | Best for breakfast; prep at camp the evening before |
Three Golden Rules for Cold-Soak Success
- Use cold water, but not freezing water. Water that’s too cold (below 50°F / 10°C) will dramatically extend soak times. If your water source is glacial melt, let it sit in the sun for 30 minutes first, or fill your jar and stash it inside your sleeping bag for body warmth.
- Hydrate in stages. For dense mixes (e.g., beans or rice blends), add half the water, shake, wait 10 minutes, then add the rest. This prevents a gummy top layer with a dry core.
- Don’t over-soak. Most instant foods turn to paste if left for hours. Set a timer. If you’re hiking and can’t stop, plan to eat within 20 minutes of the target time.
“My first cold-soak attempt was a disaster: I used whole wheatberries instead of instant rice. After four hours in the jar, they were still hard as pebbles. Learn from my mistake—check the ingredient label. ‘Instant’ or ‘quick-cooking’ are your only friends.” — Jake M., Triple Crown hopeful
Surviving Dry Campsites and Long Resupply Gaps
Cold soaking is especially valuable in water-scarce zones, but it also introduces unique challenges. Here’s how to adapt.
Dry Campsites: Rationing Your Water
On dry stretches (e.g., the desert, or high alpine where water sources are frozen), you may have only 2–3 liters of water for cooking, drinking, and camp chores. Cold soaking uses less water than boiling because there’s no steam loss—typically 1–1.5 cups per meal. But you still need to budget.
- Combine soak water into drinking water: Many cold-soaked meals produce a flavorful broth (ramen, soups, couscous). Drink the leftover liquid after you finish the solids. This counts toward your hydration.
- Use the “two-jar” method: Carry one jar for soaking dinner and a separate, smaller jar for breakfast. In a dry camp, you can prepare both simultaneously at dusk, using the same measured water source. Eat dinner, then store the breakfast jar in your pack overnight—it will be ready by morning without extra water.
- Save rehydration water from lunch: If you eat a cold-soak lunch, don’t dump the remaining moisture. Add a splash of your drink mix (e.g., electrolyte powder) and consume it as part of your afternoon hydration.
Long Resupply Gaps: Planning Your Ingredients
When you’re going 7–10 days between resupply boxes, ingredient selection becomes critical. Cold-soakable items that keep well for two weeks include:
- Instant mashed potatoes – lightweight, high calorie, and can be flavored with any dehydrated sauce mix.
- Couscous (fine-grade) – cooks in 20 minutes cold, pairs with oil sachets, spices, and dried veggies.
- Instant refried beans – look for “just add water” versions; check they don’t require boiling.
- Powdered peanut butter and coconut milk powder – add fat and protein without weight.
- Dehydrated vegetables (small pieces) – soak separately for 15 minutes before adding to main meal, or they’ll stay tough.
For ultra-long gaps, consider a meal-ahead system. Repackage all your daily meals into individual ziplock bags, labeled with soak time and water volume. Then at camp, you only need to dump one bag into your jar. This prevents the mental fatigue of measuring ingredients after a 25-mile day.
Cold Weather Hacks
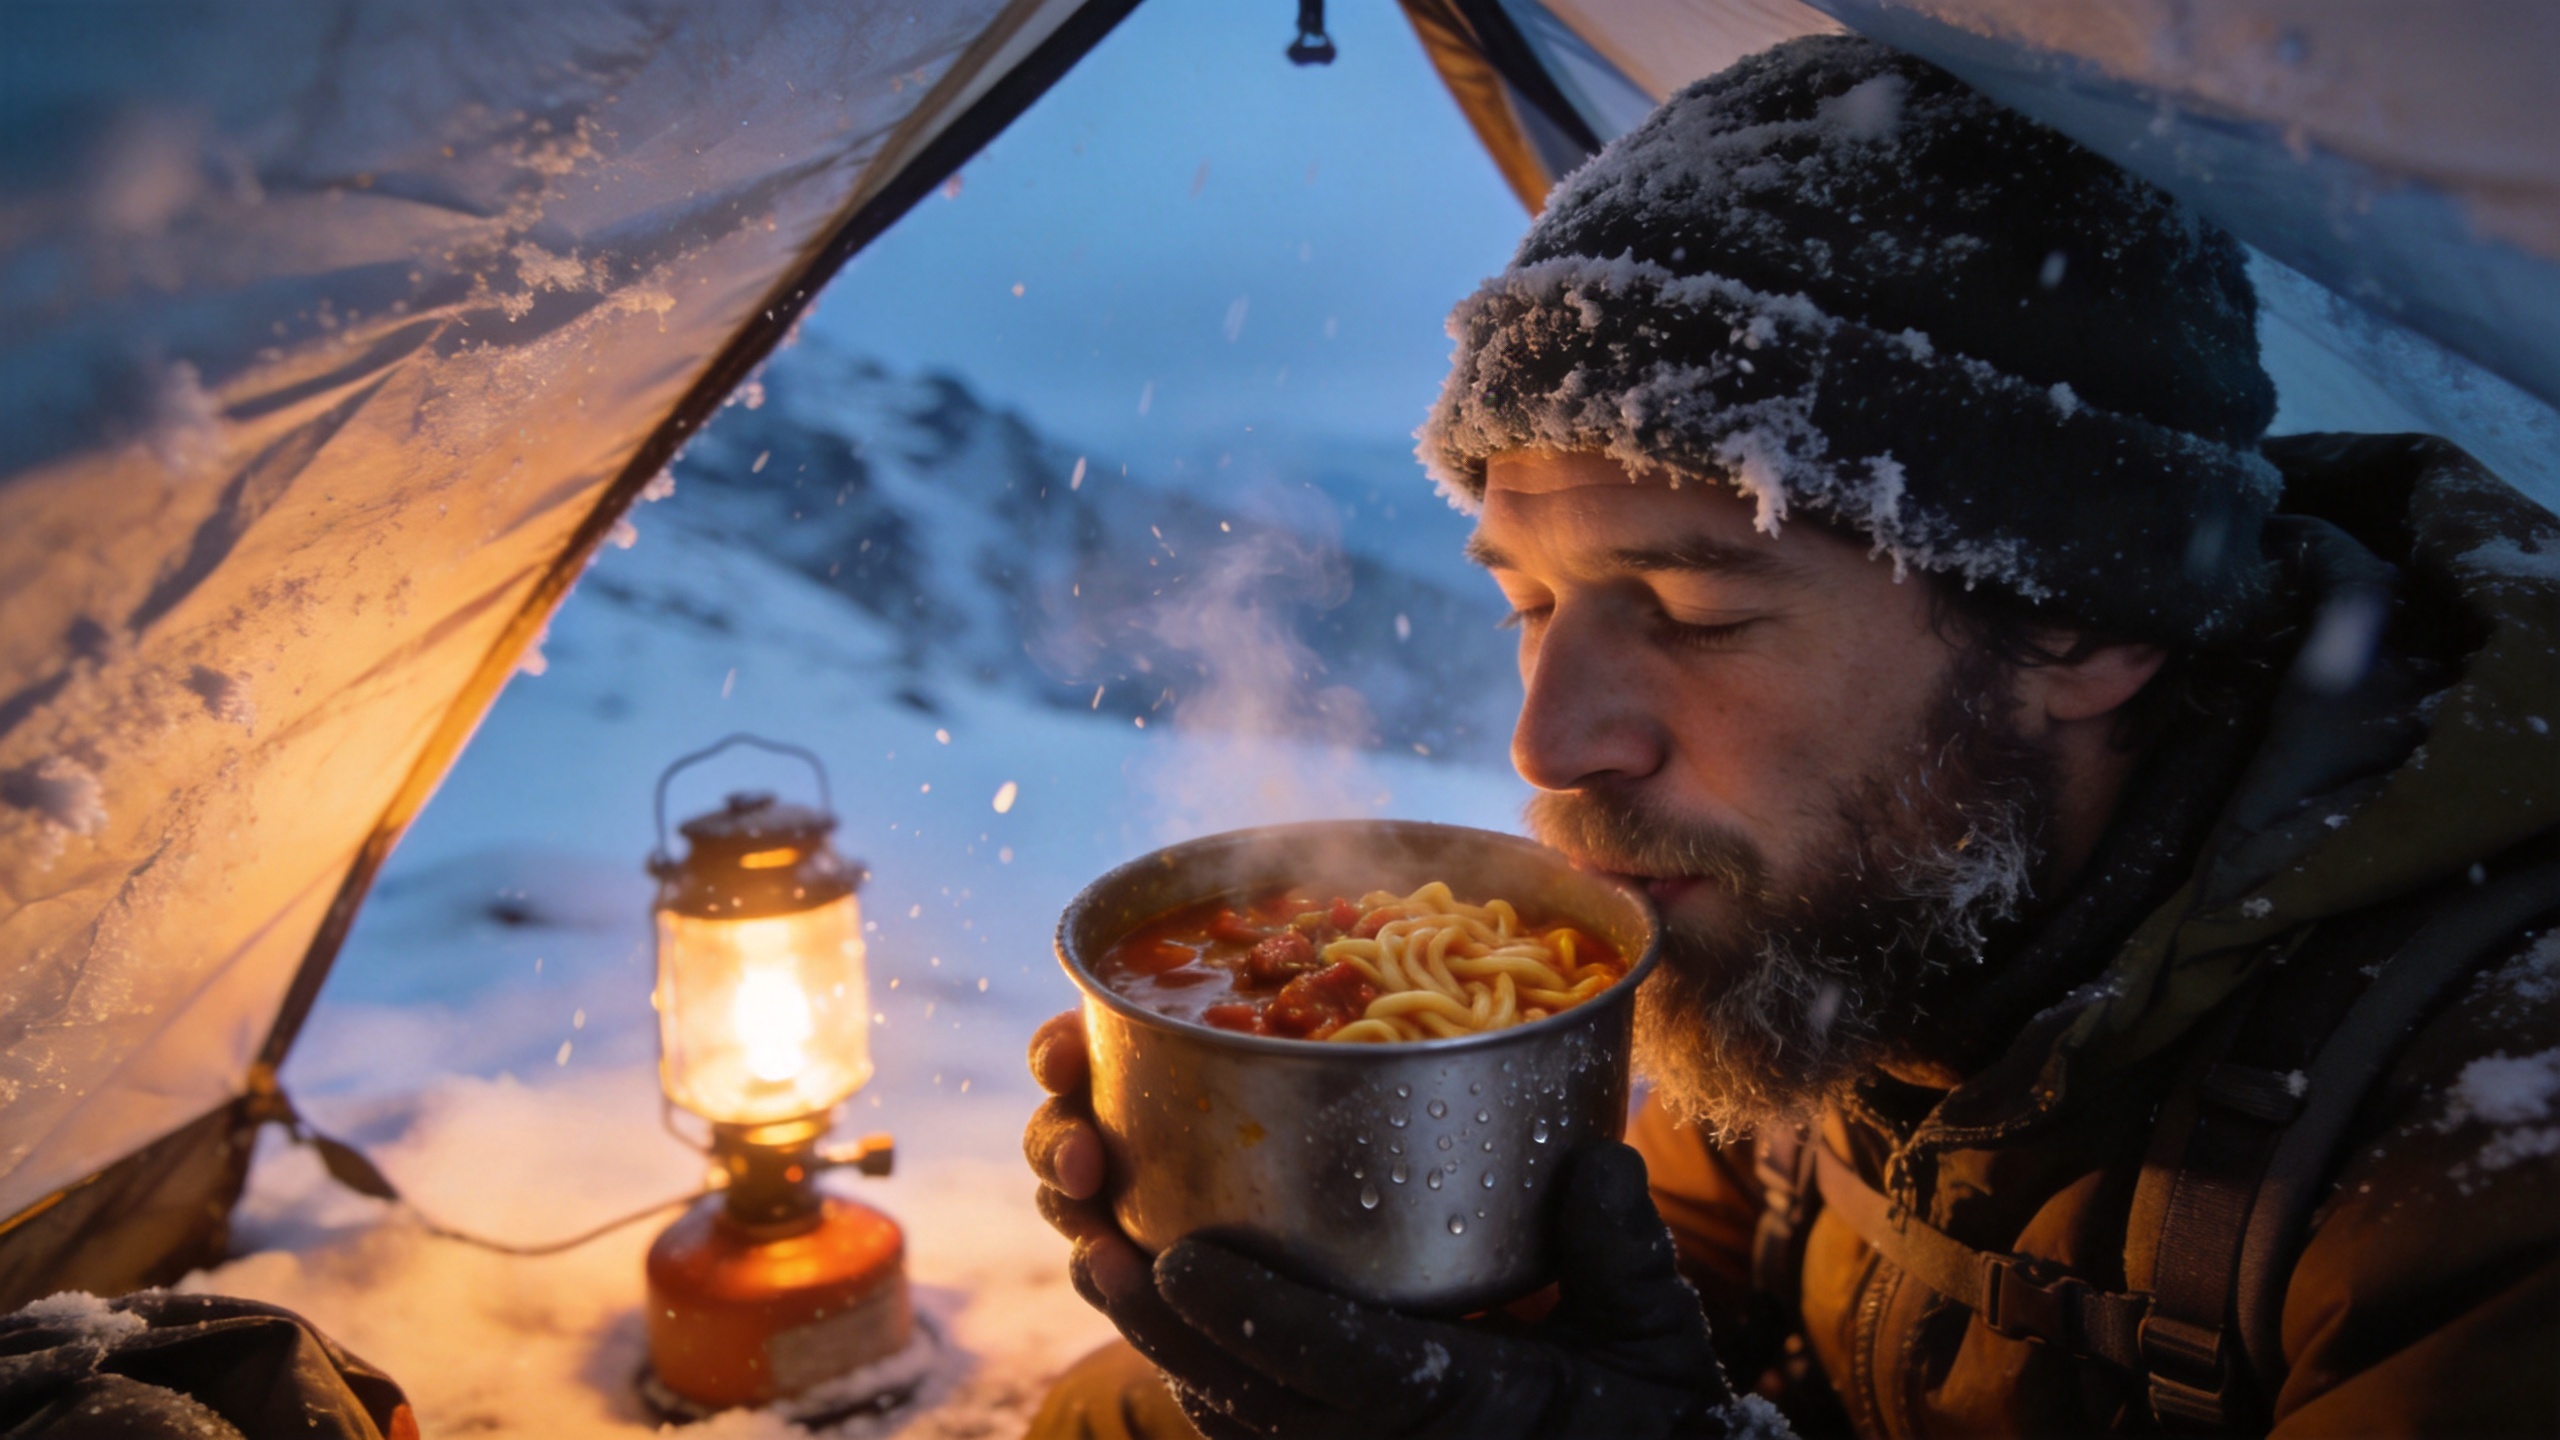
If you’re hiking in sub-freezing conditions, your jar of water and food might freeze overnight. Sleep with your next day’s jar inside your sleeping bag footbox. In the morning, pour in warm (not hot) water from your body-heated bottle. The soak will proceed at near-room temperature. Avoid using snow as water without melting it first—snow lowers the water temperature dramatically and will ruin a cold-soak meal.
Conclusion: Cold Soaking as a Mindset Shift
Cold soaking demands a mental adjustment: you trade the instant gratification of a hot meal for lightness, simplicity, and freedom from fuel logistics. Once you master a few reliable recipes and learn to manage soak times on terrain, you’ll wonder why you ever carried a stove on dry summer trips. Start with a single Talenti jar and a bag of instant mashed potatoes. Experiment, adapt, and discover how much weight—and worry—you can leave behind.