Three Days Without a Fridge: A Backpacker’s Guide to Fresh Food and Spoilage
Fresh food can make a backpacking trip feel surprisingly luxurious. A crisp apple on a mountain trail, fresh vegetables with dinner, or a favorite cheese with crackers can be a welcome change from packaged meals.
But carrying fresh food into the wilderness creates an important question: How long can it actually remain safe without refrigeration?
There is no single three-day expiration timeline that applies to every food. Some fresh foods can travel for several days without refrigeration, while others require strict temperature control from the moment they leave the refrigerator.
The difference comes down to moisture, acidity, preparation, packaging, temperature, and the nature of the food itself.
Before the Trip: Start With the Right Food
Food safety begins before you put on your backpack.
If a food normally requires refrigeration, check its storage instructions before deciding to carry it into the wilderness.
A refrigerator provides controlled temperatures that are difficult to reproduce in a backpack.
This is especially important for meat, poultry, seafood, dairy products, eggs, and prepared foods.
On the other hand, many fresh fruits and vegetables can be carried without refrigeration for a reasonable period, depending on the specific product and environmental conditions.
The best strategy is to choose foods according to the trip rather than trying to force every favorite food into your backpack.
The First 12 Hours
The first half-day of a backpacking trip is usually the easiest period for fresh food.
If a perishable food starts properly chilled and remains cold during transportation, it has a better chance of staying within recommended storage conditions.
This is why many hikers who want fresh food eat their most perishable meal on the first day.
For example, a properly chilled sandwich can be a convenient first-day lunch if it is kept cold during the hike.
A small insulated food pouch can help maintain temperature, particularly when paired with a suitable cold source.
However, insulation is not a substitute for refrigeration.
Around 24 Hours: Don’t Assume Yesterday’s Food Is Still Safe
After the first day, the storage history becomes increasingly important.
If a refrigerated food has been carried in a backpack without a reliable cold source, it should not automatically be treated as safe simply because it was fresh when packed.
This is especially true for warm-weather trips.
Many hikers make the mistake of thinking, “It was refrigerated yesterday, so it should be fine today.”
Food safety does not work that way.
What matters is the temperature and time after the food leaves controlled refrigeration.
Around 36 Hours: Durable Foods Become More Useful
At this point, the advantages of shelf-stable foods become obvious.
Dry foods have much lower available moisture than freshly prepared meals.
Consider the difference between a dry tortilla and a chicken salad sandwich.
Both can be carried in a backpack, but their storage requirements are very different.
A tortilla may remain useful for days under appropriate conditions, while a prepared chicken salad sandwich requires much more careful temperature control.
This is why experienced backpackers often build menus around dry ingredients and shelf-stable foods.
Around 48 Hours: Watch Prepared Foods Carefully
By the second day, prepared foods deserve particular attention.
A meal that was cooked the previous evening should not automatically become breakfast the following morning if it was left unrefrigerated overnight.
At home, leftovers normally go into the refrigerator.
On the trail, there may be no safe place to store them.
Instead of depending on leftovers, plan meals so that you cook an appropriate portion.
This can reduce food waste and eliminate the temptation to eat food that has been sitting at an unsafe temperature.
Around 60 Hours: Heat Becomes an Even Bigger Concern
Outdoor temperatures can vary dramatically.
A food carried for three days in cool, shaded conditions is not necessarily equivalent to the same food carried in a hot desert environment.
Temperature influences microbial growth, and warmer conditions generally create more challenging storage conditions for perishable foods.
Backpackers should pay special attention to:
- Summer heat
- Direct sunlight
- Hot vehicles
- Warm tents
- Food stored against the outside of a pack
- Insulated containers without adequate cold sources
A food bag should be protected from unnecessary heat whenever possible.
Around 72 Hours: What Should Still Be in Your Pack?
At the end of a three-day trip, your remaining foods should ideally be products that were selected for their ability to withstand unrefrigerated conditions.
Examples include:
Dry carbohydrates:
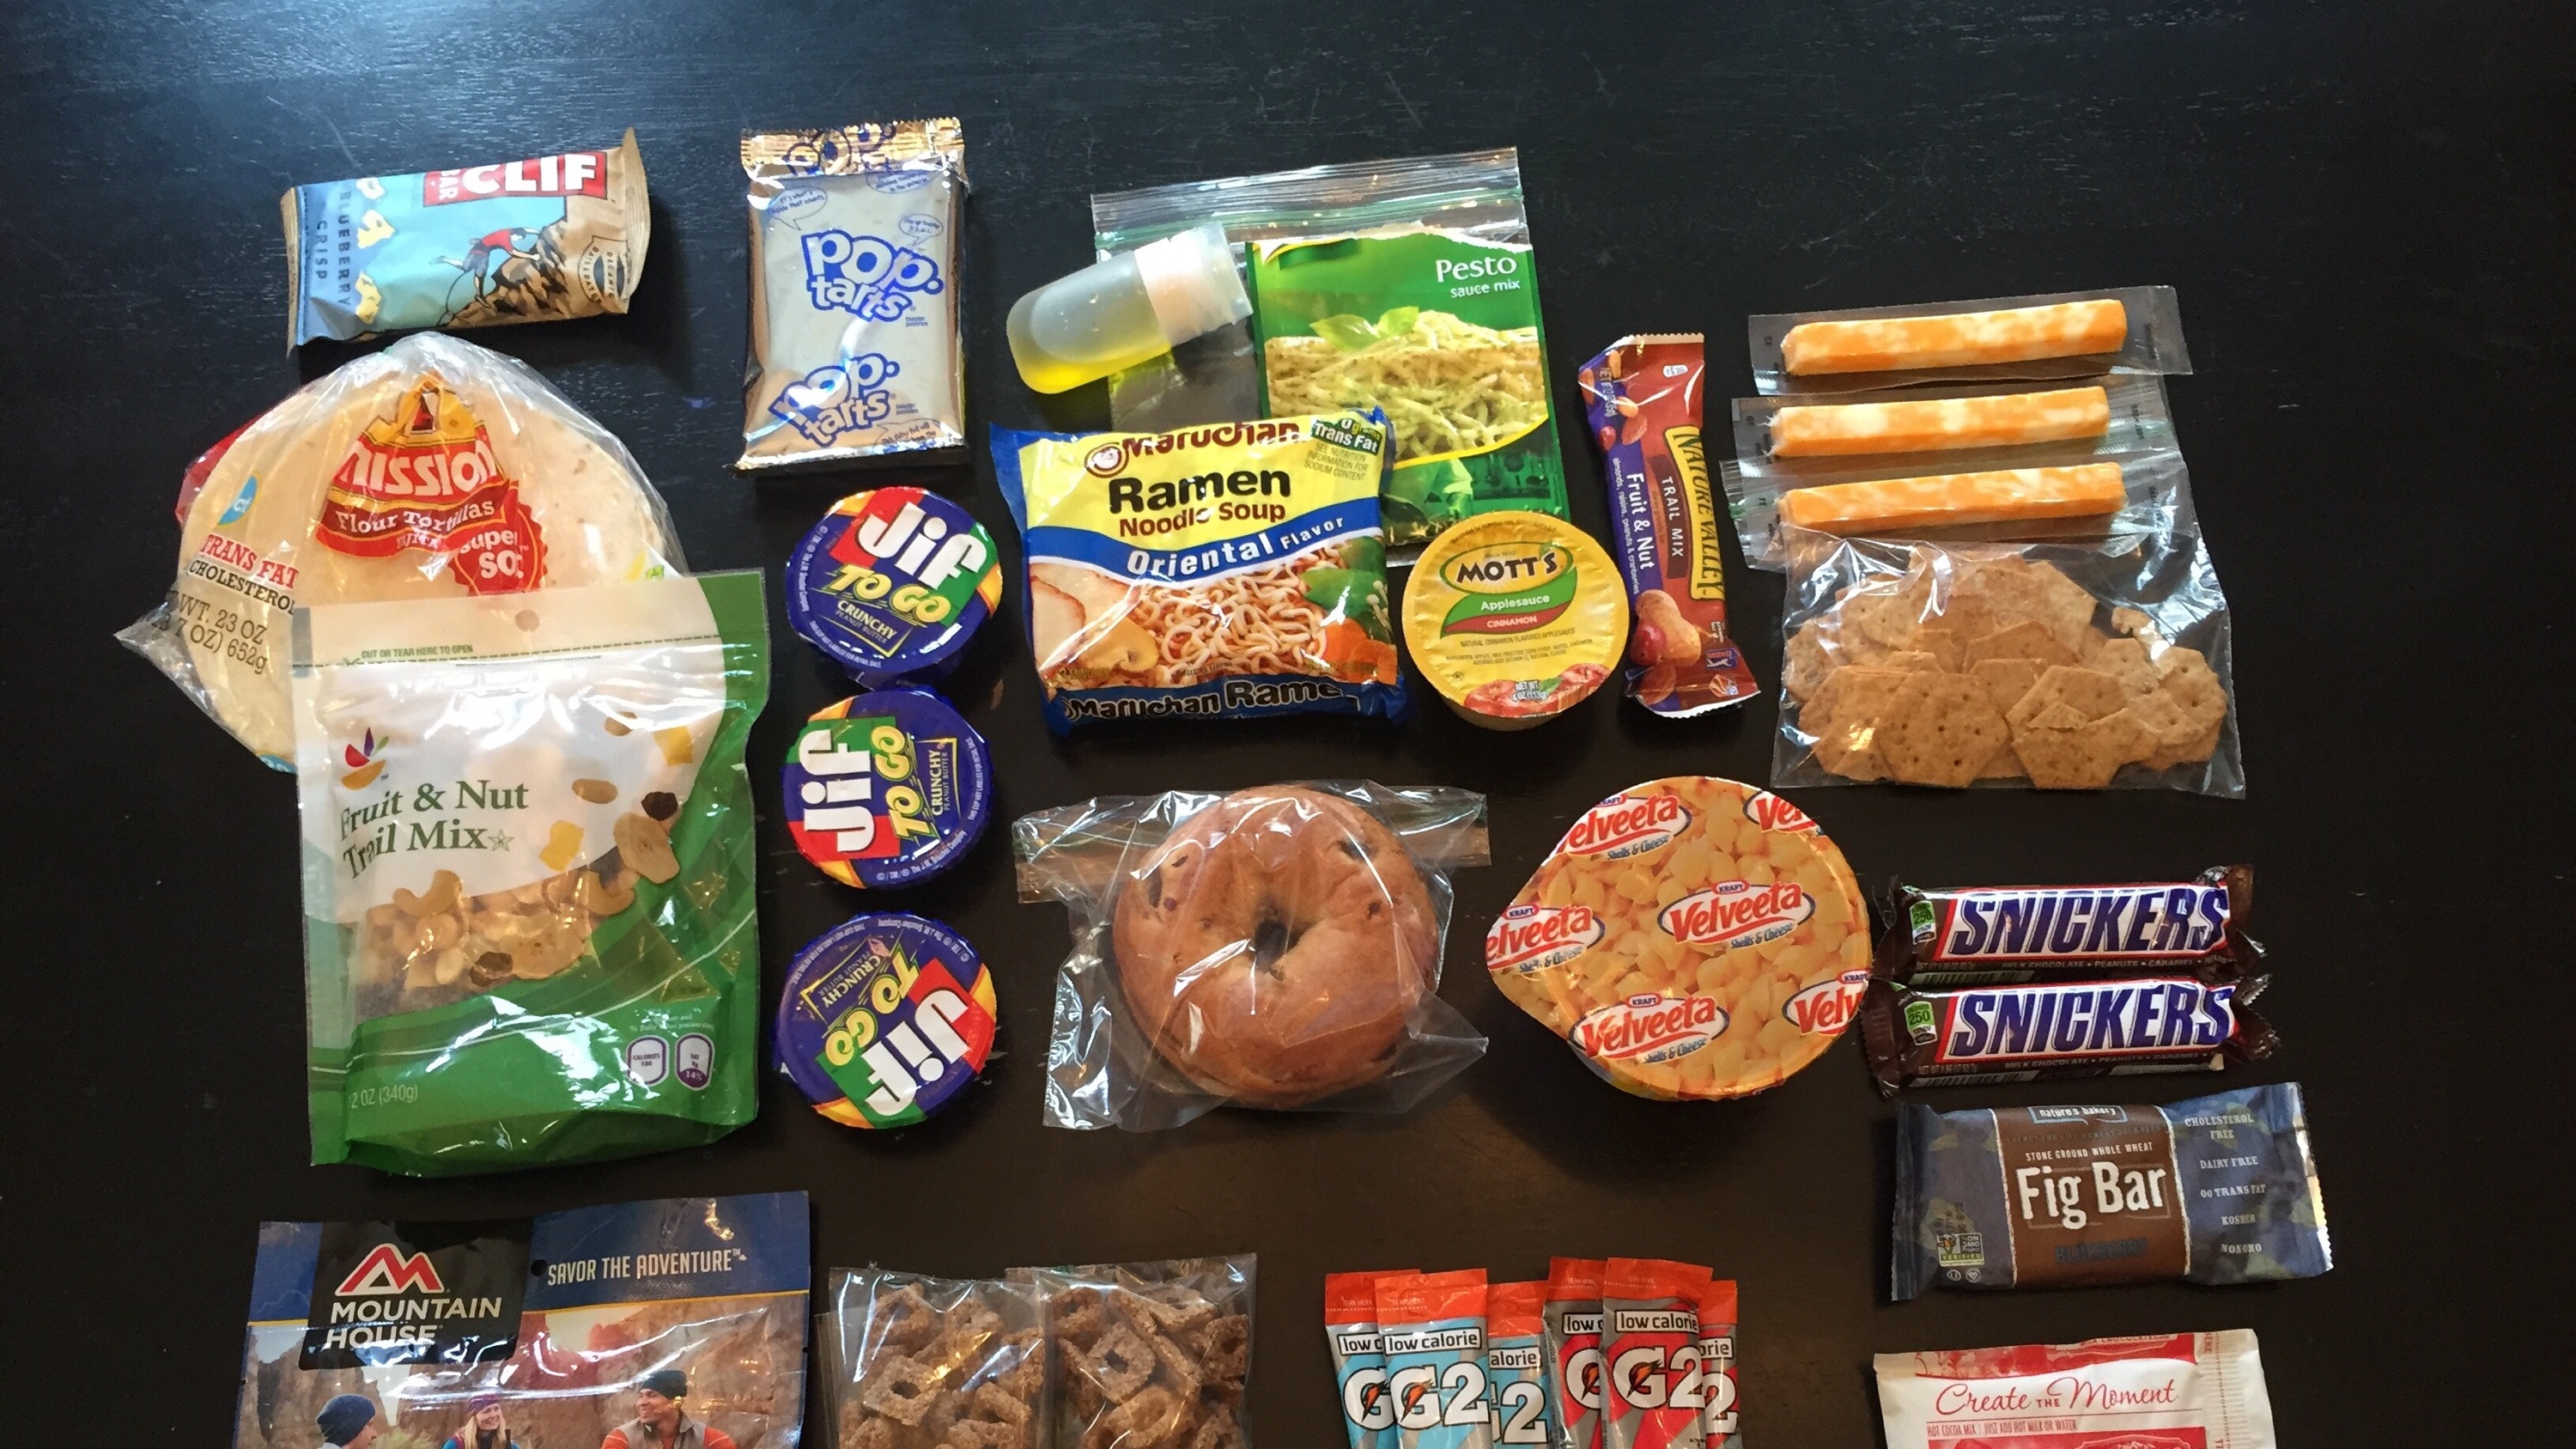
Crackers, instant oatmeal, rice, pasta, and tortillas.
Dried foods:
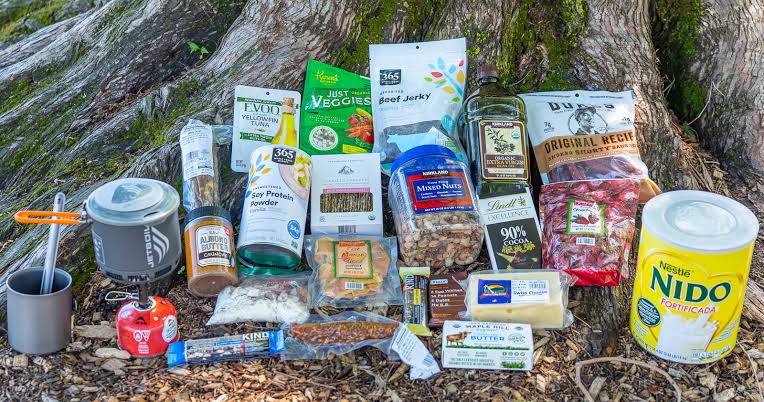
Dried fruit, dehydrated vegetables, jerky made and packaged according to safe commercial or validated methods, and freeze-dried meals.
Nuts and seeds:
These provide calories, fat, and protein while being relatively convenient to carry.
Whole produce:
Some fruits and firm vegetables can travel well without refrigeration.
Commercial shelf-stable products:
Products specifically labeled for room-temperature storage are particularly convenient.
Fresh Fruit Is Different From Fresh Meat
The word “fresh” can be misleading.
A whole apple and a raw chicken breast are both technically fresh foods, but their food-safety characteristics are completely different.
Whole fruit often has natural protective barriers such as skin or peel. It also tends to have characteristics that make it less supportive of rapid bacterial growth than moist animal products.
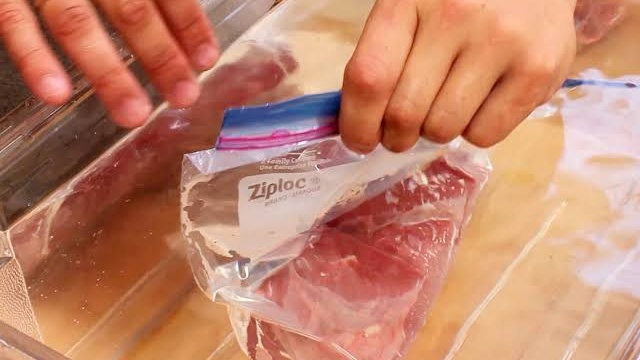
Raw meat, meanwhile, is highly perishable and requires strict temperature control.
This is why food planning should focus on the specific characteristics of each ingredient rather than simply dividing foods into “fresh” and “packaged.”
What About Cut Fruit and Vegetables?
Cut produce deserves more attention than whole produce.
Once you cut a fruit or vegetable, you break its natural protective surface.
The exposed interior contains moisture and nutrients, while handling introduces additional opportunities for contamination.
For backpacking, whole produce can therefore be easier to manage.
If you want to bring cut vegetables, consider how they will be kept cool and how long they will remain before consumption.
Freeze-Dried Food Is a Useful Backup
Freeze-dried meals are particularly convenient for multi-day backpacking because commercial products are generally packaged for shelf stability before preparation.
They are lightweight and do not require refrigeration while unopened.
However, once water is added, the food becomes a prepared meal.
That means you should not assume a rehydrated meal can sit around indefinitely.
Prepare an appropriate portion and eat it promptly.
If there are leftovers, do not automatically plan to carry them into the next day without a reliable way to keep them cold.
A Three-Day Packing Framework
A simple menu structure can make food safety easier.
Day 1: Freshest Foods
Use selected fresh foods early.
A properly chilled sandwich, firm cheese, whole fruit, or fresh vegetables may fit into the first day’s menu depending on storage conditions.
Day 2: Transition Foods
Shift toward foods that are more stable.
Use tortillas, nuts, dried fruit, crackers, shelf-stable spreads, and dehydrated ingredients.
Day 3: Shelf-Stable Foods
By the final day, rely primarily on foods that were specifically chosen for unrefrigerated storage.
This might include oatmeal for breakfast, trail mix for snacks, and a freeze-dried dinner.
The exact menu can vary, but the principle is consistent: the longer the trip continues without refrigeration, the more important food stability becomes.
What If You Have a Cooler?
A cooler can expand your options, particularly for car camping or short approaches.
However, backpacking changes the equation because every additional pound matters.
Ice and frozen packs are heavy, and maintaining safe cold temperatures for three days can require substantial cooling capacity.
If you are driving to a campsite, a cooler is much more practical. If you are carrying everything on your back for several days, shelf-stable foods usually make more logistical sense.
Don’t Rely on Smell Alone
One of the most important food-safety lessons is that you cannot reliably identify every dangerous food simply by smelling it.
Some spoiled foods have obvious changes in appearance or odor. Others may not.
Hikers should consider the food’s storage history, temperature exposure, packaging, and type.
If a highly perishable food has been warm for an extended period, normal appearance is not enough to guarantee safety.
Final Thoughts
A three-day backpacking trip does not mean you have to eliminate every fresh ingredient.
Instead, think strategically.
Use properly chilled perishable foods early when you can maintain safe temperatures. Choose durable whole fruits and vegetables when practical. Save the most temperature-sensitive foods for situations where reliable refrigeration is available.
For Days 2 and 3, make shelf-stable, dehydrated, and freeze-dried foods the foundation of your menu.
The most important lesson is that there is no universal “three-day spoilage clock.” Different foods respond differently to temperature, moisture, preparation, and time.
When you understand those differences, you can build a backpacking menu that is lighter, more practical, and better suited to the conditions of the trail.