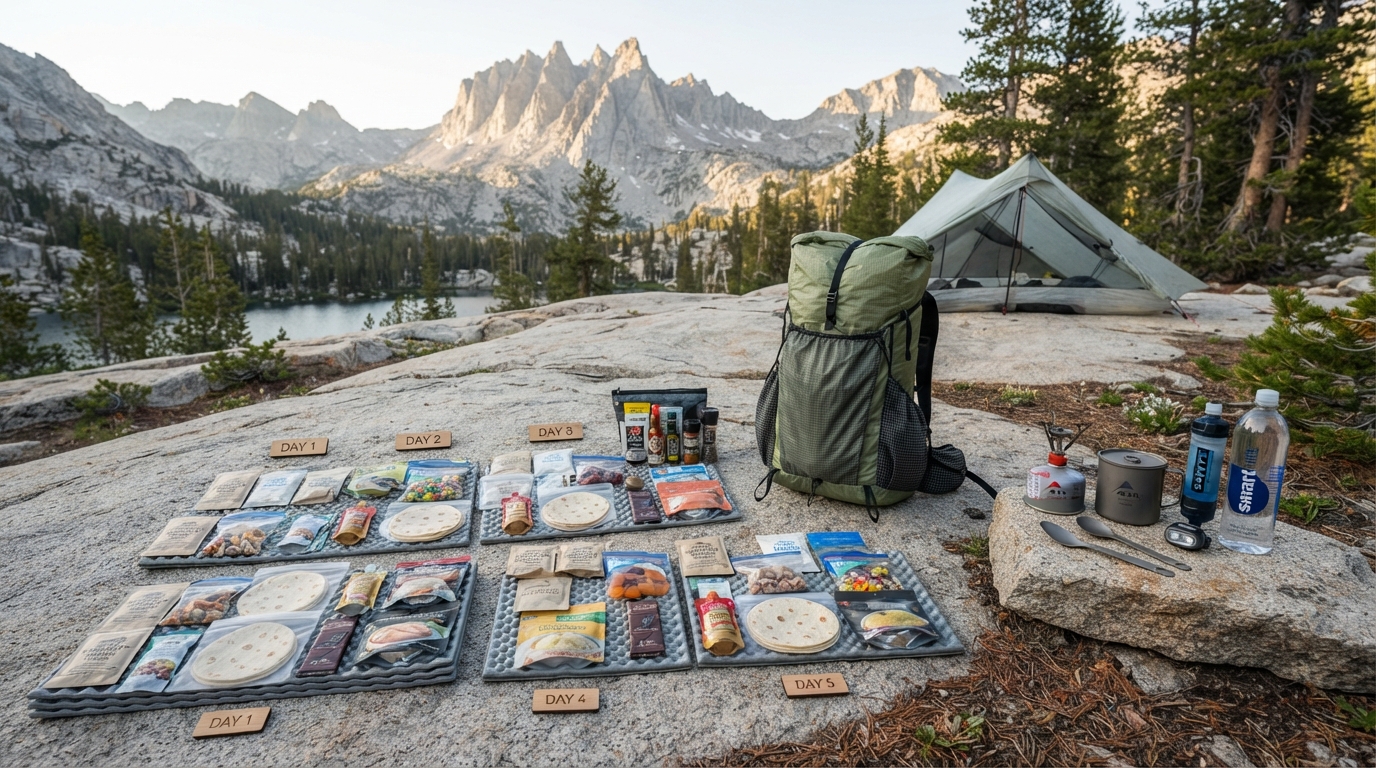
🥾 How to Calculate Exactly How Much Food You Need for a 5-Day Backpacking Trip
Food planning for a five-day backpacking trip is easier when you stop guessing and start calculating.
The challenge is that there isn’t one exact amount of food that works for everyone. Your energy needs depend on your body, hiking distance, elevation, terrain, pace, weather, and how much energy you personally use.
So the goal isn’t to find a magic number.
Instead, build a repeatable calculation that starts with your estimated daily energy needs, converts that into actual meals and snacks, and then checks the total food weight.
That approach gives you a much better idea of how much food to carry while reducing the chance of running out or bringing a huge amount home. 🎒🌲
🧮 Step 1: Count Your Actual Food Days
Start with the itinerary.
A “5-day backpacking trip” doesn’t necessarily mean five complete days of food.
For example:
- Day 1: Breakfast at home, then lunch + dinner on trail
- Day 2: Breakfast + lunch + dinner
- Day 3: Breakfast + lunch + dinner
- Day 4: Breakfast + lunch + dinner
- Day 5: Breakfast + lunch, then finish
In this example, you’re not packing 15 full meals.
You’re packing:
1 + 3 + 3 + 3 + 2 = 12 meal occasions
Then add your planned snacks.
This is the first calculation because it prevents a common mistake: planning food according to calendar days rather than the actual time spent away from regular meals.
🔥 Step 2: Estimate Your Daily Energy Needs
This is the most important part.
Your calorie needs during backpacking can vary considerably.
Factors include:
- Body size
- Age
- Sex
- Hiking duration
- Distance
- Elevation gain
- Terrain
- Pack weight
- Hiking pace
- Temperature
- Individual metabolism
- Appetite
A demanding mountain day can require considerably more energy than a short, easy trail day.
Because of this, don’t automatically copy a calorie target from another hiker.
Use your experience first
If you have completed similar hikes, think about:
How much did I normally eat?
Did you finish the day satisfied?
Were you consistently extremely hungry?
Did you regularly bring substantial food home?
Those observations are valuable when planning your next trip.
For a first major backpacking trip, a registered dietitian or qualified sports nutrition professional can also help you develop a more individualized estimate.
📊 Step 3: Set a Daily Calorie Target
Once you’ve estimated your needs, choose a practical daily target.
For example, suppose your planning estimate is:
3,000 kcal/day
For five days:
3,000 × 5 = 15,000 kcal
That becomes your approximate five-day food-energy target.
But remember:
15,000 kcal is not automatically the correct amount for every backpacker.
It is simply an example of how the calculation works.
If your estimated requirement were 2,700 kcal/day:
2,700 × 5 = 13,500 kcal
The formula stays the same.
🍽️ Step 4: Divide Calories Between Meals and Snacks
Now turn the daily number into actual eating occasions.
For a 3,000-kcal example, you might use a planning distribution such as:
| Eating occasion | Example allocation |
|---|---|
| Breakfast | 600 kcal |
| Lunch | 700 kcal |
| Dinner | 800 kcal |
| Trail snacks | 700 kcal |
| Evening snack | 200 kcal |
| Total | 3,000 kcal |
This is an example allocation, not a universal recommendation.
You may naturally prefer smaller meals and more frequent snacks.
Another backpacker may prefer three larger meals.
The important thing is that the total matches your planned daily energy intake.
🥜 Step 5: Calculate Five-Day Food Requirements
Once you have your daily target, multiply it by the number of days.
Using the 3,000-kcal example:
3,000 × 5 = 15,000 kcal
Then organize those calories into a menu.
For example:
Breakfast
600 × 5 = 3,000 kcal
Lunch
700 × 5 = 3,500 kcal
Dinner
800 × 5 = 4,000 kcal
Trail snacks
700 × 5 = 3,500 kcal
Evening snacks
200 × 5 = 1,000 kcal
Total:
3,000 + 3,500 + 4,000 + 3,500 + 1,000 = 15,000 kcal
Now you have a target for the actual foods you select.
⚖️ Step 6: Calculate Food Weight
Calories tell you how much energy you’re carrying.
Weight tells you how much that energy costs your backpack.
These are different measurements.
Suppose your planned food provides:
125 kcal per ounce
and your total target is:
15,000 kcal
The theoretical food weight would be:
15,000 ÷ 125 = 120 ounces
That’s:
7.5 pounds
or approximately:
3.4 kg
This is a useful planning calculation.
But don’t assume every food in your bag will have the same calorie density.
Your actual food mix may include:
- High-fat foods
- Carbohydrate-rich foods
- Protein-rich foods
- Dried foods
- Fresh foods
- Packaging
Each contributes differently to the final weight.
🥜 Step 7: Look at Calories Per Gram
A particularly useful measurement for backpacking is:
Calories ÷ grams of food
For example, imagine you have two foods.
Food A
500 kcal
100 g
500 ÷ 100 = 5 kcal/g
Food B
400 kcal
200 g
400 ÷ 200 = 2 kcal/g
Food A provides more energy for each gram carried.
Foods such as nuts, nut butter, oils, and some chocolate products can have relatively high energy density because they contain substantial fat.
But this doesn’t mean you should build your entire menu around the most calorie-dense food available.
Nutrition, taste, texture, digestion, practicality, and variety still matter.
🧾 Step 8: Calculate Each Food Instead of Guessing
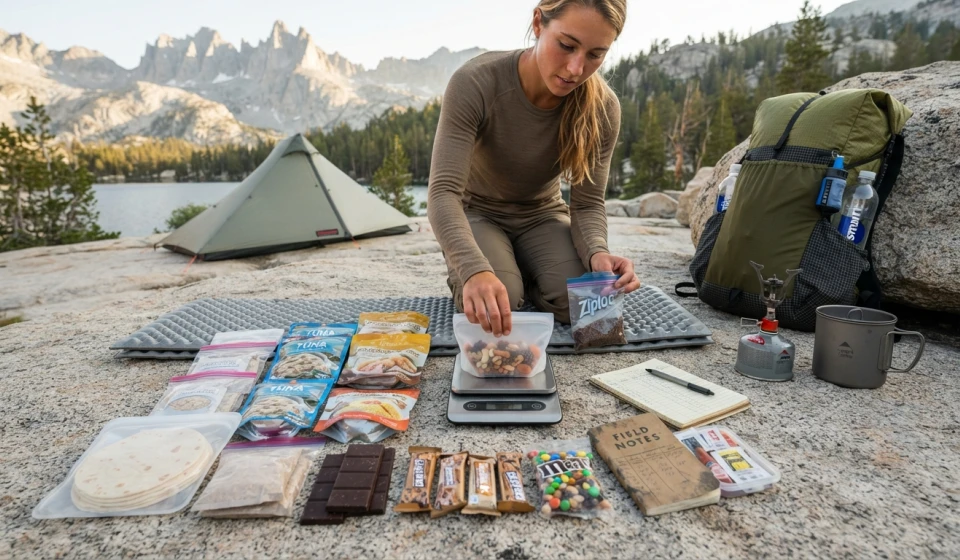
This is where a kitchen scale and food labels become useful.
Suppose your dinner contains:
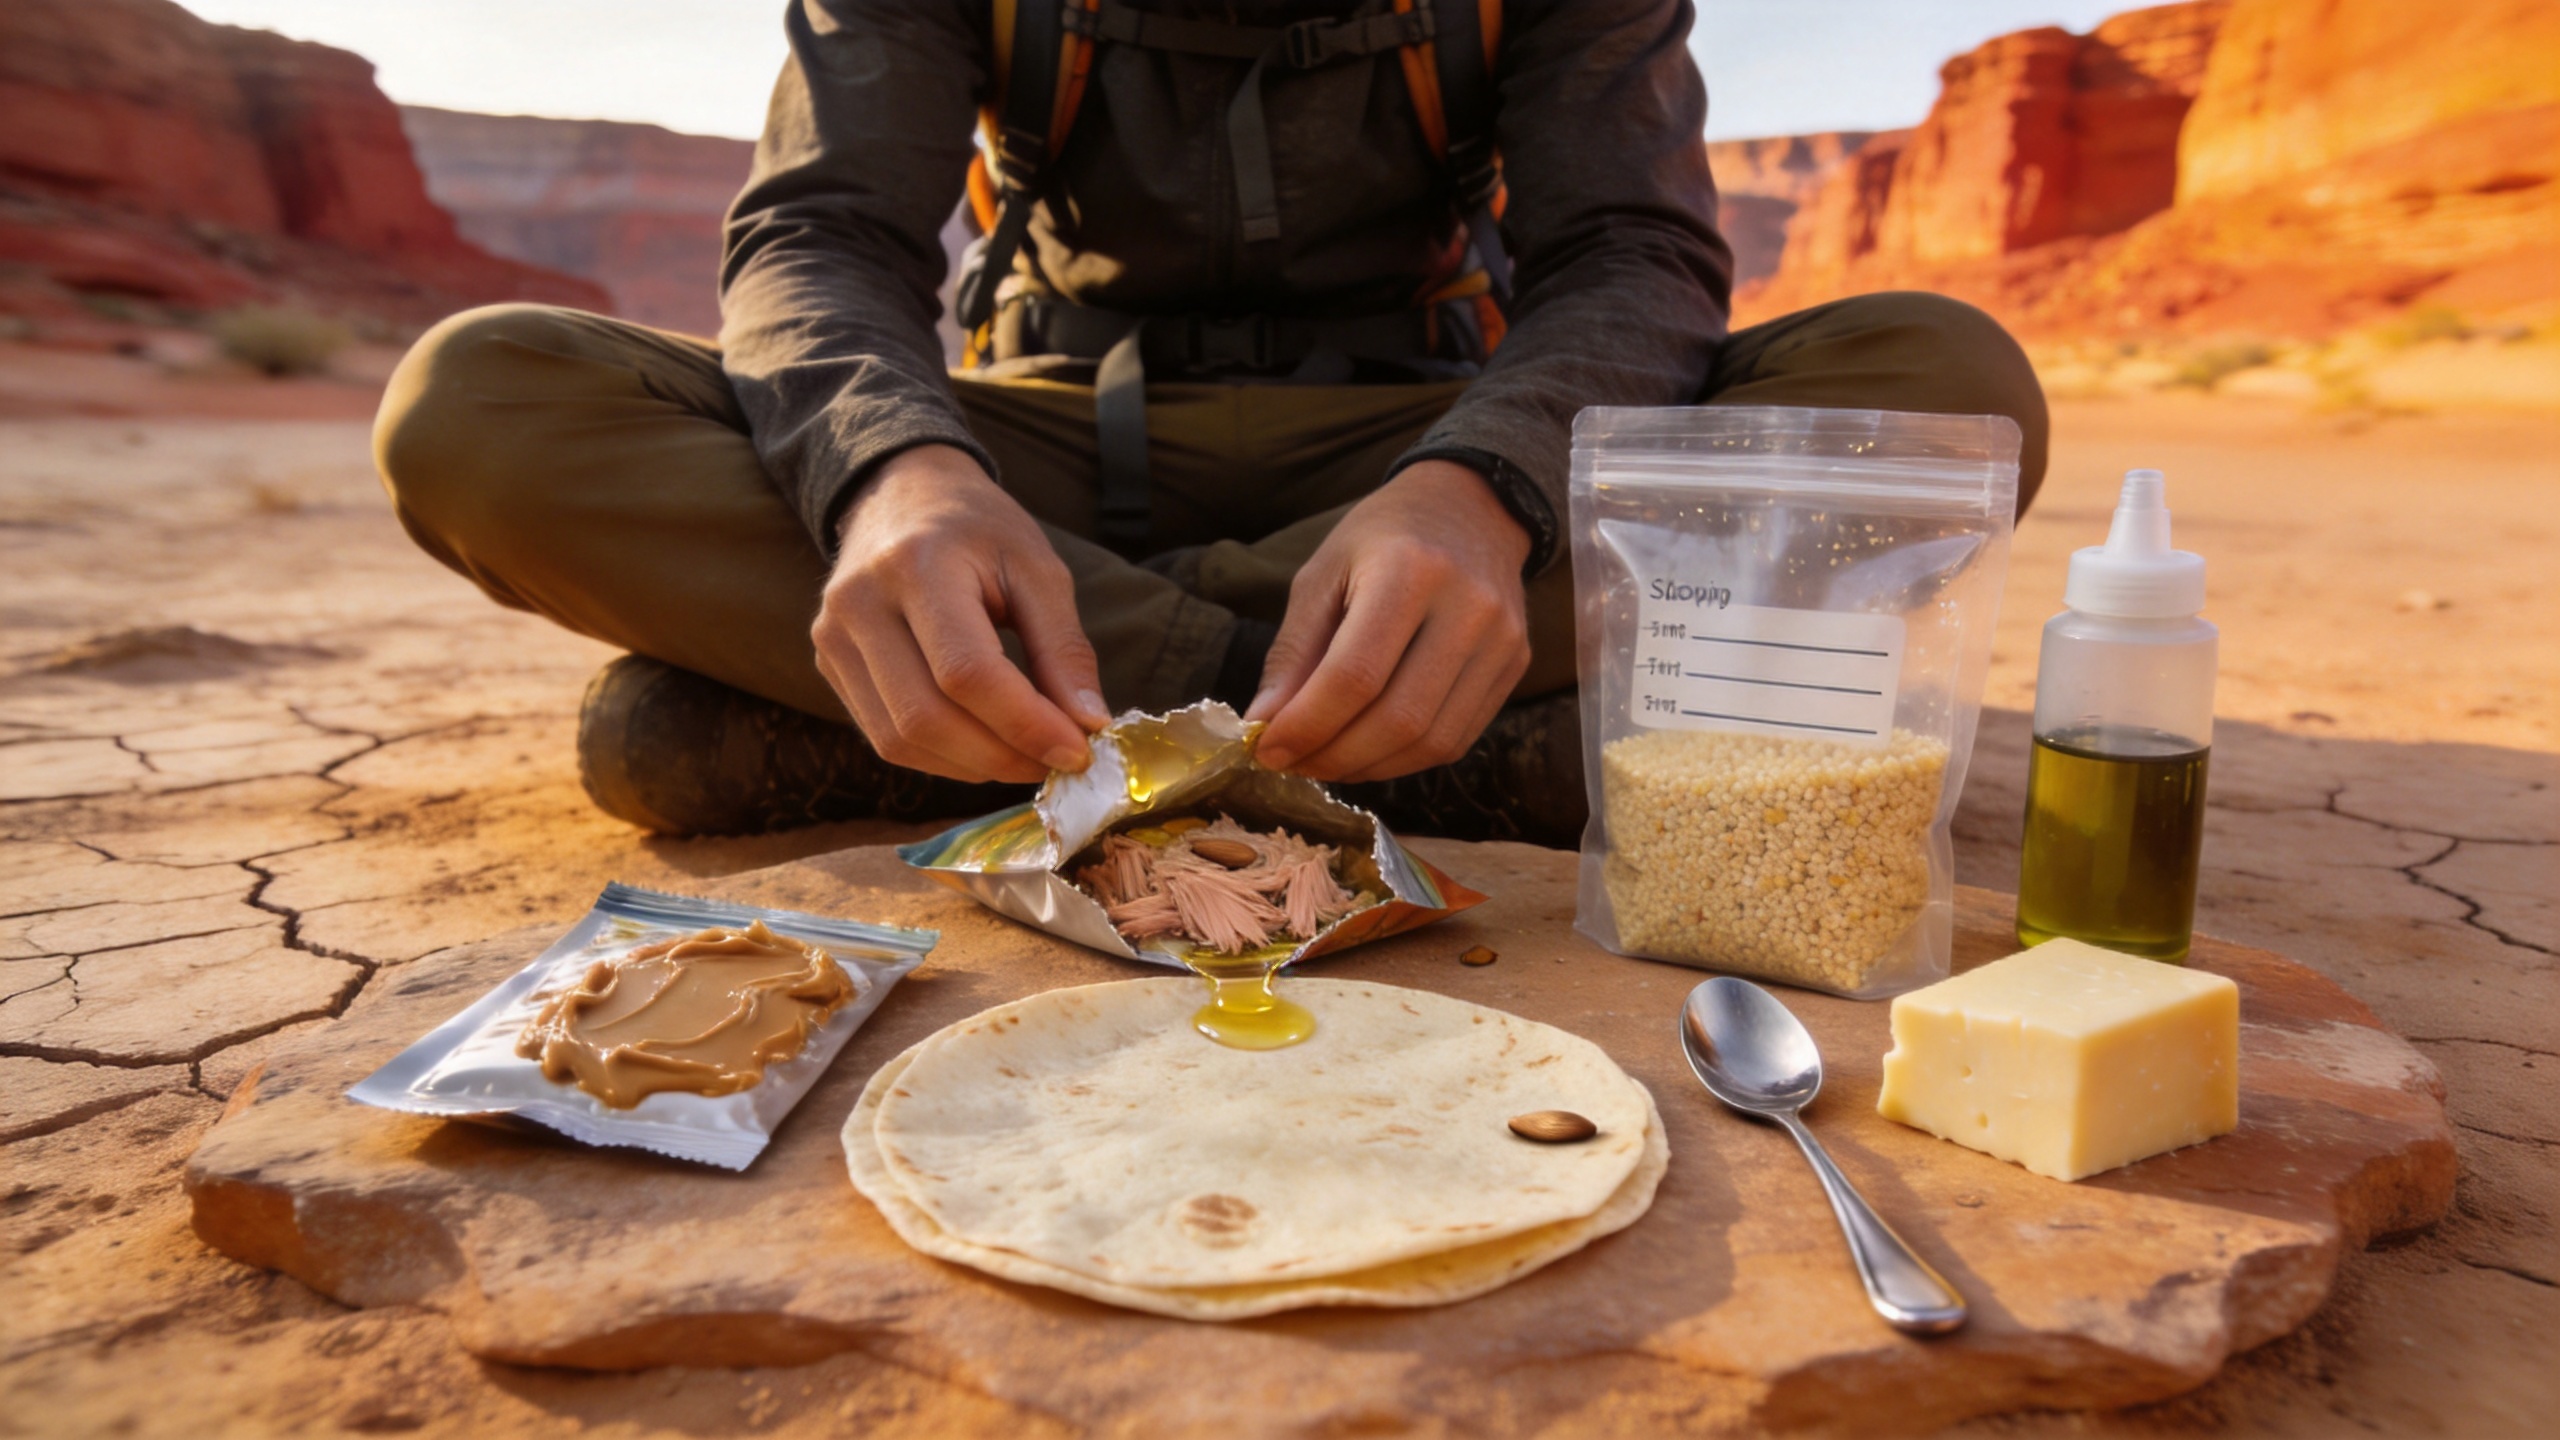
- Instant rice: 400 kcal
- Tuna: 150 kcal
- Oil: 120 kcal
- Seasoning: 10 kcal
Total:
400 + 150 + 120 + 10 = 680 kcal
If the ingredients weigh:
- Rice: 100 g
- Tuna: 100 g
- Oil: 14 g
- Seasoning: 3 g
Total weight:
217 g
Now you know exactly what that meal contributes to your food plan.
Repeat this process for each meal and snack.
📦 Step 9: Create a Food Spreadsheet
You don’t need complicated software.
A simple table works.
| Food | Amount | Calories | Weight |
|---|---|---|---|
| Instant oats | 5 servings | 1,500 | 400 g |
| Nuts | 500 g | 3,000 | 500 g |
| Tortillas | 10 | 1,500 | 400 g |
| Tuna | 5 pouches | 750 | 500 g |
| Instant rice | 5 servings | 2,000 | 500 g |
| Dried fruit | 400 g | 1,200 | 400 g |
| Chocolate | 250 g | 1,350 | 250 g |
| Bars | 5 | 1,000 | 250 g |
The numbers above are illustrative only. Actual calories and weights depend on the products you purchase.
Add your actual package information rather than copying example numbers.
➕ Step 10: Add Everything Together
Once every food has been entered, calculate:
Total calories
Add all food calories.
Total food weight
Add all food weights.
Average calories per day
Total calories ÷ 5
Average food weight per day
Total food weight ÷ 5
For example, if your final menu weighs 3,250 g:
3,250 ÷ 5 = 650 g/day
If it contains 15,000 kcal:
15,000 ÷ 5 = 3,000 kcal/day
Now you have two useful measurements:
3,000 kcal/day
and
650 g/day
This makes it much easier to compare different food choices.
🥤 Step 11: Count Drinks and Add-Ons
Don’t forget foods that aren’t necessarily part of a traditional meal.
Depending on your menu, you may carry:
- Electrolyte drink mixes
- Powdered milk
- Instant coffee
- Hot chocolate
- Drink powders
- Condiments
- Sugar
- Oil
If they contain calories, include them in your total.
If they have no calories but contribute weight, include their weight in your pack-weight calculation.
🛍️ Step 12: Account for Packaging
Food-label calories generally describe the food, not necessarily every gram of packaging you carry.
If you’re trying to optimize pack weight, weigh your actual packed portions.
For example:
Food: 150 g
Packaging: 12 g
Carried weight: 162 g
That difference may seem small for one meal.
Across five days, however, unnecessary packaging can accumulate.
Where appropriate, remove bulky outer packaging and repackage food into lightweight bags.
But retain important product information such as allergen information, ingredients, preparation instructions, and storage requirements when needed.
🎒 Step 13: Add a Sensible Food Buffer
“Exactly how much food” doesn’t mean you should pack an amount so precise that you have nothing left if your plans change.
A small backup can be sensible.
Consider your:
- Route remoteness
- Weather
- Hiking difficulty
- Exit options
- Experience level
- Likelihood of delays
A compact backup might be:
🥜 Nuts
🍫 Chocolate
🥣 A bar
🥜 Nut butter
The appropriate amount depends on the trip.
For a remote route, a larger margin may be appropriate than for a short trail close to roads.
🌡️ Step 14: Check Food Storage Conditions
Five days is long enough that storage becomes important.
Check whether each food needs:
- Refrigeration
- Protection from moisture
- Protection from heat
- Special handling
- Wildlife-resistant storage
Avoid bringing perishable foods unless you have a safe way to keep them at the required temperature.
Hot weather can also change how foods behave.
Chocolate may melt. Some foods can become messy. Packaging can soften or fail.
A food that looks perfect on a kitchen table isn’t necessarily practical inside a warm backpack.
💧 Step 15: Calculate Water Separately
Don’t confuse food weight with water weight.
Water is considerably heavier than most dry backpacking foods.
Your water requirements depend on:
- Temperature
- Humidity
- Exercise intensity
- Body size
- Availability of water
- Individual needs
Plan your water sources and treatment method separately.
Also account for water required to prepare dehydrated meals.
A lightweight meal isn’t necessarily convenient if your route has limited water.
🧮 A Simple Five-Day Calculation
Here’s the whole process in one place.
1. Estimate daily energy needs
Example:
3,000 kcal/day
2. Multiply by five
3,000 × 5 = 15,000 kcal
3. Build meals and snacks
Breakfast + lunch + dinner + trail snacks + evening snack.
4. Add the calories
Make sure your actual food reaches your planned target.
5. Weigh the food
Add the grams of every food item.
6. Calculate daily food weight
If total food weighs 3,250 g:
3,250 ÷ 5 = 650 g/day
7. Calculate calorie density
15,000 kcal ÷ 3,250 g = approximately 4.6 kcal/g
Now you know approximately how much energy your food provides relative to its weight.
🚫 Don’t Make These Calculation Mistakes
Mistake 1: Using someone else’s calorie target
Your energy requirements may be very different.
Mistake 2: Counting only meals
Snacks, drinks, and condiments can contribute meaningful calories and weight.
Mistake 3: Ignoring packaging
You carry the packaging too.
Mistake 4: Optimizing only for calorie density
A food’s practicality and nutritional value still matter.
Mistake 5: Forgetting the actual itinerary
Five calendar days don’t necessarily equal five full days of food.
Mistake 6: Removing too much food to save weight
A lighter pack isn’t useful if you’re consistently under-fueling.
🎒 Your Five-Day Food Planning Formula
Keep this formula handy:
Daily calories × number of food days = total calorie target
Then:
Total food calories ÷ total food weight = calories per gram
And:
Total food weight ÷ number of food days = average food weight per day
These three calculations give you a practical overview of your menu.
🌲 Final Thoughts
Calculating food for a five-day backpacking trip is less about finding one perfect number and more about creating a planning system that you can test and improve.
Start with your actual itinerary. Estimate your personal energy needs. Divide those calories between meals and snacks, calculate the calories and weight of your actual foods, then check the final totals.
After the trip, pay attention to what happened.
Did you finish every meal?
Did you have lots of leftovers?
Were you unusually hungry?
Did the food become unappealing after several days?
Those observations are valuable data for your next trip.
With a kitchen scale, food labels, a simple spreadsheet, and a realistic understanding of your own appetite, you can turn backpacking food planning from guesswork into a repeatable system. 🥾📊🎒
The objective isn’t to carry the absolute minimum amount of food. It’s to carry the amount that makes sense for your body, your route, and your conditions.