How to Build a 7-Day Backpacking Meal Plan That Fits in a Bear Canister 🏕️🥣
Planning seven days of backpacking food is one challenge.
Getting seven days of food into a bear canister is another.
A meal plan that looks perfectly reasonable on paper can become impossible once everything has to fit inside a rigid container along with food waste and other scented items.
The solution is not simply eating less.
It is planning around three things at the same time:
Calories + food volume + canister capacity.
You want enough energy for the trip without filling your limited storage space with bulky packaging, low-calorie foods, or unnecessary air.
And there is one important rule to check before you plan anything: bear-canister requirements are location-specific. Some parks require approved canisters, while others have different storage rules. Yosemite, for example, requires approved bear-resistant containers in its wilderness, while other parks have different requirements and approved-container lists.
🐻 Step 1: Check the Rules Before Planning the Menu
Before buying food, find out what your destination actually requires.
Check:
- Whether a bear canister is mandatory
- Which models are approved
- Whether food, trash, toiletries, and other scented items must fit inside
- Where the canister must be stored
- Whether there are group-size requirements
- Whether food lockers or other storage systems are available
This matters because “bear-resistant” does not automatically mean “approved everywhere.”
For example, Yosemite maintains a specific list of allowed containers.
The National Park Service also notes that “food” can include more than meals. Depending on the destination, items such as toiletries, sunscreen, soap, trash, and other scented products may need to be secured with the food.
So your available space is not necessarily:
Canister volume = food volume.
Some of that space may need to accommodate other items.
📏 Step 2: Find Your Real Canister Capacity
Do not plan a seven-day menu based on the number of days alone.
First identify the actual capacity of your canister.
Different models vary substantially.
For example, the National Park Service lists canisters ranging from relatively small models to much larger options, and different parks may approve different combinations of models.
Some park-provided containers are described by both physical dimensions and approximate food capacity. Glacier Bay’s Garcia Backpacker’s Cache 812, for example, has a listed volume of 560 cubic inches and is described as holding approximately six days of food for one person, but that is an example for that specific container and food-planning approach, not a universal seven-day capacity.
For a seven-day trip, you may therefore need:
- A larger canister
- Multiple approved containers
- A different storage arrangement
- Resupply
- Or a combination of these, depending on local rules
Never assume that one canister can legally or practically hold seven days of food.
🔢 Step 3: Calculate How Much Food You Actually Need
Before worrying about packing, estimate your daily food requirement.
A simple planning formula is:
Daily calories × number of days = total trip calories
For example, if your personal target were approximately 3,000 calories per day:
3,000 × 7 = 21,000 calories
That does not mean you should automatically eat exactly 3,000 calories.
Energy needs vary considerably based on body size, hiking intensity, terrain, weather, pace, and individual needs.
The point is to establish a reasonable planning target.
Then divide those calories among:
🍳 Breakfast
🥪 Lunch
🍲 Dinner
🥜 Snacks
A useful backpacking plan usually puts substantial calories into foods that are compact and easy to eat.
⚖️ Step 4: Think Calories per Ounce, Not Just Calories per Serving
A bear canister creates a volume problem.
That makes calorie density useful.
For example, compare the general characteristics of:
100 calories of bulky fresh vegetables
versus
100 calories of a compact calorie-dense food.
The calorie count may be identical, but the amount of physical space can be very different.
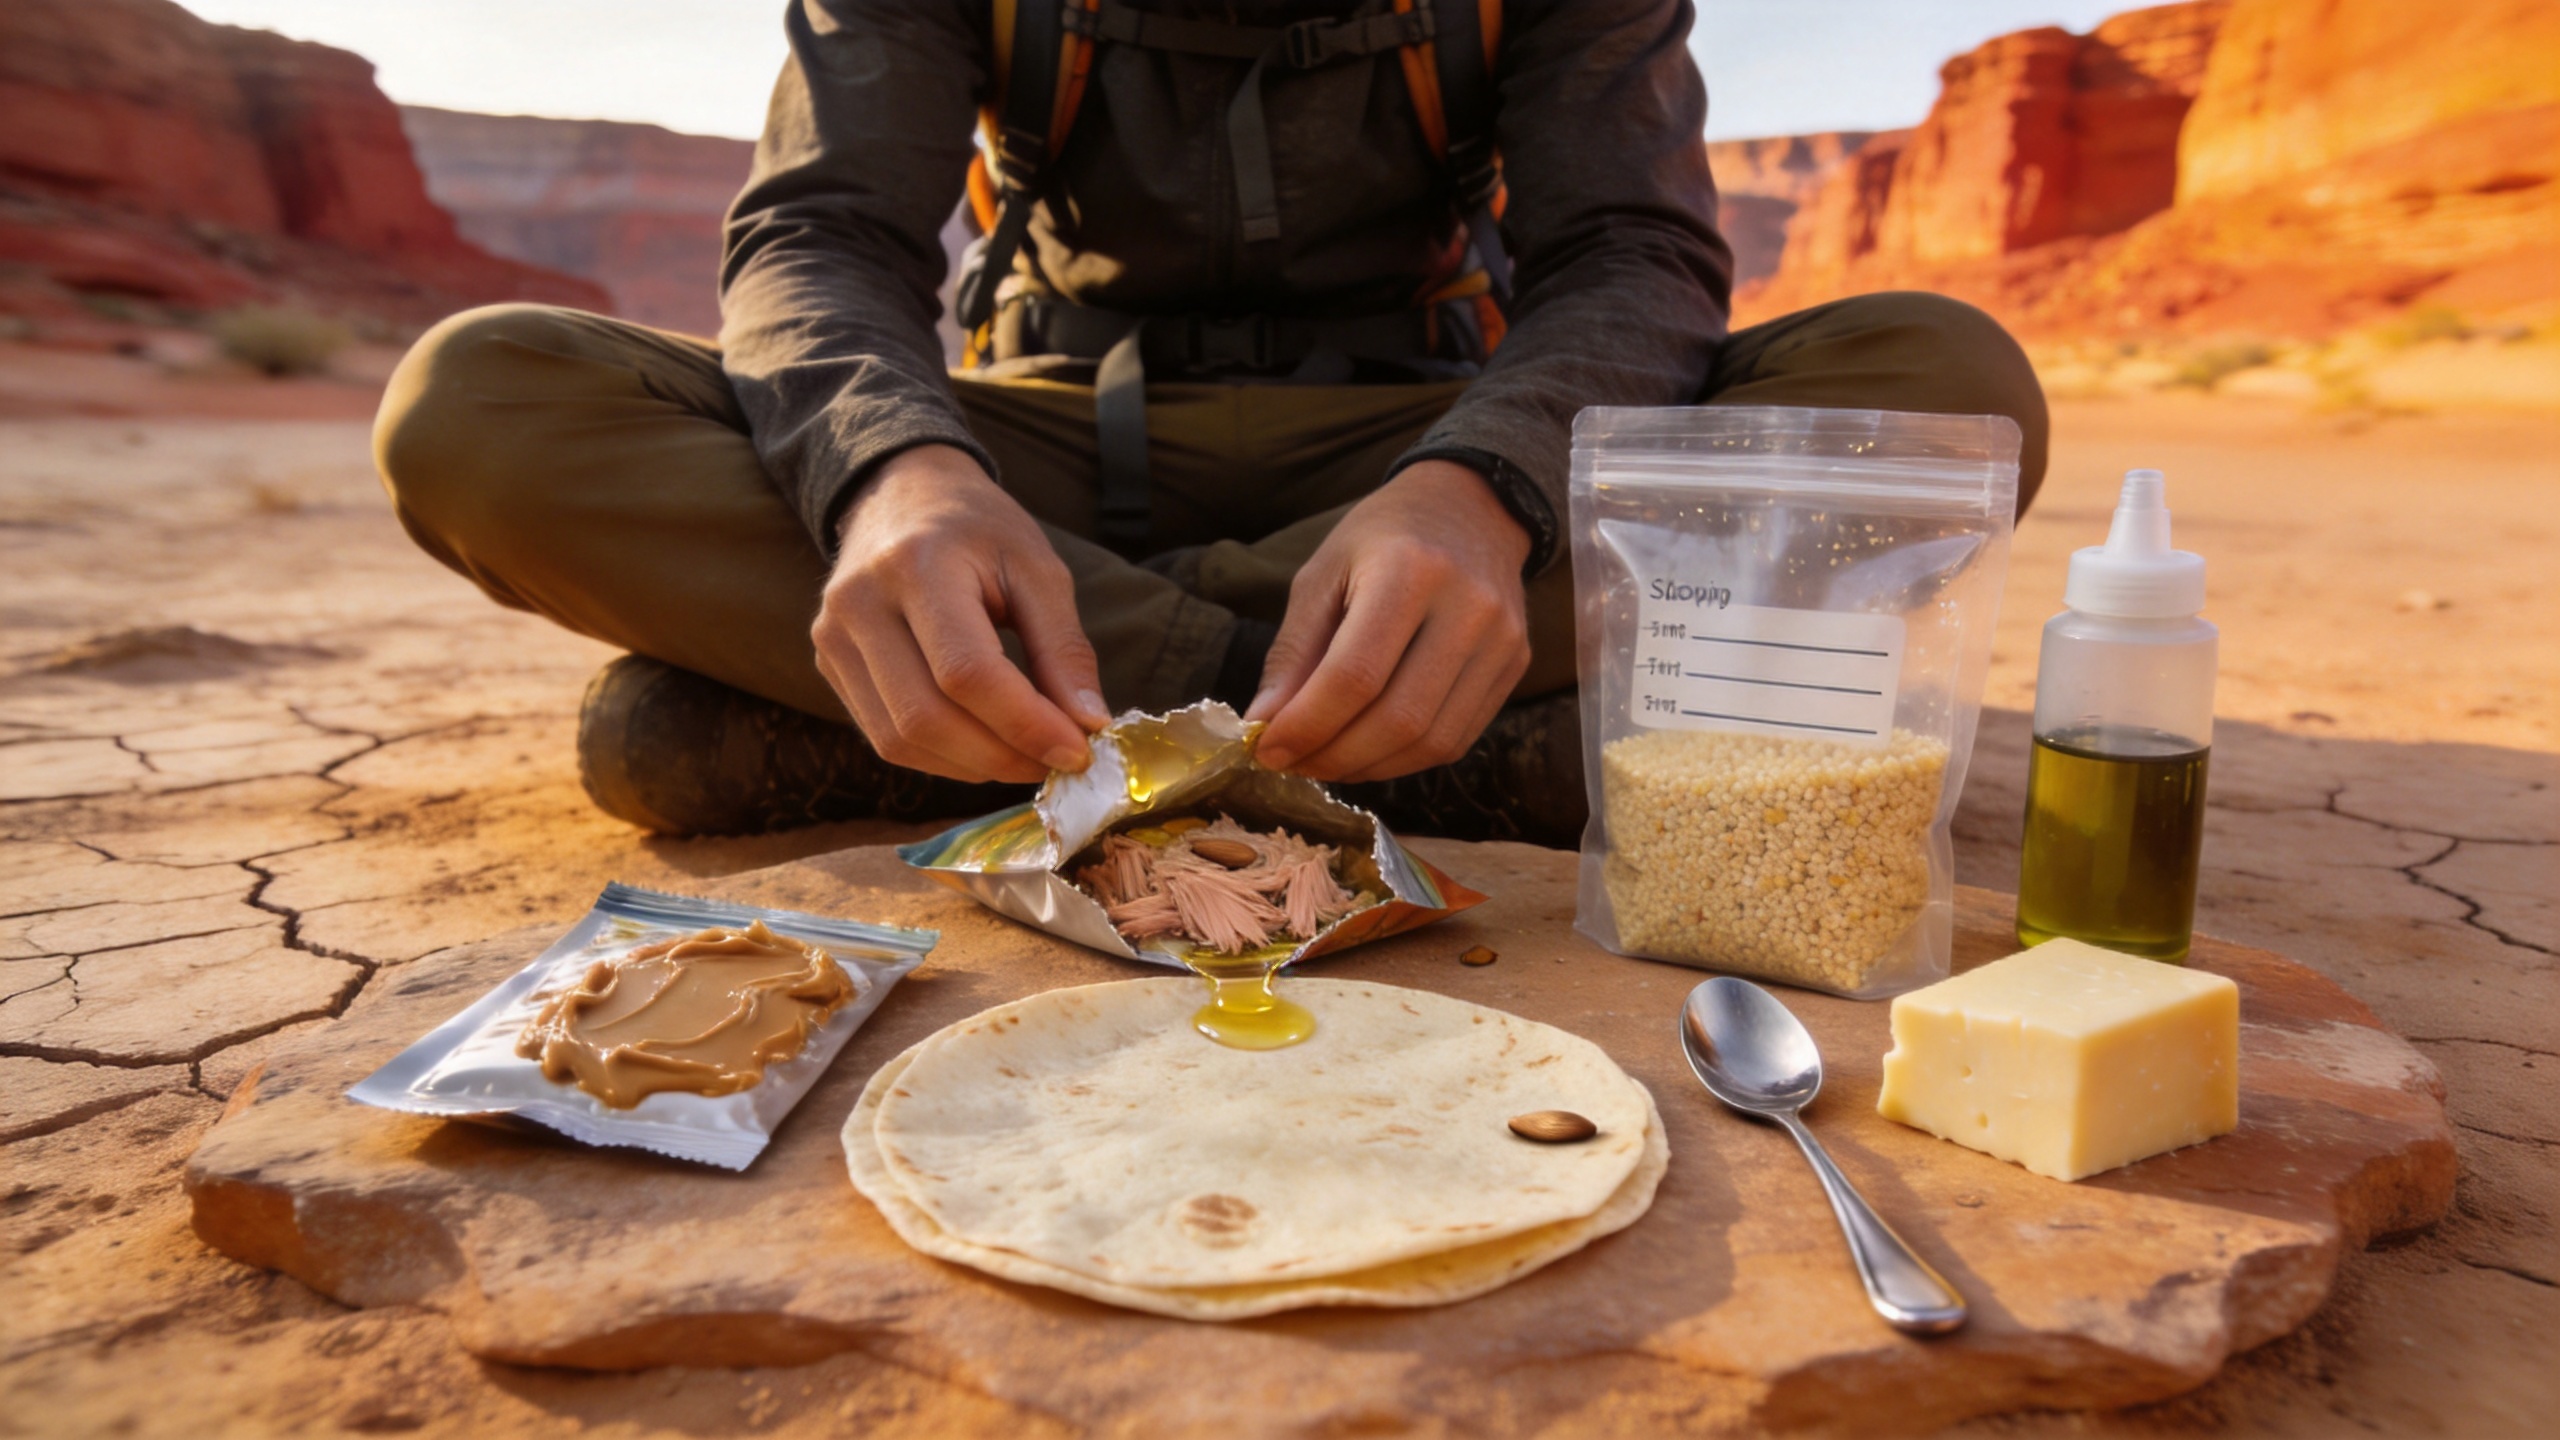
For longer trips, backpackers often favor compact foods such as:
- Nut butters
- Nuts
- Seeds
- Olive oil
- Tortillas
- Instant grains
- Dried fruit
- Powdered drink mixes
- Dehydrated meals
- Dried vegetables
The goal is not to eliminate nutritious foods.
It is to balance nutrition with the limited volume available.
The National Park Service specifically recommends choosing foods that are compact, compressible, and calorie-dense when packing a food storage container.
🍽️ Step 5: Build the 7-Day Menu Before Buying Anything
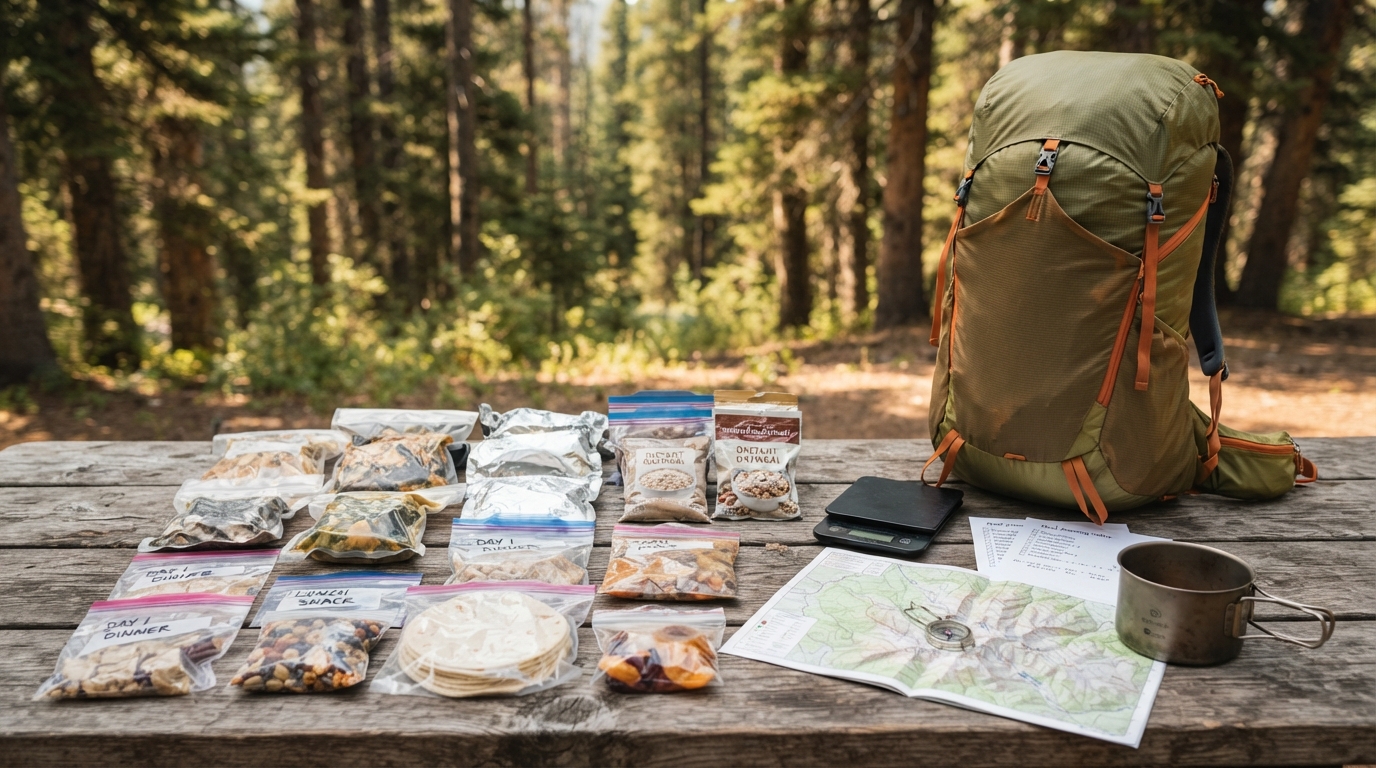
Create your menu on paper first.
For example:
| Day | Breakfast | Lunch | Dinner | Snacks |
|---|---|---|---|---|
| 1 | Oatmeal + nuts | Tortilla + nut butter | Pasta + dehydrated vegetables | Trail mix |
| 2 | Granola + powdered milk | Crackers + tuna | Rice + beans | Nuts + dried fruit |
| 3 | Oatmeal + dried fruit | Tortilla + peanut butter | Dehydrated curry | Energy snacks |
| 4 | Granola + powdered milk | Tortilla + tuna | Couscous + vegetables | Trail mix |
| 5 | Oatmeal + nuts | Crackers + nut butter | Noodles + dried vegetables | Nuts + fruit |
| 6 | Granola + powdered milk | Tortilla + tuna | Dehydrated beans + rice | Trail mix |
| 7 | Oatmeal + dried fruit | Tortilla + nut butter | Final dehydrated meal | Remaining snacks |
This is only a planning example.
Your actual menu should reflect your dietary needs, preferences, cooking equipment, allergies, and the food you know you will actually eat.
🎒 Step 6: Separate “Food” From “Packaging”
Commercial packaging is often a surprisingly large part of the problem.
A cardboard box may contain a small bag of food.
A large plastic pouch may contain mostly empty space.
A bulky package can consume valuable canister volume without providing additional calories.
The National Park Service recommends removing bulky commercial packaging and repackaging food to maximize space.
Instead of carrying:
Box → inner bag → individual packaging
you may be able to carry:
One clearly labeled food bag.
But make sure the food remains properly protected and labeled.
And remember that repackaging does not eliminate the need to pack out the resulting waste.
🥜 Step 7: Choose Foods That Pack Efficiently
A seven-day menu needs a good space-to-calorie ratio.
Compact Breakfasts
Consider:
- Instant oatmeal
- Granola
- Powdered milk
- Dried fruit
- Nut butter
- Instant breakfast drinks
Compact Lunches
Consider:
- Tortillas
- Nut butter
- Tuna or other shelf-stable protein
- Crackers
- Hard cheese where appropriate
- Dehydrated or shelf-stable components
Compact Dinners
Consider:
- Instant rice
- Couscous
- Dehydrated beans
- Dehydrated vegetables
- Instant mashed potatoes
- Dehydrated pasta meals
- Shelf-stable sauces or seasoning packets
High-Energy Snacks
Consider:
- Nuts
- Seeds
- Trail mix
- Nut butter
- Dried fruit
- Energy bars
- Chocolate where temperatures permit
The best choices are foods that you actually enjoy eating.
A theoretically efficient food is not useful if you refuse to eat it after four days on the trail.
🧊 Step 8: Think About Fresh Food Carefully
Fresh foods can be delicious, but they often create a volume and spoilage problem on a seven-day trip.
Instead of bringing a large amount of fresh produce, consider using:
- Dehydrated vegetables
- Dried fruit
- Powdered ingredients
- Shelf-stable foods
If you do bring fresh food, plan exactly when you will eat it.
A good strategy is to consume the bulkiest foods early in the trip.
That creates additional space in the canister as the days pass.
🥣 Step 9: Plan Around the First Two Meals
Here’s a useful packing trick.
Some National Park Service guidance recommends carrying the first two meals outside the canister and making sure the remaining food, trash, toiletries, and scented items can fit into the container at the trailhead for the first night.
For example:
Day 1 lunch: immediately accessible
Day 1 dinner: immediately accessible
Day 2 onward: packed into the canister
However, follow your destination’s specific regulations.
Do not assume that food can remain outside the canister simply because it is intended for immediate consumption.
🧱 Step 10: Pack the Canister Like a Puzzle
A bear canister is rigid.
That means you cannot compress it like a soft food bag.
So think in terms of shape and empty space.
Put flexible food bags around irregular spaces.
Use small packages to fill gaps.
Avoid unnecessary boxes.
Compress air out of suitable resealable bags.
Keep similar meals together so you are not digging through the entire canister every evening.
The National Park Service notes that many people do not pack canisters efficiently and recommends treating the container like a large, rigid stuff sack.
📦 Step 11: Pack the Heaviest or Bulkiest Foods Strategically
Your packing order can change throughout the trip.
At the beginning, the canister is full.
By Day 4, it is partially empty.
By Day 7, there may be substantial free space.
That means you can use the newly available space for:
- Trash
- Empty food packaging
- Toiletries
- Other scented items
Some parks specifically require these items to remain inside the canister.
So don’t think of the canister as a container that only holds food.
Think of it as a seven-day storage system whose contents change every day.
🗑️ Step 12: Plan for Trash From Day One
This is one of the most overlooked parts of bear-canister planning.
Your food becomes packaging waste.
That waste still takes up space.
And food residue can still smell.
The National Park Service advises packing out uneaten food, food particles, wrappers, and other garbage rather than leaving food waste in the wilderness.
A smart meal plan therefore asks:
“How much space will this food take before eating, and how much space will its waste take afterward?”
A meal that fits perfectly on Day 1 might create a storage problem on Day 6 if you have not planned for wrappers and other scented waste.
🧴 Don’t Forget Toiletries and Other Scented Items
Depending on the destination, the canister may also need to hold items such as:
- Toothpaste
- Sunscreen
- Lip balm
- Soap
- Deodorant
- Other scented toiletries
- Trash
- Food preparation items with food residue
Yosemite explicitly includes these types of scented items in its food-storage requirements.
This is why your usable food volume may be smaller than the advertised physical capacity of your canister.
📊 A Simple 7-Day Planning Worksheet
Before packing, make a table like this:
| Category | Quantity |
|---|---|
| Breakfasts | 7 |
| Lunches | 7 |
| Dinners | 7 |
| Snack portions | 14–21+ |
| Daily calorie target | Your target |
| Total trip calories | Daily target × 7 |
| Canister capacity | Check your model |
| Toiletries/scented items | Measure space needed |
| Planned trash | Include packaging |
| Extra food | Small contingency amount |
Then physically pack everything.
Do not trust the spreadsheet alone.
The real test is whether the actual food fits.
🧪 Do a Trial Pack Before Your Trip
This is one of the most useful steps.
A few days before leaving:
- Portion every meal.
- Remove unnecessary packaging.
- Label every bag.
- Include your planned snacks.
- Include the toiletries that must be stored.
- Include representative waste or packaging.
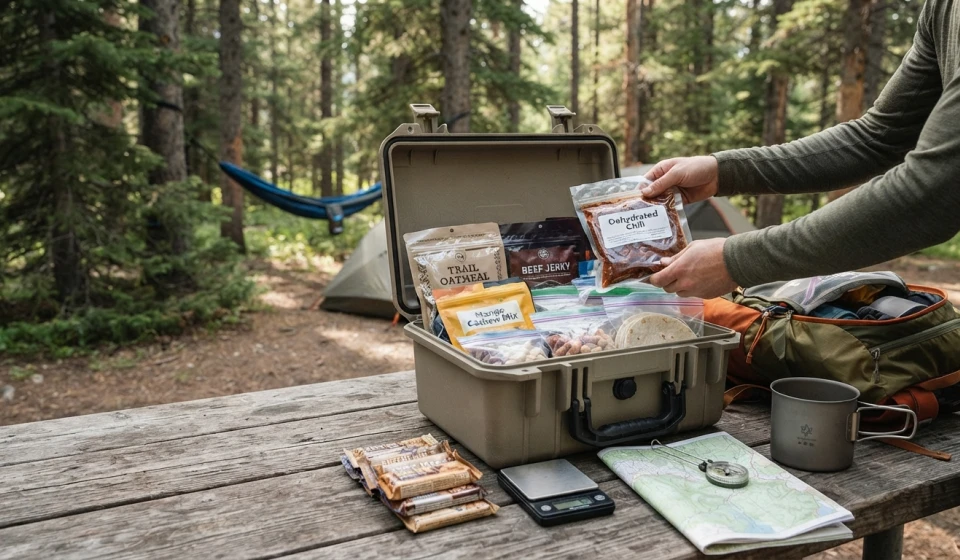
- Put everything into the actual canister.
- Close and lock it.
- Check whether you can still access the food you need.
- Repack if necessary.
If it does not fit in your living room, it certainly will not magically fit at the trailhead. 😅
🚨 What If Seven Days Simply Won’t Fit?
Don’t force it.
You have several options depending on the rules and logistics of your trip.
Use a Larger Approved Canister
If permitted, a larger container may solve the volume problem.
Carry Multiple Approved Containers
This may be appropriate for larger groups or longer trips if regulations allow it.
Resupply
A legal and practical resupply point can dramatically change the food-storage equation.
Increase Food Density
Replace bulky foods with more compact alternatives.
Reduce Packaging
Repackage appropriately and eliminate unnecessary boxes and air.
Adjust the Menu
You may discover that one dinner takes twice the volume of another meal with a similar calorie count.
Swap the bulky option.
🏕️ Remember: The Canister Is Part of the Safety System
A bear canister is not just a packing challenge.
It exists to prevent wildlife from obtaining human food and becoming accustomed to human food sources.
The National Park Service notes that bears that obtain human food can become more comfortable approaching people, creating risks for both wildlife and humans.
Follow the specific storage rules for your destination.
Keep the container properly closed and locked when required.
And follow local instructions about where to place it. For example, Yosemite advises placing bear-resistant containers on level ground away from the campsite and away from cliffs or water where a bear could move them.
🥾 The 7-Day Formula to Remember
If you want a simple system, remember:
1. Check the local rules.
2. Confirm your approved canister.
3. Calculate your realistic daily calories.
4. Multiply by seven.
5. Choose compact, calorie-dense foods.
6. Repackage to remove unnecessary bulk.
7. Plan for trash and scented items.
8. Pack the actual canister before the trip.
9. Adjust the menu if it does not fit.
10. Recheck everything before leaving the trailhead.
The goal is not to squeeze seven days of food into a container through sheer force.
The goal is to design the menu around the container from the beginning.
Final Thoughts 🌲
A seven-day backpacking meal plan becomes much easier when you stop treating the bear canister as an afterthought.
Start with the container.
Then calculate your food needs.
Then choose meals that deliver enough energy without consuming unnecessary space.
And remember that your storage requirements may include more than food. Trash, toiletries, and other scented items can take up valuable capacity, depending on the regulations for your destination.
The best bear-canister meal plan is therefore not simply the one with the fewest ounces.
It is the one that balances nutrition, calories, volume, convenience, waste, and wildlife-safety requirements.
Pack the actual canister before your trip, make adjustments while you still have a kitchen and a measuring scale, and let your seven-day menu work with your gear instead of against it. 🏕️🥜🔥