How to Plan Food for a Weeklong Backpacking Trip Without Carrying Too Much 🎒🥾
Planning food for a one-day hike is easy.
Planning food for seven days is a completely different problem.
You need enough calories to support long days on the trail, but every extra pound goes into your backpack. Bulky packaging takes up valuable space, while foods with too little energy can leave you carrying a lot without getting enough fuel in return.
The solution isn’t simply to pack less food.
It is to plan the right amount of food and make each ounce work harder.
A good weeklong backpacking food plan balances:
Calories + weight + volume + nutrition + convenience.
And with a little planning, you can build a menu that feels satisfying without turning your backpack into a portable pantry. 🏕️
🧭 Start With the Trip, Not the Grocery List
Before choosing food, look at the trip itself.
Ask:
- How many days will you actually be hiking?
- How many nights will you be camping?
- How difficult is the terrain?
- How many hours will you spend moving each day?
- What temperatures should you expect?
- Will you have access to a resupply?
- Do you need to carry a bear canister?
- What cooking equipment are you bringing?
- Are there food-storage restrictions?
A seven-day trip with short, easy hiking days is not the same as a seven-day trip involving steep climbs and long mileage.
Your food requirements should reflect the actual trip.
🔢 Step 1: Estimate Your Daily Calorie Needs
Start with a daily calorie target rather than guessing how much food to bring.
A simple planning calculation is:
Daily calorie target × number of trail days = total planned calories
For example, if your personal target were 3,000 calories per day:
3,000 × 7 = 21,000 calories
That is an example, not a universal backpacking requirement.
Energy needs vary with body size, activity level, terrain, temperature, pace, and individual metabolism.
The important point is to estimate your needs before choosing your menu.
You can then divide your calories between:
- Breakfast
- Lunch
- Dinner
- Snacks
For many backpackers, snacks are especially useful because they can be eaten while walking without stopping to cook.
⚖️ Step 2: Think About Calories per Ounce
Once you have a calorie target, look at energy density.
A food that provides lots of calories for relatively little weight can be useful on a long trip.
Examples include:
- Nuts
- Nut butter
- Seeds
- Olive oil
- Dried fruit
- Chocolate
- Energy bars
- Tortillas
- Dehydrated meals
You do not have to eat only calorie-dense foods.
Fruits and vegetables still contribute valuable nutrients and variety.
The idea is to avoid using a large amount of pack weight on foods that provide relatively little energy.
For a long trip, a useful question is:
“How much energy am I getting for the weight I’m carrying?”
📦 Step 3: Consider Volume, Not Just Weight
Weight is only half the packing problem.
A food can be relatively light but still take up a lot of space.
This becomes especially important if you are using:
- A bear canister
- A small food bag
- A compact backpack
- Limited storage space at camp
For example, foods with lots of empty packaging or bulky shapes can consume valuable space.
That’s why backpacking food planning should consider:
Calories per ounce + calories per volume.
You want foods that are both relatively lightweight and space-efficient.
🥣 Step 4: Build a Simple 7-Day Menu
Instead of buying random snacks and hoping they add up to enough food, build the menu first.
Here’s an example framework:
| Day | Breakfast | Lunch | Dinner | Snacks |
|---|---|---|---|---|
| 1 | Oatmeal + nuts | Tortilla + nut butter | Dehydrated pasta | Trail mix |
| 2 | Granola + powdered milk | Crackers + tuna | Rice + beans | Nuts + dried fruit |
| 3 | Oatmeal + dried fruit | Tortilla + peanut butter | Dehydrated curry | Energy bars |
| 4 | Granola + nuts | Crackers + tuna | Couscous + vegetables | Trail mix |
| 5 | Oatmeal + nut butter | Tortilla + cheese | Dehydrated noodles | Nuts + chocolate |
| 6 | Granola + powdered milk | Tortilla + tuna | Rice + dehydrated vegetables | Trail mix |
| 7 | Oatmeal + dried fruit | Tortilla + nut butter | Final backpacking meal | Remaining snacks |
This is a framework rather than a prescription.
Your actual menu should match your dietary needs, preferences, food tolerances, cooking setup, and trip conditions.
🥜 Step 5: Make Snacks Do More Work
Snacks are one of the easiest places to add calories without adding complicated cooking.
Good trail options can include:
- Nuts
- Trail mix
- Nut butter
- Dried fruit
- Energy bars
- Crackers
- Chocolate
- Seeds
- Shelf-stable cheese where appropriate
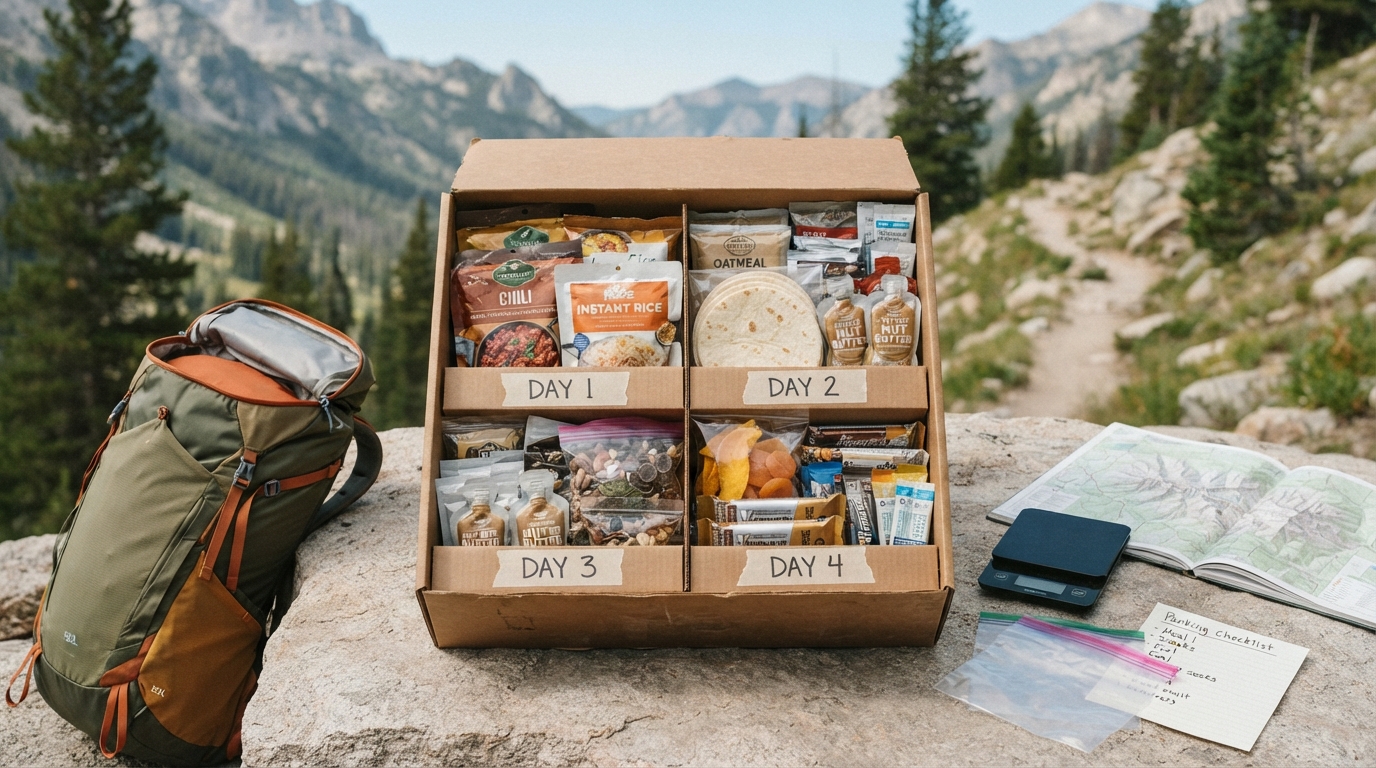
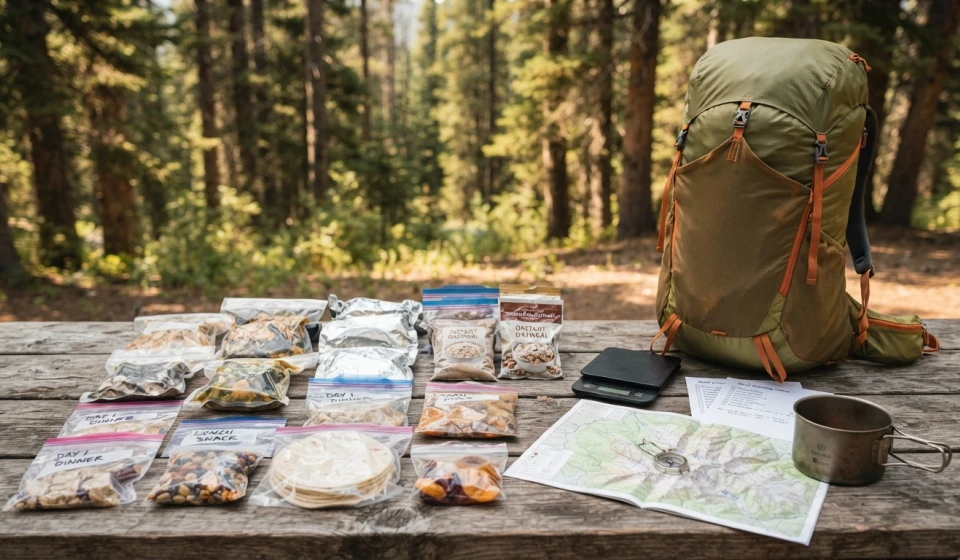
You can portion snacks into daily bags.
For example:
Day 1 snacks
Day 2 snacks
Day 3 snacks
and so on.
This makes it much easier to see whether you have actually packed enough.
It also prevents the classic backpacking mistake of eating half your snacks during the first two days because they were easy to reach. 😅
🌾 Step 6: Use Dehydrated and Instant Foods
Water is heavy.
One of the easiest ways to reduce food weight is to choose foods where water has already been removed.
Examples include:
- Instant rice
- Couscous
- Dehydrated vegetables
- Dried beans
- Instant mashed potatoes
- Dehydrated soups
- Dried fruit
- Powdered milk
- Dehydrated complete meals
If you are already carrying water separately, carrying unnecessary water inside your food doesn’t make much sense.
You can add water at camp when appropriate.
🍜 Step 7: Choose Meals That Cook Quickly
Fuel is another part of the weight equation.
A meal that requires 20 minutes of simmering can require more stove fuel than one that only needs several minutes of soaking or heating.
For a weeklong trip, consider meals that:
- Rehydrate quickly
- Require minimal stirring
- Use one pot
- Don’t require multiple cooking stages
- Produce little cleanup
Instant grains, dehydrated meals, and similar foods can make camp cooking much simpler.
Just make sure your cooking method matches your equipment and fuel supply.
🫒 Step 8: Add Small Amounts of High-Energy Ingredients
A little oil or nut butter can significantly increase the calories of a meal without adding much volume.
For example, you can add:
- Olive oil
- Nut butter
- Seeds
- Powdered cheese
- Nuts
- Coconut-based ingredients
This can turn a lightweight meal into a more substantial dinner.
However, don’t add large amounts of unfamiliar high-fat foods if you already know they do not agree with your digestion.
Backpacking is not the ideal time to experiment with an entirely new diet.
🥕 Step 9: Keep Some Variety
Efficiency should not mean eating the same meal seven days in a row.
A repetitive menu can become difficult to enjoy, especially when appetite changes during a long trip.
Rotate:
- Sweet and savory breakfasts
- Different dinner flavors
- Different snack textures
- Different protein sources
- Different seasonings
For example:
Mexican-inspired: beans + rice + spices
Asian-inspired: noodles + dried vegetables + soy-seasoning packet
Mediterranean-inspired: couscous + vegetables + herbs
Classic comfort: mashed potatoes + dehydrated vegetables + protein
The ingredients can remain simple while the flavors change.
🧂 Step 10: Don’t Forget Electrolytes and Drinks
Food is not the only thing you need to plan.
Consider what you’ll drink during the trip.
Depending on the conditions and your personal needs, your food kit might include:
- Tea
- Coffee
- Electrolyte drink mix
- Cocoa
- Powdered drink mixes
These can also provide variety and make cold mornings more enjoyable.
Your hydration needs depend heavily on conditions and activity, so plan your water supply separately from your food weight.
🗑️ Step 11: Plan for Packaging Waste
Your food doesn’t disappear when you eat it.
The packaging remains.
And on some trips, all food waste and packaging must be packed out.
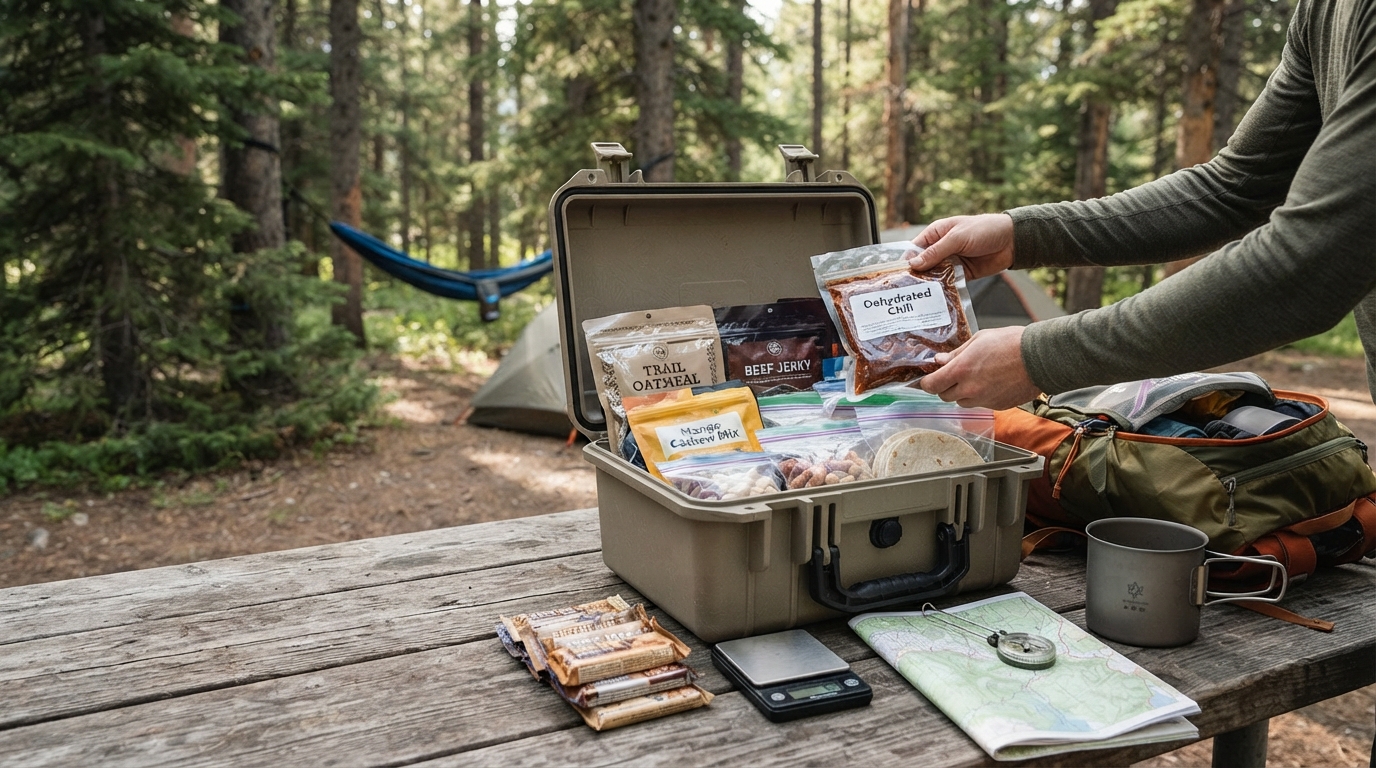
Before leaving, remove unnecessary boxes and bulky outer packaging when appropriate.
Then ask:
“How much trash will this seven-day menu create?”
This matters especially when using a bear canister because packaging and food waste can take up storage space.
A compact food plan should account for the food going in and the waste coming out.
🐻 Step 12: Check Bear-Storage Requirements
If you’re hiking in bear country, your food plan needs to account for wildlife regulations.
Some destinations require approved bear-resistant food containers, while others use different systems.
Do not assume that one bear canister works everywhere.
Check the specific regulations for your destination before finalizing your menu.
Also remember that storage requirements can include more than meals. Depending on the location, scented toiletries, trash, and other items may also need to be secured.
This can significantly affect how much food you can realistically carry.
🧮 Step 13: Calculate the Weight Before You Pack
Create a simple spreadsheet or note.
For each food item, record:
Food | Calories | Weight | Calories per ounce
Then total everything.
For example:
| Food | Calories | Weight |
|---|---|---|
| Oatmeal | 600 | 6 oz |
| Nuts | 1,000 | 6 oz |
| Tortillas | 800 | 10 oz |
| Dehydrated dinner | 700 | 5 oz |
| Nut butter | 1,200 | 12 oz |
These numbers are only examples.
Use the actual nutrition label and package weight for your foods.
The calculation is:
Calories per ounce = total calories ÷ weight in ounces
This gives you a much clearer picture of your food efficiency.
🧪 Step 14: Do a Test Pack
Don’t wait until the morning you leave.
Put everything together several days before your trip.
Include:
- All meals
- All snacks
- Drinks
- Seasonings
- Cooking ingredients
- Packaging
- Food-storage equipment
- Any required scented items
Then weigh the complete food load.
Next, put it in your backpack.
Try carrying it around the house or on a short training hike.
If it feels excessive, now is the time to adjust.
Not halfway through Day 2.
🔄 Step 15: Look for Waste, Not Just Weight
When reducing your food load, don’t immediately cut calories.
First look for inefficiencies.
Ask:
Am I carrying unnecessary packaging?
Do I have bulky foods with low calorie density?
Can I combine ingredients?
Am I carrying cooking ingredients I barely use?
Can I replace a bulky meal with a lighter dehydrated version?
Am I bringing more food than I realistically need?
These changes can often reduce pack weight without leaving you hungry.
🚨 Don’t Cut Food Too Aggressively
There is an important difference between packing efficiently and underpacking.
Seven days of hiking can require substantial energy.
If you dramatically reduce food simply to make your backpack lighter, you may end up dealing with:
- Low energy
- Poor recovery
- Increased hunger
- Reduced enjoyment
- Difficulty maintaining your hiking pace
Your actual energy needs are individual, so avoid treating an arbitrary “ounces per day” target as a universal rule.
The lightest food bag is not automatically the best food bag.
🎒 A Simple 7-Day Food Planning Formula
For an easy system, work through these steps:
1. Determine your trip length
7 hiking days = 7 days of food, unless you have a confirmed resupply or other food access.
2. Estimate your daily calories
Use a realistic personal target rather than copying someone else’s number.
3. Multiply
Daily calories × 7 = total calories
4. Build the menu
Plan breakfast, lunch, dinner, and snacks.
5. Improve food density
Prioritize compact foods with useful calorie-to-weight ratios.
6. Reduce unnecessary packaging
Repackage appropriately.
7. Account for trash
Your waste has to go somewhere.
8. Check storage rules
Especially if you are hiking in bear country.
9. Weigh everything
Use actual package weights.
10. Test-pack everything
If it does not fit at home, change the plan before leaving.
Final Thoughts 🌲
The secret to carrying less food on a weeklong backpacking trip isn’t simply eating less.
It is planning better.
Start with your actual energy needs. Choose foods that provide useful calories without excessive weight or bulk. Use dehydrated and instant ingredients where they make sense. Reduce unnecessary packaging. Plan snacks deliberately. And remember to account for food waste and wildlife-storage requirements.
Most importantly, test the entire food system before your trip.
A seven-day menu should work not only on paper but inside your actual backpack.
The goal is simple:
Carry enough food to fuel the adventure without carrying a grocery store on your back. 🎒🥾🌲