How to Build a Thru-Hike Resupply Food Box for 4 Days 🎒🥾
A thru-hike resupply box has one job: make the next section of trail easier to manage.
For a four-day section, that means having enough food to fuel your hiking without sending yourself a giant box of bulky meals, unnecessary packaging, or foods you stop wanting after Day 1.
The trick is to build the box around calories, weight, variety, convenience, and what you actually enjoy eating.
A good resupply box should feel less like a grocery haul and more like a carefully designed trail system. 📦🌲
🧭 Start With Four Days, Not Four Boxes of Food
First, determine exactly what the resupply needs to cover.
If you are planning four full days on trail, your basic calculation is:
Daily calorie target × 4 days = planned calories
There is no universal calorie number for every thru-hiker. Food requirements depend on body size, mileage, elevation gain, pace, weather, and individual energy needs.
As a general backpacking planning range, REI gives approximately 2,500–4,500 calories per person per day, while emphasizing that actual needs vary considerably.
For example, someone planning around 3,500 calories per day would calculate:
3,500 × 4 = 14,000 calories
That number becomes the foundation for the box.
⚖️ Think in Calories and Weight
A resupply box has two different weights to consider:
The weight of the food you send ahead
and
the weight you will actually carry after the resupply.
For long-distance hiking, calorie density becomes especially useful.
REI suggests that ultralight backpackers can use 100 calories per ounce as a starting point, with 125 calories per ounce or more being a useful target for some hikers.
You don’t have to make every item extremely calorie-dense.
Instead, use the principle to identify inefficient foods.
For example, compare:
- A bulky low-calorie snack
- A compact nut or nut-butter packet
- A large package with lots of empty space
- A dehydrated meal that only requires water
The goal isn’t to make your food boring.
It’s to make the weight you carry earn its place in the pack.
🍳 Build the Box Around Meals
A simple four-day structure is:
Breakfast × 4
Examples:
- Instant oatmeal
- Granola
- Breakfast bars
- Powdered milk
- Instant coffee
- Dried fruit
- Nuts or seeds
Lunch × 4
Lunch is often easier when it requires little or no cooking.
Consider:
- Tortillas
- Nut butter
- Tuna or other shelf-stable protein
- Crackers
- Hard cheese where appropriate
- Jerky
- Ready-to-eat snacks
Dinner × 4
Dinner can be your warm, satisfying meal after a long day.
Options include:
- Instant rice
- Couscous
- Instant noodles
- Dehydrated vegetables
- Dehydrated meals
- Instant mashed potatoes
- Dried beans or lentils that suit your cooking setup
- Seasoning packets
- Oil or other calorie-dense additions
Snacks × 4
This is where you can add substantial calories without creating a complicated cooking schedule.
Try:
- Trail mix
- Nuts
- Nut butter
- Energy bars
- Dried fruit
- Chocolate
- Crackers
- Seeds
REI also recommends planning meals around convenience, flavor, and the possibility that you may not want to cook every day.
📦 Make Four Daily Food Bags
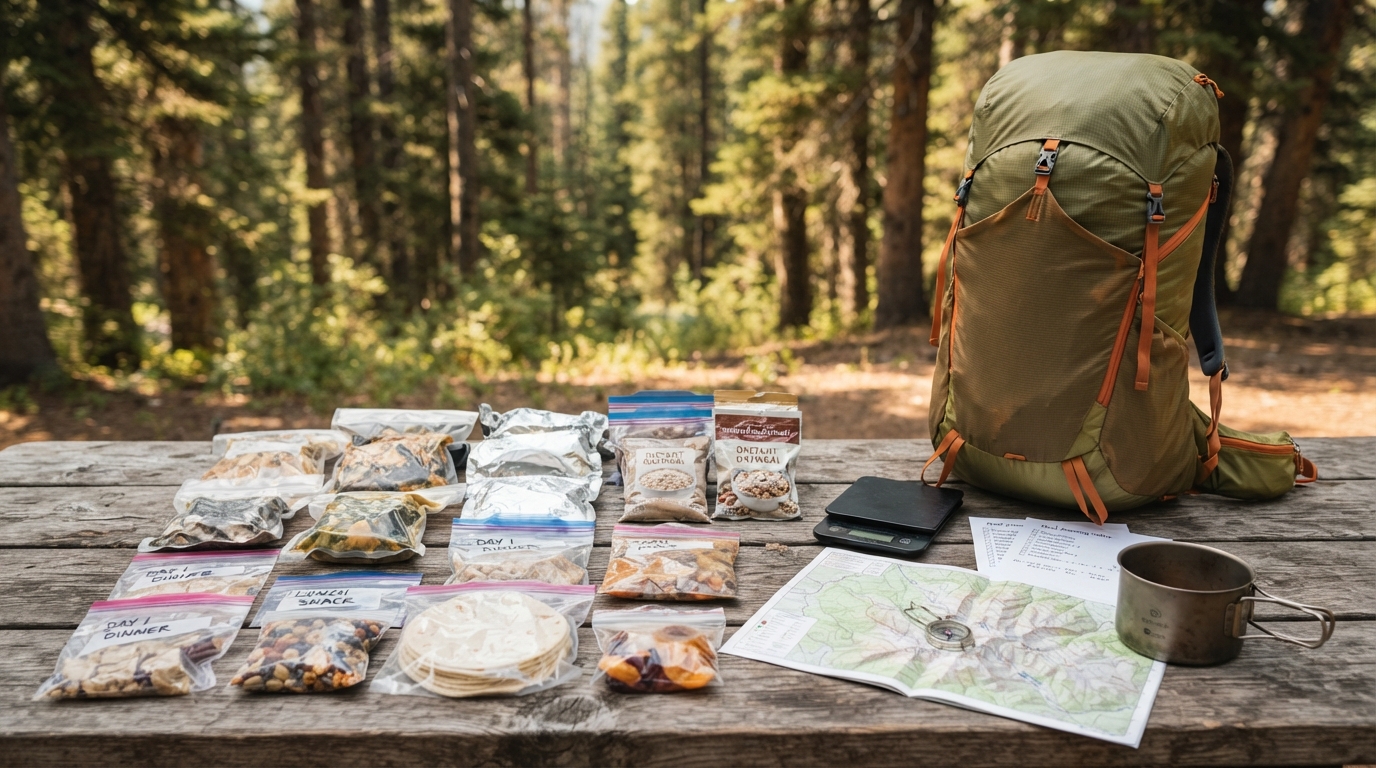
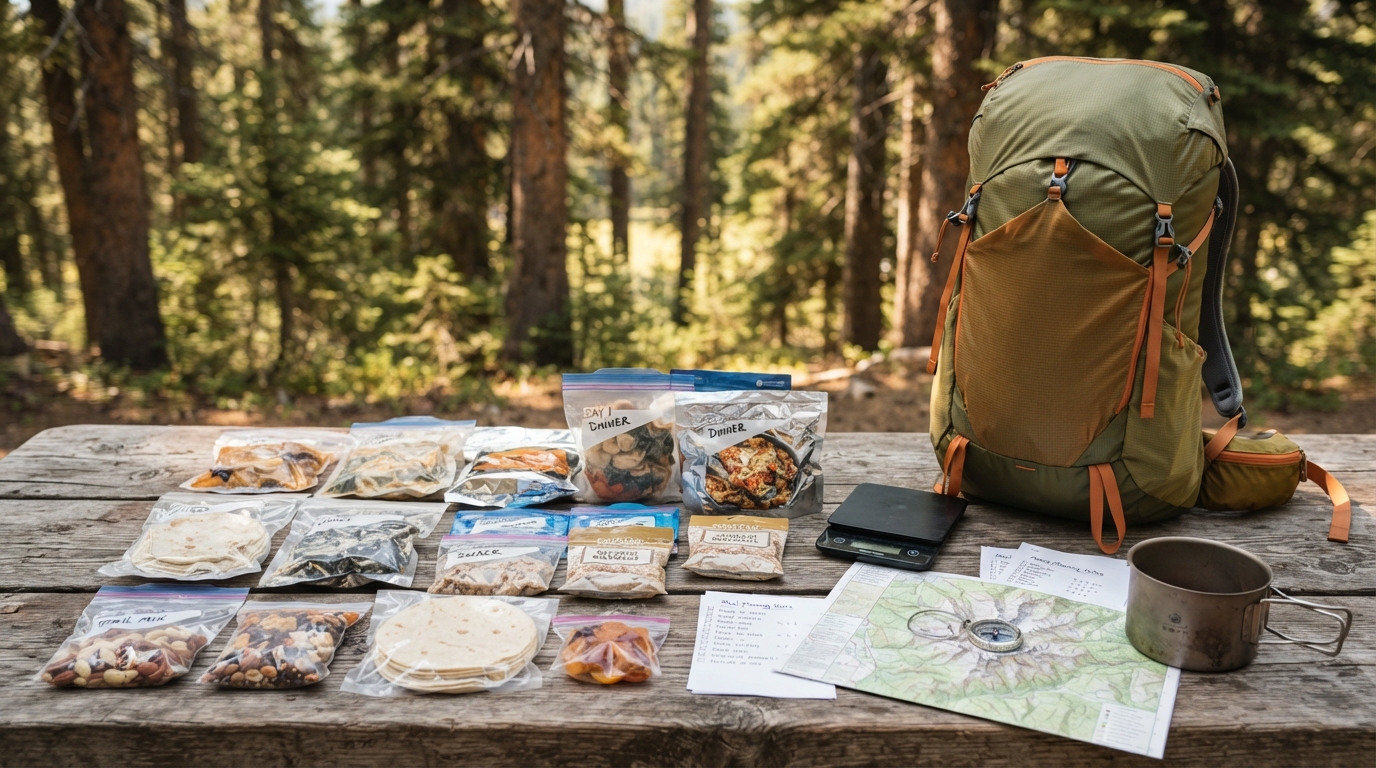
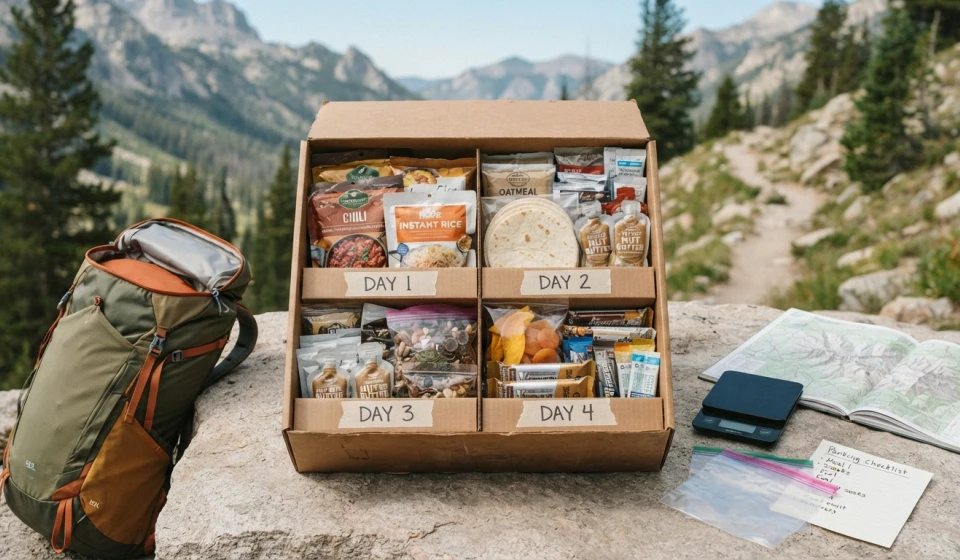
One of the easiest ways to organize a resupply box is to divide everything into four daily food bags.
Label them:
DAY 1
DAY 2
DAY 3
DAY 4
This creates a simple system once you reach the resupply point.
Instead of opening the box and trying to remember what belongs to which day, you can grab the appropriate bag and move on.
It also makes it easier to see whether your calories are distributed reasonably across the section.
You can still keep some snacks outside the daily bags if you prefer easy access while hiking.
🥜 Use a Mix of Calorie-Dense Foods
A four-day resupply is a good place to combine several efficient food categories.
Nuts and seeds
Examples include peanuts, almonds, cashews, walnuts, sunflower seeds, and pumpkin seeds.
They provide substantial energy for relatively little weight.
Nut butter
Single-serving packets are convenient because they require little preparation.
They can be added to:
- Tortillas
- Oatmeal
- Crackers
- Bars
Dried fruit
Dried mango, raisins, dates, banana chips, apples, and other dried fruits add sweetness without the water weight of fresh fruit.
Bars
Bars can serve as breakfast components, snacks, or emergency calories.
Oils and meal additions
A small amount of oil can substantially increase the calories of a meal without adding much weight.
REI lists nuts, nut butters, seeds, dried fruit, hard cheeses, energy bars, and oils among examples of calorie-dense backpacking foods.
🍜 Make Dinner Easy
After hiking all day, complicated cooking can become surprisingly annoying.
A good four-day box doesn’t need four elaborate dinners.
Think:
Add water → wait → eat.
Instant grains and dehydrated foods are useful because they can reduce cooking time and cleanup.
You might create four different dinners:
Day 1: Dehydrated pasta
Day 2: Rice + beans + seasoning
Day 3: Couscous + vegetables + protein
Day 4: Instant potatoes + protein + toppings
The exact foods depend on your dietary preferences and cooking system.
The important thing is to choose meals you have already tested.
☕ Don’t Forget the Small Things
Some of the most annoying resupply mistakes involve tiny ingredients rather than major meals.
Before sealing the box, check for:
- Coffee
- Tea
- Electrolyte mixes
- Salt
- Hot sauce
- Seasoning
- Sugar
- Creamer
- Drink mixes
- Dessert
- Vitamins or supplements you normally use, if appropriate
These items are easy to forget because they aren’t technically “meals.”
But after several days on trail, a favorite coffee or drink can make a morning feel dramatically better. ☕
🍫 Include One “I Really Want This” Food
A thru-hike food box doesn’t have to be perfectly optimized.
Include something you genuinely look forward to.
Maybe it’s:
- Chocolate
- Candy
- Cookies
- A favorite bar
- Chips
- A particular instant noodle flavor
- Peanut butter
- A favorite drink mix
Food fatigue is real.
If every item in your box was chosen only because it has a good calorie-to-weight ratio, you may eventually become tired of eating it.
Efficiency matters, but enjoyment matters too.
🗑️ Repackage Before You Ship
Original packaging can create unnecessary bulk.
When appropriate, remove:
- Cardboard boxes
- Large outer bags
- Excess plastic
- Individual wrappers that aren’t necessary for protection
Then place food into durable resealable bags or containers suitable for the food.
Label everything clearly.
For example:
DAY 1 — BREAKFAST
DAY 1 — LUNCH
DAY 1 — DINNER
DAY 1 — SNACKS
This turns the resupply box into a ready-to-use system.
📝 Put a Packing List Inside
Create a simple inventory sheet and place a copy inside the box.
Example:
| Category | Quantity |
|---|---|
| Breakfasts | 4 |
| Lunches | 4 |
| Dinners | 4 |
| Snack portions | 8–12 |
| Drink mixes | 4+ |
| Desserts/treats | 4 |
| Emergency calories | 1 portion |
You can also include the approximate total calories and food weight.
This makes it easier to check the box when you receive it.
🔢 Calculate the Actual Food Weight
Don’t guess.
Put the complete resupply box on a scale.
Record:
Food weight
Packaging weight
Total shipment weight
The number that matters most for your hiking experience is the food weight you will actually carry after opening the box.
If the four-day food supply weighs 8 pounds, that’s approximately:
2 pounds of food per day.
If it weighs 10 pounds:
2.5 pounds per day.
This gives you a much more useful number than simply saying, “I packed four days of food.”
🎒 Leave the Heavy Extras Out
A resupply box is an opportunity to replace things, not accumulate them.
Don’t automatically send:
- Extra cookware
- Extra clothing
- Large toiletries
- Heavy containers
- Multiple backup meals
- Oversized condiment bottles
Unless the item is genuinely needed at that resupply point, it probably doesn’t belong in the food box.
The whole point of a resupply is to refresh your system without creating unnecessary weight.
🚨 Add a Small Contingency
Trail plans don’t always go perfectly.
A delayed shuttle, unexpected weather, slower hiking day, injury, trail closure, or simple fatigue can change your schedule.
REI recommends carrying some extra food for overnight trips, while also warning against routinely overpacking food.
For a four-day section, consider having a modest backup that doesn’t require much extra space.
Examples:
- One energy bar
- Extra nuts
- A compact trail snack
- An additional instant meal
The amount should fit your trip and personal needs.
🐻 Check Food-Storage Rules Before You Pack
Your resupply food plan also needs to match the regulations of the trail section.
Some areas require specific food-storage systems, including approved bear-resistant containers.
If you’re hiking through bear country, don’t assume that the food box is only about calories and weight.
You may need to consider:
- Required food-storage equipment
- Scented items
- Trash
- Toiletries
- Local food-storage rules
Requirements vary by land manager and location, so check the current regulations for the specific section before your trip.
📮 If You’re Mailing the Box, Check the Shipping Rules
If you’re mailing a resupply box, check the postal carrier’s current rules before sending it.
Avoid assuming that every food is automatically mailable.
For example, USPS rules restrict or prohibit certain perishable foods, and international shipments can have additional destination-specific restrictions.
For a typical shelf-stable thru-hike box, focus on foods that can safely withstand the expected shipping and storage conditions.
Also make sure the box is strong enough for normal handling and that the contents cannot shift excessively inside it. USPS packaging standards specifically require mailpieces to be packaged to withstand normal handling and prevent contents from shifting or damaging the package.
📦 The 4-Day Resupply Box Formula
Here’s the entire system in one checklist:
Before shopping
☐ Confirm four trail days
☐ Estimate daily calorie needs
☐ Check food-storage regulations
☐ Check shipping rules if mailing the box
While shopping
☐ 4 breakfasts
☐ 4 lunches
☐ 4 dinners
☐ Daily snacks
☐ Drinks
☐ Treats
☐ Small contingency supply
Before packing
☐ Remove unnecessary packaging
☐ Divide food by day
☐ Label every bag
☐ Calculate calories
☐ Weigh food
☐ Check expiration dates
☐ Add packing list
Before shipping
☐ Check address
☐ Check delivery timing
☐ Check carrier restrictions
☐ Protect the contents
☐ Keep a record of the box contents
🌲 Final Thoughts
A good four-day thru-hike resupply box isn’t about cramming as many calories as possible into one cardboard box.
It’s about creating a simple food system that works when you’re tired, hungry, dirty, and ready to get back on the trail. 😅
Build around your actual calorie needs. Choose compact foods you genuinely enjoy. Divide the supply into four easy daily sections. Remove unnecessary packaging, weigh the food, and include a little flexibility for unexpected delays.
And don’t forget the most important rule:
The best resupply food is food you’ll actually want to eat. 🥾🍫
A little planning at home can mean a much simpler morning at the trail-town resupply stop.