🐻 How to Organize Food Inside a Bear Canister So You Use Every Inch
Packing food into a bear canister is a little different from packing a normal backpack.
You can’t simply squeeze a soft food bag into an empty corner and call it done. A rigid canister has a fixed shape, a narrow opening, and limited internal volume. Once you add several days of meals, snacks, and other required smellable items, wasted space can become a real problem.
The solution isn’t to crush everything.
It is to organize the food like a three-dimensional puzzle. 🧩
With the right approach, you can reduce empty pockets, make meals easier to find, and get more usable capacity from the same canister.
🐻 Start With the Actual Canister
Before planning your food, check the exact bear canister model and its instructions.
Different models have different dimensions, capacities, and approved uses. For example, the BV500 is a large canister with approximately 11.5 liters of internal capacity.
Don’t rely on a generic statement such as “this canister holds five days.”
How many days it holds depends on:
- Your calorie needs
- Food density
- Packaging
- Menu choices
- Food shape
- Other items that must be stored inside
- Whether you share the canister
Your goal is to make the available volume work for your specific menu.
📦 1. Build the Menu Before You Start Packing
The biggest packing mistake is beginning with the canister instead of the food plan.
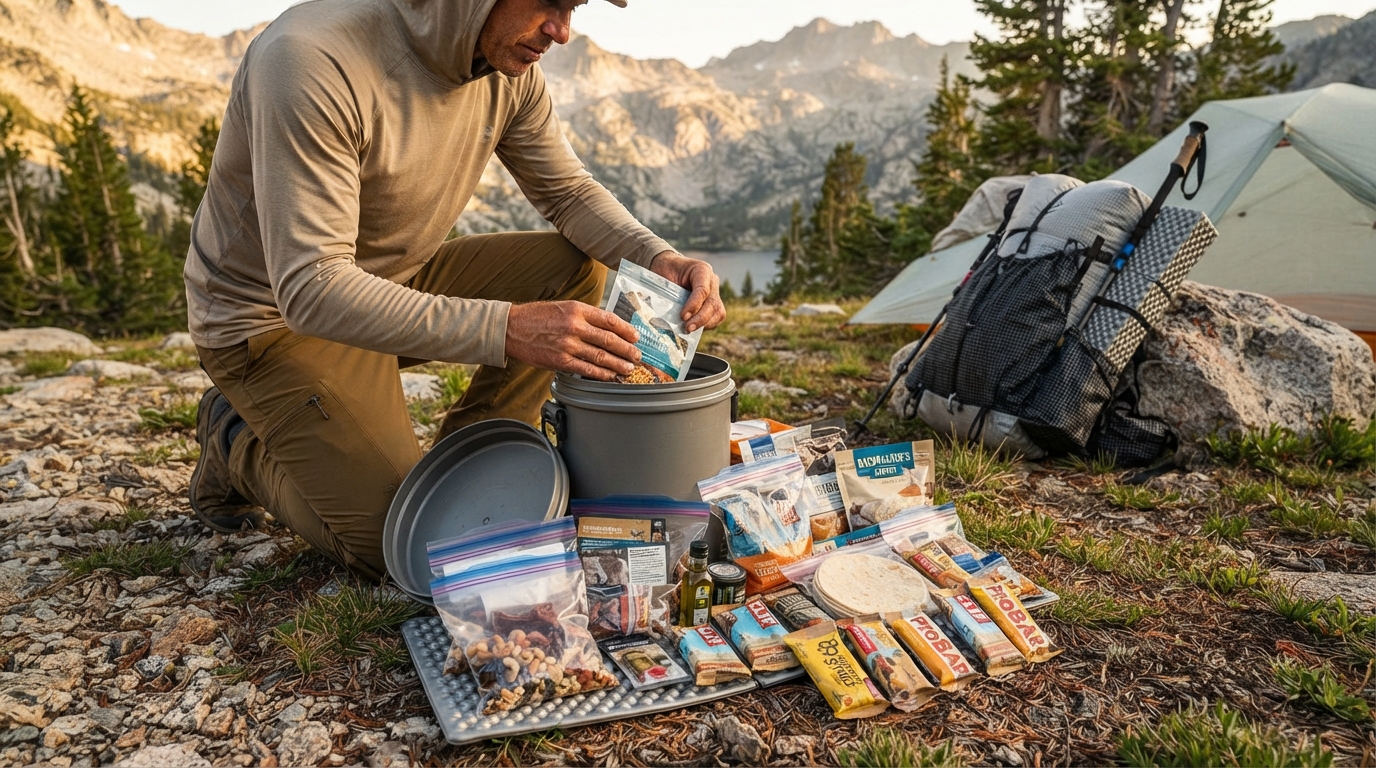
First, lay out everything you intend to take.
Organize it into:
Breakfast
🥣 Oatmeal
☕ Coffee or drink mix
🥜 Nut butter
🍓 Dried fruit
Lunch
🌯 Tortillas
🥩 Jerky
🧀 Cheese, where appropriate for your trip
🥜 Nut butter
Dinner
🍚 Instant rice
🥔 Instant potatoes
🍜 Noodles
🍲 Dehydrated meals
Snacks
🌰 Nuts
🍫 Chocolate
🥜 Trail mix
🍪 Bars
Then add any other smellable items required by the regulations for your destination.
Only after you know what you’re carrying should you start solving the space problem.
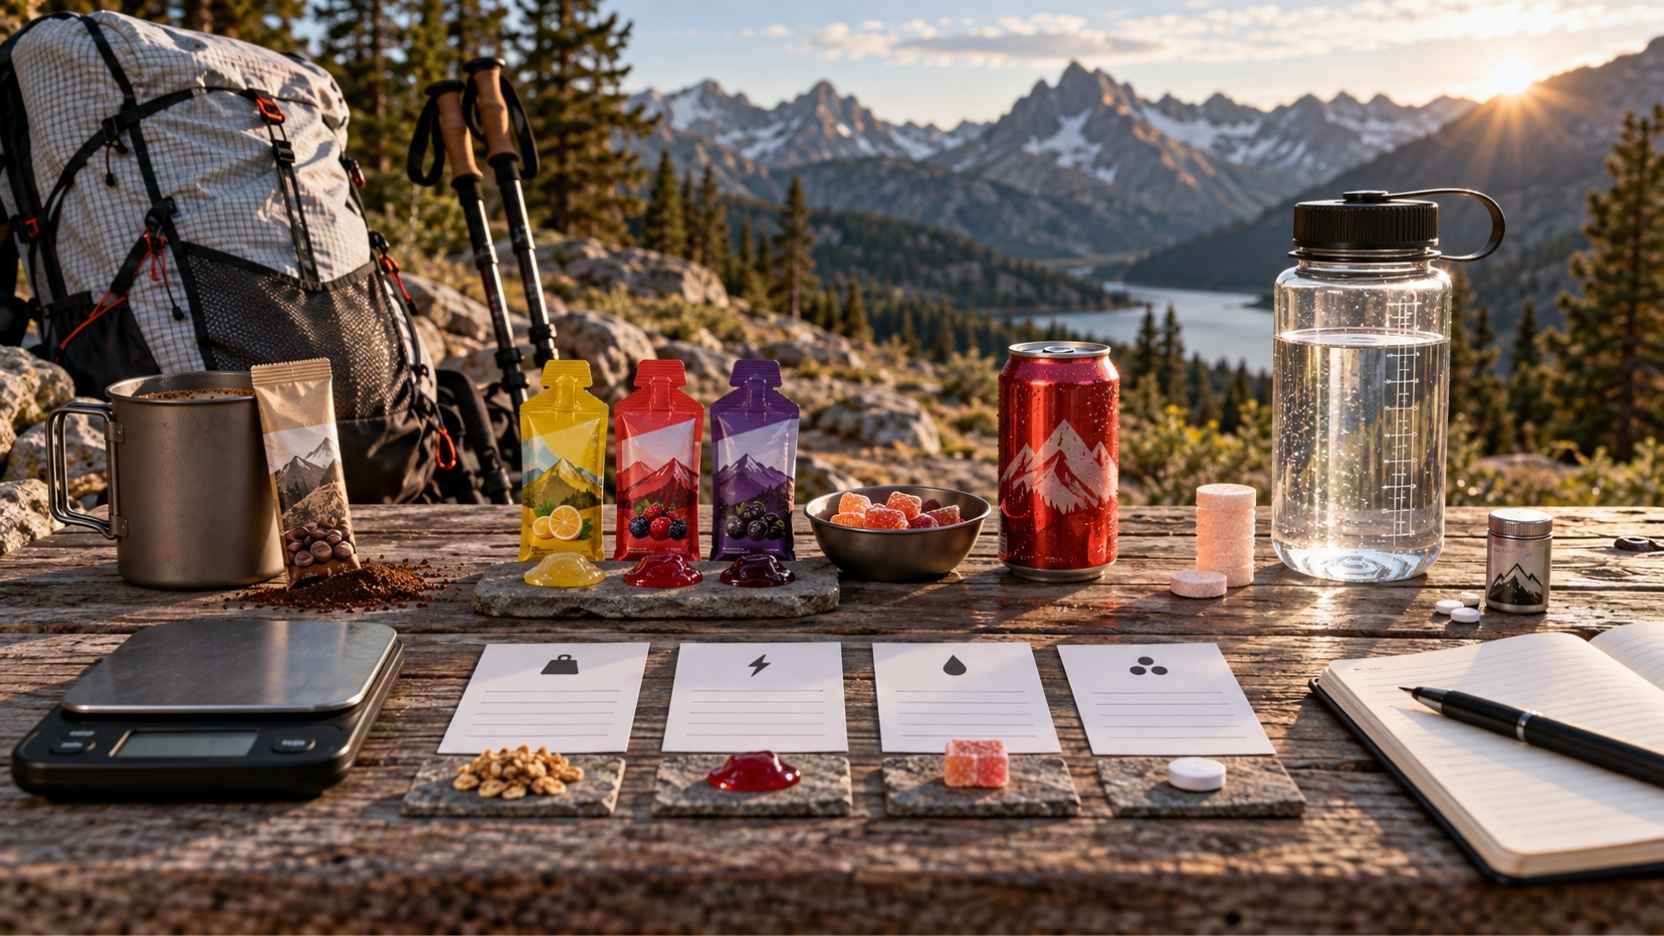
🧮 2. Think in Volume, Not Just Weight
A food item can be lightweight and still be a terrible choice for a bear canister.
Imagine two foods that each weigh 4 ounces.
One might fit neatly into a small flexible bag.
The other might come in a large, air-filled package.
The scale says they weigh the same.
The canister does not care about the scale.
It cares about space.
When bear-canister capacity is your limiting factor, consider:
Weight
Calories
Volume
Shape
Packaging
A useful home experiment is to measure the actual packed volume of your foods rather than relying only on package dimensions or marketing claims.
🧱 3. Create a “Foundation Layer”
Start at the bottom of the canister with foods that are relatively flat, flexible, or easy to arrange.
For example:
- Flat meal packets
- Soft tortillas
- Flattened bags of dry food
- Flexible snack bags
The goal is to create a relatively even base.
Avoid putting one large rigid item in the middle of the bottom unless it is necessary.
A bulky object can create empty pockets around itself that become difficult to fill later.
Think of the bottom as your foundation.
🥜 4. Use Flexible Foods to Fill Gaps
Flexible packaging is extremely useful inside a rigid container.
Small bags of:
- Trail mix
- Nuts
- Dried fruit
- Powdered drink mixes
- Oatmeal
- Dehydrated vegetables
can conform to irregular spaces between larger foods.
This is one reason repackaging can be so helpful.
A flexible bag can occupy a curved or narrow space that a box cannot.
📐 5. Pack Around the Walls
Don’t think only about the center of the canister.
The curved interior walls create spaces that can be awkward for rigid packages.
Flexible bags are ideal for these areas.
Place them around the perimeter and use larger, more stable items toward the center.
However, don’t force food into a shape that could damage it or make the canister difficult to close.
The goal is efficient packing, not maximum compression at any cost.
🌀 6. Build a Vertical Food System
Think in layers rather than throwing everything in randomly.
For example:
Bottom
Early-trip foods
⬇️
Middle
Main meals and compact snacks
⬇️
Top
Foods you’ll need soonest
This creates a basic rotation system.
You can also organize by day if that works better for you.
For example:
Day 1 foods near the top
Day 2 below them
Later days toward the bottom
This is particularly useful if you want to avoid unpacking the entire canister every time you need a meal.
🍫 7. Put Bulky Foods at the Top if You’ll Eat Them First
There is an important exception to the layering rule.
If a food is bulky but you plan to eat it on the first day, place it where you can access it easily.
For example:
- Tortillas
- Bulky snack packaging
- Fresh foods permitted for your trip
- Large breakfast items
Once you eat them, the canister becomes easier to organize.
This is the “eat the bulk first” strategy.
You are not trying to make the canister perfectly packed for the entire trip.
You’re designing it to become more spacious as food disappears.
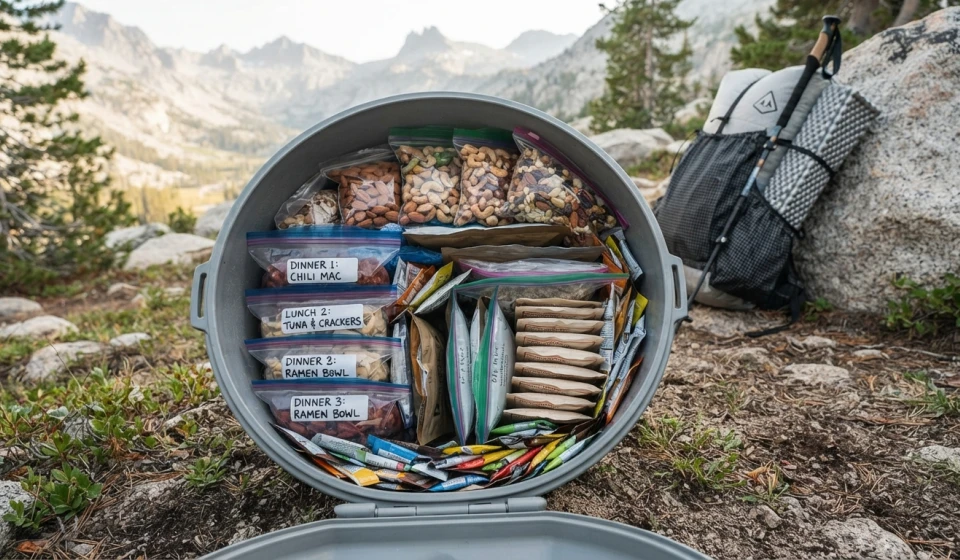
🥣 8. Repackage Dry Foods When Appropriate
Original retail packaging is often designed for store shelves rather than bear-canister efficiency.
A cardboard box or oversized outer bag can consume valuable space.
For appropriate dry foods, consider transferring the contents into durable resealable bags.
Label each bag clearly.
For example:
D1 BREAKFAST
D1 SNACK
D1 DINNER
This can make your food system significantly easier to manage.
However, don’t remove information you may need.
Keep or record:
- Cooking instructions
- Allergen information
- Important product information
- Preparation ratios
If you’re unsure whether a food is suitable for repackaging, keep its original packaging.
🏷️ 9. Label Everything Before Packing
Once food is inside a bear canister, visual identification becomes much harder.
A clear label can save time.
Use large, simple labels such as:
B1 = Breakfast Day 1
L1 = Lunch Day 1
D1 = Dinner Day 1
Or use full words if you prefer.
Avoid tiny labels that become unreadable in low light.
You can also mark bags by meal type:
🥣 B = Breakfast
🥪 L = Lunch
🍲 D = Dinner
🍫 S = Snack
🔄 10. Pack Meals as Complete Units
Another option is to organize food by day.
For example:
Day 1 Bag
Breakfast + lunch + dinner + snacks
Day 2 Bag
Breakfast + lunch + dinner + snacks
This makes meal planning extremely simple.
But it can sometimes waste space because you may end up with multiple partially filled bags.
For maximum space efficiency, consider a hybrid approach:
Group small foods individually, but keep bulky meals separate.
The best system is the one that balances volume efficiency with ease of use.
🥜 11. Use Calorie-Dense Foods Wisely
When space is limited, calorie-dense foods can be useful.
Examples include:
- Nuts
- Nut butter
- Chocolate
- Oils
- Cheese where appropriate
- High-calorie bars
Fat provides more calories per gram than carbohydrates or protein, so higher-fat foods can help provide energy without requiring as much weight.
But calories aren’t the only consideration.
You still want:
- Adequate protein
- Carbohydrates for activity
- Fiber
- Micronutrients
- Foods you actually enjoy
A compact food system should still be nutritionally and practically reasonable.
🫒 12. Don’t Waste Space on Air
Some foods come in packages that contain a lot of empty air.
If the food itself is not fragile and the packaging can safely be changed, transferring it to a compact bag can dramatically reduce volume.
This is particularly useful for:
- Powdered foods
- Oatmeal
- Dehydrated vegetables
- Trail mix
- Dry rice
- Dry pasta
However, don’t crush foods simply for the sake of saving space if doing so creates a mess or makes them unusable.
🥔 13. Use “Dead Space” Strategically
Some gaps are unavoidable.
Instead of trying to eliminate them completely, use small items to fill them.
For example:
- Drink mix packets
- Tea bags
- Small snack portions
- Spice packets
- Powdered milk
- Condiments
These tiny items can occupy spaces between larger bags.
Think of them as packing filler that you can eat.
🧴 14. Remember Non-Food Smellables
One important mistake is calculating space based only on food.
Depending on the destination’s regulations, you may need to store additional scented or smellable items in the bear-resistant container.
These can include certain toiletries and other attractants.
Rules vary by park, wilderness area, and land-management agency.
Always check the current regulations for your specific destination before packing.
A perfectly optimized food plan won’t help if you discover that additional required items have nowhere to go.
🐻 15. Don’t Sacrifice Bear Safety for Space
A bear canister must remain properly closed.
Never modify the canister, interfere with the locking mechanism, or pack it in a way that prevents the lid from functioning as designed.
Don’t assume that compressing the contents until the lid barely closes is a good strategy.
You want:
Efficient packing + a properly secured canister.
Not:
Maximum compression at any cost.
🧪 16. Test-Pack It at Home
This is the most useful step.
Take the actual food you plan to bring.
Put everything into the actual bear canister.
Close it.
Then take it all out.
Look for wasted space.
Ask:
Which package is creating the biggest gap?
Which foods can be repackaged?
Which items are too bulky for the calories they provide?
Can I move Day 1 foods toward the top?
Are small packets filling empty spaces?
Then do it again.
You may be surprised by how much more efficient the second or third packing attempt becomes.
📸 17. Take a Photo of Your Finished System
This is a simple trick that can make camp organization easier.
Once you’ve created a packing arrangement that works, take a photo.
When you need to repack the canister during the trip, you have a visual reference.
You don’t have to remember exactly where everything went.
This is particularly useful when you’re tired, cold, or trying to pack quickly.
🔄 18. Repack the Canister Every Day
Don’t expect your original packing arrangement to remain perfect.
The contents change every time you eat.
After breakfast, you have new empty space.
After lunch, you have more.
After dinner, even more.
Use that space strategically.
You may move remaining food downward and keep the next day’s food toward the top.
Think of the bear canister as a dynamic storage system, not a static container.
🧭 A Simple Packing Order
If you want a straightforward method, try this:
Step 1
Place flat and flexible foods at the bottom.
Step 2
Add larger meal bags.
Step 3
Fill spaces around them with flexible snacks.
Step 4
Place frequently needed foods closer to the top.
Step 5
Use tiny packets to fill remaining gaps.
Step 6
Check that the lid closes correctly.
Step 7
Remove unnecessary packaging if appropriate.
Step 8
Take a photo of the final arrangement.
Step 9
Follow the destination’s bear-canister storage rules.
This system doesn’t require special equipment.
It simply requires planning.
🌟 Final Thoughts
Using every inch of a bear canister isn’t about forcing more food into the container.
It’s about making every piece of food earn its space.
Choose compact foods.
Reduce unnecessary packaging.
Use flexible bags.
Fill small gaps.
Eat bulky foods early.
Organize meals so you can find them.
And test the entire system before your trip. 🥾🐻
Most importantly, remember that bear-canister packing is both a food-planning problem and a wildlife-safety problem.
A beautifully organized canister is useful only if it remains properly secured and complies with the rules of the area you’re visiting.
Once you learn to think in three dimensions, the canister stops feeling like a frustrating plastic cylinder and starts feeling like what it really is:
a limited space that you can plan intelligently. 🏕️