🏕️ How to Fit a Complete Backpacking Menu Into a BV500 Bear Canister
A bear canister looks deceptively simple.
It is basically a hard plastic container with a lid. But once you try to fit several days of backpacking food inside one, you quickly discover that volume can become a bigger problem than calories.
The BV500 is a popular large bear-resistant food container, but its capacity is still finite. A complete backpacking menu has to fit alongside the awkward shapes of packaging, air space, and foods that simply refuse to compress.
That means planning your food around the canister before you arrive at the trailhead.
The goal isn’t to cram food into the BV500 until the lid barely closes.
The goal is to build a menu that provides enough food, fits efficiently, remains practical to use, and can be packed securely. 🥾
🐻 First: Know What the BV500 Can Actually Hold
The BV500 has an internal capacity of approximately 700 cubic inches, or about 11.5 liters.
That sounds substantial until you start filling it with bulky food packages.
Remember that food volume and food weight are two different constraints.
A lightweight bag of dehydrated rice may provide many calories for very little weight.
A bulky bag of crackers may weigh relatively little but consume a surprising amount of space.
When planning a bear-canister menu, you therefore need to think about:
Calories per ounce
Calories per cubic inch
Packaging volume
Food shape
Air space
Number of days
This is why simply buying lightweight backpacking food isn’t enough.
You need to consider how efficiently it packs.
📋 Step 1: Build the Menu Before You Pack
Don’t start by throwing food into the BV500.
Create your menu first.
For each day, list:
- Breakfast
- Lunch
- Dinner
- Snacks
- Drinks or drink mixes
- Condiments
- Emergency food, if needed
Then record the approximate weight and volume of each item.
A simple table might look like this:
| Food | Servings | Weight | Approx. volume |
|---|---|---|---|
| Oatmeal | 4 | — | — |
| Nut butter | 1 | — | — |
| Tortillas | 4 | — | — |
| Jerky | 4 | — | — |
| Freeze-dried meals | 4 | — | — |
| Trail mix | 4 | — | — |
The exact numbers depend on the products and packaging you choose.
The important thing is to calculate them before packing.
🔢 Step 2: Decide How Many Days the Canister Needs to Cover
This is where many backpackers get into trouble.
A BV500 may hold a substantial amount of food, but the number of days it can support depends heavily on:
- Your daily calorie needs
- Food density
- Menu choices
- Packaging
- Whether food is shared
- Whether you have a resupply
- Whether other smellable items must go inside
There is no universal rule such as:
“A BV500 always holds five days of food.”
It might work for one person’s compact menu and fail badly for another person’s bulky menu.
Treat the canister’s capacity as a volume constraint, not a guaranteed number of days.
🍫 Step 3: Prioritize Compact, Calorie-Dense Foods
When space is limited, foods with a lot of energy in a small package are extremely useful.
Examples include:
🥜 Nut butter
🌰 Nuts
🥜 Trail mix
🧀 Hard cheese where appropriate
🍫 Chocolate
🥥 Coconut-based snacks
🫒 Olive oil added to meals
🥣 Dehydrated meals
🍚 Instant rice
Fat contains more calories per gram than carbohydrates or protein, which is one reason high-fat foods can be useful when you’re trying to reduce food volume.
However, a backpacking diet still needs variety.
Don’t design your entire menu around the single highest-calorie item you can find.
The goal is a menu you can actually eat.
📦 Step 4: Remove Bulky Packaging
This is one of the easiest ways to reclaim space.
A retail package may contain:
- A cardboard box
- A plastic tray
- A large outer bag
- Individual wrappers
- Air-filled packaging
The food itself may take up far less space.
Before leaving home, remove unnecessary outer packaging when doing so is safe and practical.
For example, you may not need the cardboard box surrounding an individually packaged food.
However, don’t remove important preparation instructions or product information unless you’ve recorded the information elsewhere.
🥣 Step 5: Repackage Foods Into Uniform Bags
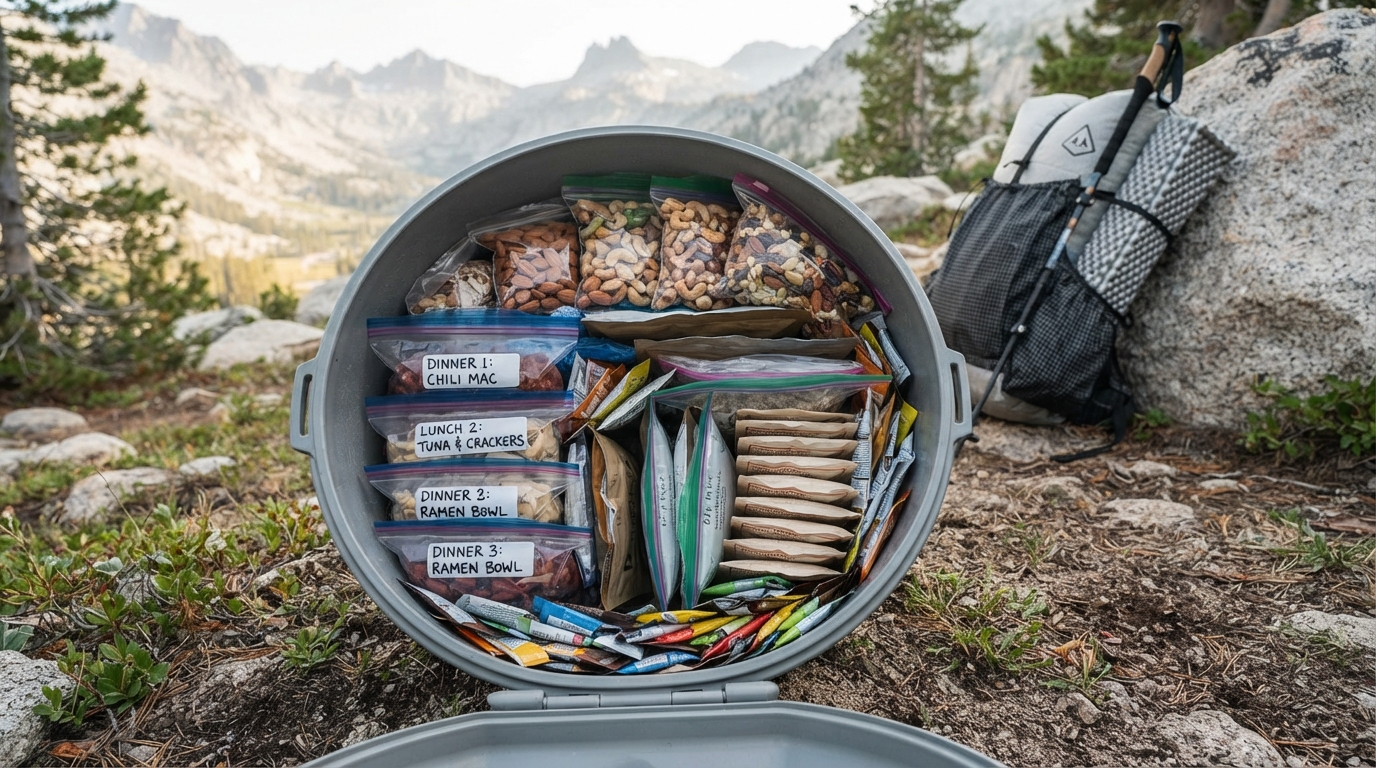
Instead of carrying several bulky individual packages, many backpackers repackage dry foods into resealable bags.
This can make the contents easier to organize and stack.
Label each bag clearly.
For example:
DAY 1 – BREAKFAST
DAY 1 – LUNCH
DAY 1 – DINNER
DAY 2 – BREAKFAST
This makes meal identification easier and prevents you from having to dig through the entire canister every time you eat.
For foods requiring specific preparation instructions, write the necessary information on the bag or keep a separate reference.
⚠️ Don’t Repackage Foods That Shouldn’t Be Repackaged
Not every food should simply be dumped into a plastic bag.
Keep important packaging or labels when needed for:
- Food safety information
- Allergens
- Preparation instructions
- Medication or supplement information
- Product identification
Also make sure any repackaged food remains dry and protected from contamination.
🧱 Step 6: Think About Shape, Not Just Weight
This is one of the biggest differences between normal backpack packing and bear-canister packing.
A rectangular food pouch may leave awkward gaps.
A flexible bag can conform to the space around it.
Hard objects create dead space.
Think of the BV500 as a three-dimensional puzzle.
Instead of asking:
“How much does this weigh?”
also ask:
“What shape does this food occupy?”
A 4-ounce food item isn’t automatically a good choice if its packaging takes up twice the space of another 4-ounce food.
🌀 Step 7: Use the Walls and Bottom Efficiently
Start with foods that can occupy the outer edges of the canister.
Flexible packets can often fit into spaces between larger items.
Then use the center for bulkier foods.
Avoid creating large empty pockets.
But don’t obsess over eliminating every tiny air gap.
Perfect packing is unnecessary.
You are trying to use the available volume efficiently, not build a food-storage engineering project.
🍜 Step 8: Save Bulky Foods for the First Day
Here’s a useful strategy:
Eat the bulkiest foods first.
If your menu includes:
- Tortillas
- Fresh foods
- Large snack bags
- Bulky bread products
- Puffy packaging
consider making them Day 1 or Day 2 foods.
As you eat, empty space appears inside the canister.
That creates room for foods that are less compressible.
Your food volume naturally decreases over the trip.
This can make a tightly packed start much easier to manage.
🥜 Step 9: Build Meals Around Ingredients, Not Just Packaged Entrées
Commercial freeze-dried meals are convenient, but you don’t necessarily need a separate pouch for every meal.
You can create compact meals from individual ingredients.
For example:
Instant rice + dehydrated vegetables + tuna or chicken + olive oil
Or:
Instant potatoes + powdered cheese + dehydrated vegetables + protein
Or:
Oats + powdered milk + nuts + dried fruit
This approach can reduce packaging and allow you to customize calories.
It can also make it easier to control the volume of each meal.
⚖️ Step 10: Track Both Calories and Volume
A backpacking menu should not be planned by weight alone.
Imagine two foods:
Food A
500 calories
4 ounces
Food B
500 calories
6 ounces
Food A provides more calories per ounce.
But now imagine another comparison:
Food C
500 calories
2 cups
Food D
500 calories
1 cup
Food D is much more attractive when your limiting factor is the bear canister.
That’s why you should think about at least two metrics:
Calories per ounce
and
Calories per unit of volume
The exact volume of foods varies, especially after repackaging, so measuring your actual menu at home is more reliable than relying on generic assumptions.
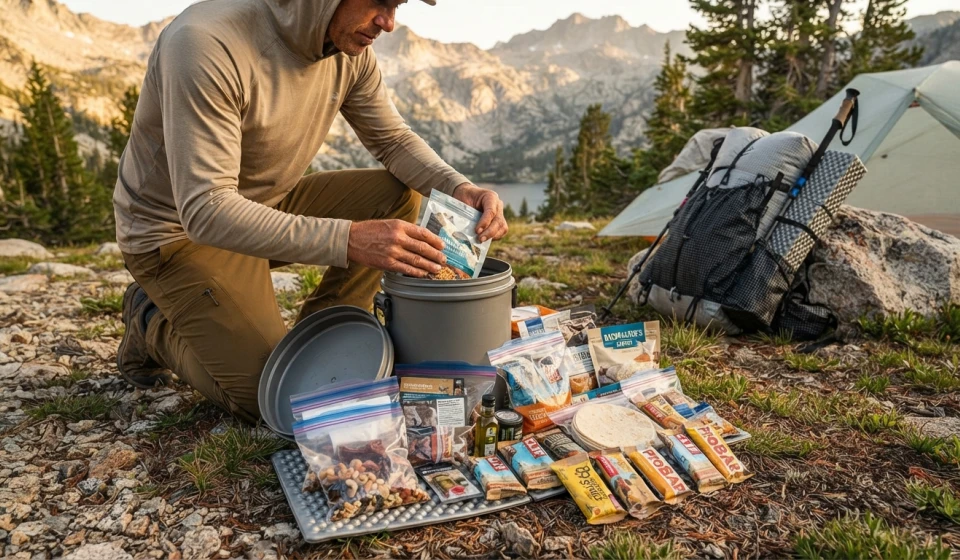
🧪 Step 11: Do a Real BV500 Test Pack at Home
This is probably the most useful step in the entire process.
Don’t discover at the trailhead that your menu doesn’t fit.
Pack the actual foods you plan to take.
Put them into the BV500.
Close the lid.
Then take everything back out and identify where space is being wasted.
Ask:
- Which foods are unnecessarily bulky?
- Which packaging creates dead space?
- Can anything be repackaged?
- Are there foods with poor calorie-to-volume efficiency?
- Did I accidentally include unnecessary items?
- Can bulky foods be eaten earlier?
Then repack it.
Do this before your trip.
🧳 Step 12: Remember That Food May Not Be the Only Smellable Item
Depending on the regulations and practices of the area you’re visiting, a bear-resistant food container may need to contain more than just meals.
Potentially relevant items can include certain toiletries, trash, scented items, and other attractants.
The exact requirements vary by land-management agency and location.
Always check the current regulations for your specific trail, park, or wilderness area.
A menu that technically fits your food may not fit if additional required items must also go inside the canister.
🌲 Don’t Treat “It Fits” as the Only Test
A successful bear-canister menu needs to pass several tests.
Capacity
Everything required by the local regulations fits.
Nutrition
You have enough food for the trip.
Practicality
You can access and prepare the food easily.
Durability
Packaging can survive backpacking conditions.
Security
The canister can be properly closed.
Enjoyment
You actually want to eat the food.
That final point is easy to underestimate.
A theoretically perfect menu is useless if you lose your appetite for it after two days.
🥾 Example of a Compact Daily Structure
A practical day might look something like:
Breakfast
🥣 Oatmeal
🥜 Nut butter
🍓 Dried fruit
Lunch
🌯 Tortilla
🥜 Nut butter or cheese
🥩 Jerky
Snack
🌰 Trail mix
🍫 Chocolate
Dinner
🍚 Instant rice
🥕 Dehydrated vegetables
🍗 Protein
🫒 Olive oil
Evening snack
🥜 Nuts or a compact bar
This is only an example.
Your actual calorie needs, dietary restrictions, preferences, and trip conditions should determine your menu.
💡 The “Eat Down the Bulk” Strategy
One of the smartest ways to manage a bear canister is to think about how the volume changes each day.
At the beginning:
Canister = completely packed
After Day 1:
Canister = slightly less full
After Day 2:
Canister = noticeably more flexible
By the final days:
Canister = much easier to organize
This means you don’t need every day’s food to have exactly the same packaging efficiency.
Use the early days to eliminate bulky items.
Then rely increasingly on compact foods as the trip progresses.
🐻 A Note About Bear Safety
A bear canister is not simply a food-storage container.
It is part of your wildlife-safety system.
Follow the manufacturer’s instructions and the specific regulations for your destination.
Do not assume that placing the canister inside your backpack makes it safer.
Where and how bear canisters should be stored varies by location and regulation, so check the rules for the specific area before your trip.
🌟 Final Thoughts
Fitting a complete backpacking menu into a BV500 is less about finding the “perfect” food and more about designing the menu around the available volume.
Start with your actual calorie needs.
Choose foods that provide good nutrition without excessive bulk.
Remove unnecessary packaging.
Repackage appropriately.
Eat bulky foods early.
Measure your real menu.
And, most importantly, test-pack the entire system at home before the trip. 🏕️
The BV500 should not be the final obstacle you discover at the trailhead.
Treat it as part of your meal-planning system from the beginning.
When the menu, packaging, calories, and volume are designed together, a bear-canister trip becomes much easier to manage.
Pack the food. Plan the space. Eat well. Keep wildlife wild. 🐻🥾