How to Create a Printable Backpacking Food Packing Checklist 🎒🥾📋
Introduction
Packing food for a backpacking trip can seem easy until you’re standing in the kitchen surrounded by snacks, meal packets, drink mixes, and tiny ingredients wondering:
“Did I pack everything?”
The problem usually isn’t forgetting the main meals.
It’s the small stuff.
Coffee. Seasoning. Cooking oil. Electrolytes. A spoon. That one ingredient needed to make dinner actually work.
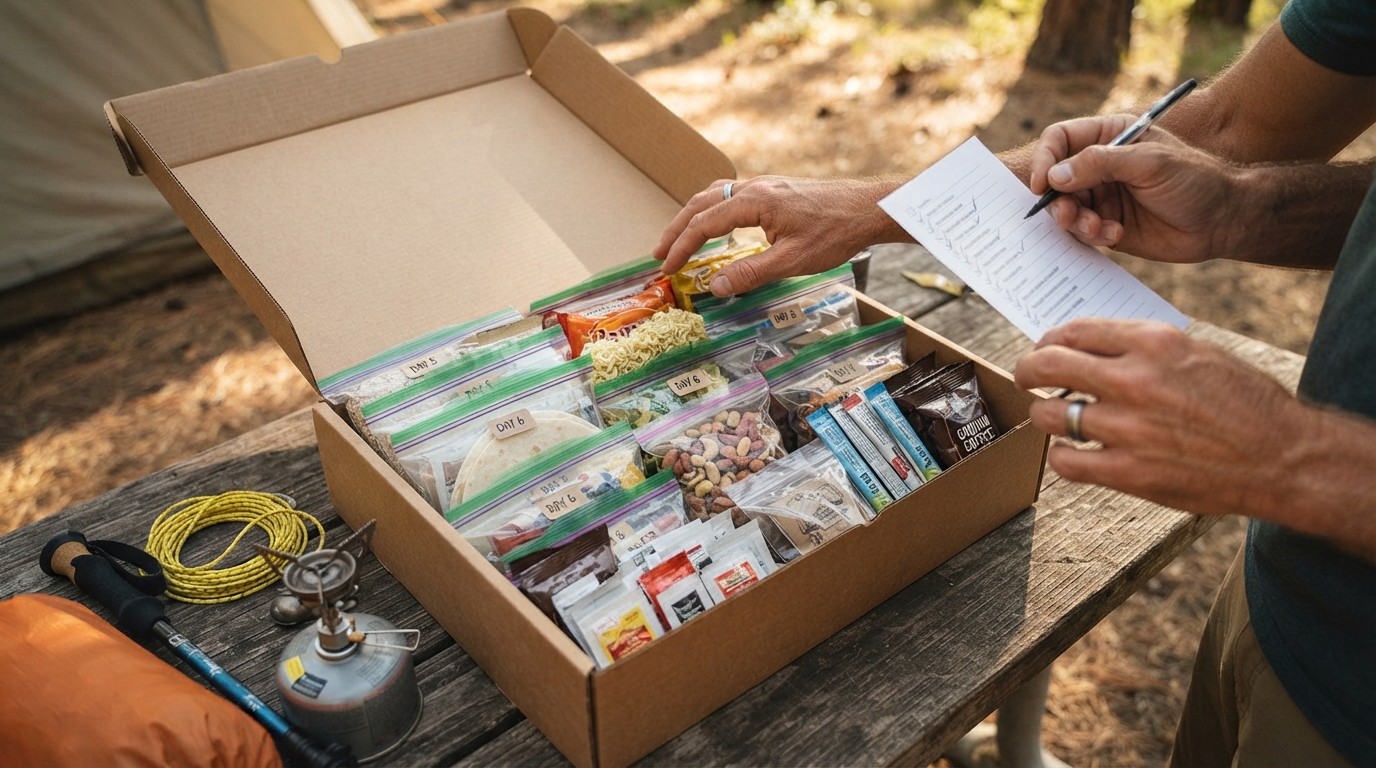
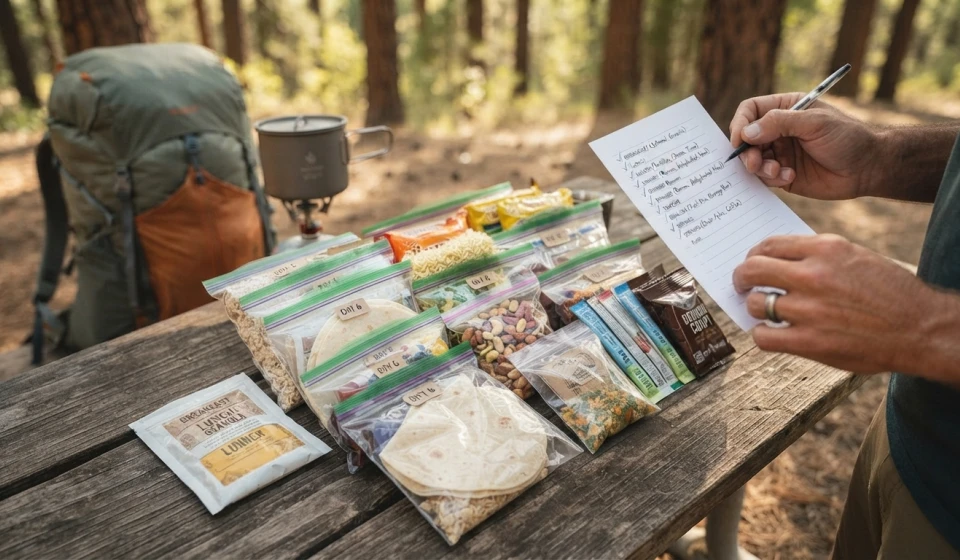
A printable checklist gives you a simple way to organize everything before it goes into your backpack.
Instead of relying on memory, you can plan, pack, check, and mark each item off.
The best checklist is not complicated. It reflects the way you actually eat on the trail. 🏕️
1. Start With Your Trip Details
Before creating the food checklist, write down the basic information.
Trip length: ______ days
Number of hikers: ______
Resupply points: ______
Cooking method: ______
Expected conditions: ______
Dietary restrictions: ______
These details affect how much and what type of food you need.
A one-night trip requires a very different packing list from a seven-day hike.
If you’re packing for a group, multiply the appropriate food quantities rather than simply guessing how much food everyone will eat.
2. Build the Checklist Around Meals 🍜
The easiest structure is to organize food according to when you’ll eat it.
Breakfast
☐ Day 1
☐ Day 2
☐ Day 3
☐ Day 4
☐ Day 5
And so on.
Next:
Lunch
☐ Day 1
☐ Day 2
☐ Day 3
☐ Day 4
☐ Day 5
Then:
Dinner
☐ Day 1
☐ Day 2
☐ Day 3
☐ Day 4
☐ Day 5
This makes missing meals much easier to spot.
3. Add a Separate Snack Section 🍫
Snacks are often scattered throughout a backpack, so they deserve their own section.
Your checklist might include:
☐ Energy bars
☐ Trail mix
☐ Nuts
☐ Dried fruit
☐ Crackers
☐ Jerky
☐ Candy
☐ Favorite treats
Don’t assume snacks will automatically be covered by your meal plan.
List them separately.
4. Create a Drinks Section 💧
Drinks are another category that is easy to overlook.
Depending on your trip, consider:
☐ Electrolyte drink mix
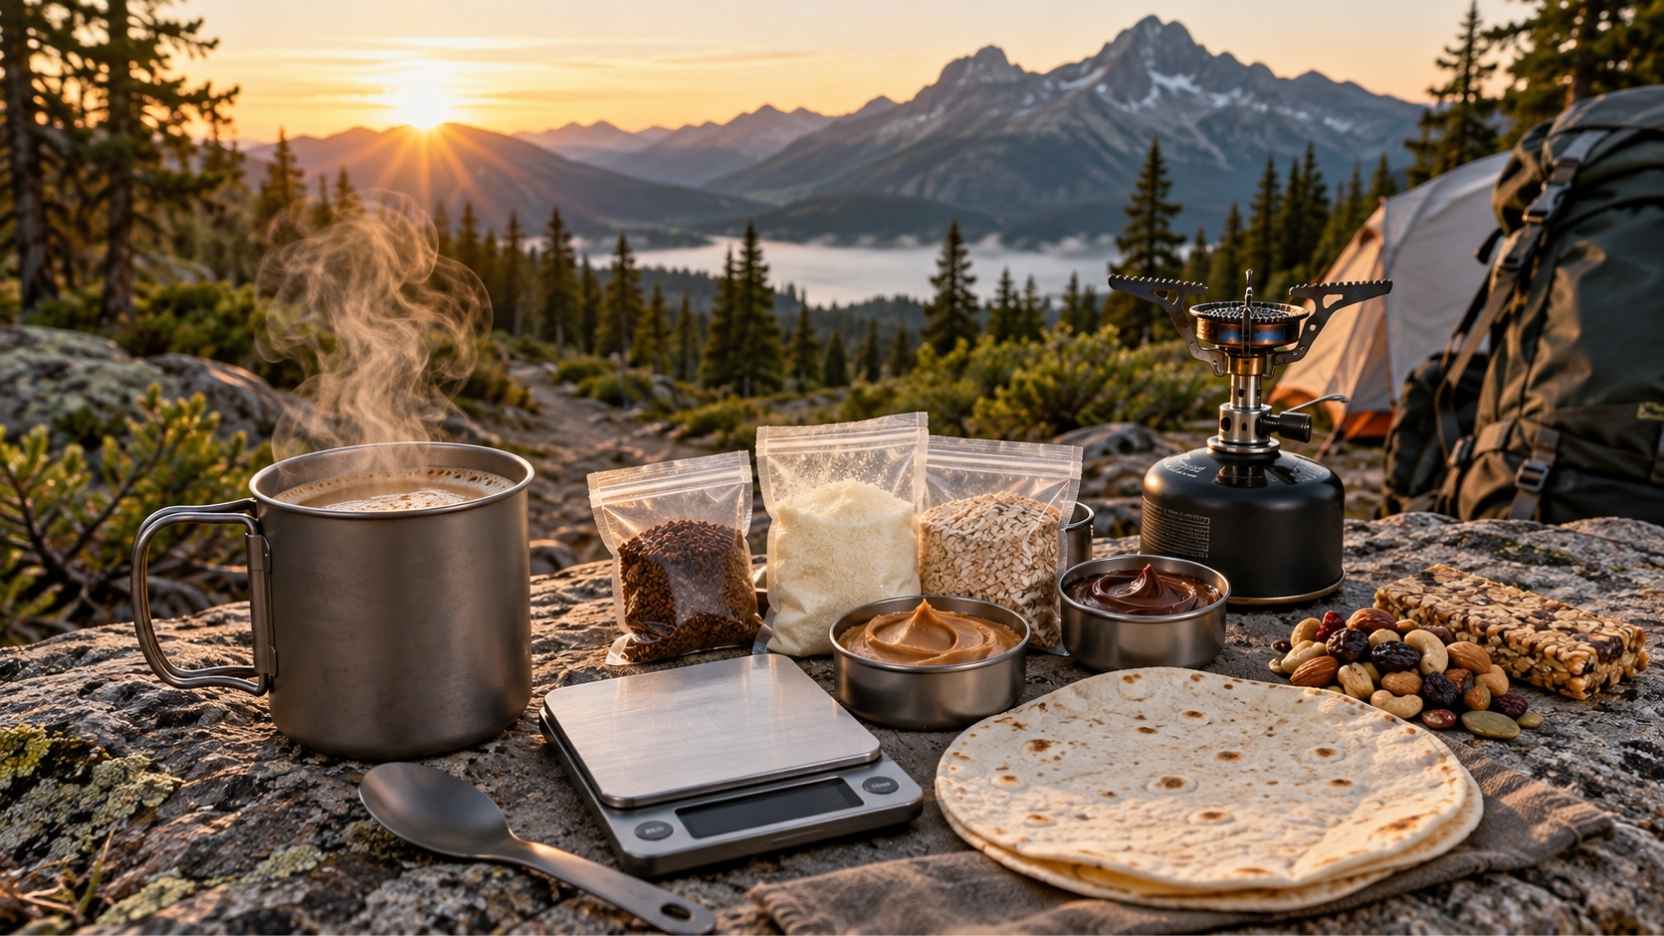
☐ Instant coffee
☐ Tea
☐ Cocoa
☐ Other drink mixes
Remember that water itself is a separate part of your hydration plan.
Your food checklist can simply remind you to verify that your water-carrying and treatment system is ready.
5. Add the “Small Stuff” Section
This is where your printable checklist becomes especially useful.
Consider:
☐ Salt
☐ Pepper
☐ Seasonings
☐ Sugar
☐ Powdered milk
☐ Coffee creamer
☐ Cooking oil
☐ Condiments
☐ Hot sauce
☐ Sweetener
These items can be tiny, but forgetting one can make a planned meal much less appealing.
If an ingredient is necessary for a particular meal, connect it directly to that meal on the checklist as well.
6. Don’t Forget Eating and Cooking Supplies 🍴
Food packing is more than food.
Depending on your cooking setup, you may need:
☐ Stove
☐ Fuel
☐ Pot
☐ Mug
☐ Bowl
☐ Spoon or spork
☐ Knife
☐ Lighter or fire starter
☐ Cleaning supplies
☐ Food storage bags
Not every backpacker needs every item.
Your checklist should match your actual cooking system.
A no-cook trip, for example, may require very little cooking equipment.
7. Add a Food Storage Section
Think about how the food will be stored during the hike.
Depending on the environment and regulations, you may need appropriate food storage such as:
☐ Food bag
☐ Bear-resistant food storage where required
☐ Odor-resistant storage if appropriate
☐ Waterproof protection
☐ Separate trash bag
Food storage requirements vary by location.
Always follow the rules and recommendations for the specific trail or land-management area.
8. Include a “Quantity” Column
A checklist becomes much more useful when it tells you how much to pack.
Instead of:
☐ Oatmeal
Use:
☐ Oatmeal — ___ servings
Instead of:
☐ Trail mix
Use:
☐ Trail mix — ___ oz / ___ g
A simple printable table can look like this:
| Category | Item | Quantity | Packed |
|---|---|---|---|
| Breakfast | Oatmeal | ___ | ☐ |
| Lunch | Tortillas | ___ | ☐ |
| Dinner | Ramen | ___ | ☐ |
| Snacks | Nuts | ___ | ☐ |
| Drinks | Electrolytes | ___ | ☐ |
| Add-ons | Seasoning | ___ | ☐ |
This prevents the classic mistake of checking an item off while still packing too little.
9. Add Weight if You Track Pack Weight ⚖️
For longer trips, you can add another column:
Weight
For example:
| Item | Quantity | Weight | Packed |
|---|---|---|---|
| Oatmeal | 5 | ___ g | ☐ |
| Nuts | 5 | ___ g | ☐ |
| Dinner meals | 5 | ___ g | ☐ |
You don’t need to weigh every item if you prefer a simpler system.
But tracking food weight can help when you’re trying to control total pack weight.
10. Make a Daily Food Check
A particularly useful addition is a daily summary.
Day 1
☐ Breakfast
☐ Lunch
☐ Dinner
☐ Snacks
☐ Drinks
Day 2
☐ Breakfast
☐ Lunch
☐ Dinner
☐ Snacks
☐ Drinks
This lets you identify gaps quickly.
If Day 4 has no dinner listed, you know something needs attention before the trip.
11. Add a Final “Before You Leave” Checklist 🚪
After all the food is packed, perform one final check.
☐ All meals packed
☐ Enough snacks
☐ Drink mixes packed
☐ Small ingredients packed
☐ Cooking equipment packed
☐ Fuel checked
☐ Food storage ready
☐ Food packed securely
☐ Trash bags packed
☐ Special dietary items checked
☐ Resupply food separated and labeled
This final section is your safety net.
12. Keep the Checklist Reusable
Don’t throw away your checklist after the trip.
Save the master version.
After the hike, write down what went wrong.
Maybe you packed too many snacks.
Maybe you didn’t bring enough coffee.
Maybe you never used the powdered drink mix.
Maybe dinner portions were too small.
Use those observations to improve the next version.
Your checklist should become better with every trip.
A Simple Printable Template
You can structure your master checklist like this:
TRIP INFORMATION
Trip: ____________________
Dates: ___________________
Days: ____________________
Hikers: __________________
Resupply: ________________
BREAKFAST
☐ __________________ — Quantity: ______
☐ __________________ — Quantity: ______
☐ __________________ — Quantity: ______
LUNCH
☐ __________________ — Quantity: ______
☐ __________________ — Quantity: ______
☐ __________________ — Quantity: ______
DINNER
☐ __________________ — Quantity: ______
☐ __________________ — Quantity: ______
☐ __________________ — Quantity: ______
SNACKS
☐ __________________ — Quantity: ______
☐ __________________ — Quantity: ______
☐ __________________ — Quantity: ______
DRINKS & ADD-ONS
☐ __________________
☐ __________________
☐ __________________
COOKING & EATING
☐ __________________
☐ __________________
☐ __________________
FINAL CHECK
☐ Menu checked
☐ Quantities checked
☐ Weight checked
☐ Food storage checked
☐ Small items checked
☐ Resupply boxes labeled
☐ Everything packed
Final Thoughts 🥾💚
A backpacking food checklist isn’t about making your trip more complicated.
It’s about removing unnecessary decisions before you leave.
Build the checklist around your actual meals, separate snacks and drinks, include the tiny ingredients, track quantities, and finish with one final check.
Most importantly, make the checklist reusable.
Your first version doesn’t need to be perfect.
After each trip, adjust it based on what you actually ate, carried, forgot, or didn’t need.
Soon, packing for a multi-day backpacking trip becomes less about wondering what you’re missing and more about simply working through a system.
Plan it. Pack it. Check it. Hit the trail. 🎒🌲