How to Pack Food for a Thru-Hike Resupply Without Forgetting the Small Stuff 🎒🥾🍜
Introduction
Planning a thru-hike resupply box sounds simple: calculate the meals, buy the food, put everything in a box, and send it.
Then you arrive at your next resupply point and realize you forgot the electrolyte packets.
Or the coffee.
Or the hot sauce.
Or the tiny bag of powdered milk you specifically bought for breakfast.
The big food items are usually easy to remember. The small stuff is what causes problems.
A good resupply system isn’t just about calories. It’s about making sure every meal, snack, drink, and little convenience item you actually rely on makes it into the box.
Here’s how to build a system that reduces those “I forgot that” moments. 🥾
1. Start With Your Actual Daily Menu
Don’t begin by walking around the grocery store grabbing anything that looks trail-friendly.
Start with your menu.
Write down what you plan to eat each day:
Breakfast
🥣 Oatmeal + powdered milk + nuts
Lunch
🌯 Tortilla + tuna + cheese
Dinner
🍜 Ramen + dehydrated vegetables + protein
Snacks
🥜 Nuts
🍫 Bars
🍬 Candy
Drinks
☕ Coffee
🧃 Electrolyte mix
Once the menu is written down, the small ingredients become much easier to identify.
2. Create an “Every Meal Needs” List
For every meal, list the components separately.
For example:
Oatmeal
- Oats
- Milk powder
- Chia seeds
- Brown sugar
- Cinnamon
- Spoon
Ramen dinner
- Noodles
- Seasoning
- Dehydrated vegetables
- Protein
- Oil packet
- Fork
This prevents a common resupply mistake:
You packed the main food but forgot the ingredient that makes it work.
3. Separate Food From Food Accessories
Some items aren’t technically food, but they’re still part of the meal.
Create a separate category for:
- Electrolyte packets
- Drink mixes
- Coffee
- Tea
- Sugar
- Creamer
- Condiments
- Salt
- Hot sauce
- Seasonings
- Cooking oil
- Disposable utensils, if needed
- Small trash bags
These are easy to overlook because they don’t look like “meals.”
But if you use them every day, they’re part of your food system.
4. Build Daily Food Bags 🎒
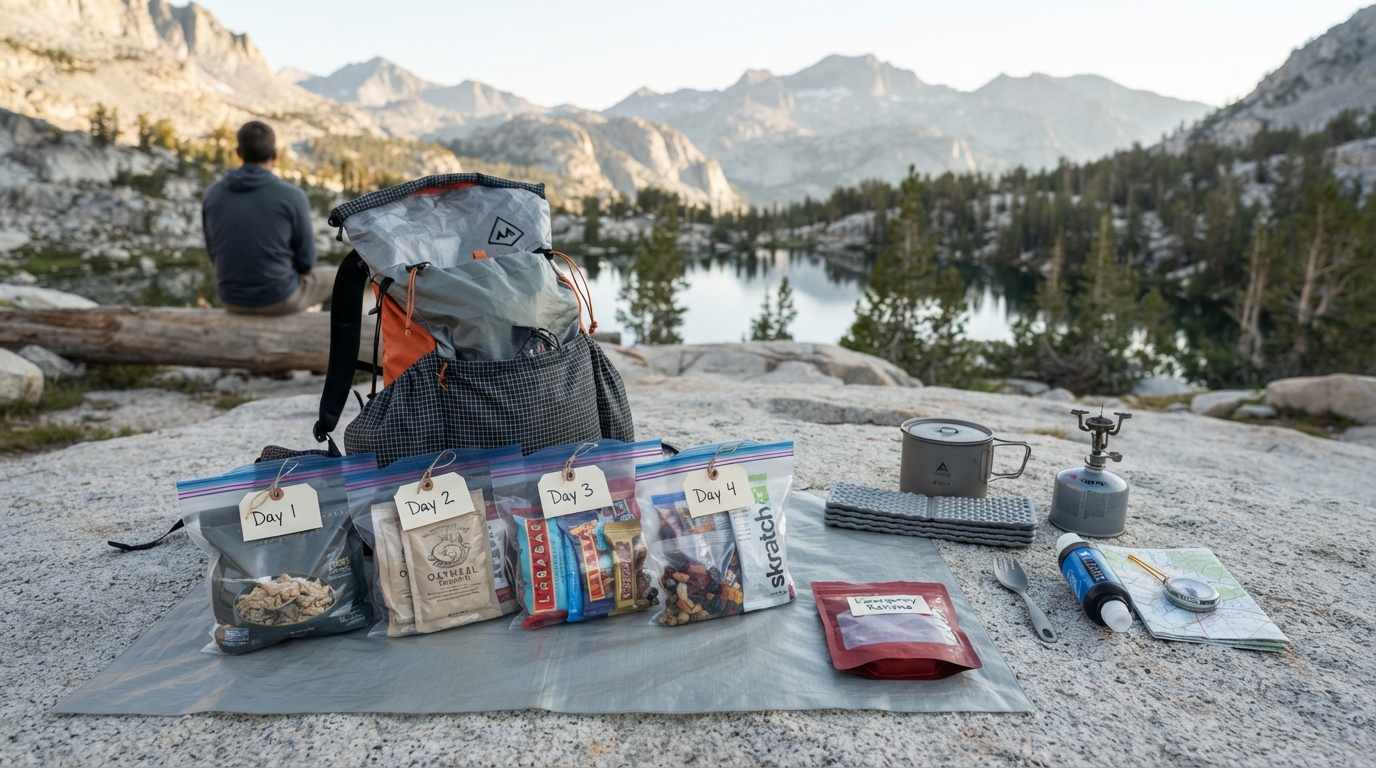
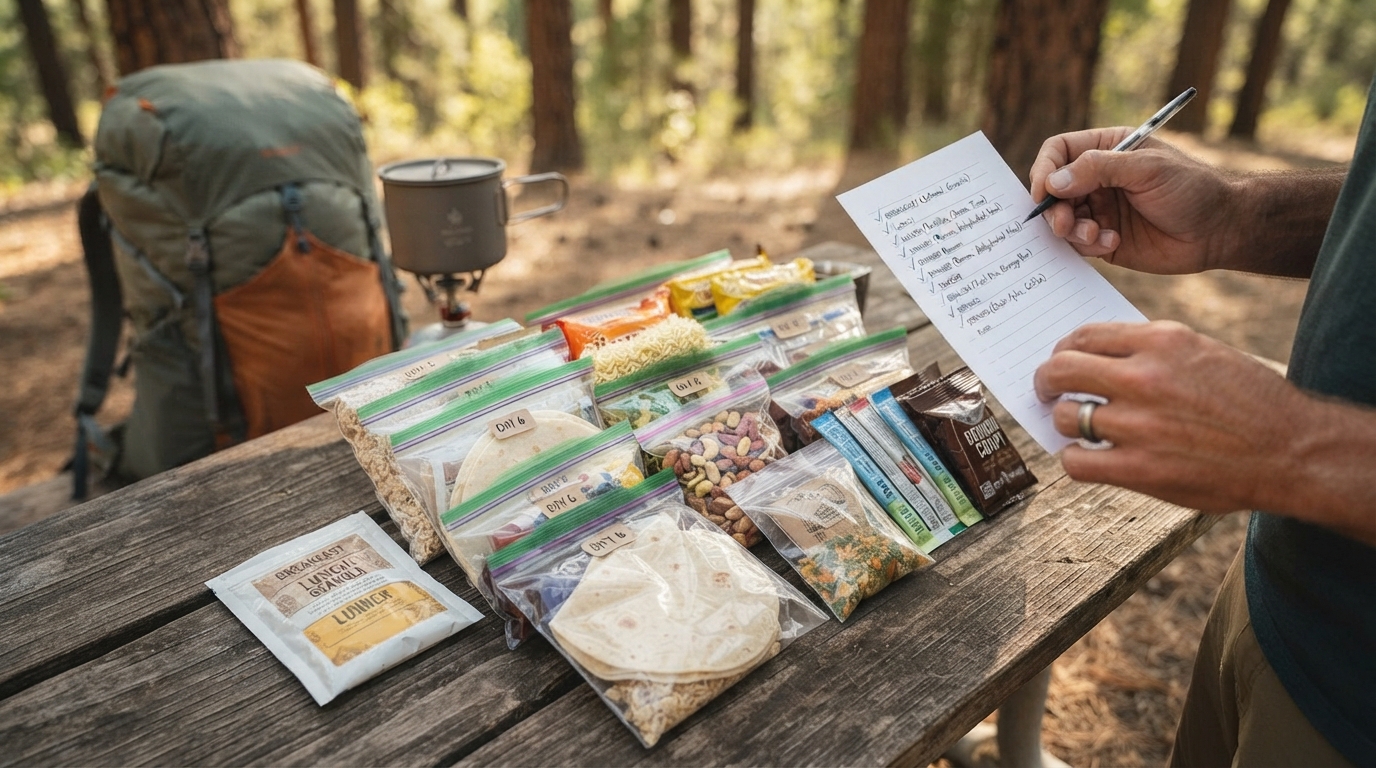
One of the easiest ways to organize a long resupply is to create one food bag for each hiking day.
For example:
Day 1
Breakfast → oatmeal
Lunch → tortilla + tuna
Snack → nuts + candy
Dinner → ramen meal
Drinks → coffee + electrolyte mix
Day 2
Same basic structure, different foods if desired.
This makes it much easier to see whether you’ve actually packed enough food.
It also reduces the mental work of deciding what to eat every day.
5. Label the Bags Clearly
Don’t rely on memory.
Use simple labels such as:
DAY 1
DAY 2
DAY 3
You can also label meals:
B = Breakfast
L = Lunch
D = Dinner
If your resupply covers different sections of a trail, include the section or town name as well.
The labels don’t need to be fancy.
They just need to be readable.
6. Make a “Tiny Things” Bag 🧂
This is one of the most useful tricks for avoiding forgotten items.
Put small items that are used across multiple meals into one clearly labeled bag.
For example:
TINY THINGS
- Salt
- Pepper
- Seasoning
- Coffee
- Sugar
- Creamer
- Electrolytes
- Condiments
- Tea
You can then check this bag separately before sealing the resupply box.
It prevents tiny packets from disappearing among dozens of larger food packages.
7. Don’t Forget Your First Day
A surprisingly easy mistake is packing the resupply while forgetting what you’ll need before reaching the next resupply point.
Ask:
“What am I eating on the morning I leave this town?”
If you’re staying overnight in town, that day’s food may look different.
You might need:
- Breakfast before hiking
- Trail snacks
- Lunch
- Dinner
- Morning coffee
Make sure your starting inventory and your resupply inventory connect properly.
8. Check Calories, But Don’t Ignore Practicality 🔥
Calories matter on long-distance hikes, but a theoretical calorie calculation doesn’t automatically produce a useful menu.
Consider:
- How much food you can comfortably carry
- What foods you actually enjoy
- How easy they are to prepare
- How well they hold up
- How much packaging they create
- Whether you’ll realistically eat them after a long day
A food you dislike may look excellent on paper and remain untouched in your backpack.
The best thru-hike food is food you’ll actually eat.
9. Check Packaging Before You Seal the Box
Packaging can create another problem.
Look at every item and ask:
Does this need its original packaging?
If not, you may be able to repackage it into a suitable food-safe bag or container.
But keep important preparation instructions and allergen information accessible when needed.
If you repackage food, label it clearly with the food name and any useful preparation information.
Don’t create mystery bags.
10. Create a Resupply Master Checklist 📋
Keep one master checklist that you reuse for every box.
Divide it into sections.
Meals
☐ Breakfasts
☐ Lunches
☐ Dinners
Snacks
☐ Bars
☐ Nuts
☐ Candy
☐ Other snacks
Drinks
☐ Coffee
☐ Electrolytes
☐ Drink mixes
Add-ons
☐ Oil
☐ Seasonings
☐ Sugar
☐ Condiments
Other
☐ Preparation instructions
☐ Labels
☐ Food bags
☐ Any required special items
The checklist becomes more valuable after every resupply.
If you forgot something in Box #1, add it to the checklist before preparing Box #2.
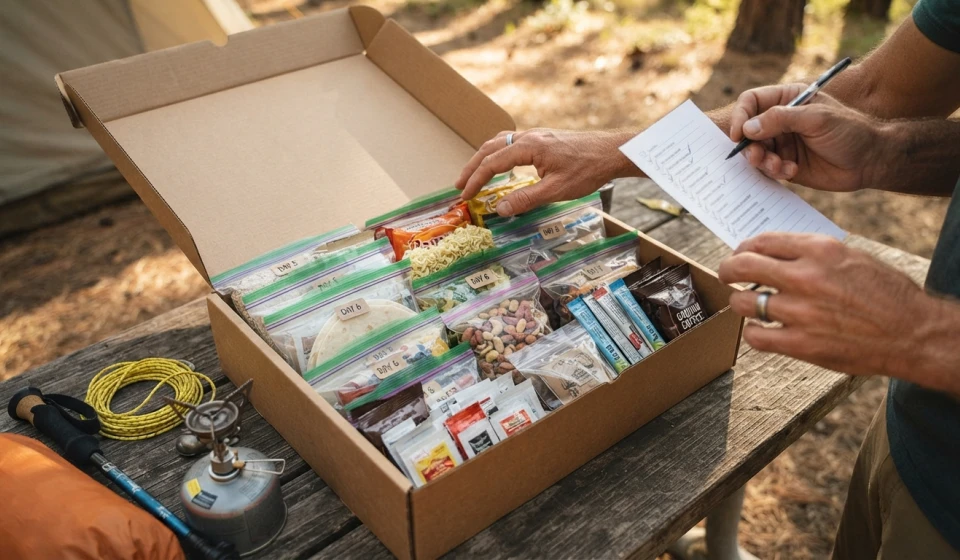
11. Use a “Pack, Check, Seal” System
Don’t seal the box immediately after packing it.
Use three stages:
PACK
Put everything inside.
CHECK
Compare the box against your menu and checklist.
SEAL
Only close the box after the check is complete.
This simple pause can catch surprisingly small omissions.
12. Do One Final Meal-by-Meal Audit
Before sealing the box, pretend you’re already on the trail.
Start with breakfast.
“Can I make this meal?”
Then lunch.
“Do I have everything?”
Then dinner.
“What’s missing?”
Then drinks.
“Do I have what I need to make these?”
Finally:
“What small thing will I be annoyed about if I don’t have it?”
That last question is particularly useful.
Think about the little comforts you use every day.
☕ Coffee
🧂 Seasoning
🍬 A favorite snack
🌶️ Hot sauce
🥤 Electrolytes
Sometimes those tiny items are what make a long hiking day feel better.
A Simple Resupply Box Formula
For each box, think:
Daily meals + snacks + drinks + meal add-ons + tiny essentials + preparation needs
Then verify:
Quantity → Organization → Labels → Instructions → Final checklist
This gives you a repeatable system instead of relying on memory.
Final Thoughts 🥾
A good thru-hike resupply box isn’t necessarily the one with the most food.
It’s the one where everything you planned to eat is actually there.
The easiest way to achieve that is to stop treating tiny ingredients and accessories as afterthoughts.
Build your menu first. Break every meal into components. Create daily food bags. Keep a dedicated “tiny things” bag. Use a reusable checklist, and perform a final meal-by-meal audit before sealing the box.
And remember the golden rule of resupply packing:
If you use it on the trail, it belongs on the checklist. 🎒🌲