A 3-Night Backpacking Menu With Just One Hot Meal Per Day 🏕️🍲
Introduction
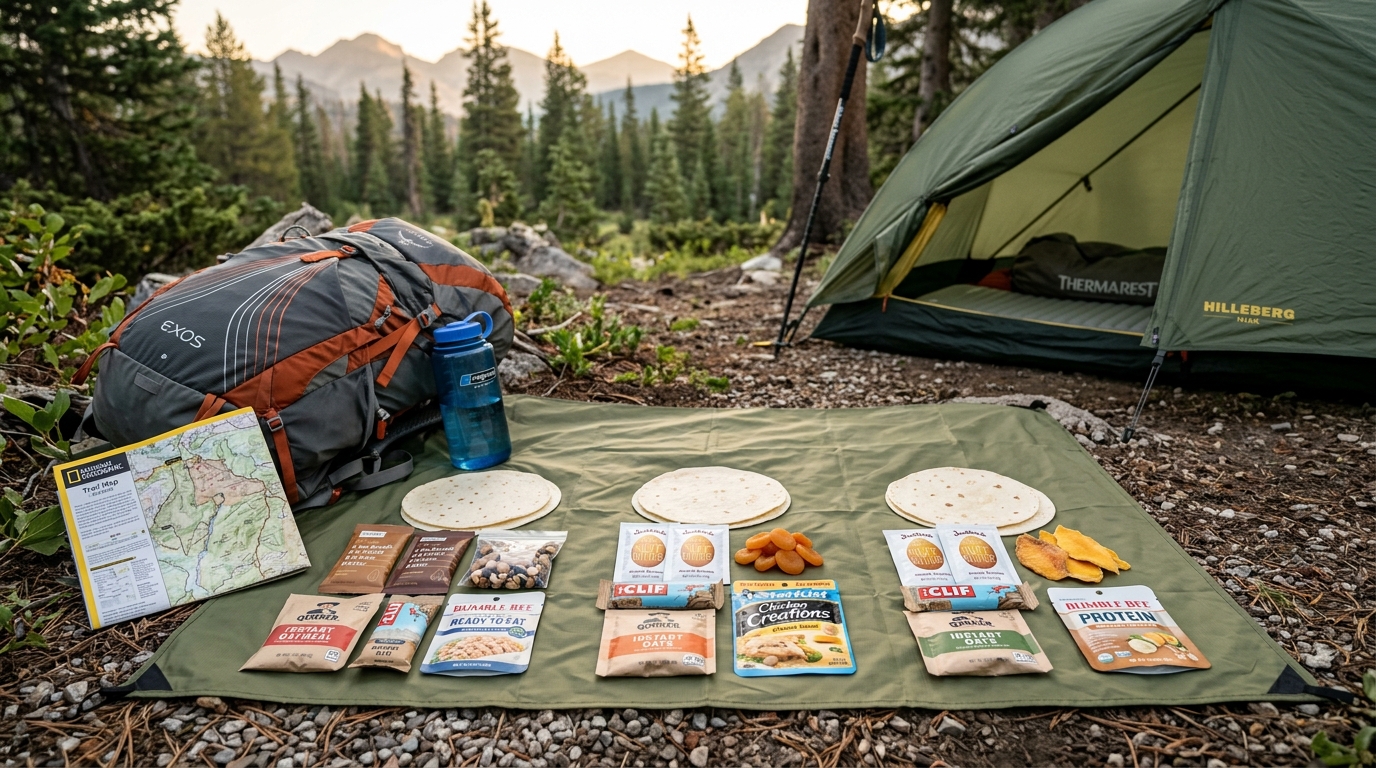
Backpacking food doesn’t have to mean cooking three meals a day or carrying a complicated kitchen. If you enjoy a warm dinner at camp but want quicker mornings and easier trail lunches, a one-hot-meal-per-day plan can offer a practical balance.
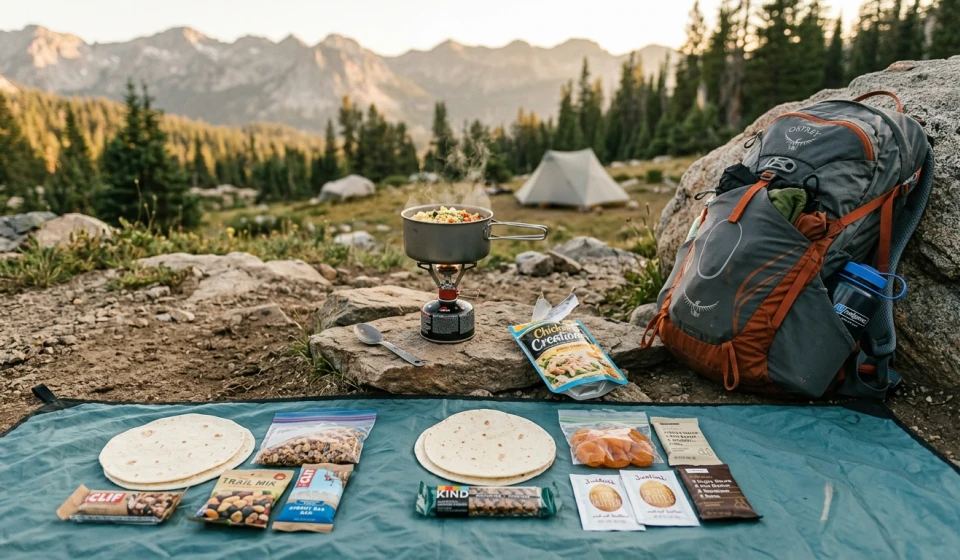
For this three-night trip, breakfast and lunch are ready-to-eat, while dinner is the only meal that requires heating water or cooking. You still get a satisfying hot meal at the end of the day, but you can leave the stove packed away during most of your hiking hours.
This sample menu is designed for one adult for four hiking days and three nights. Portions, calories, and shopping quantities are estimates. Adjust them to your appetite, route, weather, and activity level, and check package labels when calculating the final food weight.
🥾 1. The Four-Day Menu at a Glance
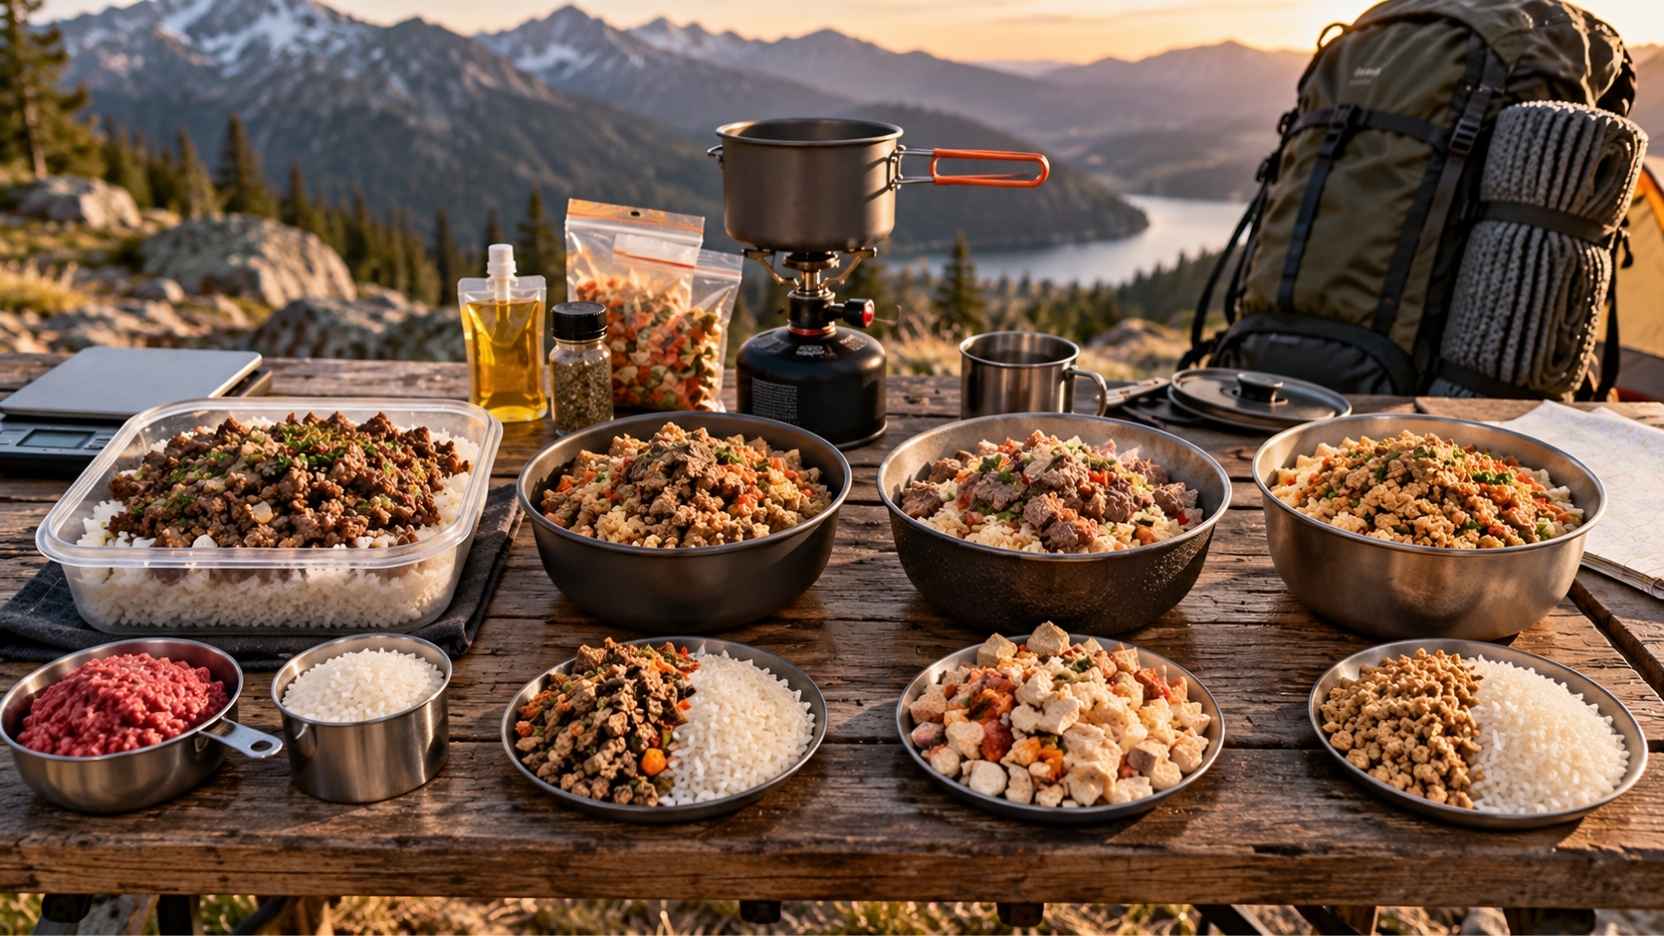
The plan uses portable breakfasts, no-cook lunches, trail snacks, and one hot dinner each day. Dinners are designed around ingredients that rehydrate with hot water, minimizing cooking time and fuel use.
Day 1: Trailhead to Camp
Breakfast
- Oatmeal prepared at home or eaten as an oat-and-nut mix
- Dried fruit and nuts
Lunch
- Tortillas with peanut butter and honey
- A piece of sturdy fruit or dried fruit
Trail snacks
- Trail mix
- An energy bar
Hot dinner
- Instant couscous
- Dehydrated vegetables
- Olive oil and seasoning
- Shelf-stable chicken pouch, added after cooking
Day 2: Full Hiking Day
Breakfast
- Granola with powdered milk and dried berries
Lunch
- Tortillas with tuna pouch and olive oil
- Crackers or pretzels
Trail snacks
- Nuts, dried fruit, and chocolate
Hot dinner
- Instant mashed potatoes
- Dehydrated vegetables
- Olive oil
- Shelf-stable chicken or another ready-to-eat protein pouch
Day 3: Another Day on the Trail
Breakfast
- Peanut butter tortilla
- Dried banana or raisins
Lunch
- Crackers with a nut-butter packet
- Trail mix and dried fruit
Trail snacks
- Energy bar
- Nuts or chocolate
Hot dinner
- Instant noodles or a quick-cooking dehydrated meal
- Dehydrated vegetables
- Seasoning or a small portion of oil
Choose noodles or a packaged meal that can be prepared safely using the directions on its label. If the meal requires a longer simmer, it may use more fuel than a simple soak-and-cover dinner.
Day 4: Hike Out
Breakfast
- Granola with powdered milk
- Nuts or dried fruit
Lunch for the trail
- Tortillas with peanut butter
- Remaining trail mix or an energy bar
Optional snacks
- Extra dried fruit, crackers, or another portable snack
There are three hot dinners for the three nights, with cold breakfasts and lunches throughout. The hike-out day still needs enough food for the distance and expected finish time, so don’t treat it as a short day unless your route actually makes it one.
🛒 2. Complete Shopping List and Pack-Out
Use this list as a starting point for one hiker. Package sizes and portions will vary, so adjust the quantities to match the menu and your energy needs.
| Food category | Suggested quantity |
|---|---|
| Tortillas | 1 pack of 6–8 |
| Oats or granola | 4 breakfast portions |
| Peanut butter | 4–6 single-serving packets or equivalent |
| Trail mix and nuts | 12–16 oz (340–450 g) |
| Dried fruit | 8–12 oz (225–340 g) |
| Energy bars | 4–6 |
| Instant couscous | 1 dinner portion |
| Instant mashed potatoes | 1 dinner portion |
| Instant noodles or dehydrated meal | 1 dinner portion |
| Dehydrated vegetables | 3 dinner portions |
| Shelf-stable chicken or tuna pouches | 2–3, as desired |
| Powdered milk | 4 breakfast portions |
| Olive oil | Small leakproof bottle |
| Seasonings | Small reusable container |
| Chocolate or crackers | Optional snacks |
Bring enough food to cover the full route, plus a reasonable contingency for delays or unexpected changes. The list is not a fixed calorie prescription. Check each package’s nutrition label, add up your portions, and adjust the menu for your body size, hiking intensity, and conditions.
Pack-out checklist
- Four breakfasts and four lunches
- Three dinners and any required protein pouches
- Daily snacks and extra emergency food
- Stove and compatible fuel canister
- Pot with lid
- Lighter or other permitted ignition method
- Spoon or spork
- Water container and appropriate water treatment
- Food-storage system required for your destination
- Resealable bags for organizing meals and packing out waste
Keep food organized by day, with each dinner grouped separately. Leave foods in their original packaging when the label or preparation directions are important, or transfer them into clean, food-safe containers while retaining the necessary instructions.
🔥 3. How Does Fuel Use Compare With Cooking Every Meal?
Cooking only dinner usually means less stove use and potentially less fuel to carry. However, the actual savings depend on the menu, weather, altitude, stove efficiency, and how much water needs heating.
| Factor | One hot meal daily | Three hot meals daily |
|---|---|---|
| Stove use | Mainly at dinner | Breakfast, lunch, and dinner |
| Fuel needs | Usually lower | Usually higher |
| Cookware | Often one small pot | May need more capacity or additional cookware |
| Cleanup | Usually minimal | More frequent |
| Morning routine | Quick, no stove needed | Requires cooking time |
| Meal flexibility | Best for hikers happy with cold food | Better for those who prefer warm meals |
With the one-hot-meal plan, a small pot may be enough if every dinner fits its capacity and the meal instructions allow it. A lid helps water heat efficiently. Some dehydrated meals can be prepared in their own packaging, but only use that method when the manufacturer explicitly permits it.
Don’t estimate fuel solely by counting meals. Three meals that each require a short boil may use less fuel than one dinner that needs prolonged simmering. Follow the stove manufacturer’s guidance, account for conditions, and carry enough fuel for the planned meals and a reasonable safety margin.
Never use a camping stove inside a tent or other enclosed space because of carbon monoxide and fire risks.
💧 4. Water, Food Safety, and Storage
Cold meals don’t require cooking water, but you still need enough safe drinking water for hiking, camp, and personal needs. Plan around the route’s reliable water sources, weather, exertion, and your own hydration needs. Treat water when its safety is uncertain.
For hot dinners, calculate how much water each meal requires using its instructions. Couscous and instant mashed potatoes may need less preparation time than meals that require simmering, but the exact water volume varies.
Food safety still matters on a three-night trip:
- Use unopened shelf-stable pouches according to their labels.
- Eat opened meat or fish pouches promptly rather than carrying leftovers unrefrigerated.
- Protect dry foods from rain, condensation, and leaks.
- Keep hands and utensils clean before eating.
- Pack out food scraps and wrappers.
- Follow local wildlife food-storage rules, including bear-canister requirements where applicable.
Avoid relying on smell alone to judge whether food is safe. If a product’s packaging is damaged, swollen, leaking, or otherwise questionable, don’t eat it.
🌿 5. Make the Plan Work for Your Hiking Style
This menu is a useful starting point, but it isn’t ideal for every hiker or every trail.
If you prefer a lighter pack, focus on calorie-dense foods such as nuts, nut butter, and olive oil while still bringing enough total food. If you prefer more variety, rotate couscous, instant rice, mashed potatoes, and packaged dehydrated meals.
If you’re hiking in cold weather, a warm dinner can be especially welcome, but your total energy and hydration needs may also change. On hot trips, consider foods that remain appealing and safe in warm conditions.
Before departure, weigh your actual food and calculate the calories from package labels. Remember that packaging, fuel, cookware, and water-treatment gear add to your total carried weight.
Final Thoughts 💚
A three-night backpacking trip with just one hot meal per day can strike a comfortable balance between convenience and a warm camp dinner. Ready-to-eat breakfasts and lunches reduce cooking time, while simple hot dinners keep evening preparation manageable.
The best plan is one that matches your appetite, route, weather, and equipment. Verify your food quantities, fuel needs, water plan, and storage requirements before leaving.
Simplify the cooking, not the preparation. A little planning at home can make your days on the trail easier and your evenings more relaxing. 🏕️