The Printable Backpacking Food Planner: Calories, Weight, Cost, and Daily Meals 🥾🍽️
Introduction
Planning food for a backpacking trip involves more than deciding what to eat. You also need to estimate calories, calculate food weight, control costs, plan water needs, and make sure every meal stays safe and practical on the trail.
Pack too little, and you may struggle with hunger during a demanding hike. Pack too much, and you carry unnecessary weight. Forget to plan water, and a meal that looks perfect at home may become inconvenient on a dry trail.
A reusable backpacking food planner helps you organize these details before leaving home. Whether you are planning a weekend trip or a week-long adventure, you can use the same worksheet to build a menu, compare food options, and learn from previous trips.
The goal is simple: enough food, manageable weight, a realistic budget, and meals you will actually want to eat. 🌲
1. Start With Your Trip Details
Before choosing meals, record the basic information that affects your food plan.
- Trip length: Number of hiking days and nights.
- Daily activity: Expected mileage, elevation gain, terrain, and hiking pace.
- Resupply options: Whether you can purchase food along the route.
- Water availability: Reliable sources, dry stretches, and treatment requirements.
- Cooking setup: Stove, fuel, cookware, or a no-cook menu.
- Dietary needs: Allergies, food preferences, and any special nutritional requirements.
- Budget: Total food spending and your target cost per day.
Your calorie needs will depend on individual factors and hiking conditions. Avoid treating one calorie target as suitable for every backpacker. Use your previous trips, appetite, activity level, and reliable nutritional information to create a starting estimate.
2. Track the Four Essentials
A useful planner should track four things for every meal and snack.
Calories: Estimate energy using the nutrition label or a reliable food database. Add the calories for the portions you will actually pack.
Food weight: Weigh the food in the form you will carry it. For example, record the weight of dry pasta rather than cooked pasta if you are packing it dry.
Cost: Divide the package price by the amount used. If a $4 bag of nuts contains eight equal portions, each portion costs approximately $0.50.
Daily meals: List breakfast, lunch, dinner, and snacks separately. This makes it easier to spot missing meals, repetitive choices, or days that contain too little food.
Keep food weight separate from packaging weight if you want a more accurate estimate of what goes into your backpack. For a complete pack-weight calculation, include both.
3. Build a Daily Menu That Works on the Trail
Plan meals around convenience, appetite, and the conditions you expect to encounter.
- Breakfast: Instant oats, powdered milk, nuts, or a breakfast bar.
- Lunch: Tortillas, nut butter, crackers, tuna packets, or other convenient foods.
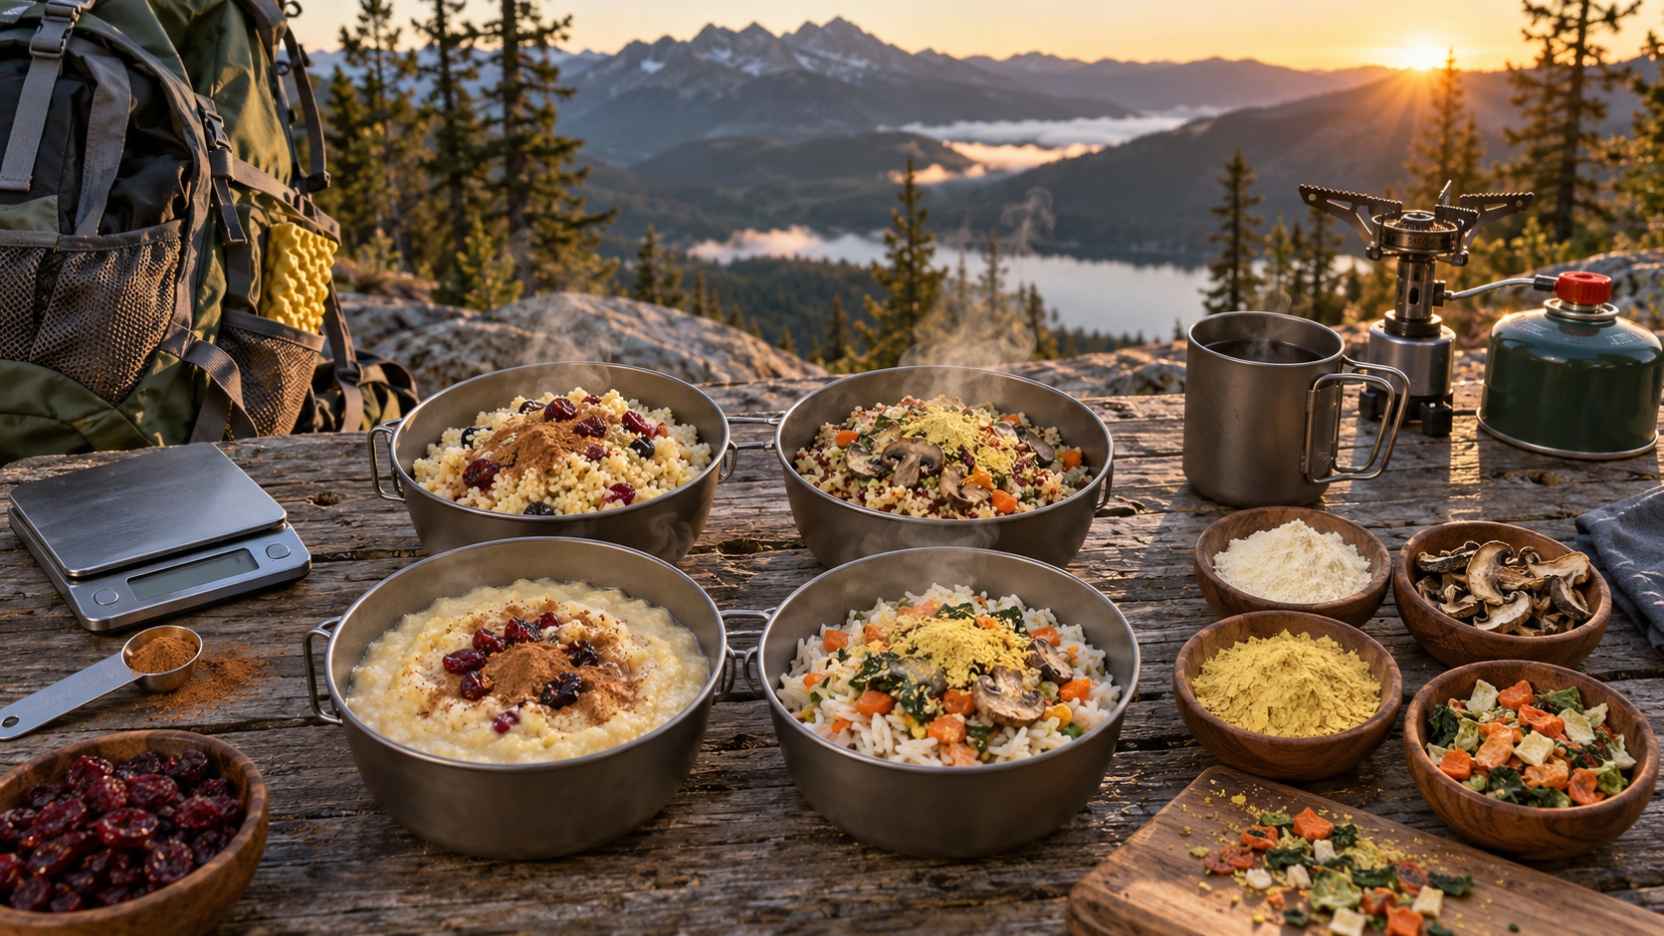
- Dinner: Dehydrated meals, instant rice, couscous, pasta, or quick-cooking legumes.
- Snacks: Trail mix, dried fruit, chocolate, or energy bars.
For strenuous days, you may prefer additional snacks or larger portions. On easier days, your appetite may be different. Use your menu as a flexible plan rather than a strict limit.
4. Printable Backpacking Food Planner Worksheet 📝
Copy or print this blank worksheet for your next trip.
Trip information
- Trip name: __________________________
- Start date: __________________________
- Number of hiking days: _______________
- Expected daily mileage: ______________
- Expected elevation gain: ______________
- Daily calorie estimate: _______________
- Total food budget: ___________________
- Water sources and dry stretches: _______
- Cooking method: _____________________
- Resupply locations: ___________________
Daily food plan
| Day | Meal or snack | Food and quantity | Calories | Weight (oz/g) | Cost |
|---|---|---|---|---|---|
| 1 | Breakfast | ||||
| 1 | Lunch | ||||
| 1 | Dinner | ||||
| 1 | Snacks | ||||
| 2 | Breakfast | ||||
| 2 | Lunch | ||||
| 2 | Dinner | ||||
| 2 | Snacks | ||||
| 3 | Breakfast | ||||
| 3 | Lunch | ||||
| 3 | Dinner | ||||
| 3 | Snacks |
Add more rows for longer trips.
Daily totals
- Total calories: ______________________
- Total food weight: ___________________
- Total food cost: _____________________
- Estimated water for drinking: __________
- Estimated water for cooking: ___________
- Fuel required: _______________________
- Extra food or emergency reserve: _______
Storage and safety checklist
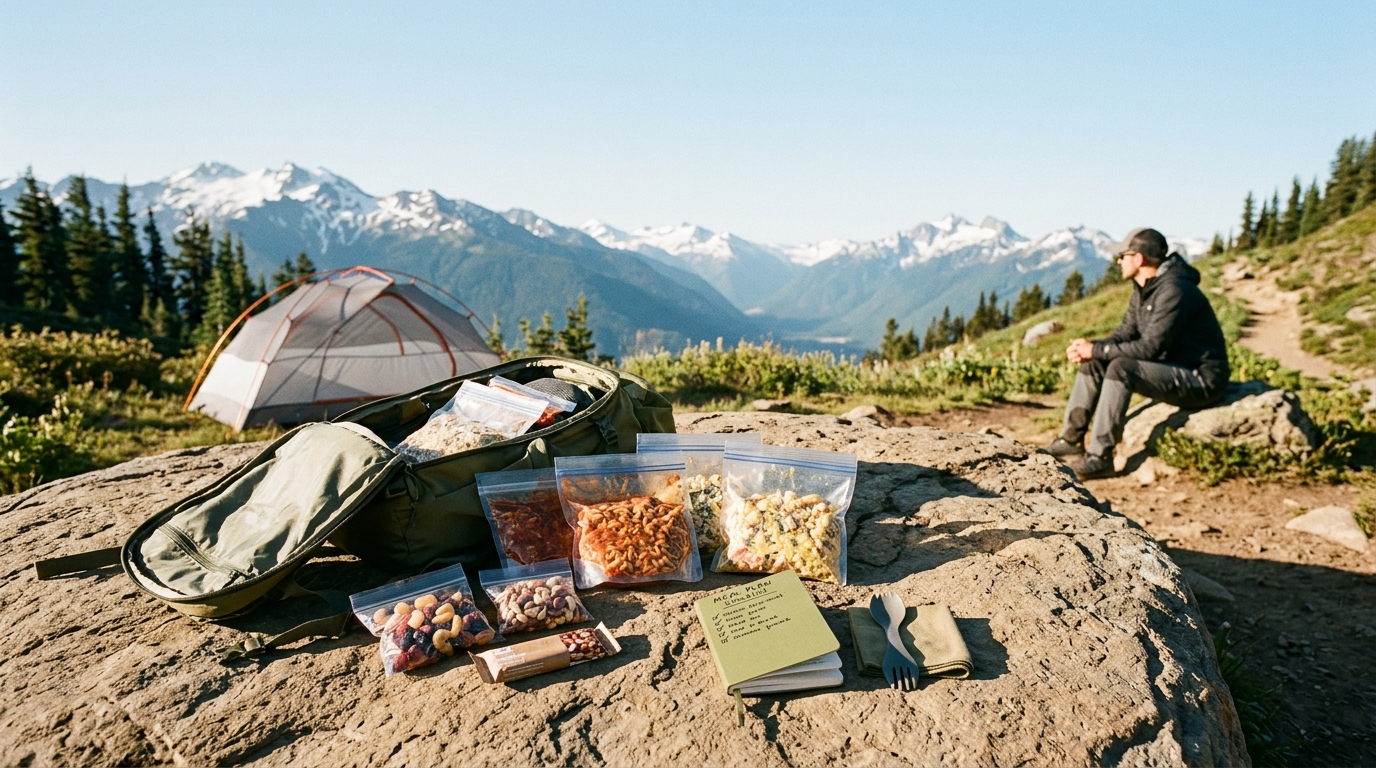
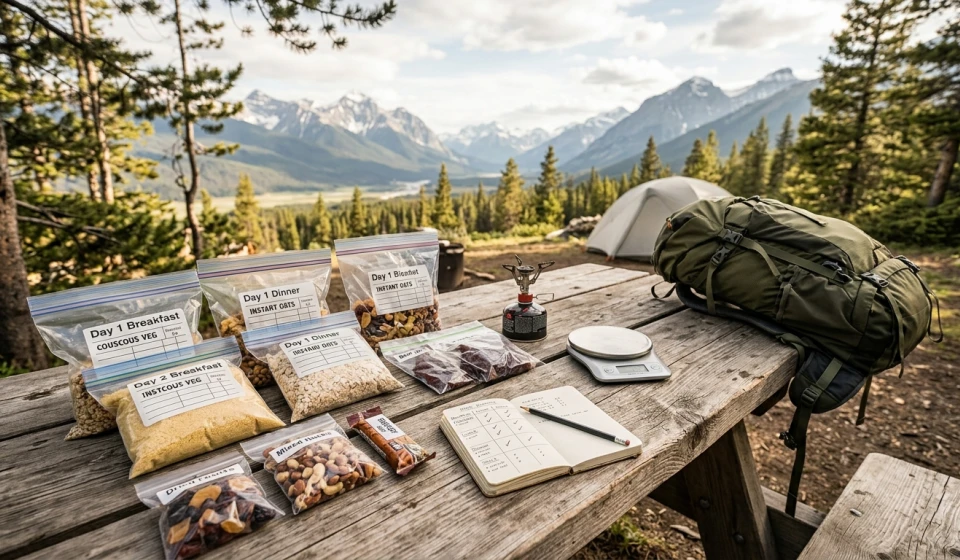
- Food portions are packed and labeled by day.
- Packaging is suitable for the trail and expected weather.
- Food is protected from wildlife according to local rules.
- Perishable ingredients have an appropriate temperature-control plan.
- Water treatment and cooking fuel are accounted for.
- Allergens and special dietary needs have been checked.
- Extra food is available for reasonable delays or unexpected conditions.
5. Completed Example: A Three-Day Backpacking Trip
The following example uses illustrative quantities, nutrition estimates, and prices in US dollars. It is a planning demonstration, not a universal calorie prescription. Actual values depend on brands, portion sizes, and local prices.
Example daily menu
| Meal | Food | Calories (approx.) | Food weight (approx.) | Cost (example) |
|---|---|---|---|---|
| Breakfast | Oats, powdered milk, dried fruit | 500 | 5 oz | $1.50 |
| Lunch | Tortillas, peanut butter, honey | 650 | 5 oz | $1.75 |
| Dinner | Couscous, olive oil, dried vegetables, seasoning | 700 | 6 oz | $2.50 |
| Snacks | Trail mix and an energy bar | 550 | 5 oz | $2.00 |
| Daily total | 2,400 | 21 oz | $7.75 |
These figures are illustrative estimates. Verify calories, packed weights, and prices using the exact products you purchase. The example excludes packaging, water, fuel, and cooking equipment.
For three days, the example totals are approximately:
- Calories: 7,200
- Food weight: 63 oz, or about 3.94 lb (1.79 kg)
- Food cost: $23.25
This example shows how daily totals can be multiplied to estimate trip requirements. It does not establish that 2,400 calories per day is sufficient for every hiker. A demanding route, a larger individual, or a longer hiking day may require more food.
6. Calculate Water and Fuel Separately 💧
Food planning is incomplete without water planning.
Estimate drinking water based on expected exertion, weather, individual needs, and the availability of reliable sources. Also calculate the water required to prepare each meal. Some foods require very little water, while others need substantial amounts to rehydrate.
Record:
- Water needed for drinking.
- Water needed for each meal.
- Known sources along the route.
- Water treatment method.
- Dry sections where you must carry additional water.
Do not assume that a stream or lake is safe to drink from without appropriate treatment. Follow local guidance for treating water.
For fuel, consider the number of meals you will cook, the stove manufacturer’s instructions, weather conditions, and your previous experience with the same setup. Fuel use varies, so test your system before relying on an estimate for a remote trip.
7. Plan Food Storage and Reduce Waste
Divide meals into daily bags or clearly labeled portions. Mark the day and meal, and keep snacks accessible during hiking.
Choose packaging that protects food from moisture and crushing. Repackage food at home when appropriate, but retain essential cooking instructions and allergen information.
Store food and scented items according to local wildlife regulations. A bear canister, approved storage locker, or hanging method may be required depending on the location. Never assume one storage method is suitable everywhere.
After your trip, record what you did not eat, what you ran out of, and which meals you enjoyed. This information will make your next planner more accurate.
Final Thoughts 🌟
A backpacking food planner turns meal preparation into a repeatable process. By recording calories, weight, cost, water, and storage requirements, you can make informed choices instead of guessing at the last minute.
Start with a simple menu, verify your calculations, and adjust portions to suit your actual needs. After each trip, use your notes to improve the next plan.
The best food plan is not necessarily the lightest or cheapest. It is the one that balances nutrition, practicality, cost, and the energy you need to enjoy your hike.