AT Thru-Hike Resupply Strategy: 6-8 Day Stretches
Planning a six- to eight-day stretch between resupply points on the Appalachian Trail demands more than just brute-force food packing. Your stove and fuel choices directly affect your pack weight, cooking reliability, and—ultimately—your ability to stay well-fed and hydrated through long, remote sections. This article breaks down the critical factors for thru-hikers who want to minimize town visits while maintaining high fuel efficiency and cooking performance.
The Challenge of Long Stretches on the Appalachian Trail
When you commit to six- to eight-day resupply intervals, every ounce and every gram of fuel must be carefully allocated. Unlike shorter three- or four-day hauls where you can over‑carry fuel without much penalty, a week‑long stretch forces you to make precise calculations. You are also more vulnerable to weather changes—a cold snap or relentless wind can spike your fuel consumption by 30 percent or more. The AT’s notorious humidity and unpredictable mountain storms add further uncertainty. Hikers who choose the wrong stove type or underestimate fuel needs often end up cold, hungry, or forced into an unscheduled (and costly) zero day in town.
Planning Resupply Stops with Limited Town Visits
Successful long‑interval resupply starts before you leave town. Whether you rely on mail drops, store‑bought items, or a hybrid approach, your stove and fuel plan must align with the exact resources available at each stop.
Strategic Town Selection
- Full‑service towns (e.g., Damascus, VA; Franklin, NC) have outfitters that stock canister fuel, denatured alcohol, and white gas. Ideal for resupplying your primary fuel type.
- Limited towns (e.g., small post offices or gas stations) may only carry a few collapsible alcohol stoves or cheap butane canisters. Know before you go using the AWOL Guide or Guthook (FarOut) app.
- Hostel drop boxes often accept mailed fuel, but some refuse white gas due to shipping restrictions. Always call ahead.
Mail Drops vs. Store Bought
Mail drops give you total control over your preferred stove and fuel, but they lock you into a specific schedule. Store‑bought fuel offers flexibility if you use common canister types (isobutane‑propane blends). For six‑ to eight‑day stretches, a hybrid strategy works best: start with a full mail‑drop fuel supply for the first long leg, then rely on town purchases for the second half. This prevents carrying heavy fuel across the entire length of the trail.
“I switched from an alcohol stove to a canister system after one miserable week in the Whites. I ran out of alcohol on day five, had to cold soak for two days, and vowed never to underestimate fuel density again. For long stretches, canisters are simply more reliable.” — Jesse “Squirrel” Thompson, 2022 AT thru‑hiker.
Fuel Calculations for 6‑8 Day Stretches
Accurate fuel estimation is the backbone of an efficient resupply. The most common mistake is assuming “one canister per week” without adjusting for cooking habits, temperature, and elevation. Let’s break down the math.
Standard Fuel Consumption Factors
- Boil time per meal: 2–4 minutes for 2 cups of water at 70°F (21°C).
- Fuel used per meal: ~6–10 grams (isobutane) or ~12–15 ml (alcohol).
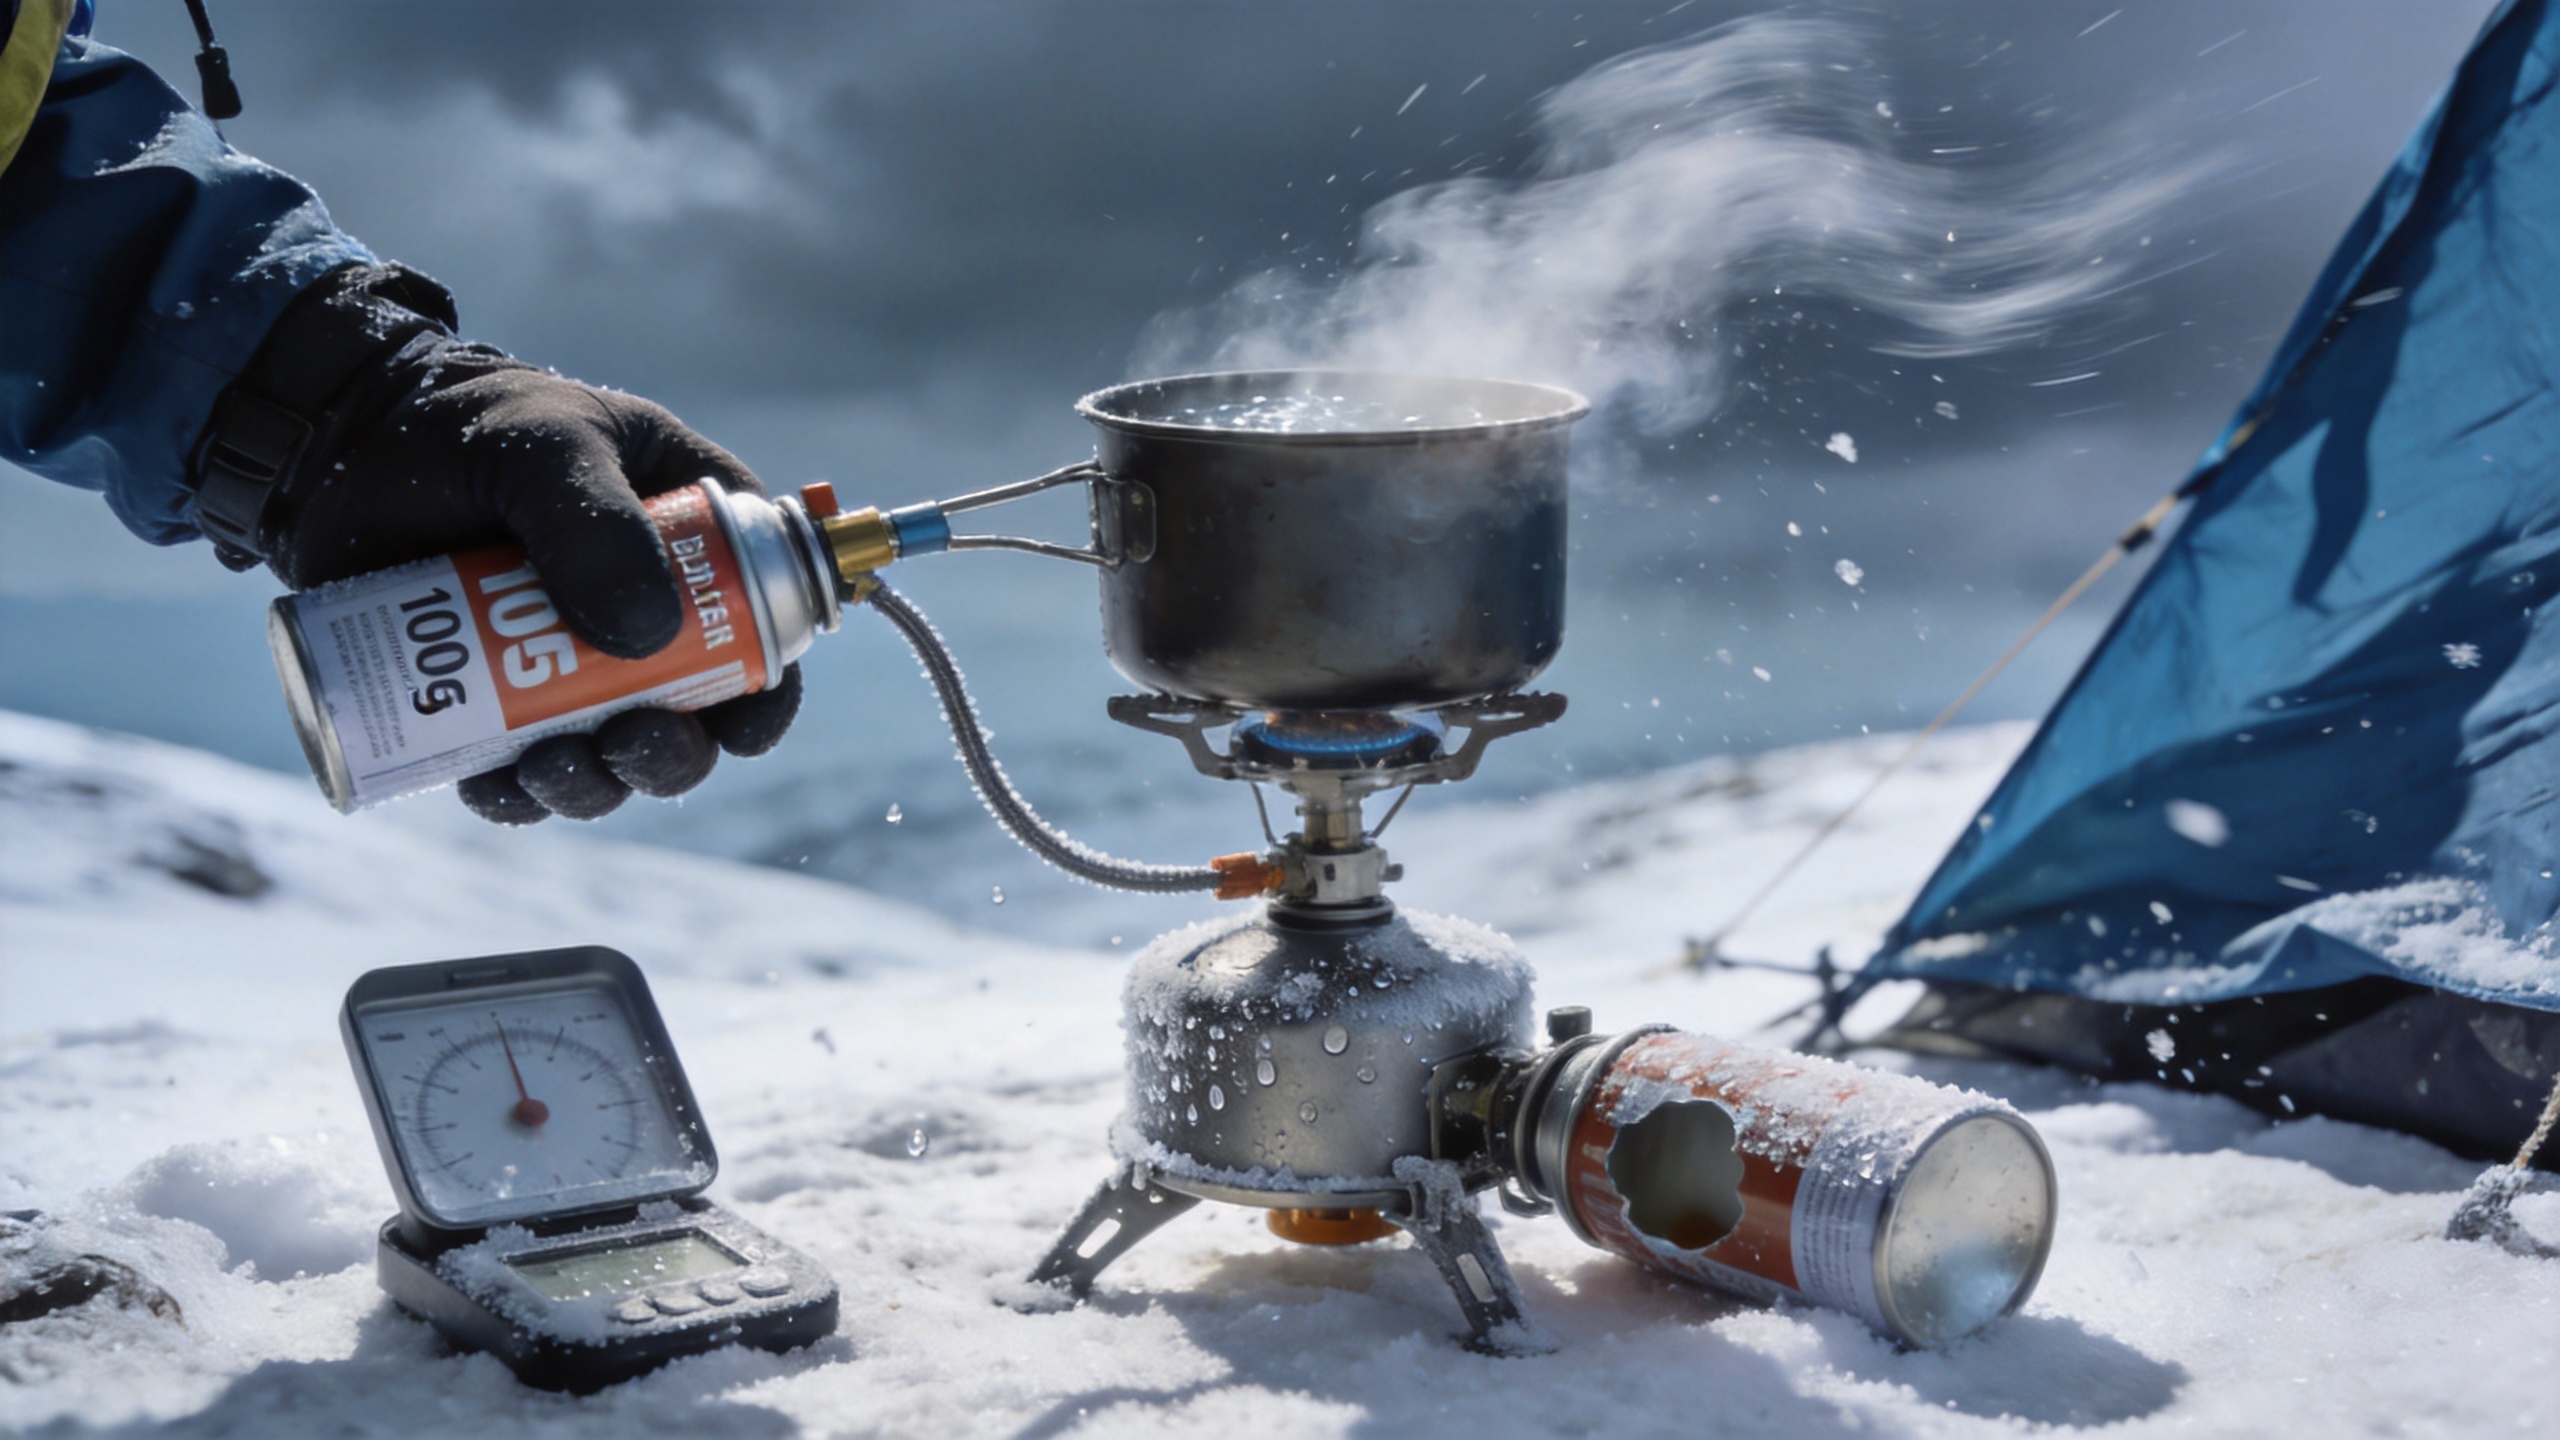
- Cold weather penalty: 20–40% more fuel needed when temperatures drop below freezing.
- Wind penalty: Up to 50% extra fuel without a proper windscreen.
Sample Fuel Budget for a 7‑Day Stretch
Assume two hot meals per day (dinner and breakfast) plus one hot drink. That is three boiling events per day × 7 days = 21 boils. Using a typical canister stove with moderate wind protection:
| Stove Type | Fuel per boil | Total fuel needed | Weight (fuel + stove) |
|---|---|---|---|
| Canister (isobutane) | 8 g | 168 g (≈ 6 oz) | ~225 g (including 110g stove + 115g fuel) |
| Alcohol (denatured) | 14 ml | 294 ml (≈ 10 fl oz) | ~280 g (stove 30g + fuel 250g) |
| White gas (MSR WhisperLite) | 5 ml | 105 ml (≈ 3.5 fl oz) | ~340 g (stove 230g + fuel 110g) |
| Wood stove (e.g., Solo Stove Lite) | N/A (foraged) | 0 g carried | ~200 g (stove only; fuel collected) |
Notice that alcohol stoves require significantly more fuel volume but the fuel itself is lightweight. However, carrying that many milliliters in a sealed bottle can be bulky. Canister stoves provide the best balance of weight and simplicity for most 6‑8 day stretches. White gas remains reliable in extreme cold but adds complexity and weight to the stove system.
Adjusting for Real‑World Conditions
On the AT, you will encounter wet, windy, and cold conditions even in summer. Always add a 25% safety margin to your fuel calculation. For a 7‑day stretch with a canister stove, carry a 110g or 230g canister—never a 100g canister, as it barely covers the base need.
Choosing a Stove Type Based on Resupply Frequency
Not all stoves are created equal when you are trapped between towns for a week. Here is how the main contenders stack up for long‑interval hiking.
Canister Stoves (Isobutane‑Propane Blends)
Best for: Most thru‑hikers who want simplicity and reliability.
- Pros: Lightweight, instant ignition, excellent boil times, easy to use in wind with a small windscreen.
- Cons: Fuel cannot be rationed precisely; you carry a fixed canister weight. Performance drops below 20°F (−6°C) even with a 70/30 blend.
- Resupply: Available in nearly every trail town. Most hostels sell or swap partially used canisters.
Alcohol Stoves
Best for: Ultra‑light hikers who torch their own weight and are comfortable with slow cooking.
- Pros: Extremely lightweight stove (15–30g), fuel available in hardware stores and some farm stands.
- Cons: Slow boil time (8–12 min), wind‑sensitive, fuel handling requires a leak‑proof bottle. Difficult to measure exact amounts.
- Resupply: Denatured alcohol can be tricky to find in small towns; you may need to mail it or carry extra from larger stops.
White Gas (Multi‑Fuel) Stoves
Best for: Winter hikers or those doing the entire AT with heavy snow and sub‑freezing temps.
- Pros: Works in extreme cold, fuel is efficient and widely available at outdoor stores. Can burn kerosene or unleaded gasoline in emergencies.
- Cons: Heavy stove, requires priming and maintenance. Fuel bottles add bulk. Overkill for most summer sections.
- Resupply: White gas is somewhat rare in basic grocery stores but common at outfitters. Plan mail drops.
Wood Stoves
Best for: Hikers in wooded sections with dry wood and a lot of patience.
- Pros: Carry zero fuel weight, no resupply needed, renewable.
- Cons: Slow, requires constant feeding, impractical in rain or above treeline. Smoke and soot can be a nuisance. May violate fire bans.
- Resupply: Not applicable, but you must be willing to spend 30–40 minutes per meal gathering and burning wood.
For the majority of AT thru‑hikers planning 6–8 day stretches, the clear winner is a canister stove paired with a small 230g fuel canister. It offers the best trade‑off between weight, reliability, and resupply convenience. Alcohol stoves are a viable option only if you meticulously measure fuel and can source denatured alcohol at every third town—which is often more stress than it’s worth.
Practical Tips for Optimizing Your Stove System
Once you have chosen your stove, use these strategies to stretch your fuel to the max.
Reduce the Number of Hot Meals
Consider shifting to “cold breakfasts” (tortillas, peanut butter, granola bars) and only cooking dinner. Or use a single boil for both dinner and the next morning’s coffee by preparing a thermos tube. Each skipped boil saves 8–10 grams of fuel.
Invest in a Good Windscreen
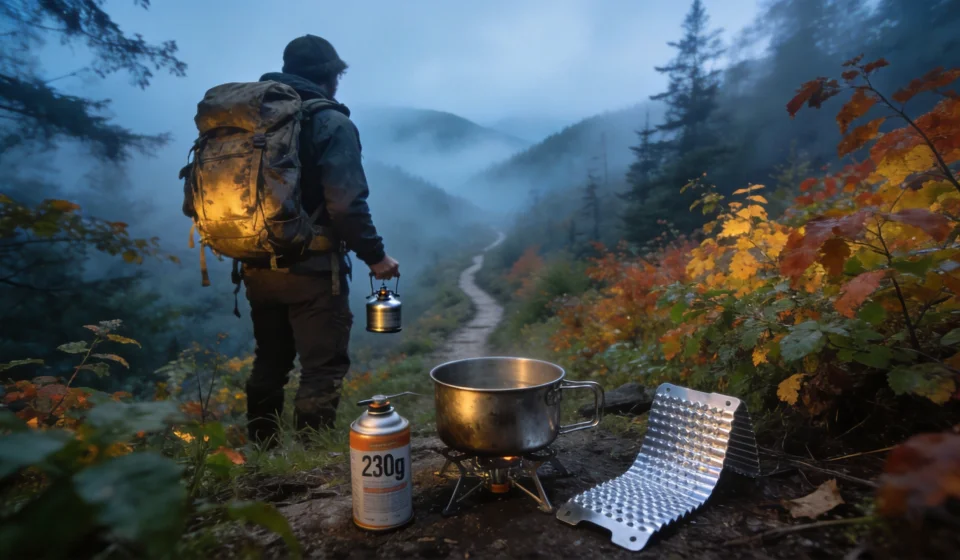
Wind is the number one fuel hog. A flexible aluminum windscreen (can be cut from a baking sheet) can cut fuel use by 30–40%. Always use it with appropriate ventilation to avoid carbon monoxide buildup.
Cook in Bulk
Boil enough water for two meals at once. For example, boil 4 cups for dinner and immediate rehydration of a lunch side dish. Storing cooked food in a freezer bag inside your sleeping bag keeps it warm without extra fuel.
Carry a Backup Ignition
Losing your lighter on day three of a seven‑day stretch is a disaster. Carry a mini Bic lighter plus a ferro rod or stormproof matches as backup. A small piece of cardboard and a coin also help if your lighter gets wet.
Know Your Stove’s “Sweet Spot”
Most canister stoves achieve peak efficiency when the flame is just strong enough to produce a steady boil—not roaring full blast. Learn to dial in the exact flame height for your pot size. Over‑burning wastes fuel.
Conclusion
Mastering your stove and fuel strategy for six- to eight-day resupply stretches transforms the AT from a logistical puzzle into a liberating adventure. Choose a canister stove for the best balance of speed, weight, and fuel availability. Calculate your fuel based on two hot meals per day plus a 25% safety margin, and always carry a windscreen. With these tactics, you’ll stay well‑fed, light on your feet, and free to enjoy the trail without unnecessary town distractions.