How to Build a 3-Day Backpacking Meal Plan for Under $25 🥾🍜
Introduction
A backpacking meal plan doesn’t have to mean expensive freeze-dried dinners, specialty energy bars, or a grocery cart full of individually packaged meals.
With a little planning, you can build a 3-day backpacking menu for under $25 using inexpensive supermarket foods that are lightweight, calorie-dense, easy to prepare, and reasonably shelf-stable.
The challenge is balancing four things:
Cost 💵 + calories 🔥 + pack weight 🎒 + convenience ⏱️
This guide shows you how to build the menu step by step rather than simply handing you a shopping list. That makes it easier to adjust the plan when prices, dietary needs, or food preferences change.
Important: A $25 food budget is a planning target, not a guarantee. Grocery prices vary significantly by location, store, package size, and brand. The examples below are designed to show how the budget can work rather than claim that every shopper will pay exactly these prices.
Step 1: Decide How Much Food You Need
Before thinking about recipes, estimate your daily energy needs.
Backpacking energy requirements vary considerably depending on:
- Body size
- Hiking distance
- Elevation gain
- Pack weight
- Terrain
- Temperature
- Hiking pace
- Individual metabolism
- Trip duration
A person carrying a heavy pack over steep terrain may need substantially more food than someone taking short, easy hikes.
For a simple planning example, let’s build the menu around approximately 2,500–3,000 calories per day.
That gives:
3 days × 2,500–3,000 calories = 7,500–9,000 calories
Your actual target may be higher or lower.
Don’t deliberately underfuel simply to hit a budget or weight goal.
Step 2: Prioritize Calories Per Ounce 🎒
For backpacking, food weight matters.
One useful measurement is:
Calories per ounce = total calories ÷ food weight in ounces
Foods with a relatively high calorie density can provide substantial energy without adding as much weight.
Examples include:
- Peanut butter
- Nuts
- Tortillas
- Olive oil
- Granola
- Instant noodles
- Powdered milk
- Cheese that is appropriate for the conditions
- Dried fruit
Fresh fruits and vegetables contain useful nutrients but also contain considerable water, making them heavier for the amount of energy they provide.
That doesn’t mean you should eliminate them completely. It means you should choose deliberately.
Step 3: Build the Menu Around Cheap Staples
Instead of purchasing individual backpacking meals, look for ordinary grocery-store foods that work well with hot water or require little preparation.
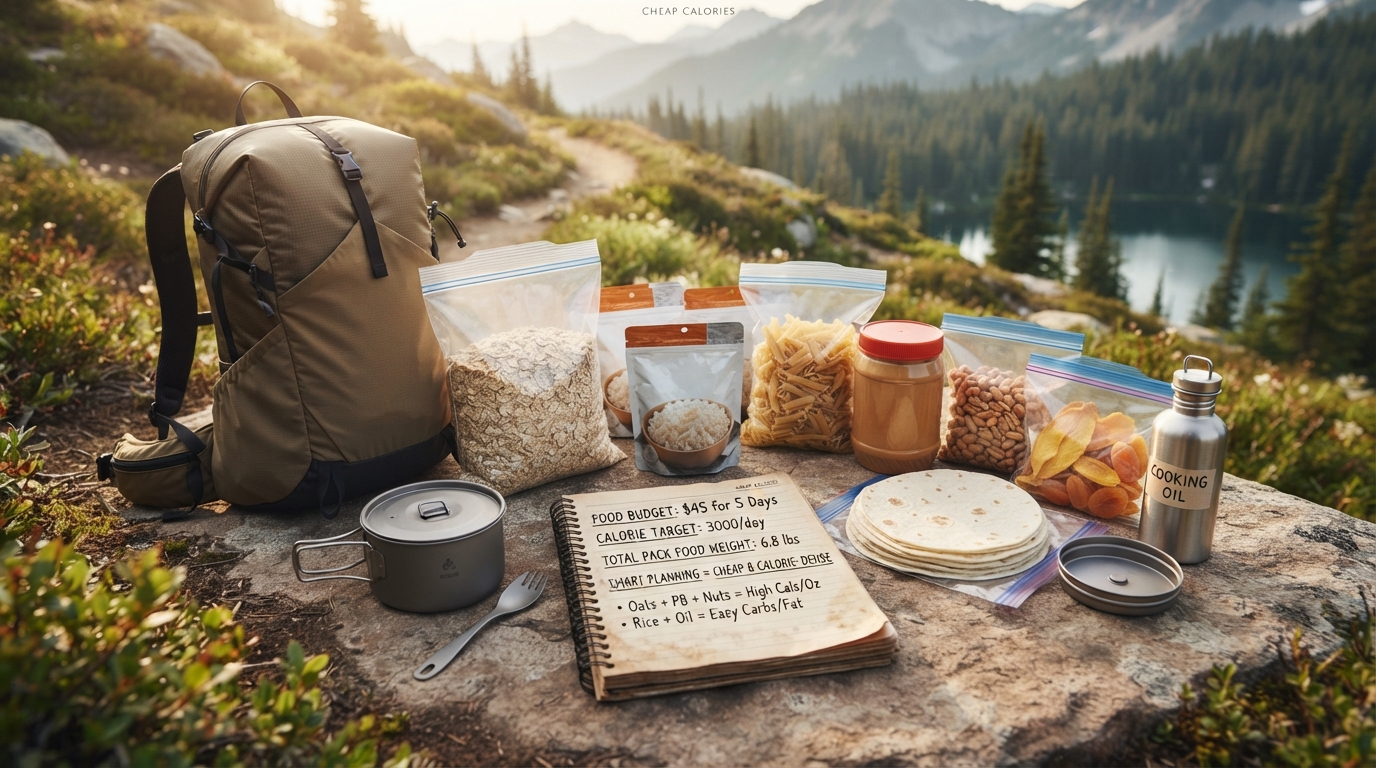
A budget-friendly menu might include:
Breakfast
- Instant oatmeal
- Peanut butter
- Powdered milk
- Raisins or another dried fruit
- Coffee or tea, if desired
Lunch
- Flour tortillas
- Peanut butter
- Trail mix or peanuts
- Dried fruit
Dinner
- Instant noodles
- Instant rice or another quick-cooking grain
- Tuna or chicken packets, if desired
- Seasoning
- Olive oil
Snacks
- Peanuts
- Pretzels
- Granola
- Dried fruit
- Peanut butter
The exact products and prices will vary, but the general strategy is consistent:
Buy versatile ingredients that can appear in multiple meals.
Step 4: Build One Shopping List 🛒
Here is an example of a budget-oriented shopping list.
| Food | Example quantity | Approximate budget target |
|---|---|---|
| Instant oatmeal | 10–12 servings | $3 |
| Peanut butter | 16 oz | $3 |
| Tortillas | 1 package | $3 |
| Instant noodles | 3 packages | $3 |
| Instant rice | 1 package | $2 |
| Peanuts or trail mix | 12–16 oz | $4 |
| Dried fruit | 8–12 oz | $3 |
| Tuna/chicken packets | 3 | $3 |
| Powdered milk | Small package | $1–2 |
| Seasonings | From home | $0 |
Target total: approximately $25
Prices vary, so treat this as a framework rather than a promise.
You may also already have ingredients such as salt, cinnamon, chili flakes, or olive oil at home.
Step 5: Don’t Confuse Grocery Cost With Trip Cost
There’s an important budgeting detail here.
Suppose you need to buy a $3 jar of peanut butter but use only half of it on your trip.
Your shopping receipt may be $25 or more, while the value of the food actually consumed on the trip is lower.
For a strict “$25 shopping trip,” you need to stay under $25 at checkout.
For a “$25 food allocation,” you can calculate the cost of the actual quantities packed.
Decide which definition you’re using before shopping.
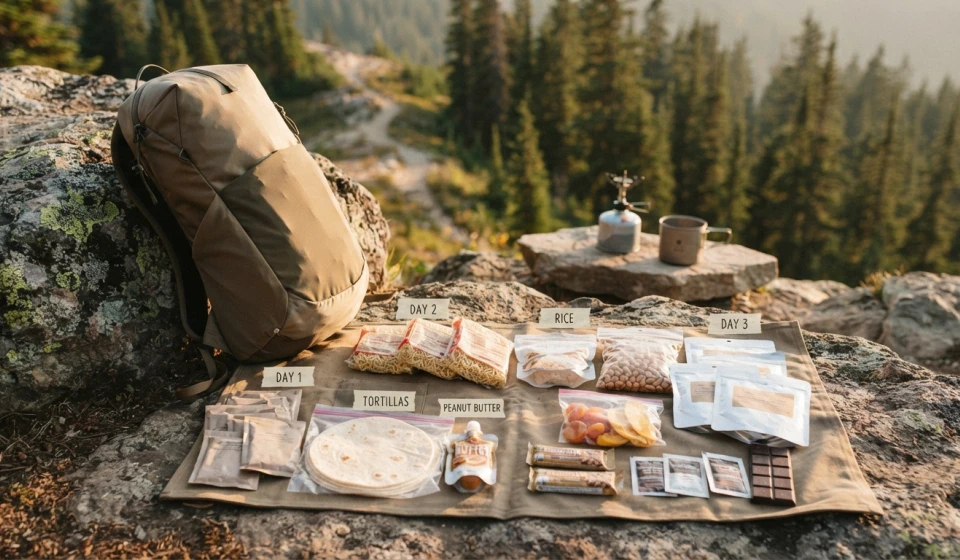
Step 6: Create a 3-Day Menu 🍽️
Here’s one example.
Day 1
Breakfast
Instant oatmeal + powdered milk + peanut butter + dried fruit
Lunch
Two tortillas + peanut butter + dried fruit
Snack
Peanuts + granola
Dinner
Instant noodles + tuna + olive oil
Evening snack
Peanut butter + tortilla
Day 2
Breakfast
Instant oatmeal + peanut butter + dried fruit
Lunch
Tortillas + tuna + seasoning
Snack
Peanuts + dried fruit
Dinner
Instant rice + tuna + olive oil + seasoning
Evening snack
Granola + powdered milk
Day 3
Breakfast
Instant oatmeal + powdered milk + peanut butter
Lunch
Tortillas + peanut butter + dried fruit
Snack
Peanuts + granola
Dinner
Instant noodles + tuna + olive oil
This isn’t a gourmet menu.
That’s intentional.
The goal is to create a system that is cheap, compact, easy to prepare, and sufficiently energy-dense.
Step 7: Add Calories Without Adding Much Weight 🔥
If your menu doesn’t provide enough energy, adding more bulky food isn’t necessarily the best solution.
A small amount of calorie-dense ingredients can increase the energy content substantially.
Peanut butter
A tablespoon provides roughly 90–100 calories, depending on the product.
Oil
One tablespoon of common cooking oil provides roughly 120 calories.
Nuts
Nuts provide substantial calories in a relatively compact package.
Granola
Granola can provide a convenient combination of carbohydrates, fat, and some protein.
However, calorie density shouldn’t be your only consideration. Flavor, nutrition, digestion, preparation, and food safety still matter.
Step 8: Think About Protein
A budget backpacking menu shouldn’t be built around calories alone.
Protein supports many important body functions, including maintaining and repairing tissues.
Convenient backpacking protein sources include:
- Peanut butter
- Peanuts
- Powdered milk
- Tuna packets
- Chicken packets
- Jerky
- Roasted chickpeas
- Some instant meals containing legumes
The amount you need depends on factors such as body size, activity, and total diet.
You don’t need to turn every meal into a high-protein meal, but including a protein source throughout the day can make the menu more balanced.
Step 9: Keep Preparation Simple 🔥
A budget meal is less useful on the trail if it requires a complicated cooking setup.
Look for foods that:
- Cook quickly
- Require minimal water
- Use one pot
- Need little cleanup
- Can be eaten without cooking
- Don’t require refrigeration
Instant oatmeal, tortillas, peanut butter, nuts, dried fruit, and many instant rice or noodle products can fit this approach.
For cooking, follow the package directions where applicable.
If you’re using a stove, remember that fuel is another part of your overall backpacking system even though it isn’t included in the $25 food budget.
Step 10: Repackage to Reduce Bulk 🎒
Original food packaging can contain unnecessary cardboard and bulky plastic.
For appropriate dry foods, you can repackage portions into lightweight food bags.
Label each meal clearly.
For example:
DAY 1 — BREAKFAST
DAY 1 — LUNCH
DAY 1 — DINNER
This makes it much easier to keep track of your food on the trail.
However, don’t remove important preparation or allergen information without retaining it somewhere accessible.
For foods with special storage requirements, follow the manufacturer’s instructions.
Step 11: Plan for Food Safety
Budget doesn’t mean ignoring food safety.
Shelf-stable foods are particularly useful for backpacking because they don’t require refrigeration before opening.
Be careful with foods that require refrigeration.
For example, fresh meat, some dairy products, and opened perishable foods can become unsafe if held at inappropriate temperatures.
When carrying meat or other perishable foods, follow appropriate food-safety guidance and consider the weather, trip duration, and storage conditions.
When in doubt, choose a shelf-stable alternative.
How to Make the $25 Budget Work 💵
Here are some practical strategies.
Buy larger packages
A larger container can have a lower cost per ounce, although you should account for what you actually need for the trip.
Use one ingredient multiple ways
Peanut butter can appear at breakfast, lunch, and snack time.
Dried fruit can go into oatmeal or trail mix.
Seasonings can work across multiple dinners.
Shop your pantry first
Check what you already have before buying anything.
You may already have:
- Oatmeal
- Spices
- Peanut butter
- Rice
- Oil
- Salt
- Tea
- Coffee
Avoid single-serving packaging
Individual packages are convenient but can cost more per serving.
Portioning bulk foods yourself can reduce costs and packaging.
Compare unit prices
Don’t automatically choose the cheapest package.
Look at the price per ounce or per serving when comparing similar products.
What About Nutrition?
A $25 menu is not automatically nutritionally complete.
Backpacking meals often prioritize shelf stability, calorie density, convenience, and weight.
For a short 3-day trip, you can still improve nutritional variety by including:
- Dried fruit
- Nuts
- Whole-grain products when practical
- Legumes
- Dehydrated vegetables
- Shelf-stable protein sources
The goal is not perfection.
The goal is to create a practical menu that provides adequate energy while fitting your budget and carrying limitations.
A Better Way to Judge Your Meal Plan
Before leaving, check five things:
🔥 Calories
Does the total provide enough energy for your planned activity?
🎒 Weight
Is the food weight reasonable for your pack?
💵 Cost
Does it fit your actual definition of the $25 budget?
🍽️ Preparation
Can you realistically cook it with your available equipment?
🧂 Tolerance
Have you eaten these foods before?
A backpacking trip is usually not the best time to discover that a particular food doesn’t agree with your stomach.
Final Thoughts 🌲
Building a 3-day backpacking meal plan for under $25 is less about finding a magical list of cheap foods and more about using versatile ingredients strategically.
Start with your calorie needs. Choose reasonably calorie-dense foods. Build meals around inexpensive staples. Add protein and some nutritional variety. Keep preparation simple, and check the actual prices where you shop.
Most importantly, don’t sacrifice adequate food simply to hit an arbitrary budget.
A successful backpacking menu should leave you with enough energy to hike, enough food to feel satisfied, and a pack that you can comfortably carry.
The best budget backpacking meal plan isn’t the one with the fanciest ingredients.
It’s the one that gives you enough fuel, manageable weight, simple preparation, and a price you can actually afford. 🥾🎒✨