How to Build a Lower-Sodium Backpacking Menu From Grocery Store Foods
Introduction 🥾🥜
Planning backpacking food does not have to mean buying a complete collection of specialty freeze-dried meals.
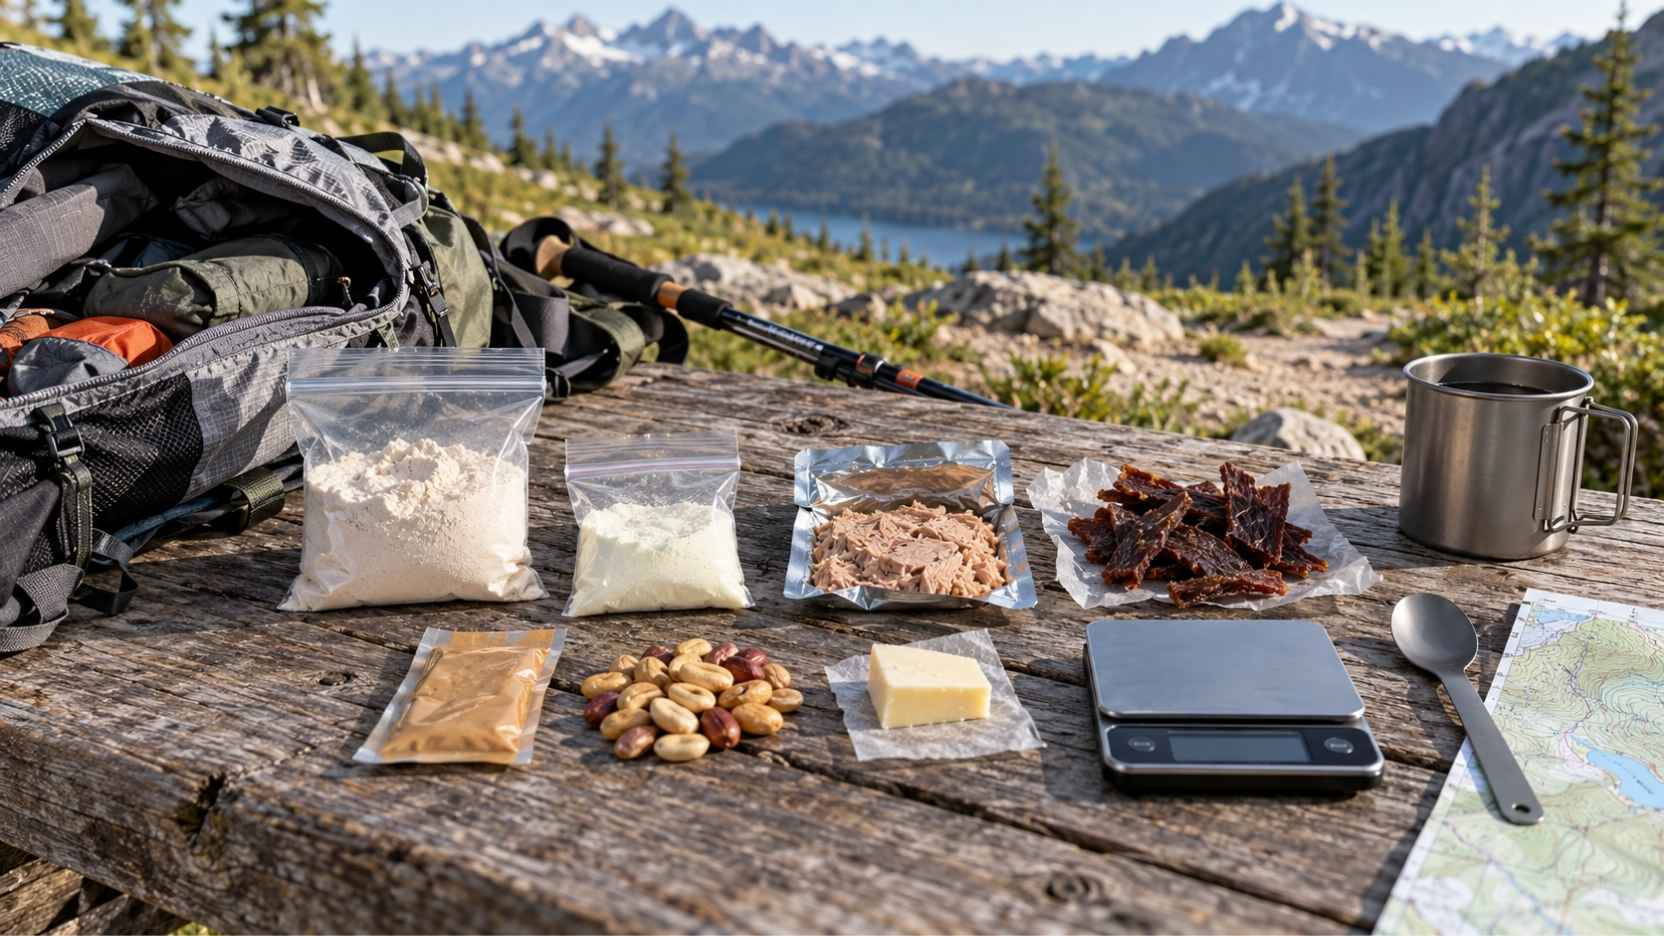
A regular grocery store can provide many useful backpacking ingredients: oats, tortillas, nut butters, dried fruit, instant grains, unsalted nuts, powdered milk, shelf-stable proteins, crackers, and other foods that can be portioned and packed at home.
The challenge is sodium.
Many convenient backpacking foods are highly seasoned or processed, and sodium can add up quickly when several packaged foods are combined throughout the day.
A lower-sodium backpacking menu doesn’t mean eliminating salt completely. Sodium is an essential nutrient, and people lose sodium through sweat, particularly during prolonged exercise and hot conditions. How much sodium an individual needs during a particular trip depends on factors such as duration, temperature, sweat rate, diet, and personal circumstances.
The practical goal is to control unnecessary sodium while still carrying enough food, fluids, and electrolytes for the conditions you’re actually hiking in. 🏕️
1. Start With Calories, Not Sodium
Before building a lower-sodium menu, determine how much food you need.
Backpacking can require substantially more energy than a typical day at home because of hiking, elevation, pack weight, terrain, and duration.
Your menu should therefore answer three questions:
How many calories do I need?
How much food weight am I willing to carry?
How much sodium am I getting from those foods?
Don’t create a very low-sodium menu that leaves you short on calories.
A useful starting point is to build your meals around calorie-dense foods and then select lower-sodium versions where practical.
2. Learn to Read the Nutrition Label 🔎
The nutrition label is your most useful grocery-store tool.
Look at:
- Serving size
- Calories
- Sodium
- Protein
- Fiber
- Fat
- Carbohydrates
Pay particular attention to serving size.
A package may look like one meal but contain two or more servings. If you eat the entire package, you need to account for all of the sodium.
Don’t judge foods by the front of the package
Words such as:
- Healthy
- Natural
- Wholesome
- Light
- Multigrain
don’t automatically mean a product is low in sodium.
Turn the package around and check the Nutrition Facts panel.
3. Build Breakfast Around Naturally Lower-Sodium Foods 🥣
Breakfast is one of the easiest places to reduce sodium because many basic breakfast foods are relatively simple.
Easy grocery-store options
- Plain oats
- Instant oats without added salt
- Chia seeds
- Unsalted nuts
- Nut butter
- Dried fruit
- Powdered milk
- Cinnamon
- Brown sugar
- Shelf-stable milk alternatives, depending on the product
Example
Peanut Butter Berry Oats
- Instant or quick oats
- Powdered milk
- Peanut butter
- Dried berries
- Chia seeds
- Cinnamon
Instead of using a heavily seasoned instant breakfast packet, you control the ingredients yourself.
This also makes it easier to adjust sweetness and calories.
4. Use Unsalted Nuts and Seeds 🥜
Nuts are excellent backpacking foods because they provide calories without requiring refrigeration or cooking.
But flavored and salted varieties can contain considerably more sodium than unsalted versions.
Look for:
- Unsalted almonds
- Unsalted peanuts
- Unsalted cashews
- Unsalted walnuts
- Pumpkin seeds
- Sunflower seeds
You can combine them with dried fruit to create a simple trail mix.
Easy trail mix
2 parts unsalted nuts + 1 part dried fruit + 1 part cereal or whole-grain snack
Adjust the ratio according to your calorie and texture preferences.
5. Choose Nut Butter Carefully
Peanut butter and other nut butters are excellent backpacking ingredients because they’re calorie-dense and easy to eat.
However, sodium varies significantly between brands and varieties.
Compare labels.
You may find that one peanut butter contains considerably more sodium per serving than another.
Backpacking-friendly combinations
Try nut butter with:
- Tortillas
- Oatmeal
- Applesauce packets
- Dried banana
- Whole-grain crackers
- Oats
Individual packets can be convenient, but larger jars may be more economical if you’re repackaging food at home.
6. Tortillas Are Useful for Lower-Sodium Meals 🌯
Tortillas are compact, durable, and don’t require cooking.
However, sodium varies considerably between products.
Check several brands and compare the sodium per tortilla, not just per 100 grams or per serving.
You can build simple wraps with ingredients such as:
Peanut butter + banana
Sweet, calorie-dense, and easy.
Unsalted nut butter + dried fruit
A shelf-stable option for longer trips.
Bean spread + avocado powder
A more savory option if you can find suitable shelf-stable ingredients.
The tortilla itself can contribute more sodium than you might expect, so label comparison is worthwhile.
7. Be Careful With Packaged Meat and Jerky 🥩
Jerky, cured meats, pepperoni, and similar foods can be convenient sources of protein.
They can also be major sources of sodium.
You don’t necessarily have to eliminate them.
Instead:
- Check the sodium per serving.
- Check how many servings you’ll actually eat.
- Compare brands.
- Use smaller portions alongside lower-sodium foods.
For example, a small amount of jerky can provide flavor and protein in a meal built around lower-sodium ingredients.
This is often more practical than making every food in your backpack completely sodium-free.
8. Rethink Instant Noodles 🍜
Instant noodles are popular backpacking foods because they’re inexpensive, lightweight, and easy to prepare.
The seasoning packet can also contribute a large amount of sodium.
If you enjoy noodles, consider using:
- Plain instant noodles
- A smaller portion of the seasoning packet
- Dried vegetables
- Unsalted nuts or seeds
- Dehydrated protein
You can control how much of the seasoning you use rather than automatically adding the entire packet.
Always check the nutrition label because sodium varies by product.
9. Choose Plain Grains When Practical 🌾
Plain instant rice, couscous, oats, and other simple grains can serve as flexible meal bases.
They’re useful because you can add your own flavor instead of relying entirely on a pre-seasoned meal.
For example:
Couscous + dried vegetables + unsalted nuts + olive oil
or
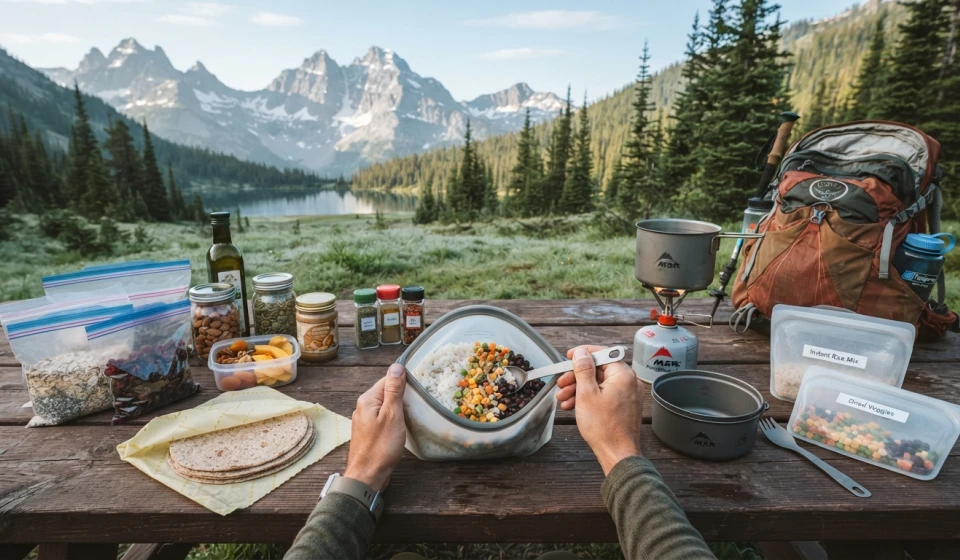
Instant rice + dried beans + avocado powder + spices
A small amount of olive oil can significantly increase calories without adding much volume.
10. Use Herbs and Spices for Flavor 🌿
Lower sodium does not have to mean bland.
Bring small amounts of:
- Garlic powder
- Onion powder
- Black pepper
- Smoked paprika
- Chili powder
- Cumin
- Italian herbs
- Curry powder
- Cinnamon
These ingredients add flavor without relying entirely on salt.
Try a simple flavor system
Mexican-inspired: cumin + chili powder + garlic
Smoky: smoked paprika + garlic + black pepper
Mediterranean-inspired: oregano + garlic + black pepper
Breakfast: cinnamon + dried fruit + nut butter
You can make tiny spice packets before your trip.
11. Use Fats to Increase Calories Without Increasing Sodium
One challenge with lower-sodium backpacking is maintaining enough energy.
Fat is energy-dense, so small quantities can add substantial calories.
Consider:
- Olive oil
- Nut butter
- Unsalted nuts
- Seeds
- Coconut products
For example, adding a tablespoon of olive oil to a meal increases calories without requiring a large increase in food volume.
Pack oils in a leak-resistant container.
12. Build a Simple Backpacking Food Formula
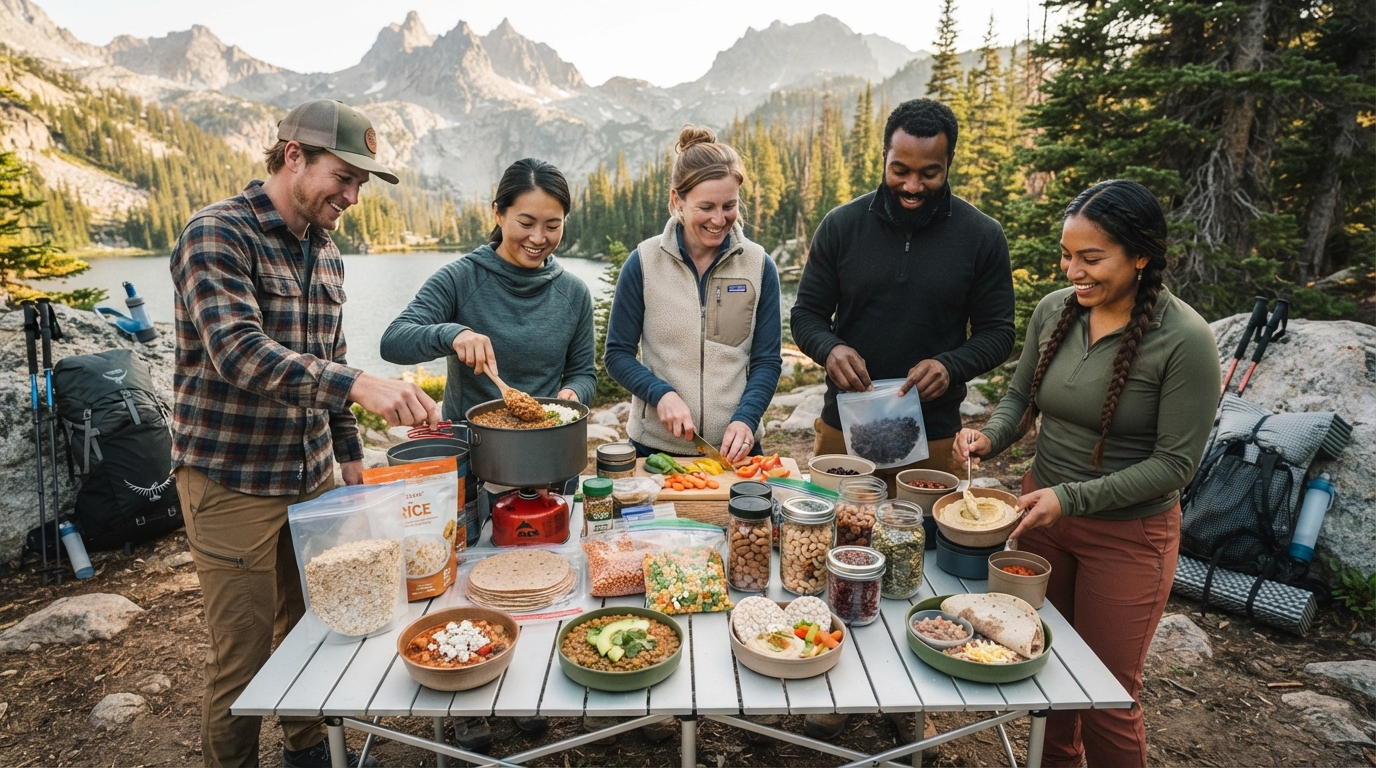
Instead of creating seven completely different meals, use a repeatable formula.
Breakfast
Grain + protein/fat + fruit
Example:
Oats + peanut butter + dried berries
Lunch
Tortilla/cracker + protein/fat + fruit or vegetable
Example:
Tortilla + unsalted nut butter + dried banana
Dinner
Grain + protein + vegetables + fat + seasoning
Example:
Instant rice + low-sodium beans + dried vegetables + olive oil + spices
Snacks
Nuts + fruit + simple carbohydrate
Example:
Unsalted almonds + raisins + whole-grain cereal
This structure makes menu planning much easier.
13. Don’t Forget Hydration and Electrolytes 💧
Lowering sodium in food is not the same as eliminating sodium from your entire trip.
During prolonged hiking, particularly in hot conditions, sweat losses can be significant.
Water needs and electrolyte needs vary from person to person.
Some hikers may need an electrolyte drink or electrolyte-containing food during prolonged, hot, or highly sweaty outings.
If you’re specifically trying to restrict sodium because of a medical condition or because you’ve been given a sodium target by a healthcare professional, follow that individualized advice rather than using a generic backpacking guideline.
For everyone else, think about the whole day’s intake, including food, drinks, and electrolyte products.
14. Example One-Day Grocery Store Menu 🏕️
Here’s a simple framework you could adapt.
| Meal | Food |
|---|---|
| Breakfast | Oats + powdered milk + peanut butter + dried berries |
| Morning snack | Unsalted almonds + dried fruit |
| Lunch | Lower-sodium tortilla + nut butter + dried banana |
| Afternoon snack | Chia pudding made ahead + dried fruit |
| Dinner | Instant rice + low-sodium beans + dried vegetables + olive oil + spices |
| Evening snack | Unsalted nuts + whole-grain cereal |
The exact sodium and calorie totals depend on the brands and portions you choose.
That’s why checking the labels of the actual products you’re packing is essential.
15. Make a Grocery-Store Sodium Checklist 🛒
Before buying a backpacking food, ask:
Is it shelf-stable?
You don’t want to discover that your meal requires refrigeration.
How many calories does it provide?
Low sodium isn’t useful if the food doesn’t provide enough energy for your trip.
How much sodium does one actual serving contain?
Check the package.
How many servings will I eat?
Multiply accordingly.
Does it need cooking?
If you’re trying to minimize fuel use, choose foods that can be soaked or eaten without cooking.
Can I combine it with something lower in sodium?
A moderately salty ingredient can sometimes work well as a small part of a meal rather than the entire meal.
Lower-Sodium Grocery Staples to Look For 🛒
When shopping, consider comparing these categories:
Grains
- Plain oats
- Instant rice
- Couscous
- Plain cereal
Protein
- Unsalted nuts
- Seeds
- Nut butter
- Lower-sodium beans
- Powdered milk
Fruits
- Raisins
- Dried cranberries
- Dried mango
- Dried banana
- Applesauce
Vegetables
- No-salt-added canned vegetables for home dehydration
- Commercially dehydrated vegetables
- Vegetable powders
Flavor
- Garlic
- Onion powder
- Paprika
- Cumin
- Chili powder
- Herbs
- Lemon or lime powder
Always check individual labels because products within the same category can have very different sodium levels.
Final Thoughts 🥾💚
A lower-sodium backpacking menu doesn’t require expensive specialty foods.
Your local grocery store can provide plenty of ingredients for building lightweight, calorie-dense meals. The key is choosing simple foods, comparing nutrition labels, controlling portions of salty packaged ingredients, and using herbs, spices, fats, and naturally flavorful foods to keep meals interesting.
Start with the foods you already know you’ll eat.
Build your menu around calories first, sodium awareness second, and practicality throughout.
And remember that lower sodium does not necessarily mean zero sodium. Your needs can change with trip length, weather, exertion, and sweat losses.
The best backpacking menu is one that gives you enough energy, fits your pack, works with your cooking setup, and matches your individual nutrition needs.
Shop smart, pack deliberately, and let the grocery store become your backpacking-food aisle. 🏕️🥜🌾