How to Plan Low-Sodium Backpacking Meals by Reading Freeze-Dried Food Labels 🥾🏔️
Introduction
Freeze-dried meals are one of the easiest ways to simplify backpacking food.
Add hot water, wait a few minutes, stir, and dinner is ready.
The problem is that some freeze-dried backpacking meals can contain a surprisingly large amount of sodium. If you’re trying to follow a lower-sodium diet, choosing meals based only on calories, protein, or flavor can leave you with a menu that doesn’t fit your needs.
The good news is that you don’t need to eliminate freeze-dried meals.
You simply need to learn how to read the label differently.
Instead of asking only:
“How many calories does this meal have?”
also ask:
“How much sodium am I actually getting from this serving?”
Once you understand serving sizes, sodium per serving, sodium per package, and the ingredients that contribute sodium, building a lower-sodium backpacking menu becomes much easier. 🧂
🧂 First, Understand What Sodium Actually Means
Sodium is a mineral found naturally in some foods, but most dietary sodium comes from salt and other sodium-containing ingredients added during processing and cooking.
For backpacking meals, sodium often comes from:
- Salt
- Soy sauce
- Bouillon
- Broth
- Cheese
- Seasoning mixes
- Sauces
- Processed meats
- Sodium-containing preservatives
- Flavoring ingredients
A freeze-dried meal can therefore contain substantial sodium even when it doesn’t taste extremely salty.
Taste is not a reliable way to estimate sodium.
The Nutrition Facts label is much more useful.
🔎 Step 1: Find the Sodium Number
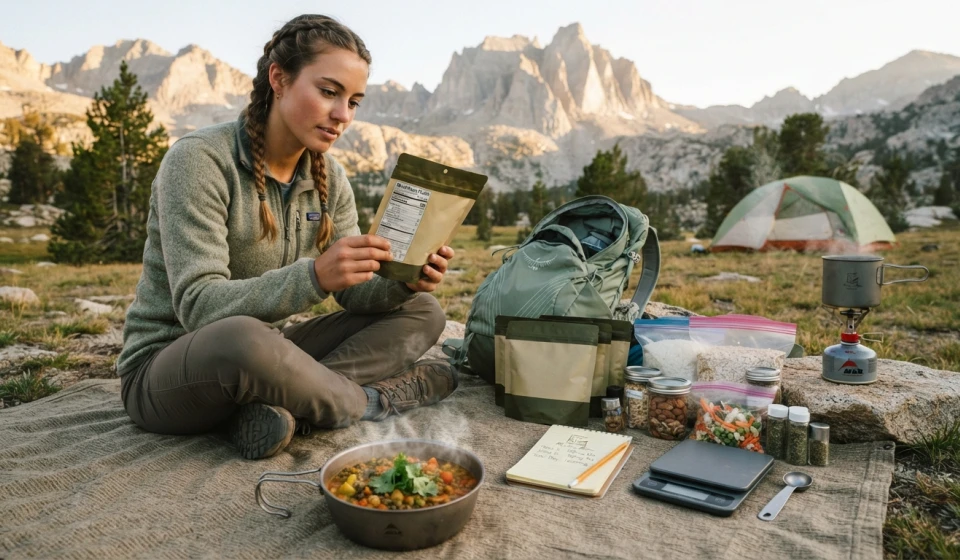
On a Nutrition Facts label, look for:
Sodium
It is usually listed in milligrams (mg).
For example, imagine a freeze-dried meal lists:
Sodium: 850 mg
That number is useful, but don’t stop there.
You also need to know:
Is that amount for the entire package or only one serving?
This is where many backpackers accidentally underestimate what they’re eating.
📦 Step 2: Check the Serving Size
Suppose a package says:
Serving size: 1/2 package
Servings per container: 2
Sodium: 700 mg per serving
If you eat the entire package, your actual sodium intake is:
700 mg × 2 = 1,400 mg
That’s very different from the 700 mg you might notice at first glance.
Always check three things:
- Serving size
- Servings per package
- Sodium per serving
Then calculate the amount you’ll actually eat.
🧮 Step 3: Calculate Sodium Per Meal
Use this simple formula:
Sodium per serving × servings consumed = sodium for your meal
For example:
650 mg × 2 servings = 1,300 mg
If the entire pouch is your dinner, 1,300 mg is the number you should use when planning your daily menu.
Don’t record 650 mg just because that’s the number printed in larger type on the label.
📊 Step 4: Create a Simple Sodium Budget
Your daily sodium target depends on your individual dietary needs.
For example, someone may have a medically recommended sodium limit, while another person may simply be trying to reduce sodium intake.
Don’t automatically copy another backpacker’s target.
Instead, establish the daily amount appropriate for you.
Then divide your available sodium across the day.
For example, if your personal planning target were:
2,000 mg sodium/day
you might organize it approximately like this:
| Meal | Example Sodium Budget |
|---|---|
| Breakfast | 350 mg |
| Lunch | 450 mg |
| Snacks | 250 mg |
| Dinner | 700 mg |
| Extra margin | 250 mg |
| Total | 2,000 mg |
These numbers are only an example of how to distribute a daily target.
Your actual target may be different.
The important idea is to plan the whole day instead of evaluating one meal in isolation.
🥣 Step 5: Compare Freeze-Dried Meals Side by Side
Once you understand the labels, comparing meals becomes much easier.
Imagine you are choosing between three dinners:
| Meal | Calories | Protein | Sodium |
|---|---|---|---|
| Meal A | 650 kcal | 25 g | 1,100 mg |
| Meal B | 600 kcal | 24 g | 650 mg |
| Meal C | 700 kcal | 28 g | 800 mg |
If sodium is one of your priorities, the sodium column becomes an important part of your decision.
You can also compare:
Sodium per calorie
using:
Sodium ÷ calories
This doesn’t replace your daily sodium target, but it can help when comparing meals with very different calorie amounts.
⚖️ Step 6: Don’t Confuse Sodium With Salt
Food labels list sodium, not simply the amount of salt.
Salt is sodium chloride.
Sodium is one component of salt.
So don’t try to estimate the sodium content by looking at the weight of salt alone.
For backpacking purposes, the easiest approach is:
Use the sodium number printed on the Nutrition Facts label.
This avoids unnecessary conversion calculations.
🥫 Step 7: Look Beyond Dinner
A common mistake is focusing on the freeze-dried dinner while ignoring the rest of the food.
Sodium can accumulate throughout the day.
Potential contributors include:
- Instant oatmeal packets
- Jerky
- Crackers
- Cheese
- Processed snack foods
- Soup
- Bouillon
- Seasoning packets
- Tortillas
- Sauces
- Instant noodles
- Electrolyte products
You might choose a relatively low-sodium dinner and still end the day with a high total.
That’s why the whole-day total matters.
🥜 Step 8: Choose Lower-Sodium Snacks
Snacks can be one of the easiest places to reduce sodium.
Compare:
Salted nuts
with:
Unsalted nuts
The calories and protein may be similar, but sodium can differ substantially.
Other options may include:
- Unsalted seeds
- Unsalted nut butter
- Unsweetened dried fruit
- Plain oats
- Fresh fruit for early-trip use
- Lower-sodium crackers
- Homemade trail mix using verified ingredients
The specific product still matters.
Always check the label.
🍚 Step 9: Build Meals From Simple Ingredients
One of the most effective strategies for controlling sodium is making at least some meals yourself.
Instead of relying entirely on a heavily seasoned freeze-dried meal, combine simple ingredients.
For example:
Instant rice + dehydrated vegetables + lentils + olive oil + herbs
You control how much salty seasoning goes into the meal.
Another option:
Instant potatoes + dehydrated vegetables + beans + garlic + pepper + nutritional yeast
Instead of adding a commercial gravy or salty seasoning packet, use herbs and spices to build flavor.
🌿 Step 10: Use Flavor Without Depending on Salt
Lower sodium doesn’t have to mean bland food.
Use ingredients that create flavor through aroma, acidity, heat, and herbs.
Try:
- Garlic powder
- Onion powder
- Black pepper
- Smoked paprika
- Chili flakes
- Cumin
- Curry powder
- Dried basil
- Oregano
- Rosemary
- Lemon or lime powder
- Vinegar powder where available
Acid can be particularly useful.
A small amount of lemon powder, for example, can make a meal taste brighter without simply adding more salt.
Check packaged seasonings for sodium before using them.
🧂 Step 11: Watch Bouillon and Broth
Bouillon can be extremely useful for backpacking because it’s lightweight and adds flavor.
But it can also contribute a significant amount of sodium.
Don’t assume that a tiny cube or powder packet contains only a tiny amount of sodium.
Read the label.
If you are intentionally following a low-sodium diet, look for products specifically formulated with less sodium when appropriate.
🍜 Step 12: Instant Noodles Need a Label Check
Instant noodles are convenient, inexpensive, lightweight, and easy to prepare.
They’re also worth checking carefully.
The seasoning packet may contribute a large portion of the meal’s sodium.
One practical strategy is to use only part of a seasoning packet and add your own herbs and spices.
However, don’t assume that using half the packet automatically cuts the sodium exactly in half. Seasoning may not be distributed uniformly, and the noodles themselves may also contain sodium.
Check the nutrition information for the complete product.
🥩 Step 13: Watch Processed Protein Foods
Backpacking protein options can also contribute sodium.
Examples include:
- Jerky
- Cured meats
- Packaged tuna
- Meat sticks
- Processed cheese
- Some protein bars
- Seasoned beans
- Some meat substitutes
This doesn’t mean you can’t use them.
It means they should be included in your calculation.
If you choose a high-sodium protein source at lunch, you may want lower-sodium foods elsewhere in the day.
💧 Step 14: Don’t Automatically Restrict Sodium Without a Reason
Sodium plays an important role in fluid balance and nerve and muscle function.
Backpacking can also involve substantial sweating, particularly in hot conditions.
That means “lower sodium” does not automatically mean “as little sodium as possible.”
People lose sodium through sweat, and individual sweat losses vary considerably.
If you have been medically instructed to follow a sodium-restricted diet, follow that guidance rather than trying to compensate for hiking-related sweating on your own.
If you have a condition that requires sodium management, discuss how prolonged exercise and hot-weather hiking affect your plan with your healthcare professional.
The goal of label reading is to help you meet an appropriate target, not to drive sodium intake toward zero.
🧮 Step 15: Calculate Your Entire Day
Create a simple table.
| Food | Sodium |
|---|---|
| Breakfast | 300 mg |
| Morning snack | 100 mg |
| Lunch | 450 mg |
| Afternoon snack | 150 mg |
| Dinner | 650 mg |
| Drink mix | 100 mg |
| Daily total | 1,750 mg |
Now you can compare your actual total with your personal sodium target.
This is much more useful than saying:
“Dinner wasn’t very salty.”
The numbers tell you what is actually in the food.
🥾 Example: Rebuilding a High-Sodium Dinner
Imagine your original dinner contains:
1,200 mg sodium
You could look for ways to reduce it.
Original
Freeze-dried pasta meal
Seasoning packet
Salty broth
Alternative
Lower-sodium freeze-dried meal
Plain instant pasta
Dehydrated vegetables
Olive oil
Garlic
Black pepper
Herbs
The second approach gives you more control over the sodium coming from individual components.
You don’t necessarily need to eliminate packaged meals completely.
You can simply avoid making every component of the meal heavily seasoned.
📦 Step 16: Keep the Calories You Need
Lowering sodium doesn’t mean accidentally lowering your total food intake.
This is particularly important for backpacking.
If you remove salty packaged foods, replace their calories with suitable foods such as:
- Unsalted nuts
- Nut butter
- Olive oil
- Oats
- Rice
- Pasta
- Dried fruit
- Dehydrated beans
- Lentils
The goal is a meal that is both appropriate for your sodium plan and sufficient for your energy needs.
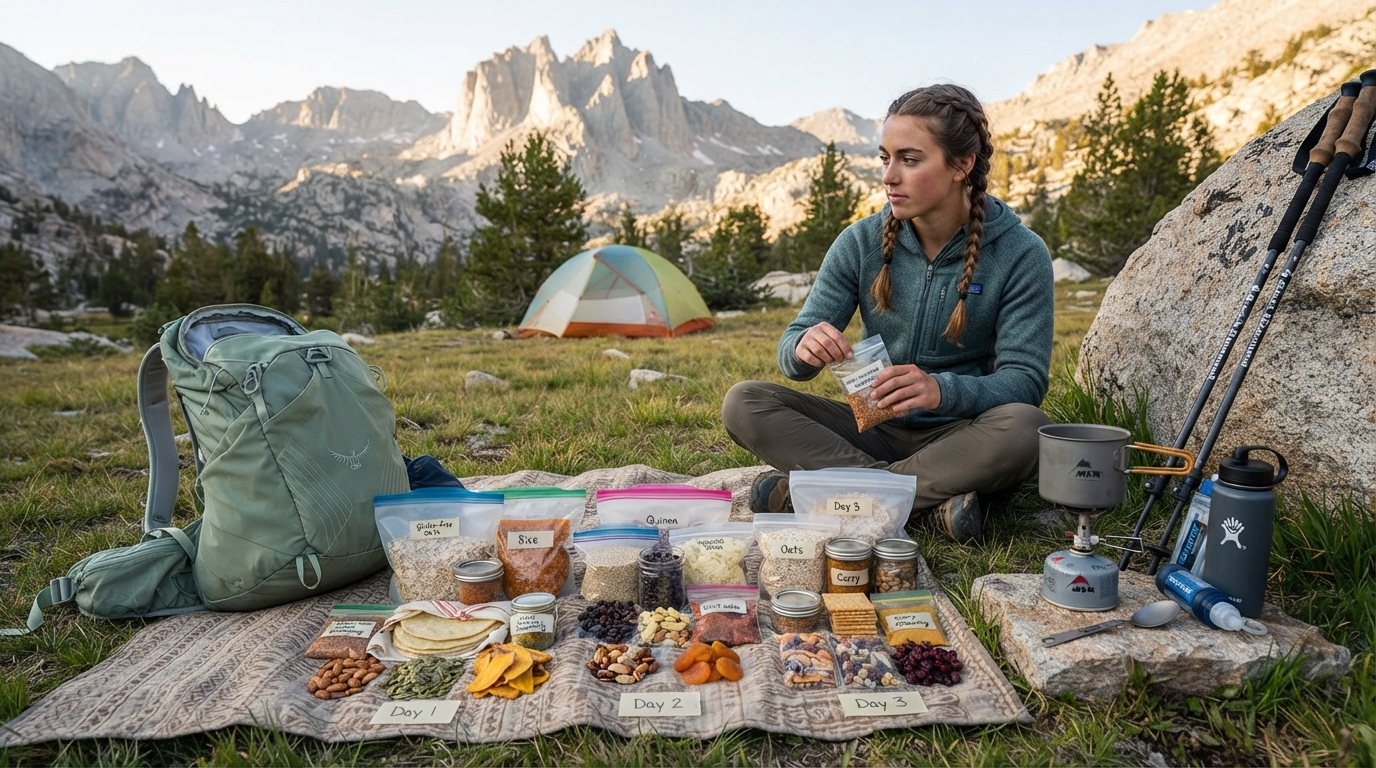
📝 Step 17: Photograph Labels Before Repacking
Repackaging food into lightweight bags can save space.
But once you remove the original packaging, you also remove the Nutrition Facts label.
Before repacking, photograph the label or record:
- Serving size
- Servings per package
- Sodium
- Calories
- Protein
- Preparation instructions
- Ingredient information
Then label the food bag.
For example:
DAY 2 DINNER
2 servings
1,200 mg sodium total
Add 350 mL water
This makes trail calculations much easier.
🎒 A Simple Low-Sodium Backpacking Day
Here’s an example structure.
🌅 Breakfast
Lower-sodium oats
Unsalted peanut butter
Dried fruit
Cinnamon
🥜 Morning Snack
Unsalted nuts
Dried fruit
🌯 Lunch
Instant rice
Dehydrated beans
Dehydrated vegetables
Olive oil
Herbs and spices
🍎 Afternoon Snack
Unsalted seeds
Lower-sodium snack
🍛 Dinner
Lower-sodium freeze-dried meal
Extra dehydrated vegetables
Olive oil
💧 Drinks
Water
A suitable electrolyte product if needed and appropriate for your individual situation
The exact sodium total depends on the products you choose.
That’s why labels matter.
🔍 Your Freeze-Dried Meal Label Checklist
Before putting a freeze-dried meal into your backpack, check:
☐ Serving size
☐ Servings per package
☐ Sodium per serving
☐ Sodium for the entire package
☐ Calories
☐ Protein
☐ Sodium-containing ingredients
☐ Seasoning or sauce packets
☐ Preparation instructions
☐ Whether the meal fits your personal dietary target
This takes only a few minutes at home.
It’s much easier than trying to calculate everything beside your tent.
🌿 Final Thoughts
Planning lower-sodium backpacking meals doesn’t mean giving up convenience or flavor.
It starts with one simple habit: read the entire label, not just the front of the package.
Check serving size, calculate the sodium in the portion you will actually eat, and add the numbers from breakfast, lunch, dinner, snacks, and drinks.
Then balance your menu with simple lower-sodium foods such as unsalted nuts, plain grains, dehydrated vegetables, beans, lentils, and carefully selected freeze-dried meals. Use herbs, spices, heat, and acidity to create flavor without relying entirely on salt. 🥾🌿
Most importantly, remember that sodium needs are individual. Backpacking in heat and sweating heavily can change your electrolyte needs, while certain medical conditions require sodium restriction. If you have been given a specific sodium target by a healthcare professional, use that target when building your menu.
A good trail-food system is not about eliminating one ingredient.
It’s about knowing exactly what you’re carrying, understanding the label, and making deliberate choices before you hit the trail. 🏔️✨