How to Plan Trail Snacks for a Full Day of Hiking Without Running Out Early 🥾
Introduction
Few things can derail a great hiking day faster than realizing you’ve eaten most of your snacks before reaching the halfway point. You may have packed plenty of food by volume, but if your snacks aren’t filling, easy to access, or suited to your energy needs, you could run short long before reaching the trailhead again.
The solution isn’t simply to pack more. It’s to plan snacks around your hiking duration, expected effort, personal appetite, and available storage space.
With a little preparation, you can build a trail-snack system that balances calories, weight, cost, and convenience. Whether you’re hiking a familiar local trail or tackling a longer day outdoors, a simple plan can help you stay fueled without carrying a bag full of food you don’t want to eat.
1. Estimate How Much Food Your Hike Requires
Before choosing snacks, consider the demands of your hike. A short, easy walk requires a different food plan from a steep, exposed trail that takes most of the day.
Think about:
- Duration: How many hours will you be walking, including planned breaks?
- Effort: Is the trail flat, steep, technical, or physically demanding?
- Weather: Heat, cold, and altitude can affect appetite, hydration needs, and how comfortable certain foods are to eat.
- Your appetite: Some hikers prefer frequent small snacks, while others feel better eating larger portions less often.
- Other food: Are you packing breakfast, lunch, or a substantial trail meal as well?
For a starting point, some hikers find it useful to plan around roughly 150–300 calories per hour during sustained activity. This is only a broad planning range, not a universal requirement. Your needs may be lower or higher depending on body size, pace, terrain, temperature, and total daily energy needs.
For example, a six-hour hike might involve a lunch plus several snacks distributed throughout the day. Don’t treat the hourly estimate as a strict limit or assume snacks alone will meet all your nutritional needs.
2. Divide Your Snacks Into Daily Portions
One of the easiest ways to avoid running out early is to portion your food before leaving home.
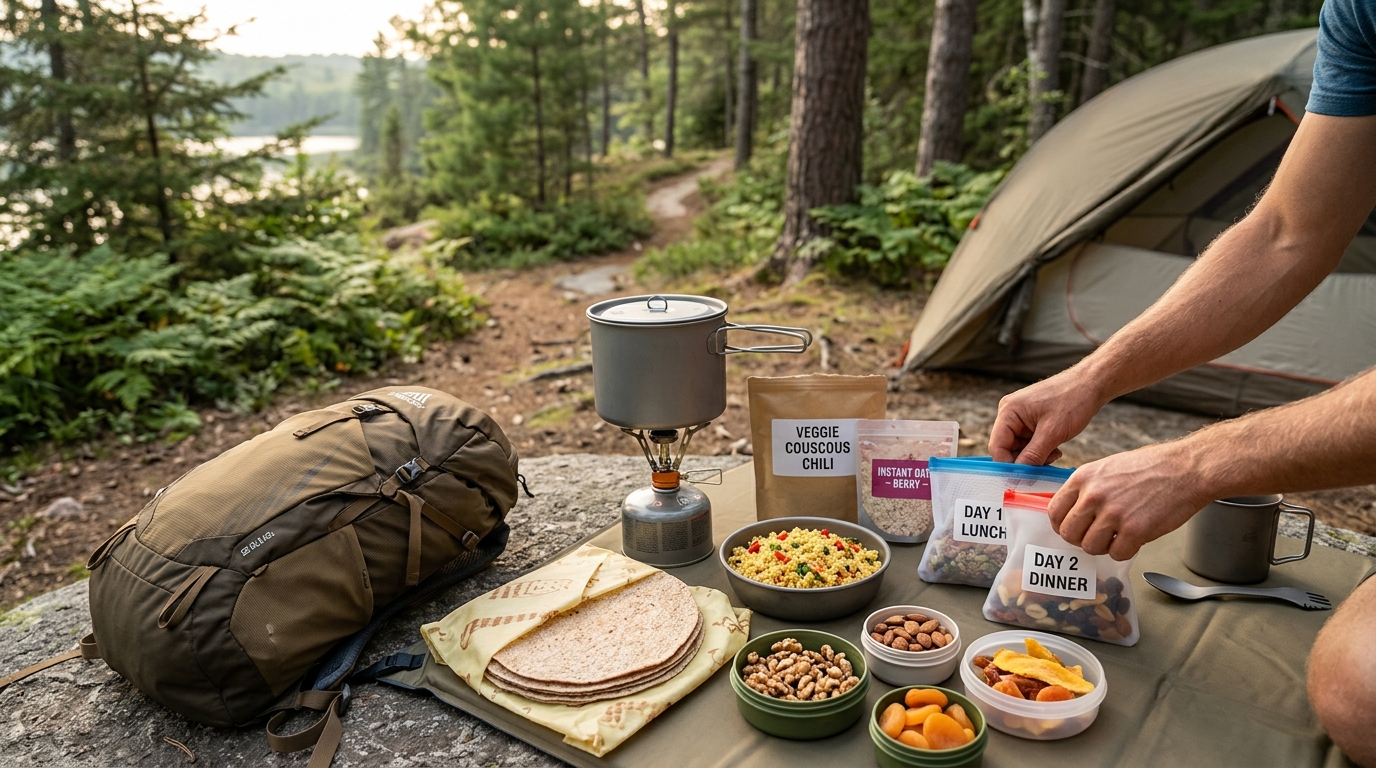
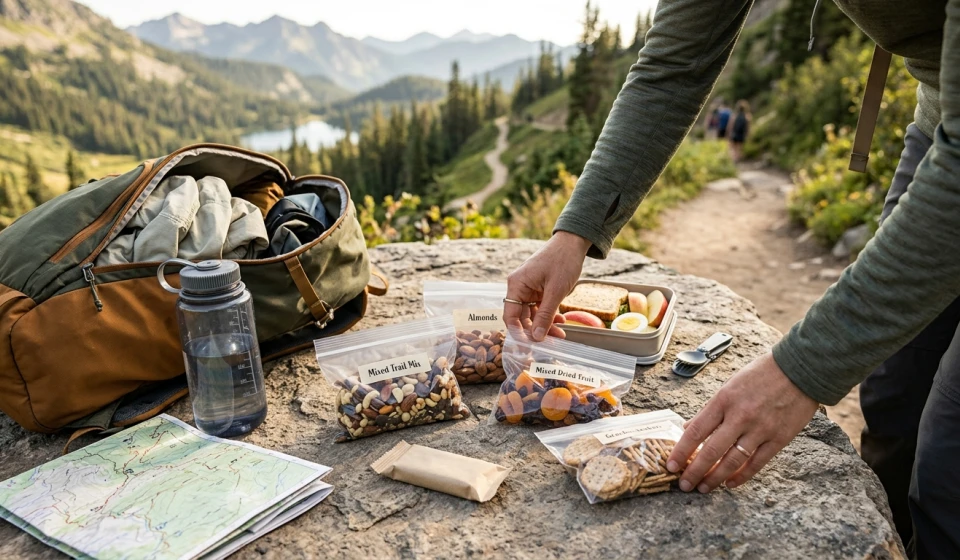
Instead of carrying one large bag of mixed snacks, divide your food into small, labeled bags or containers. Each portion can represent a planned break or part of the day.
For example:
- Before starting: Eat a familiar breakfast that leaves you comfortably fueled.
- Early morning: Pack a small snack for when hunger first appears.
- Mid-morning: Bring a more substantial portion if the trail becomes steeper or longer.
- Lunch: Set aside a separate meal rather than eating all your snack food beforehand.
- Afternoon: Keep several portions for the remaining distance.
- Emergency reserve: Carry extra food that you don’t count as part of your regular snack allowance.
This system helps you see what remains at a glance. It also reduces the temptation to eat through your entire supply during the first few hours.
However, don’t ignore genuine hunger just to follow a schedule. Treat the plan as a guide and adjust when your effort or appetite differs from what you expected.
3. Compare Snacks by Calories per Ounce
When every gram matters, calorie density can help you compare foods. Calorie density is the amount of energy provided by a given weight of food.
To calculate it:
Calories per ounce = Total calories ÷ Food weight in ounces
A snack containing 200 calories and weighing 2 ounces provides 100 calories per ounce.
Higher calorie density can be useful on long hikes because it allows you to carry more energy with less weight. But calorie density isn’t the only factor worth considering. A snack that is too rich, difficult to chew, or unappealing in hot weather may be less useful than a slightly heavier option you can comfortably eat.
Here is a practical comparison using approximate values. Actual figures vary by brand, ingredients, and serving size.
| Trail snack | Approx. calories per ounce | Main advantage | Potential drawback |
|---|---|---|---|
| Mixed nuts | 160–180 | Compact and energy-dense | May be hard to eat if you dislike dry foods |
| Peanut butter | 160–170 | High in energy and fat | Can be sticky; packaging matters |
| Chocolate | 140–160 | Compact and easy to portion | Can melt in warm weather |
| Granola | 120–140 | Easy to nibble | Crumbs can accumulate |
| Dried fruit | 70–100 | Sweet, portable carbohydrate source | May be sticky or chewy |
| Pretzels | 100–115 | Lightweight and crunchy | Can crumble; thirst may increase |
| Fresh apple | 13–16 | Refreshing and water-rich | Bulky and prone to bruising |
These estimates are useful for comparison, not exact nutritional claims for every product. Check the nutrition label and serving weight when planning your own food.
4. Balance Cost, Packaging, and Durability
The best hiking snack isn’t necessarily the most expensive energy bar. Everyday grocery items can work well if they are easy to carry, provide suitable energy, and remain appetizing throughout the day.
Consider these factors when choosing what to pack.
Cost per serving: Compare the price of a multipack with individual bars or specialty hiking snacks. Buying larger packages and portioning them at home can reduce costs, provided the food stores safely.
Packaging: Resealable bags and lightweight containers make it easier to manage portions. Remove unnecessary outer packaging when practical, but keep ingredient labels available if you need them for allergy or dietary information.
Durability: Choose foods that can tolerate being carried in a backpack. Firm crackers, nuts, and individually wrapped bars may hold up better than delicate pastries or soft fruit.
Temperature: Chocolate and some nut butters can become messy in hot weather. In cold conditions, bars may harden, and some foods may be less pleasant to eat.
Personal preference: Don’t build a hiking plan around a food you’ve never tried. Test snacks during shorter walks before relying on them for a full day.
If you have food allergies or dietary restrictions, check ingredient labels and avoid products that are unsafe for you.
5. Choose Snacks for Different Moments on the Trail
A varied snack selection can help prevent flavor fatigue and make it easier to eat enough throughout the day.
- For quick energy: Dried fruit, pretzels, crackers, or other carbohydrate-rich snacks are easy to eat in small amounts.
- For compact energy: Nuts, seeds, and nut butter provide substantial calories in relatively little weight.
- For a more filling break: An energy bar, a small sandwich, or a combination of carbohydrates and protein may suit your appetite.
- For hot weather: Consider foods that tolerate heat and are comfortable to eat when you’re warm.
- For a refreshing option: Fresh fruit can be enjoyable early in the hike, especially if you protect it from crushing.
You don’t need a perfect macronutrient balance in every snack. The overall day’s food intake, your preferences, and what you can comfortably eat matter more than making each portion complicated.
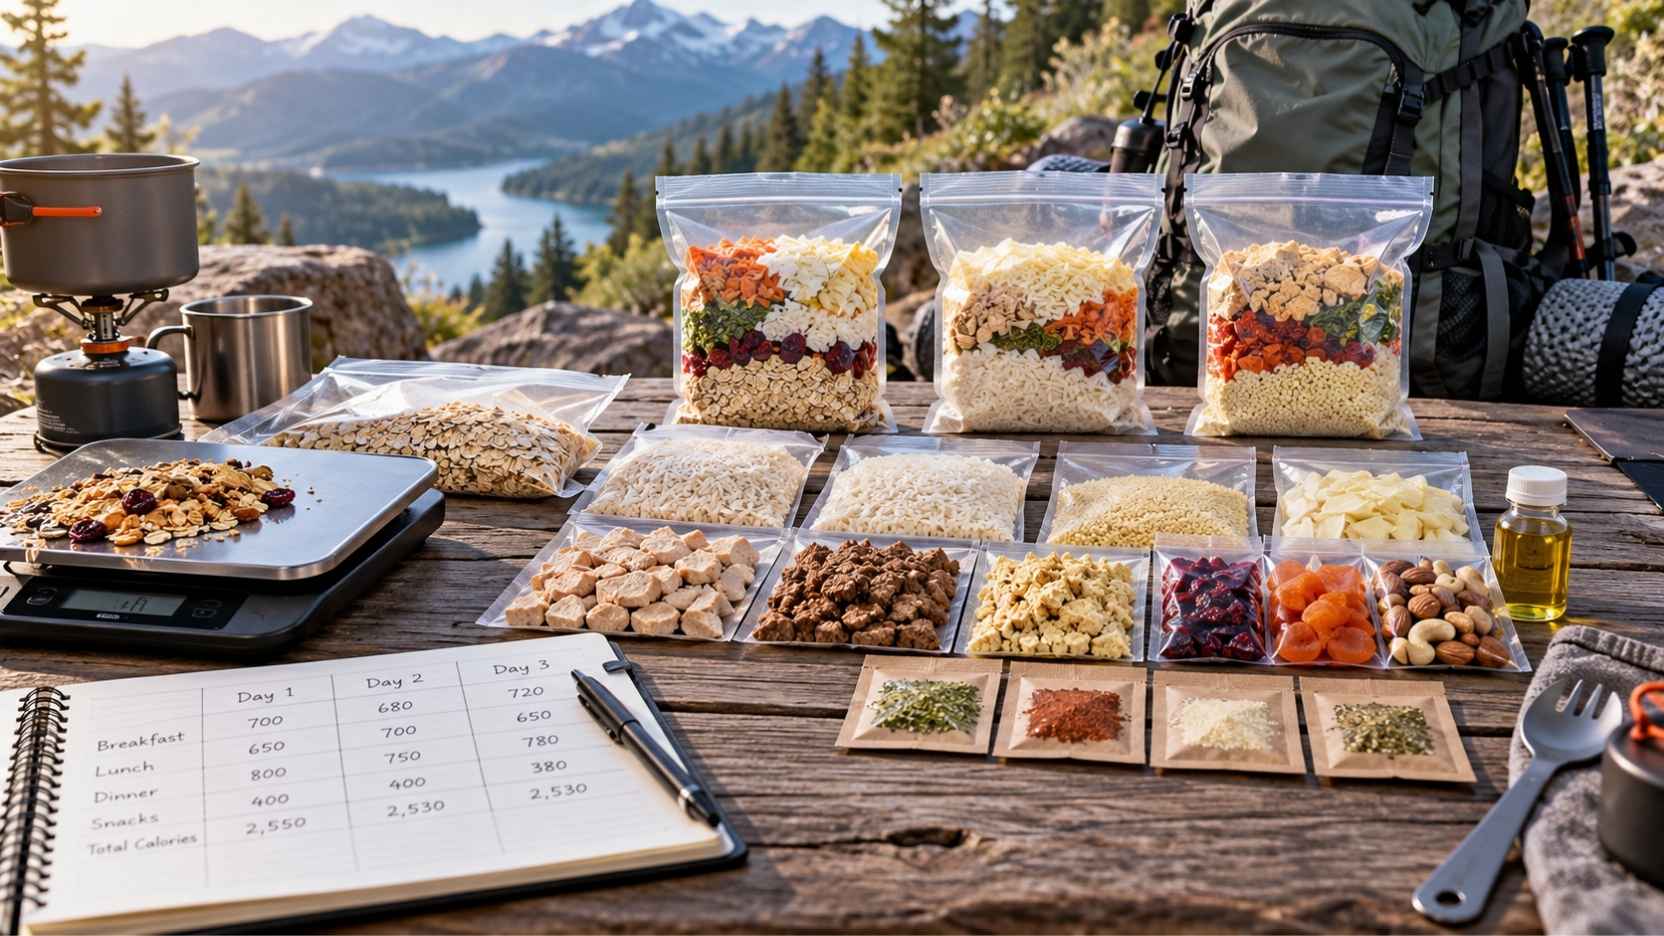
6. Use This Reusable Trail-Snack Planning Chart 📋
Fill in the chart before each hike. The example below is a planning template, not a prescribed amount of food for everyone.
| Time or break | Snack or meal | Planned portion | Estimated calories | Packed? |
|---|---|---|---|---|
| Before hiking | Breakfast | 1 serving | _____ | Yes / No |
| Early morning | Dried fruit or bar | 1 portion | _____ | Yes / No |
| Mid-morning | Nuts and crackers | 1 portion | _____ | Yes / No |
| Lunch | Sandwich or packed meal | 1 serving | _____ | Yes / No |
| Early afternoon | Energy bar or trail mix | 1 portion | _____ | Yes / No |
| Late afternoon | Backup snack | 1 portion | _____ | Yes / No |
| Emergency reserve | Extra shelf-stable food | 1 reserve | _____ | Yes / No |
Before you leave, check the total food weight and estimated calories. Keep your emergency reserve separate from your regular snack portions so you can see what is available for unexpected delays.
If your hike is longer than planned, the weather changes, or you become unusually hungry, use your judgment rather than treating the chart as a rule you must follow.
7. Prevent Common Trail-Snack Mistakes
Packing too few snacks: A planned lunch doesn’t always cover the entire day. Carry enough food for your expected duration and some extra for delays.
Eating everything early: Portioning snacks in advance makes your remaining supply easier to manage.
Choosing only sweet foods: A mix of sweet and savory options can make eating more appealing over several hours.
Forgetting water: Food planning and hydration planning go together. Carry enough water for the route and conditions, and identify reliable refill opportunities where available.
Ignoring food safety: Perishable foods such as meat, dairy-based fillings, and some sandwiches require appropriate temperature control. Use an insulated container or choose shelf-stable alternatives when safe storage is uncertain.
Leaving wrappers behind: Pack out all food packaging and scraps. Even biodegradable food waste can affect wildlife and the trail environment.
Final Thoughts 🌿
Planning trail snacks for a full day of hiking is about more than counting calories. It’s about matching food to your route, portioning it so you can track what remains, and choosing snacks that balance weight, cost, durability, and personal preference.
Start with an estimate of your hiking time, reserve space for lunch, and divide snacks into manageable portions. Compare calorie density when pack weight matters, but don’t sacrifice foods you’ll actually enjoy eating.
Most importantly, carry enough food for your planned hike and a reasonable reserve for unexpected delays. A flexible snack plan can help you stay comfortable, energized, and better prepared to enjoy the trail from the first step to the final mile.