How to Upgrade Instant Ramen for a More Filling Backpacking Dinner 🍜
Instant ramen is cheap, lightweight, easy to find, and quick to prepare, making it a practical option for backpacking dinners. But a plain packet may not provide enough calories, protein, or lasting satisfaction for a long day on the trail.
The solution is simple: combine ramen with shelf-stable ingredients that add energy, protein, and flavor without making your food bag unnecessarily heavy.
Whether you’re planning a weekend hike or a multi-day backpacking trip, these combinations can help you turn an ordinary grocery-store meal into a more satisfying trail dinner.
🍜 What Makes a Better Backpacking Ramen?
A useful backpacking meal should balance several factors:
- Calories: Provide enough energy for your activity level.
- Protein: Support muscle maintenance and recovery.
- Weight: Keep the packed meal manageable.
- Preparation: Work with your stove, available water, and cooking time.
- Cost: Fit your food budget.
- Sodium: Match your personal dietary needs.
Instant ramen can be high in sodium and relatively low in protein, depending on the brand. Adding ingredients improves its nutritional balance, but the final numbers depend on the specific products and portions you choose.
1. Five Trail-Friendly Ramen Combinations
The estimates below are illustrative, not laboratory-tested nutrition figures. They assume one standard ramen packet and the listed additions. Actual calories, protein, sodium, and cost will vary by brand, package size, and serving.
| Combination | Shelf-stable additions | Approx. total calories | Approx. protein |
|---|---|---|---|
| Peanut Butter Ramen | 2 tbsp peanut butter | 450–600 | 12–18 g |
| Tuna Ramen | 1 small pouch of tuna | 350–500 | 18–30 g |
| Olive Oil Ramen | 1 tbsp olive oil | 400–550 | 6–12 g |
| Soy Protein Ramen | ½ cup dry TVP, rehydrated | 450–650 | 20–35 g |
| Trail Mix Ramen | 2 tbsp peanut butter plus a small handful of cashews eaten alongside | 600–800 | 15–25 g |
Estimates include a typical ramen packet but exclude optional extra toppings. TVP means textured vegetable protein. The trail-mix combination is a meal with a side snack, rather than ingredients that all need to go into the pot.
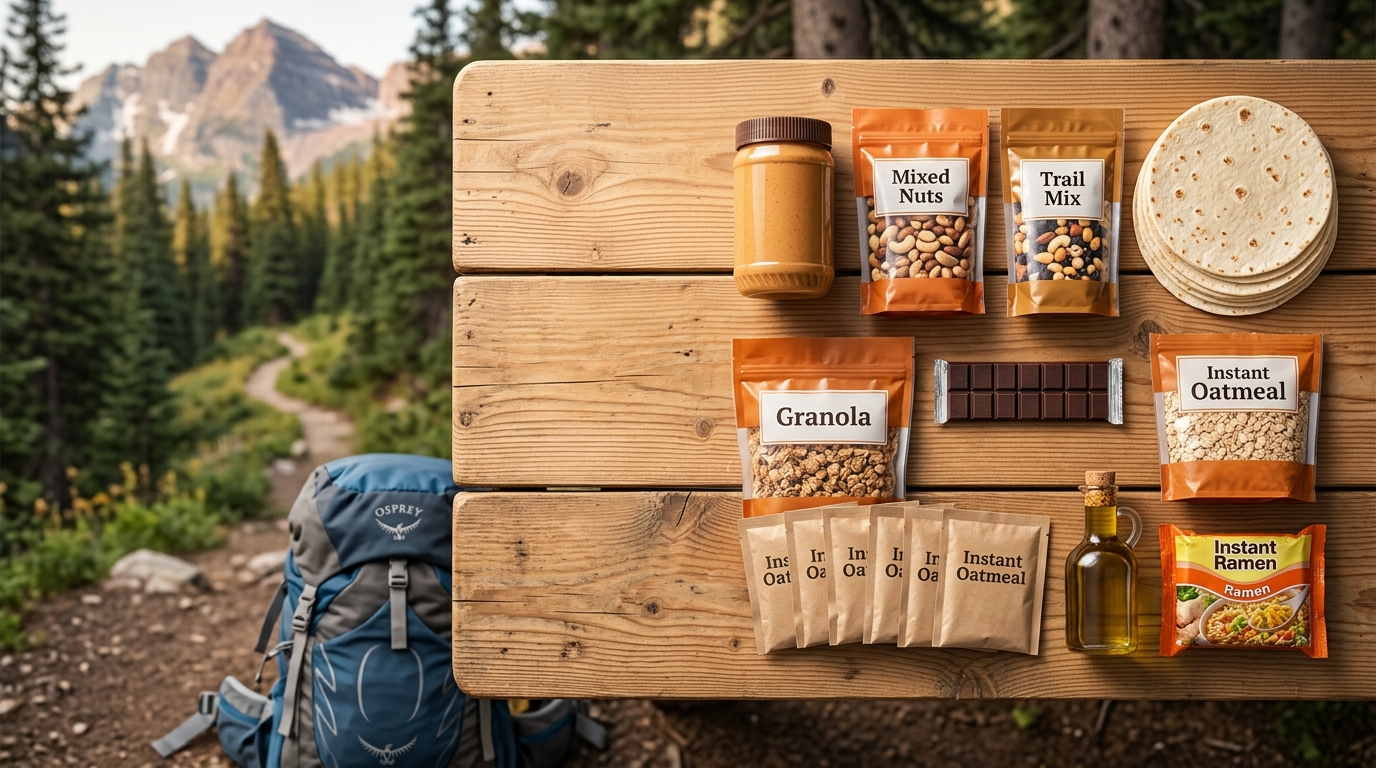
🥜 Peanut Butter Ramen
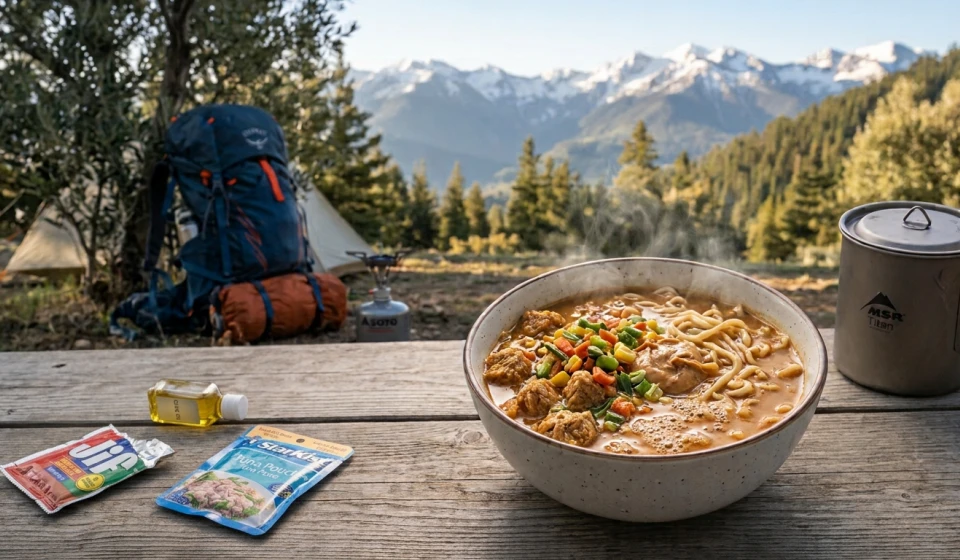
Stir peanut butter into the hot broth to create a creamy, savory sauce. Add a little soy sauce or chili powder if you want more flavor.
Best for: Hikers looking for extra calories from a compact, shelf-stable ingredient.
Trade-off: Peanut butter adds fat and energy but may make the broth thick. Pack it in a small leakproof container if you aren’t bringing individual packets.
🐟 Tuna Ramen
Add a shelf-stable tuna pouch after the noodles are cooked. Season with black pepper, chili flakes, or a little lemon powder if available.
Best for: Hikers who want a protein-focused meal.
Trade-off: Tuna pouches are convenient, but their packaging creates waste and the fish can have a noticeable smell. Open the pouch away from camp when wildlife management requires it, and follow local food-storage rules.
🫒 Olive Oil Ramen
Stir one tablespoon of olive oil into the finished noodles. Add dried vegetables or a seasoning blend for more flavor.
Best for: Increasing calories without adding much food weight.
Trade-off: Oil provides concentrated energy but little protein. Carry it in a secure, leakproof container, and consider temperature and packaging when choosing your oil.
🌱 Soy Protein Ramen
Textured vegetable protein is lightweight when dry and can add substantial protein. Rehydrate it in hot water before mixing it with the noodles and seasoning.
Best for: Plant-based hikers who want a filling, protein-rich dinner.
Trade-off: TVP needs enough water and time to soften. Check the package instructions and test the preparation method at home before relying on it in the backcountry.
🥜 Trail Mix Ramen Meal
Pair a basic ramen dinner with a small serving of cashews, peanuts, or another preferred trail mix. Add peanut butter to the ramen if you need more energy.
Best for: Hikers who prefer to keep their main meal simple while adding calories through a separate snack.
Trade-off: Nuts are energy-dense, but allergies, personal taste, and dietary restrictions matter. Choose an alternative that suits your needs.
2. Choose Your Preparation Method
Not every trail setup works the same way. Your stove, fuel supply, weather, and available water should influence how you cook.
Method A: Cook in One Pot
- Bring the required water to a boil.
- Add the noodles and any additions that need rehydration.
- Cook according to the package directions.
- Stir in peanut butter, oil, or other finishing ingredients.
- Eat directly from your cooking pot if your setup allows.
Advantages: Straightforward, warm, and easy to manage.
Disadvantages: Uses fuel and may leave a pot that needs cleaning.
Method B: Rehydrate With a Cozy
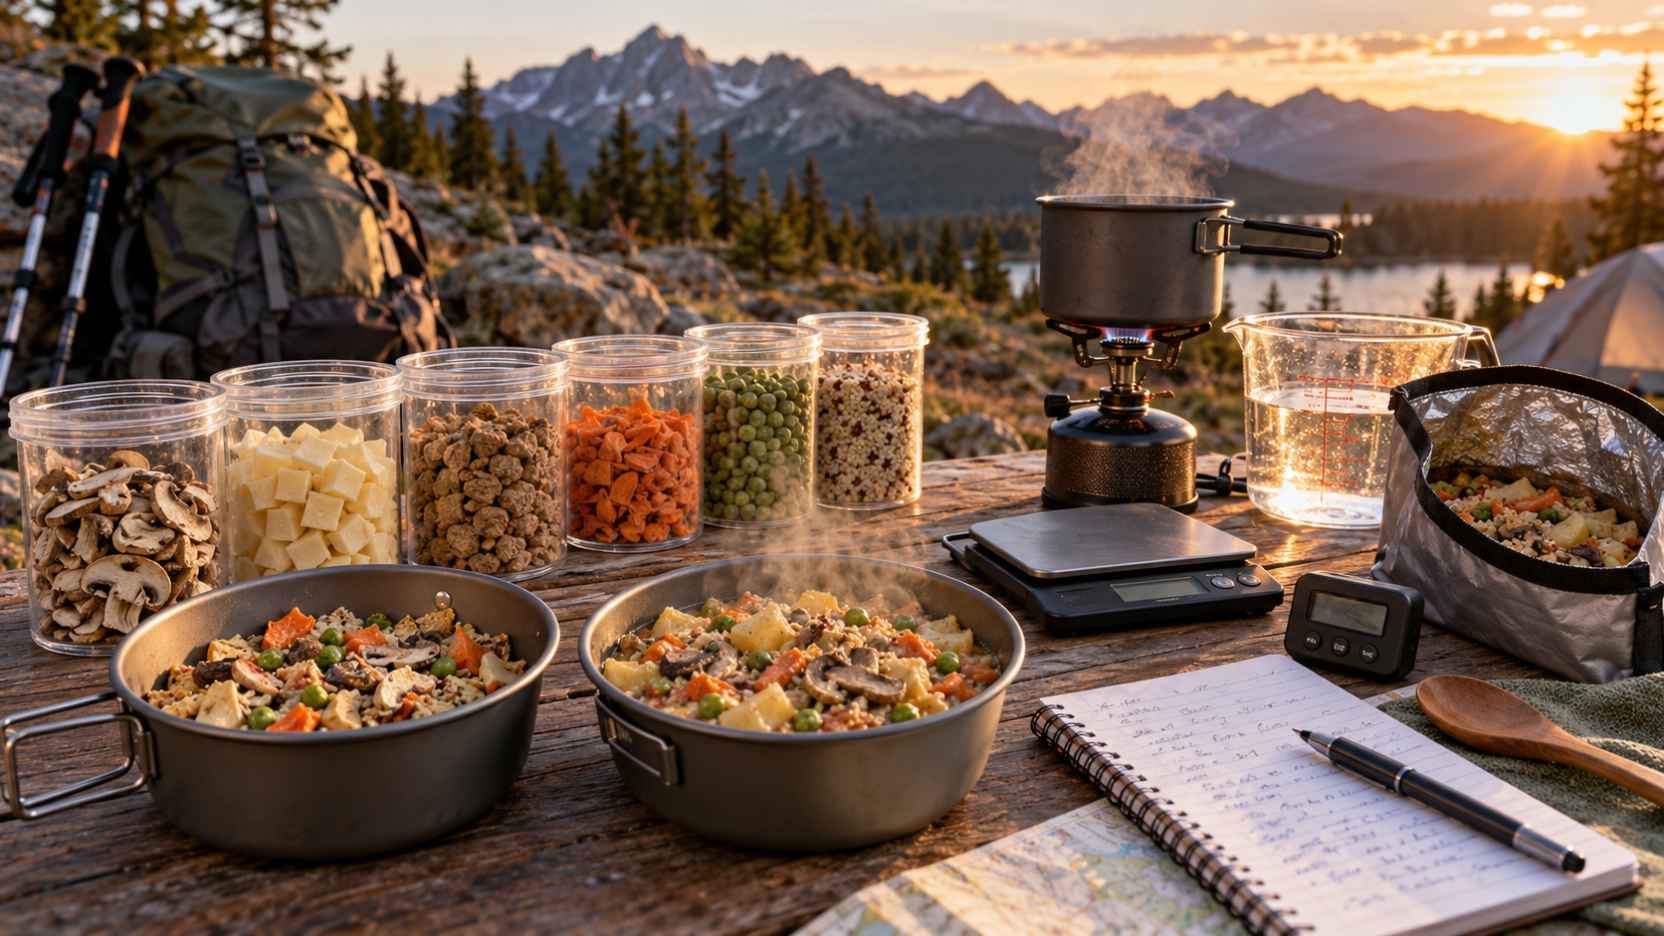
If your noodles and additions can soften in hot water, you may be able to place them in an insulated food container or suitable heat-safe pouch.
Bring the water to a boil, add it according to the food’s directions, and allow sufficient time for rehydration. Check that the noodles and additions soften properly before eating.
Advantages: Can reduce simmering time and make cleanup easier.
Disadvantages: Not every noodle or protein addition rehydrates reliably this way. Test it at home first, and never pour boiling water into packaging that is not designed for it.
Method C: Use a No-Cook Backup
Instant ramen generally requires hot water for the best texture. For a no-cook meal, consider replacing it with ready-to-eat foods such as tuna pouches, tortillas, nut butter, crackers, and roasted nuts.
Advantages: No stove fuel or cooking time.
Disadvantages: It is a different meal, and the texture and flavor won’t resemble hot ramen.
3. Compare Cost, Calories, and Sodium
A cheap meal is not automatically the best backpacking meal. Compare the cost of the complete serving, not just the price of the ramen packet.
| Meal style | Cost | Calorie potential | Sodium considerations |
|---|---|---|---|
| Plain ramen | Usually low | Low to moderate | Often high |
| Peanut butter ramen | Low to moderate | Moderate to high | Depends heavily on the seasoning packet |
| Tuna ramen | Moderate | Moderate | Tuna and seasoning may both contain sodium |
| Olive oil ramen | Low to moderate | High for its added weight | Oil adds essentially no sodium |
| TVP ramen | Low to moderate | Moderate to high | TVP and seasoning labels vary |
For a realistic comparison, check each package’s nutrition label and calculate the total for the portion you actually plan to eat. If you use only part of the seasoning packet, account for that change rather than assuming sodium falls by a precise amount.
Prices also vary by location and retailer. Ordinary grocery stores often sell these ingredients in different package sizes, so calculate the cost per serving rather than assuming one universal price.
4. Make Ramen Work for Your Backpacking Style
For ultralight trips: Choose additions with a high calorie-to-weight ratio, such as peanut butter or oil. Remember to include packaging weight.
For longer or more strenuous days: Consider a larger portion or add a protein source. Your total energy needs depend on body size, activity, weather, and trip duration.
For vegetarian or vegan meals: Peanut butter, olive oil, and suitable TVP are useful options. Check the noodle ingredients and seasoning packet because some contain animal-derived ingredients.
For lower-sodium needs: Compare labels, use less of the seasoning packet, and build flavor with spices or dried herbs. If you have been advised to restrict sodium, tailor the meal to that guidance.
For hot-weather trips: Choose ingredients that tolerate your expected temperatures and follow their storage instructions. Don’t assume every shelf-stable product can be left in a hot pack indefinitely.
5. Backpacking Food Safety Matters
Shelf-stable ingredients are convenient, but once opened or rehydrated, foods may need different handling.
- Follow package instructions for storage and preparation.
- Avoid keeping cooked ramen or opened perishable ingredients unrefrigerated for extended periods.
- Pack out wrappers and food scraps.
- Store food according to local wildlife regulations.
- Test your recipe before your trip so you know how much water, fuel, and cooking time it requires.
A meal that works perfectly in your kitchen may need adjustments at altitude, in cold weather, or with a small backpacking stove.
Final Thoughts
Instant ramen can be more than a quick, inexpensive dinner. With peanut butter, tuna, olive oil, or textured vegetable protein, you can build a meal that better fits your calorie needs, protein goals, budget, and dietary preferences.
Start with one combination, calculate its actual nutrition and cost from the labels, and test the cooking method before heading out. The best backpacking dinner isn’t the same for everyone. It’s the one you enjoy eating, can prepare reliably, and can carry comfortably on your particular trip.