Low-Sodium Backpacking Meals: How to Compare Nutrition Labels on the Trail
Introduction 🏕️
Backpacking food needs to do more than taste good. It must provide enough energy, pack efficiently, and be practical to prepare after a long day on the trail. But if you are watching your sodium intake, choosing meals can become more complicated.
Many convenient backpacking foods are high in sodium. Instant noodles, dehydrated meals, soup mixes, seasoning packets, canned foods, and processed meats can contribute substantial amounts before you even add salt.
The solution is not necessarily to eliminate sodium. Your body needs sodium to help regulate fluid balance, support nerve function, and enable normal muscle function. During long, hot, or strenuous hikes, you also lose sodium through sweat. How much you need depends on your activity, sweat losses, health, and other individual factors.
A practical approach is to learn how to compare nutrition labels, choose lower-sodium ingredients where possible, and build meals that balance convenience, energy, and personal needs.
1. Understand What Sodium Does During a Hike
Sodium is an essential electrolyte. It helps regulate the amount of water in and around your cells and supports normal nerve and muscle function.
During exercise, sodium and water are lost through sweat. However, sweat losses vary considerably. Some hikers sweat more than others, and sweat sodium concentration can also differ.
This creates an important distinction:
- A short, easy hike in cool weather: You may not need additional sodium beyond your usual meals.
- A long hike in hot weather: You may lose more fluid and sodium through sweating.
- A strenuous multi-day trek: Your food and hydration plan may need more careful attention.
- A hiker with a medical condition: Sodium recommendations may differ from general sports nutrition advice.
Eating less sodium is not automatically better during every outdoor activity. Likewise, sweating does not mean you should automatically consume large amounts of salt.
The goal is to avoid both unnecessary excess and inadequate replacement.
2. Learn to Read Sodium on Nutrition Labels
The first step is knowing where to look.
On packaged foods, find the sodium amount listed in milligrams (mg). Then check the serving size carefully.
For example:
| Food | Serving size | Sodium per serving |
|---|---|---|
| Instant rice | 1 cup prepared | 10 mg |
| Seasoned rice mix | 1 cup prepared | 650 mg |
| Plain oatmeal | 1 packet | 0–10 mg, depending on brand |
| Flavored instant oatmeal | 1 packet | 150 mg |
| Instant noodle soup | 1 package | 1,500 mg |
These are illustrative examples, not verified values for specific products. Actual amounts vary by brand and serving size.
Check the serving size first
A package may contain two or more servings even when it looks like a single meal.
If a product contains 700 mg of sodium per serving and you eat two servings, your total is 1,400 mg.
For backpacking, compare the amount you actually plan to eat, not just the number printed beside the nutrition label.
Check the whole meal, not just the main ingredient
A plain rice pouch may contain very little sodium, but adding a seasoning packet, soup base, cheese, or processed meat can change the total substantially.
Add the sodium from every ingredient to estimate the amount in your finished meal.
3. Compare Sodium Per Serving and Per Calorie
Comparing sodium per serving is useful, but it does not tell the whole story.
Backpackers need enough calories to support their activity. A meal with fewer calories may appear lower in sodium simply because it contains less food.
That is why comparing sodium relative to calories can provide additional information.
Sodium per serving
This tells you how much sodium you consume from the portion you eat.
Example:
- Meal A: 600 mg sodium per serving
- Meal B: 900 mg sodium per serving
Meal A contains less sodium per serving.
Sodium per 100 calories
This helps compare foods with different calorie amounts.
Use this calculation:
Sodium per 100 calories = (Sodium in mg ÷ Calories) × 100
Example:
| Meal | Calories | Sodium | Sodium per 100 calories |
|---|---|---|---|
| Meal A | 500 | 600 mg | 120 mg |
| Meal B | 700 | 900 mg | 129 mg |
| Meal C | 400 | 300 mg | 75 mg |
In this example, Meal C has the lowest sodium relative to its calorie content. Meal A has slightly less sodium per serving than Meal B.
Neither measurement should be used alone. Consider calories, protein, portion size, ingredients, and how the meal fits into your overall food plan.
4. Compare Commercial Backpacking Meals With Supermarket Foods
Commercial dehydrated meals are convenient because they are lightweight, packaged for outdoor use, and often require only hot water. However, some contain substantial sodium.
Supermarket ingredients can offer more control over seasoning, although they may require additional preparation.
| Food option | Potential advantage | What to check |
|---|---|---|
| Commercial dehydrated meal | Convenient and lightweight | Sodium per package, not just per serving |
| Instant rice | Quick preparation | Seasoning and added salt |
| Plain oats | Easy breakfast base | Flavored varieties may contain more sodium |
| Instant potatoes | Lightweight and quick | Seasoning packets and added salt |
| Canned tuna or chicken | Convenient protein | Compare regular and lower-sodium versions |
| Dried beans or lentils | Useful plant-based protein | Packaged seasoning and preparation requirements |
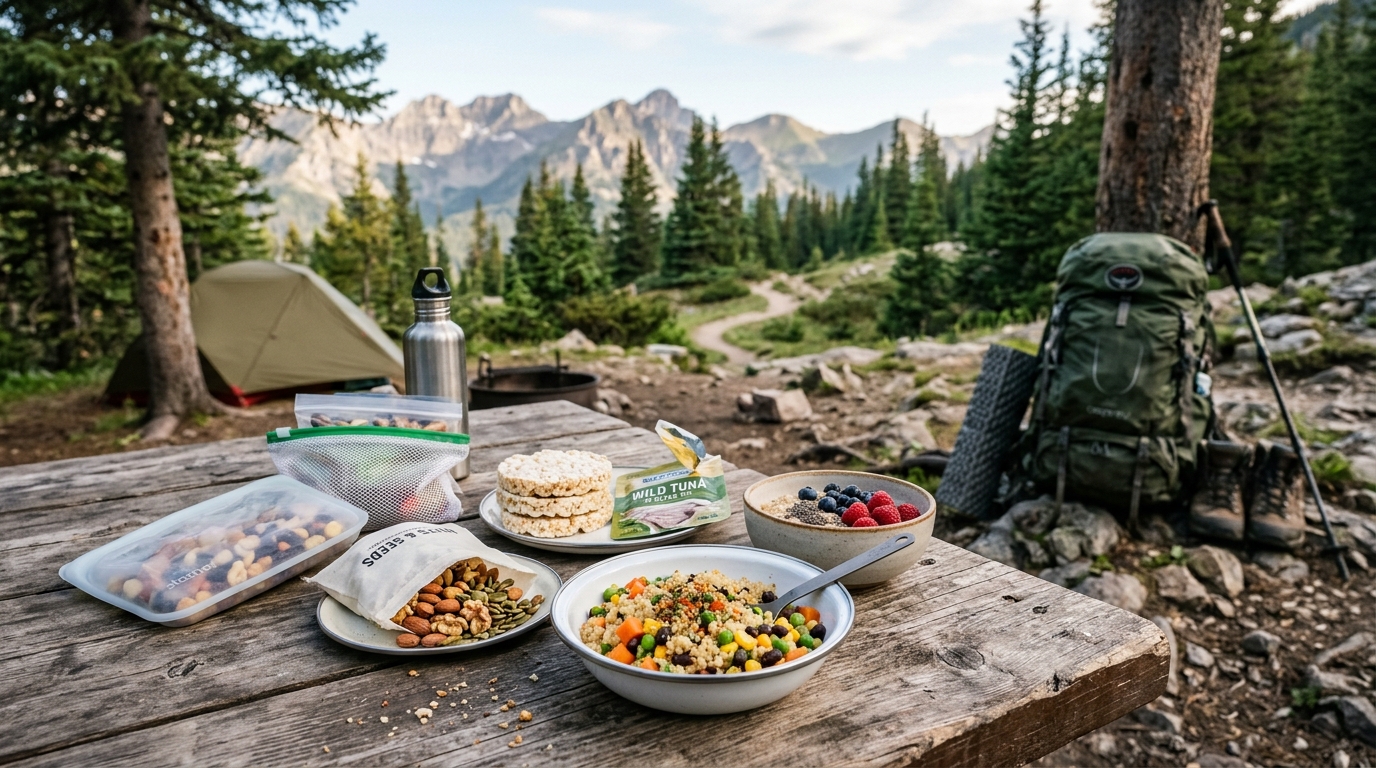
| Nuts and seeds | Energy-dense snacks | Salted versus unsalted varieties |
| Tortillas or crackers | Convenient lunch base | Sodium per serving and portion size |
| Cheese | Adds flavor and energy | Sodium varies considerably by type |
A useful strategy is to buy plain ingredients and add flavor yourself. This gives you more control over sodium while allowing you to adjust portions and calories.
However, lower-sodium foods are not always lighter, cheaper, or easier to prepare. Compare the complete meal rather than assuming one type of food is automatically better.
5. Build Flavor Without Depending on Salt
Reducing added salt does not mean eating bland food.
Try using ingredients that bring flavor through acidity, aroma, texture, and natural sweetness.
Useful flavor additions include:
- Garlic powder
- Onion powder
- Black pepper
- Smoked paprika
- Cumin
- Chili flakes
- Lemon or lime powder
- Dried herbs
- Unsalted peanut butter
- Dehydrated mushrooms
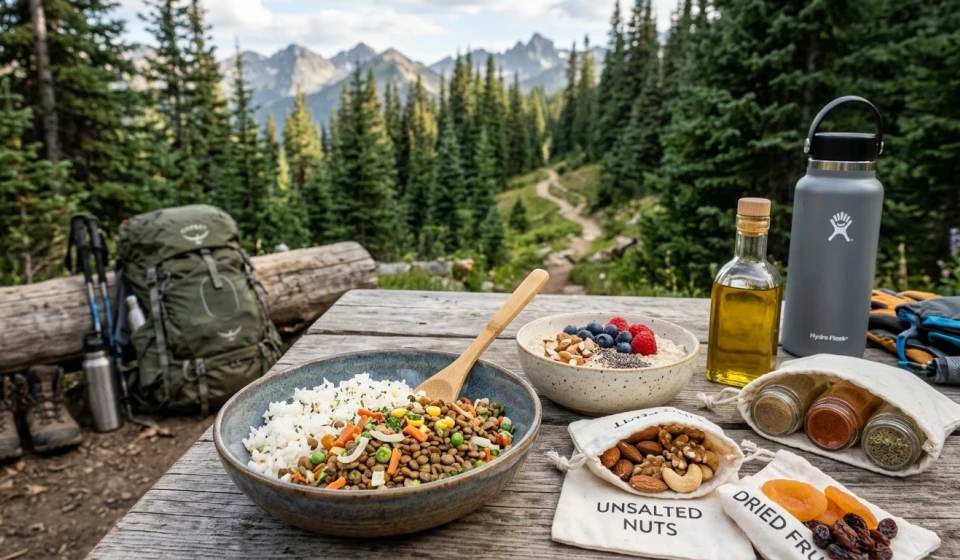
For example, plain instant rice can become a satisfying dinner with dehydrated vegetables, unsalted nuts, a suitable protein source, olive oil, and spices.
You can also divide seasoning into small daily portions. This helps avoid adding an entire commercial seasoning packet when you only need part of it.
Remember that spice blends, bouillon, sauces, and powdered flavorings can still contain sodium. Check their labels too.
6. Sample One-Day Low-Sodium Backpacking Menu
Here is a practical menu built around simple ingredients. It uses adjustable portions and avoids relying heavily on salty packaged meals.
| Meal | Food | Preparation |
|---|---|---|
| Breakfast | Plain oatmeal, chia seeds, dried berries, and unsalted peanut butter | Add hot water and stir |
| Morning snack | Unsalted trail mix and dried fruit | Ready to eat |
| Lunch | Tortillas with unsalted peanut butter and banana | Assemble without cooking |
| Afternoon snack | Unsalted nuts and a piece of fruit | Ready to eat |
| Dinner | Instant rice, dehydrated vegetables, lentils, olive oil, garlic powder, and cumin | Rehydrate or cook according to ingredient instructions |
| Evening snack | Dark chocolate and unsalted seeds | Ready to eat |
This is a menu framework, not a complete nutritional prescription. Its sodium and calorie totals depend on the exact products, quantities, and preparation methods.
For a demanding hike, increase portions or add calorie-dense foods as needed. If you have high sweat losses, your sodium needs may also differ from those of someone hiking in cooler conditions.
7. Balance Sodium Intake With Sweat Losses
One of the biggest mistakes in backpacking nutrition is treating sodium as something that should always be minimized.
For many adults, general public-health guidance recommends limiting sodium intake to less than 2,300 mg per day. However, this is a general daily guideline, not a personalized target for every person during prolonged exercise.
During long hikes, especially in hot weather, sweat losses can become significant. Replacing fluid without considering sodium losses may be inappropriate in some circumstances.
At the same time, drinking excessive amounts of water can contribute to exercise-associated hyponatremia, a potentially dangerous condition in which blood sodium becomes too diluted.
A few practical principles can help:
- Do not force yourself to drink more water than you need.
- Consider heat, hiking duration, intensity, and your usual sweat pattern.
- Avoid assuming that every salty craving means you need an electrolyte supplement.
- Do not use salt tablets or concentrated electrolyte products without understanding your needs.
- Follow medical advice if you have a condition requiring sodium restriction.
If you have kidney disease, heart failure, high blood pressure, or take medication that affects fluid or electrolyte balance, discuss your hiking nutrition plan with a healthcare professional.
For prolonged endurance activities, a sports dietitian or qualified healthcare professional can help you develop a plan that considers your individual sweat and fluid needs.
8. Make a Simple Sodium-Checking Routine Before Every Trip
You do not need to calculate every milligram perfectly to make better food choices. A consistent routine is more useful.
Before packing:
- Check serving sizes. Confirm how much food you will actually eat.
- Compare sodium amounts. Look at both sodium per serving and sodium per 100 calories.
- Add up the full meal. Include sauces, seasoning packets, toppings, and snacks.
- Compare alternatives. Look for plain or lower-sodium versions where practical.
- Keep calories in mind. Do not sacrifice the energy you need just to achieve a lower sodium number.
- Consider the conditions. A hot, strenuous, multi-day hike may require a different hydration and electrolyte plan from a short walk.
- Test meals at home. Make sure the food tastes good and is easy to prepare before relying on it outdoors.
A little label-reading before departure can prevent surprises when you are already miles from the nearest store.
Final Thoughts 🌲
Low-sodium backpacking meals are possible without sacrificing flavor, convenience, or energy. The most useful habit is learning to compare sodium per serving and per calorie, then checking the entire meal rather than focusing on one ingredient.
Plain grains, unsalted nuts, suitable protein sources, dehydrated vegetables, and homemade seasoning combinations can give you more control over your food choices. Commercial backpacking meals can still be convenient, but their full-package sodium content deserves attention.
Most importantly, remember that sodium needs are individual. Your body loses sodium through sweat, and those losses vary with the weather, effort, and your own physiology. A sensible backpacking plan balances food quality, adequate energy, hydration, and your personal health needs.
The best trail menu is not simply the one with the lowest sodium number. It is the one that supports your hike while fitting your nutritional needs and the conditions you will face.