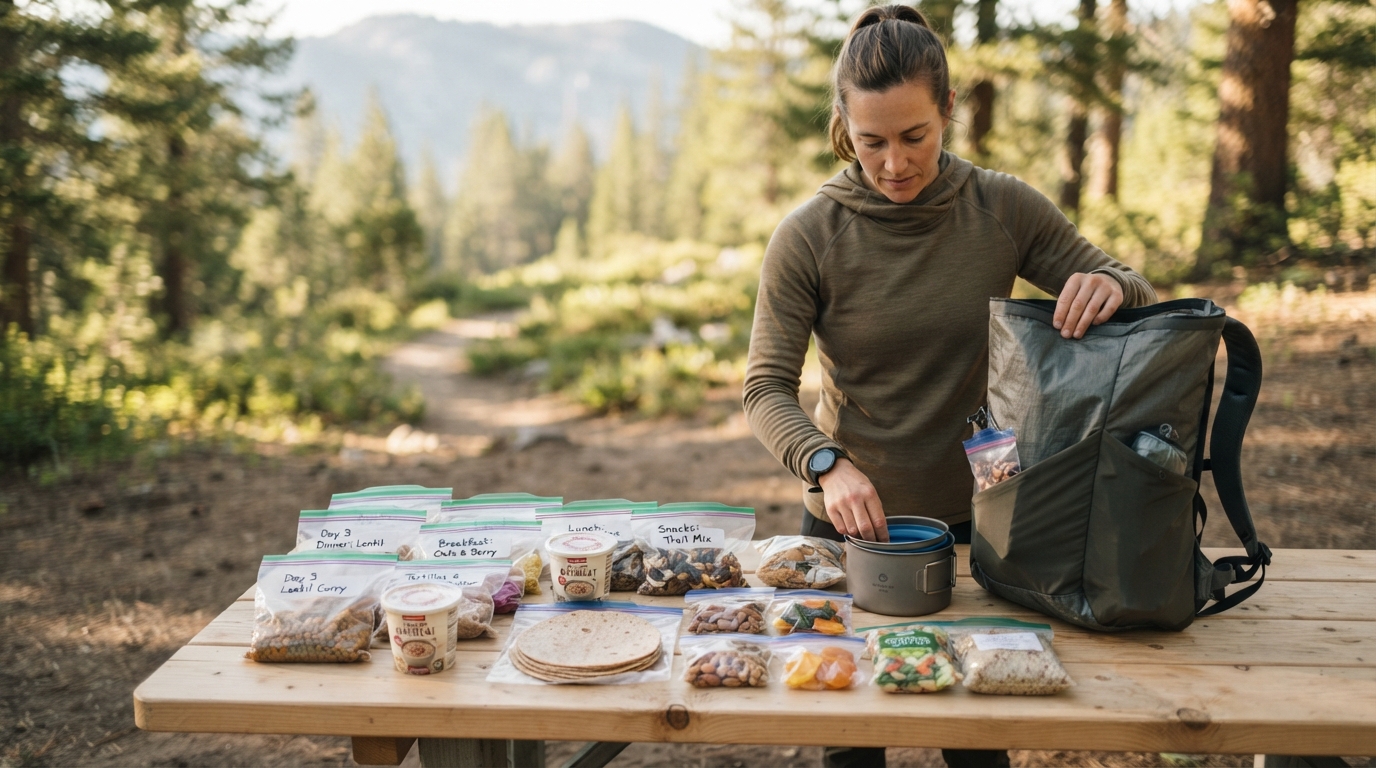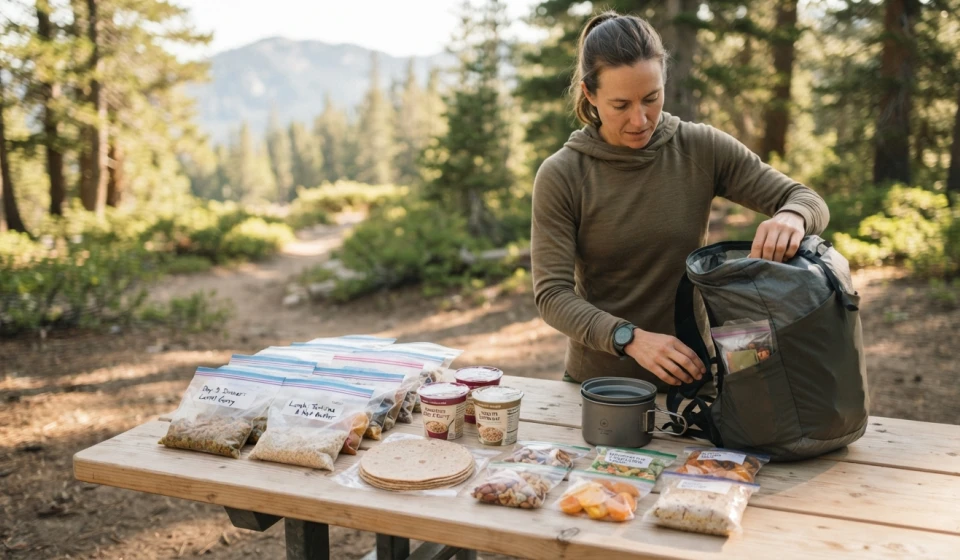
🎒 How to Repackage Backpacking Food to Reduce Bulk and Trash
Backpacking food often comes with a surprising amount of packaging.
A single meal might arrive inside a cardboard box, a plastic pouch, an inner wrapper, and a seasoning packet. Multiply that by several days, and your food bag can become a collection of empty wrappers before you’ve even reached the halfway point.
The good news is that you can often reduce both bulk and packaging waste before leaving home.
Repackaging backpacking food means moving food into a simpler container or bag that is appropriate for the trip. Done properly, it can make your food bag more organized, easier to pack, and less cluttered.
But there is an important rule:
Reduce packaging, not the information and protection the food actually needs.
Here’s how to do it safely and efficiently. 🌲
📦 Start by Identifying What You Actually Need
Before opening every package in your pantry, sort your backpacking foods into three groups.
Keep the original packaging
Some foods are better left in their original containers.
This may include:
- Freeze-dried meals designed to be prepared in their pouches
- Foods that require special packaging for protection
- Products where the packaging contains important preparation or safety information
- Foods whose shelf stability depends on the original packaging
If the package is part of the cooking system or protects the food from moisture, don’t remove it just to save a few grams.
Repackage
Some foods can be moved into smaller bags or containers.
Examples may include:
- Oatmeal
- Rice
- Couscous
- Pasta
- Dehydrated vegetables
- Trail mix
- Nuts
- Powdered drink mixes
- Seasonings
Eliminate unnecessary outer packaging
Sometimes the easiest reduction is removing the box around the actual food.
For example:
Cardboard box → individual inner packets
If the inner packaging already protects the food and contains the information you need, the box may not need to travel with you.
🏷️ Never Create Mystery Food Bags
One of the biggest mistakes with repackaging is putting food into an unmarked bag and assuming you’ll remember what it is.
You probably will.
Until day four.
Then everything starts looking like beige powder. 😅
Use a permanent marker or labels to identify each package.
At minimum, include:
Food name
Meal
Day, if useful
Preparation instructions
For example:
DAY 3 DINNER
Couscous + chicken + vegetables
Add 1¼ cups boiling water
Rest 5 minutes
If the food has important allergen or ingredient information that you may need later, preserve that information separately.
📝 Photograph Important Labels Before Repacking
If you are removing food from packaging that contains useful information, take a photograph of the original label before discarding it.
This can preserve information such as:
- Ingredients
- Allergen information
- Nutrition information
- Preparation instructions
- Manufacturer information
- Best-before or expiration information
For a multi-day trip, you can also keep a digital record on your phone.
However, don’t rely exclusively on your phone if you may not have reliable access to it.
For important preparation information, writing the instructions directly on the food package is often simpler.
🥣 Portion Foods by Meal
Large bags create unnecessary bulk and make food management harder.
Instead of bringing one giant bag of oatmeal, portion it into individual meals.
For example:
Day 1 Breakfast
Oats + powdered milk + cinnamon
Day 2 Breakfast
Oats + powdered milk + dried berries
Day 3 Breakfast
Oats + powdered milk + nuts
Each portion can be packed separately and labeled.
This provides two advantages:
- You know exactly how much food belongs to each meal.
- You don’t have to open and repeatedly handle one large food bag.
For longer trips, daily meal bundles can make the entire food system easier to manage.
🌾 Combine Ingredients When It Makes Sense
You don’t necessarily need a separate package for every ingredient.
If several dry ingredients always appear in the same meal, you can combine them.
For example:
Couscous + dehydrated vegetables + seasoning
can become one labeled dinner package.
Or:
Oatmeal + powdered milk + cinnamon
can become one breakfast package.
This reduces the number of individual packages in your food bag.
However, don’t combine ingredients if doing so could cause a food-safety problem, damage the ingredients, or interfere with preparation.
🥜 Choose Packaging Based on the Food
There isn’t one perfect container for every backpacking ingredient.
For dry foods, lightweight resealable bags can be convenient.
For foods that are easily crushed, a sturdier container may be more appropriate.
For powdered foods, packaging that closes securely can help prevent leaks.
For oily foods, choose packaging that can reliably contain the contents.
The objective is not simply:
“What is the lightest bag I can find?”
It’s:
“What is the lightest packaging that will safely contain this food for the entire trip?”
A package that leaks into your sleeping bag isn’t lightweight in any meaningful sense. 😅
💧 Keep Moisture Out
Many backpacking foods are dry because their low moisture content helps with storage and reduces weight.
Once you’re repackaging them, avoid introducing moisture.
Make sure:
- Foods are completely dry before packing
- Containers are clean and dry
- Wet ingredients aren’t mixed with dry ingredients unless the recipe requires it
- Packages are properly sealed
- Food is protected from rain and condensation
This is particularly important for dehydrated foods.
Moisture can affect texture, quality, and shelf stability.
🍫 Protect Fragile Foods
Reducing packaging shouldn’t mean arriving at camp with powdered granola and crushed crackers.
Some foods need protection.
Consider packing delicate foods where they won’t be crushed by heavier gear.
For example:
More durable: nuts, instant grains, dried fruit
More fragile: crackers, chips, certain bars, delicate cookies
Sometimes a slightly sturdier container or strategic placement inside your food bag is worth the small weight increase.
🧂 Repackage Seasonings Together
Seasonings can create a surprising number of tiny packets.
Instead of carrying:
- Salt packet
- Pepper packet
- Garlic powder packet
- Chili powder packet
- Curry seasoning packet
for one meal, combine the ingredients when appropriate.
For example:
Day 4 Dinner Seasoning
Or create a small spice mix that works across several meals.
A tiny reusable container can also work well if it seals securely.
Just remember that salt and seasoning amounts matter. Label the mixture so you don’t have to guess later.
🥤 Don’t Forget Drink Mixes
Drink powders often come in individually wrapped packets.
If you prefer individual portions, keeping them separate can make daily organization easier.
If you’re using a bulk powder, portion it at home into clearly labeled bags.
For example:
DAY 2 — AFTERNOON DRINK
This prevents you from carrying an unnecessarily large container into the backcountry.
🗑️ Plan Your Trash Before You Leave
One of the best ways to reduce backpacking trash is to think about the entire packaging lifecycle.
Before the trip:
Buy → unpack → repackage → remove unnecessary packaging
During the trip:
Eat → compress remaining packaging → store trash securely
After the trip:
Pack out → dispose of or recycle appropriately
This is more efficient than simply throwing every wrapper into your backpack and hoping it sorts itself out later.
Follow the waste-disposal and Leave No Trace requirements for the area you’re visiting.
🐻 Remember That Repackaging Does Not Replace Food Storage
Reducing packaging has nothing to do with whether food needs special wildlife protection.
If you’re hiking in an area with bear-resistant food-storage requirements, follow the regulations of the relevant land manager.
A lightweight food bag is not automatically an acceptable food-storage system.
You may need a:
- Bear-resistant container
- Approved food locker
- Required hanging system
- Other designated storage method
Check the rules for your destination before deciding how to organize your food.
⚖️ Weigh the Food After Repackaging
Don’t assume that repackaging automatically makes your food lighter.
Weigh the complete system before and after.
For example:
Original food + packaging: 12 oz
Repackaged food + new packaging: 10 oz
You saved 2 oz.
Do that across multiple meals and the difference can become meaningful.
But if you replace a thin original wrapper with a heavy reusable container, you may actually increase the weight.
The goal is to measure rather than guess.
🧪 Test Your Repackaging System at Home
Before taking your new system into the wilderness, test it.
Open and close the bags.
Shake them.
Put them in your backpack.
Check whether powdered ingredients leak.
See whether labels remain readable.
Prepare the meals using the instructions you’ve written.
Ask:
Can I identify this food easily?
Can I open the package with cold or tired hands?
Will it survive being carried for several days?
Do I have enough preparation information?
A five-minute test at home can prevent a surprisingly annoying problem on the trail.
🎒 Create a Simple Daily Food System
For longer trips, try organizing food into daily bundles.
DAY 1
🥣 Breakfast
🍫 Snacks
🥪 Lunch
🍲 Dinner
🥤 Drink
DAY 2
🥣 Breakfast
🍫 Snacks
🥪 Lunch
🍲 Dinner
🥤 Drink
And so on.
You can place each day’s food into a larger bag.
This makes it easier to see how much food remains and reduces the temptation to open every package when you’re hungry.
It also makes resupply much easier.
🚫 What Not to Repackage
Not every food needs to be moved into a new container.
Be cautious about repackaging:
- Foods requiring specialized protective packaging
- Foods whose shelf stability depends on the original package
- Foods that could leak or spoil
- Foods with important information you would lose
- Foods that are easily contaminated
- Commercial meals designed specifically for pouch preparation
If you’re uncertain whether a product can safely be removed from its original packaging, follow the manufacturer’s instructions rather than assuming that a lighter package is better.
🌿 The “Less Packaging, Same Food” Rule
A useful way to think about repackaging is:
Don’t change the food. Change the unnecessary packaging around it.
You aren’t trying to make the meal look smaller.
You’re trying to remove:
📦 Empty boxes
📦 Excess wrappers
📦 Unnecessary individual containers
📦 Redundant seasoning packets
📦 Excess air
📦 Packaging that serves no purpose once you’re on the trail
At the same time, keep what protects the food and what you need to prepare and identify it safely.
✨ Final Thoughts
Repackaging backpacking food can make a multi-day food load feel dramatically more organized.
But the best system isn’t the one with the fewest bags.
It’s the one that balances weight, durability, food protection, organization, preparation, and waste.
Remove unnecessary boxes.
Combine ingredients when appropriate.
Portion meals.
Label everything.
Preserve important instructions and allergen information.
Protect foods from moisture.
Plan for your trash.
And always follow the food-storage rules for your destination. 🎒🌲
A few minutes of preparation at home can mean fewer bulky packages, less trash, and a much easier food system once you’re miles from the trailhead.