Backpacking Meal Planning: How Many Days per Canister?
Every backpacker knows the sinking feeling: you’re miles from the trailhead, craving a hot meal, but your stove sputters and dies. Fuel planning isn’t glamorous, but getting it wrong can turn a dream trip into a cold, hungry slog. Whether you’re a thru-hiker or a weekend warrior, understanding how many days your fuel canister will last—and how your food choices affect that number—is essential. This guide breaks down the math, the meal types, and the cooking methods so you can pack exactly the right amount of fuel and never waste a gram.
Why Fuel Management Matters More Than You Think
Fuel is one of the heaviest, most space-consuming items in your pack—and the one you cannot improvise on trail. A half-empty canister might sputter before your freeze-dried dinner rehydrates, leaving you with crunchy noodles. Overpacking fuel, on the other hand, adds unnecessary weight and bulk. The sweet spot depends on two variables: the type of meal you prepare and how you cook it. Boiling requires more fuel than soaking, and some foods need only hot water while others demand a rolling boil. By matching your menus to your stove’s efficiency, you can dial in your fuel needs with precision.
Understanding Canister Fuel Basics
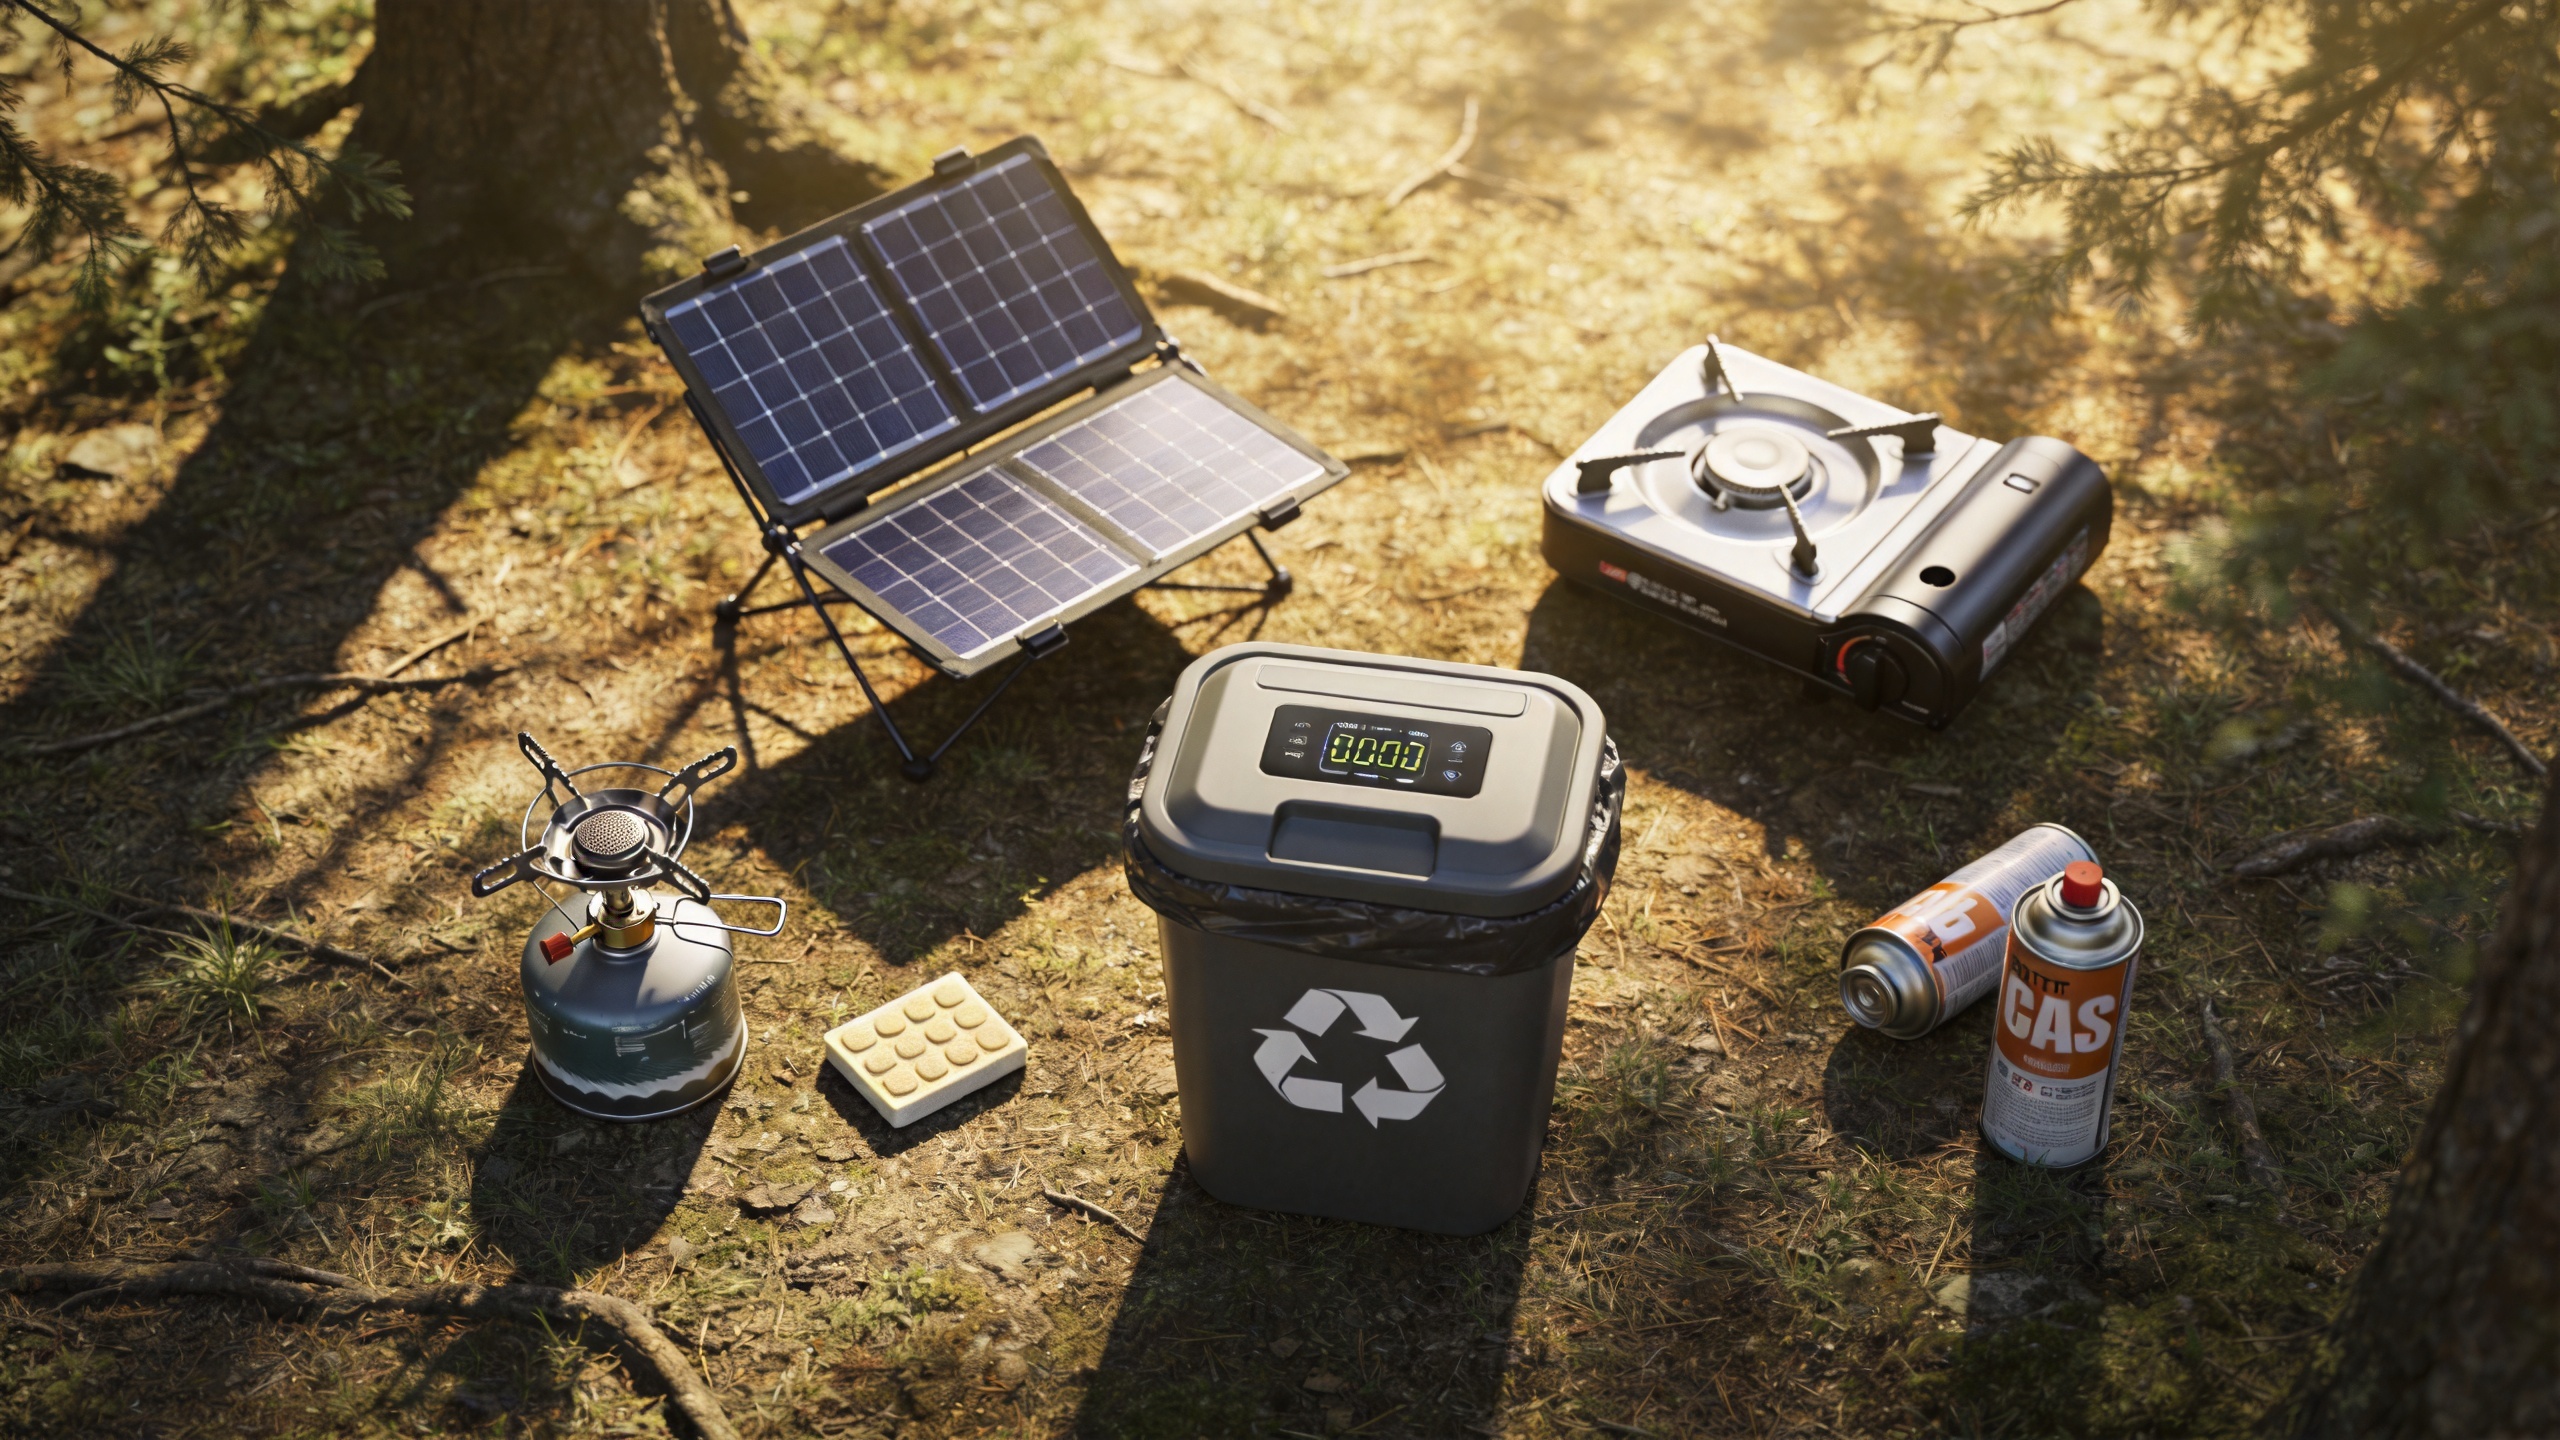
Most backpacking stoves use small canisters filled with a blend of isobutane and propane. In the U.S., common sizes are 4 oz (110 g), 8 oz (220 g), and 16 oz (450 g). Propane gives better cold‑weather performance, but isobutane burns cleaner. For planning purposes, a general rule of thumb is that boiling 1 cup (240 ml) of water requires about 5–7 grams of fuel at sea level with moderate wind. Higher altitudes and colder temperatures increase consumption due to lower boiling points and less efficient combustion.
“A standard 8 oz canister holds roughly 220 grams of fuel. Under ideal conditions, that’s enough to boil approximately 30–35 cups of water. But mix in a few oatmeal breakfasts that need simmering or a windy day, and you’ll quickly drop to 20–25 cups.” – Outdoor Gear Lab fuel efficiency study
Meal Types and Their Cooking Profiles
Not all backpacking meals are created equal. Here’s how the three most popular meal categories stack up:
- Freeze‑dried meals – Require only boiling water (usually 1.5–2 cups per meal). No simmering needed. Just pour, stir, and wait 8–12 minutes. Lowest fuel cost per meal.
- Instant oatmeal – Can be prepared by simply pouring boiling water over the oats (cold soak also works), but many prefer a quick 1–2 minute simmer for better texture. Simmering adds about 1–2 grams extra fuel vs. pouring boiling water only.
- Instant mashed potatoes – Similar to oatmeal: pour boiling water, stir, let sit. But because potato flakes absorb water faster, you often need slightly more boiling water (about 1.25 cups per serving). No simmer needed if you use water just off boil.
Boiling vs. Soaking: The Fuel Showdown
Boiling every cup of water from a cold start uses the most fuel. But many backpackers now “cold soak” or “no‑cook” certain meals to save weight. Cold soaking works for oatmeal, couscous, ramen, and even some freeze‑dried meals (check the package). You simply add cold water, seal the bag, and wait 20–40 minutes. The trade‑off? Texture suffers, and you miss that warm comfort. Warm soaking is a middle ground: bring water just to a boil (using less fuel than a full boil), pour it over the food, and let it sit insulated in a cozy. This saves roughly 30–40% of the fuel compared to a full boil‑and‑simmer method.
| Method | Fuel per cup (grams) | Time required | Best for |
|---|---|---|---|
| Full boil (bring to rolling boil) | 6–7 | 3–5 min | Freeze‑dried, pasta, rice dishes |
| Simmer (hold just below boil) | 4–5 | 5–10 min | Oatmeal, rehydrating dried veggies |
| Warm soak (hot water, no stove after pour) | 3–4 | 10–20 min | Instant mashed potatoes, couscous |
| Cold soak (no fuel) | 0 | 20–40 min | Oatmeal, ramen, some freeze‑dried |
Calculating Your Fuel Budget: A Step‑by‑Step Approach
To determine how many days a single canister will last, follow this process:
- List every meal on your itinerary that requires stove use.
- For each meal, note the number of cups of water needed (or if simmering is involved).
- Multiply cups by the per‑cup fuel factor from the table above (adjust for altitude/wind).
- Add a 10–15% safety margin for boil‑over, extra hot drinks, or longer cook times due to cold.
For a typical 5‑day trip with two hot meals a day (breakfast and dinner) plus one hot coffee/tea, you’ll likely boil 15–20 cups total. At an average 6 grams per cup, that’s 90–120 grams of fuel. A standard 8 oz (220 g) canister easily covers that—even with a margin for wind. But if you switch to all cold soak, you might get away with just a backup canister for emergencies.
Sample 5‑Day Meal Plan with Fuel Estimate
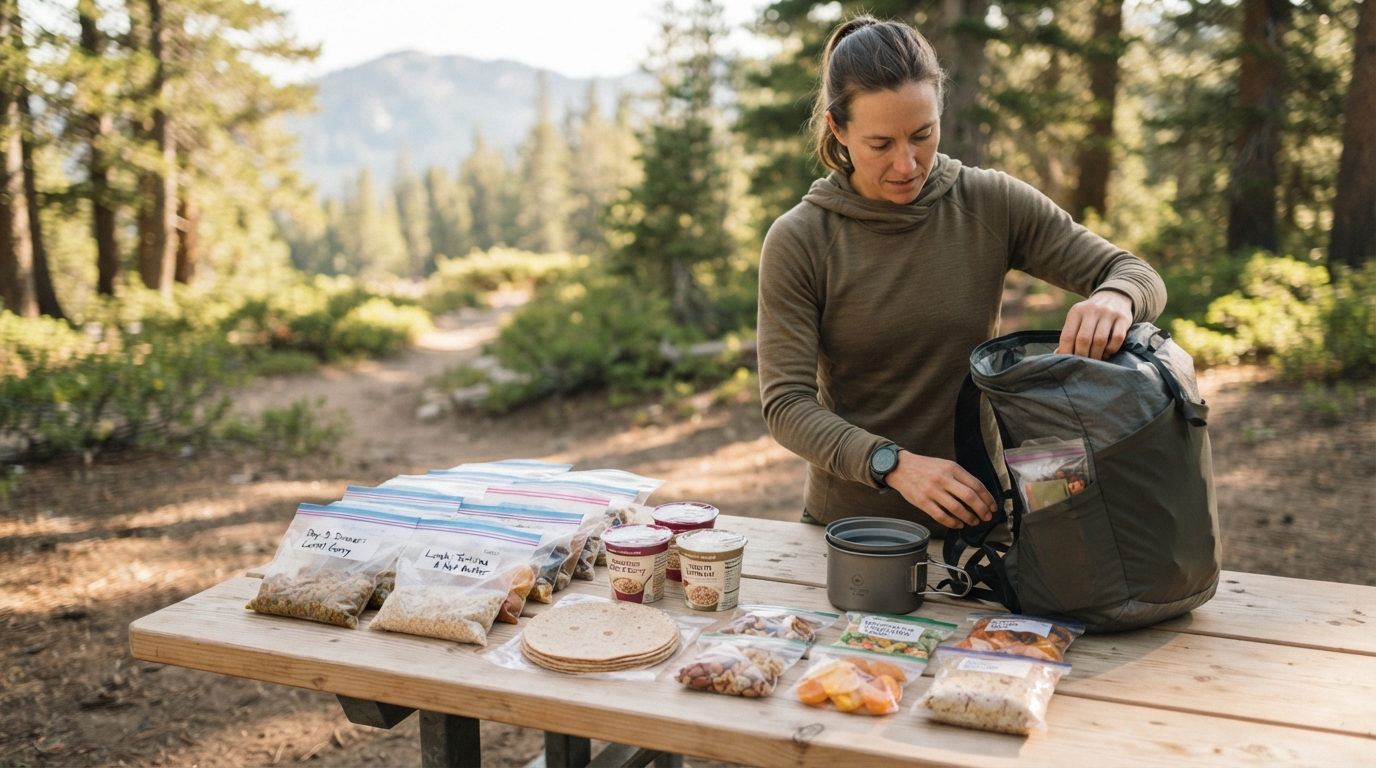
Let’s put theory into practice. Here’s a realistic menu for a solo backpacker in moderate weather (no extreme cold). We assume warm soak for breakfast and full boil for dinner and morning coffee.
| Day | Breakfast | Lunch | Dinner | Water boiled (cups) | Fuel used (g at 6 g/cup) |
|---|---|---|---|---|---|
| 1 | Instant oatmeal (warm soak) | Tortilla + PB | Freeze‑dried chili (boil) | 3 (1 breakfast + 2 dinner) | 18 |
| 2 | Coffee + instant grits (boil) | Cheese + crackers | Pad Thai (boil) | 3.5 (1.5 coffee + 2 dinner) | 21 |
| 3 | Oatmeal + dried fruit (warm soak) | Tuna pouch + crackers | Chicken & dumplings (boil) | 3 (1 breakfast + 2 dinner) | 18 |
| 4 | Instant potatoes (warm soak) | Pita + hummus | Beef stew (boil) | 3.25 (1.25 breakfast + 2 dinner) | 19.5 |
| 5 | Coffee + granola (no stove) | Leftover dinner | Backpacker’s lasagna (boil) | 2.5 (1.5 coffee + 1 dinner – share) | 15 |
| Total | 15.25 cups | 91.5 grams | |||
Note: Lunch is mostly no‑cook. Add another 10–15 grams for extra hot water for cleaning or a hot chocolate. Total fuel needed: ~105 g. That fits easily in a small 4 oz (110 g) canister, leaving a tiny reserve.
Pro Tips to Stretch Your Fuel Canister Further
Want to make that small canister last a full week? Try these field-tested techniques:
- Use a wind screen or heat reflector – Even a light breeze can double fuel consumption. Carry an aluminum foil shield (or use your stove’s built‑in wind guard).
- Pre‑weigh your meals – Measure exactly how much water each meal needs. Many freeze‑dried packages trigger you to use more than necessary. Use “just enough” and save fuel.
- Flame management – Running your stove at high flame wastes fuel. Once water is boiling, reduce to a simmer. A simmer uses 40% less fuel than a full boil.
- Insulated cozy – After pouring boiling water into a freezer bag or mug, place it inside an insulated cozy (or your jacket). The retained heat finishes rehydration without extra fuel.
- Combine boiling sessions – Boil water for both breakfast and tomorrow’s coffee at once, then transfer to a thermos. The stored hot water stays usable for hours.
“I used to burn through a whole 8 oz canister in 3 days. Then I started cold soaking breakfast and using a cozy for dinner. Now that same canister lasts me 7 days. It’s all about choosing the right technique for each meal.” – Pacific Crest Trail veteran, 2022 survey
Advanced Considerations: Altitude, Cold, and Stove Efficiency
Environments change the rules. At high altitude (above 10,000 ft / 3,000 m), water boils at a lower temperature (around 190°F / 88°C), so you actually need less fuel to bring water to a boil. However, many freeze‑dried meals rehydrate best at 200°F or higher, so you may need to let the food sit longer, or use more fuel to compensate for slower rehydration. In winter, fuel efficiency drops because the canister pressure decreases—place your canister in a shallow water bath or keep it warm inside your jacket before use. Always carry a bigger canister for cold‑weather trips.
Conclusion
Fuel planning doesn’t have to be guesswork. By categorizing your meals—freeze‑dried, oatmeal, instant potatoes—and choosing between boiling, simmering, or soaking, you can accurately predict how many days a canister will last. The difference between a 4 oz and an 8 oz canister matters only when you understand your cooking habits. Test your system on a short shakedown trip, adjust your techniques, and you’ll never haul unnecessary ounces again. Happy trails, and may your dinners always be hot.