🥾 How to Build a 3-Day Backpacking Meal Plan Under 2 Pounds of Food Per Day
Keeping backpacking food under 2 pounds per person per day sounds simple until you actually start weighing everything. A few bulky packages, too many snacks, or meals with lots of packaging can quickly push the food bag over the limit.
The good news is that you don’t need to eat tiny portions or rely entirely on specialized backpacking products. The key is to plan the entire menu first, choose foods with a good calorie-to-weight ratio, and eliminate unnecessary packaging and ingredients.
For a three-day trip, this approach can give you a compact food system while still leaving room for variety and enjoyable meals. 🎒🌲
⚖️ First, Understand the 2-Pound Target
Two pounds is about 907 grams.
That means a three-day food plan under 2 pounds per day gives you a total food-weight target of roughly:
6 pounds / 2.72 kg for one person
This is a food-weight target, not a calorie target.
Your actual energy needs depend on factors such as your body size, activity level, hiking intensity, terrain, weather, and individual appetite. A lighter food bag should not come at the expense of eating enough.
Think of the 2-pound goal as a packing constraint rather than a reason to restrict food.
🍽️ Build the Menu Before Buying Anything
One of the easiest ways to accidentally exceed your target is shopping first and planning later.
Instead, map out every eating occasion.
For a typical three-day trip, that could mean:
| Day | Meals and snacks |
|---|---|
| Day 1 | Breakfast, trail snacks, lunch, dinner, evening snack |
| Day 2 | Breakfast, trail snacks, lunch, dinner, evening snack |
| Day 3 | Breakfast, trail snacks, lunch, snacks for the journey out |
If breakfast happens at home before starting the hike, you may not need to pack a full breakfast for Day 1.
Likewise, if you expect to reach the trailhead around lunchtime on Day 3, you don’t need to pack a full day’s worth of food.
Plan according to the actual itinerary rather than automatically packing three identical days.
🥜 Choose Foods That Pack Efficiently
When weight matters, calories per gram become useful.
Foods containing more fat generally provide more calories per gram than foods dominated by carbohydrates or protein. That’s one reason foods such as nuts, nut butters, oils, and chocolate can be useful components of backpacking menus.
Other practical choices include:
- Nuts and seeds
- Nut or seed butter
- Tortillas
- Dried fruit
- Granola
- Instant oatmeal
- Instant rice
- Couscous
- Dehydrated meals
- Shelf-stable tuna or chicken
- Powdered milk
- Chocolate
- Crackers
- Energy or snack bars
You don’t need every item on the list.
The objective is to combine foods you actually enjoy eating into meals that are compact and easy to prepare.
🍚 Use a Simple Meal Formula
A backpacking meal doesn’t need a long ingredient list.
A useful framework is:
Carbohydrate + protein + fat + flavor
For example:
Dinner 🍲
Instant rice + tuna + olive oil + seasoning
Breakfast 🥣
Instant oats + powdered milk + nuts + dried fruit
Lunch 🌯
Tortilla + nut butter + dried fruit
Snack 🥜
Trail mix + chocolate
This structure makes shopping and portioning easier because you can substitute ingredients without redesigning the entire menu.
🔥 Make Cooking Count
If you are trying to stay under a weight limit, cooking equipment and fuel should also be considered separately from the food itself.
Choose meals that require minimal preparation.
No-cook
Examples:
- Tortillas with nut butter
- Trail mix
- Bars
- Nuts
- Dried fruit
- Appropriate shelf-stable protein
Hot-water meals
Examples:
- Instant oatmeal
- Instant couscous
- Instant rice
- Dehydrated meals
Simple one-pot meals
Combine several ingredients in one pot instead of preparing multiple dishes.
The fewer cooking sessions you need, the less time you spend preparing meals and cleaning up.
However, don’t eliminate cooking solely to save weight if a hot meal makes you more comfortable and likely to eat enough.
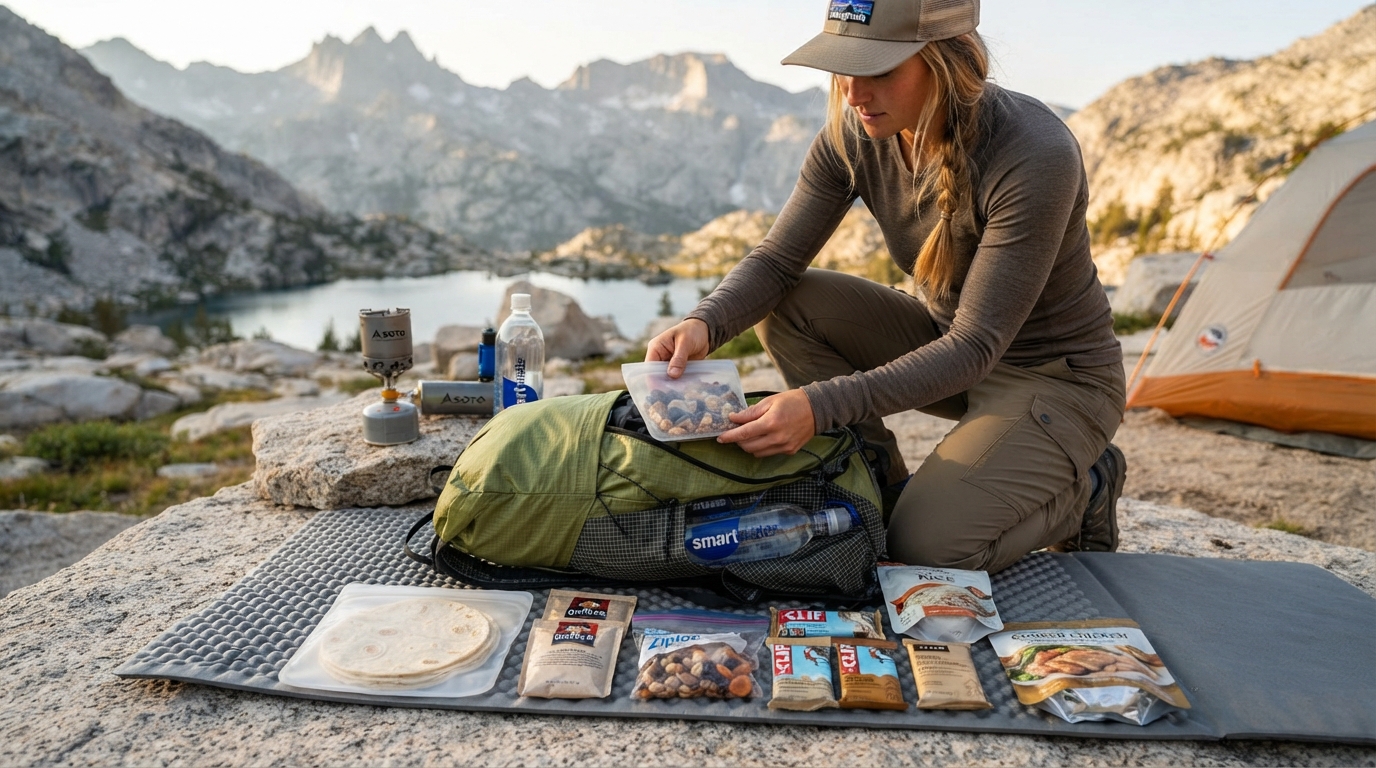
📦 Repackage Your Food
Packaging can add surprising bulk.
Before your trip, look at every item and ask:
“Do I really need to carry this entire package?”
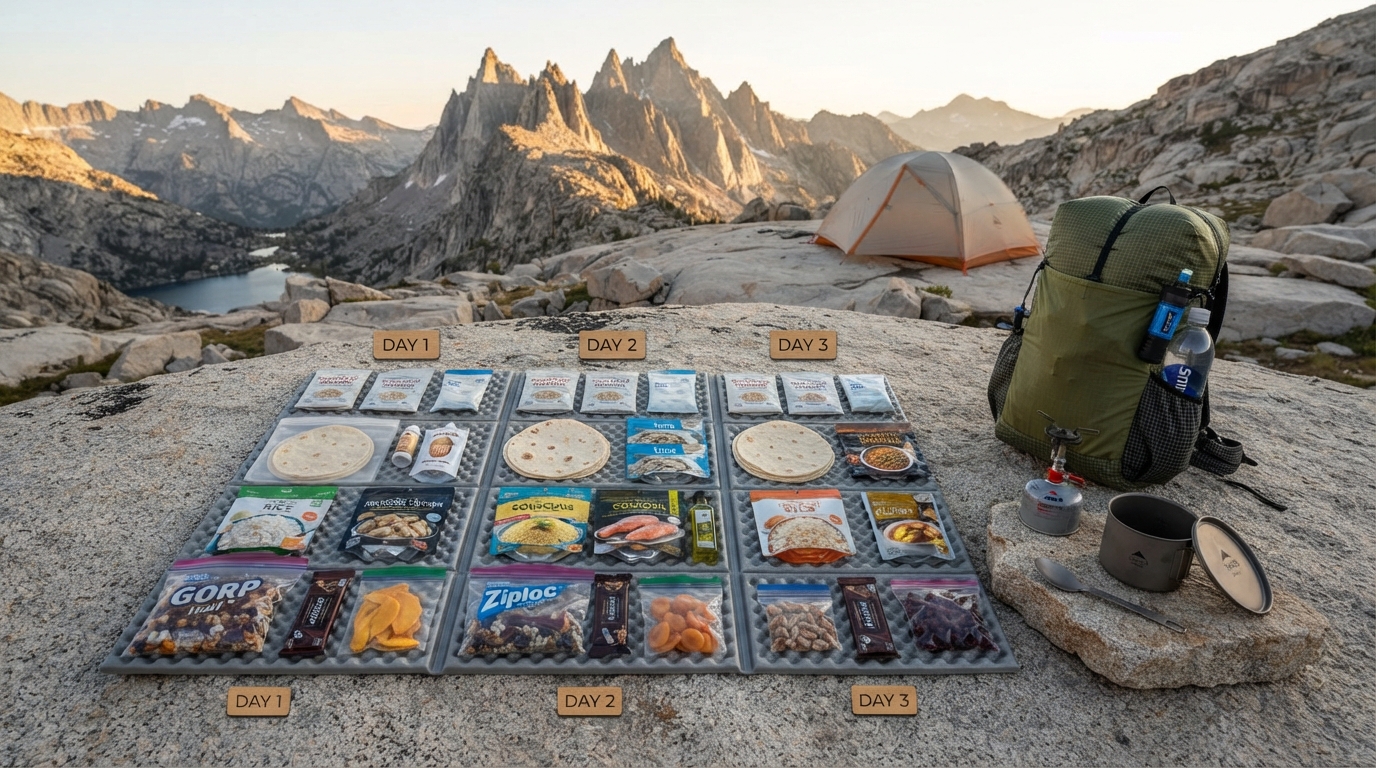
For appropriate foods, portion servings into lightweight bags or containers.
For example:
Day 1 dinner
- Instant rice
- Tuna pouch
- Seasoning
- Oil packet
Day 2 breakfast
- Oatmeal
- Powdered milk
- Nuts
- Dried fruit
Day 2 snacks
- Trail mix
- Bar
- Chocolate
Labeling food by meal can also make camp organization much easier.
Just remember to retain important information from original packaging when relevant, including preparation instructions, ingredient information, allergen information, and storage guidance.
🧮 Weigh the Food, Don’t Guess
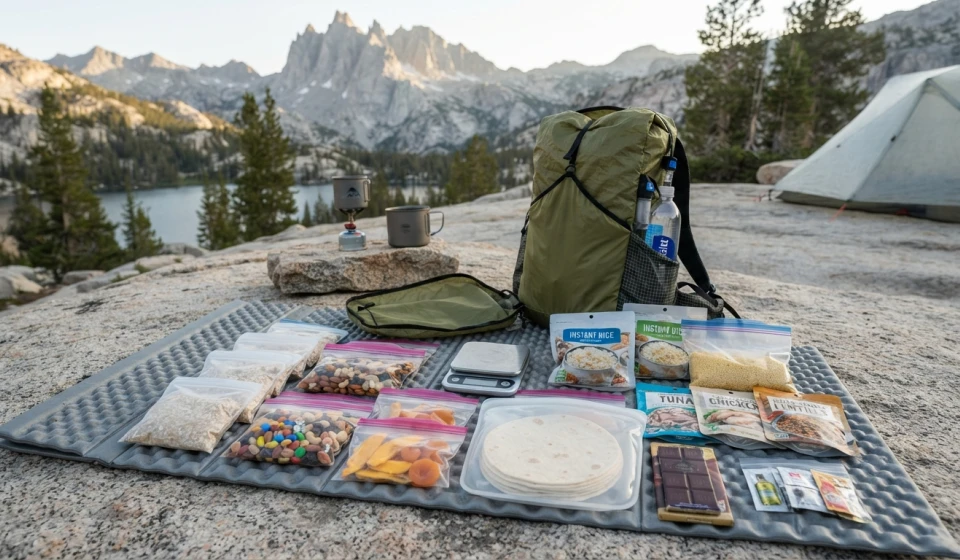
This is where a kitchen scale becomes one of your most useful backpacking tools.
Place a container on the scale and weigh each food portion.
Record the weight.
Then add everything together.
For example:
| Food category | Example 3-day allocation |
|---|---|
| Breakfast foods | 500–650 g |
| Lunch foods | 500–650 g |
| Dinner foods | 700–900 g |
| Trail snacks | 600–800 g |
| Extra/backup food | 100–250 g |
| Total | 2.4–3.25 kg |
These are planning examples rather than recommended quantities. Your actual amounts should be based on your energy requirements and menu.
The important thing is that your final total stays below approximately 2.72 kg if you’re targeting six pounds for three days.
📊 Don’t Optimize Only for Calories Per Gram
A food can be extremely calorie-dense and still be a poor backpacking choice for you.
Consider four things:
1. Weight
How many grams does it add?
2. Energy
How much energy does it provide?
3. Enjoyment
Will you actually want to eat it after several hours of hiking?
4. Practicality
Does it survive being carried in your pack? Does it require cooking? Does it melt easily? Does it need refrigeration?
A slightly heavier food that you reliably eat may be more useful than a highly calorie-dense food you dislike.
🥣 Example 3-Day Menu
Here’s a practical framework for one person.
🌄 Day 1
Breakfast:
Eat before departure or carry instant oatmeal if needed.
Trail snacks:
Nuts + dried fruit + bar
Lunch:
Tortillas + nut butter + dried fruit
Dinner:
Instant rice + tuna/chicken + oil + seasoning
Evening:
Chocolate + nuts
🌲 Day 2
Breakfast:
Instant oats + powdered milk + nuts + dried fruit
Trail snacks:
Trail mix + bar
Lunch:
Tortillas + shelf-stable protein + seasoning
Dinner:
Couscous + protein + olive oil + seasoning
Evening:
Chocolate or another compact snack
🥾 Day 3
Breakfast:
Instant oats + powdered milk + dried fruit
Trail snacks:
Trail mix + bar
Lunch:
Remaining tortilla meal
Before finishing:
Small backup snack if necessary
The menu is intentionally repetitive.
That’s not a weakness. Using the same core ingredients across multiple meals makes it easier to control weight and reduce unused food.
🎒 Keep a Small Food Buffer
Trying to hit exactly 2 pounds per day can encourage overly precise packing.
Instead, build your menu so that you have a small amount of additional food appropriate for your particular trip.
A compact backup might be:
- One energy bar
- A small bag of nuts
- Nut butter
- Another familiar shelf-stable snack
How much extra food makes sense depends on the remoteness and difficulty of your route, weather, transportation options, and how easily you could end the trip early.
For remote or demanding trips, food safety and adequate energy should take priority over an arbitrary weight target.
💧 Don’t Forget the Water Weight
Your 2-pound food target should not be confused with your water weight.
Water is much heavier than food, and your hydration requirements can vary substantially depending on temperature, exertion, and availability of reliable water sources.
Before your trip, identify:
- Reliable water sources
- Whether treatment is necessary
- How much water you’ll need to carry between sources
- Whether your meals require additional water
Never assume a clear natural water source is automatically safe to drink.
🚫 Common Mistakes That Push Food Weight Up
Buying too many individual snacks
A large variety can create unnecessary packaging and duplicate foods.
Carrying full-size containers
You rarely need an entire jar or large package for a three-day trip.
Packing too many “emergency” meals
A reasonable backup is useful. Several extra meals can quickly undermine your weight goal.
Choosing bulky foods with little nutritional value
Some foods take up substantial space without contributing much energy or nutrition.
Forgetting condiments
Small packets of oil, sauce, or seasoning can be useful, but multiple extras add up.
Designing every meal from scratch
A complicated menu often means more ingredients, more packaging, and more preparation.
📝 The Final Weigh-In
Before putting your food into your backpack, perform one final check.
Put all food for the trip on your scale.
Include:
- Snacks
- Meals
- Condiments
- Drink mixes
- Cooking ingredients
- Backup food
Then check the total.
For three days:
Target: less than approximately 2.72 kg / 6 lb total
If you’re over the target, don’t immediately remove food.
First look for unnecessary weight:
- Excess packaging
- Duplicate snacks
- Ingredients used only once
- Oversized portions that you know you won’t eat
- Unnecessary containers
Make reductions strategically rather than simply cutting meals.
🌲 Final Thoughts
A three-day backpacking menu under 2 pounds of food per person per day is primarily an exercise in planning.
Start with your actual itinerary, determine how many meals and snacks you need, choose compact foods, combine ingredients across meals, and weigh everything before leaving.
Most importantly, remember that lighter isn’t automatically better.
The goal is to carry enough food to support your trip while avoiding unnecessary weight. A thoughtfully planned menu can make your food bag lighter without making your meals feel miserable.
Pack food you’ll actually eat, keep preparation simple, and let the trail be the complicated part, not dinner. 🥾🌲🎒