🥾 How to Pack Food for a 2-Day Backpacking Trip Without Overpacking
Packing food for a two-day backpacking trip can feel surprisingly complicated. You want enough food to stay fueled, but carrying too much adds unnecessary weight and bulk.
The solution isn’t simply to eat less. It’s to plan deliberately, choose versatile foods, and pack according to when you’ll actually eat.
A good two-day food system should be easy to carry, simple to prepare, reasonably satisfying, and organized enough that you aren’t digging through your entire backpack every time you get hungry. 🎒
🗺️ Start With the Actual Trip
Before choosing food, look at the trip itself.
Consider:
- How many hours you’ll be hiking each day
- Trail difficulty and elevation gain
- Expected weather
- Your personal appetite and energy needs
- Whether you’ll have reliable water sources
- Whether you’ll use a stove
- Whether food needs to be protected from animals
- Any dietary restrictions or allergies
A relaxed two-day trip with short hiking days requires a different food strategy from a strenuous mountain route.
Avoid using a generic “backpacking calorie number” as your only guide. Energy requirements vary considerably between people and activities.
Instead, use your normal eating habits and previous hiking experience as a starting point, then adjust after each trip.
🍽️ Build the Menu Before You Pack
One of the easiest ways to overpack is to throw a collection of snacks into your backpack and hope it is enough.
Instead, create a simple eating schedule first.
For a two-day trip, you might plan:
Day 1
- Breakfast before departure
- Trail snacks
- Lunch
- Dinner
- Evening snack
Day 2
- Breakfast
- Trail snacks
- Lunch
- Extra snack for the journey home
This gives every food item a purpose.
You can then ask yourself:
“When am I actually going to eat this?”
If you cannot identify an eating occasion for an item, reconsider whether you need to bring it.
⚖️ Prioritize Food That Does More Than One Job
The most useful backpacking foods are often versatile.
For example, tortillas can work with:
- Nut or seed butter
- Tuna or chicken
- Cheese when conditions allow
- Dried fruit
- Other compact fillings
Nuts can be eaten alone, mixed with dried fruit, added to oatmeal, or used as a topping.
Instant grains can become dinner with a shelf-stable protein and seasoning.
This flexibility helps reduce the number of different ingredients you need to carry.
A simple formula
Try building meals around:
Carbohydrate + protein + fat + flavor
For example:
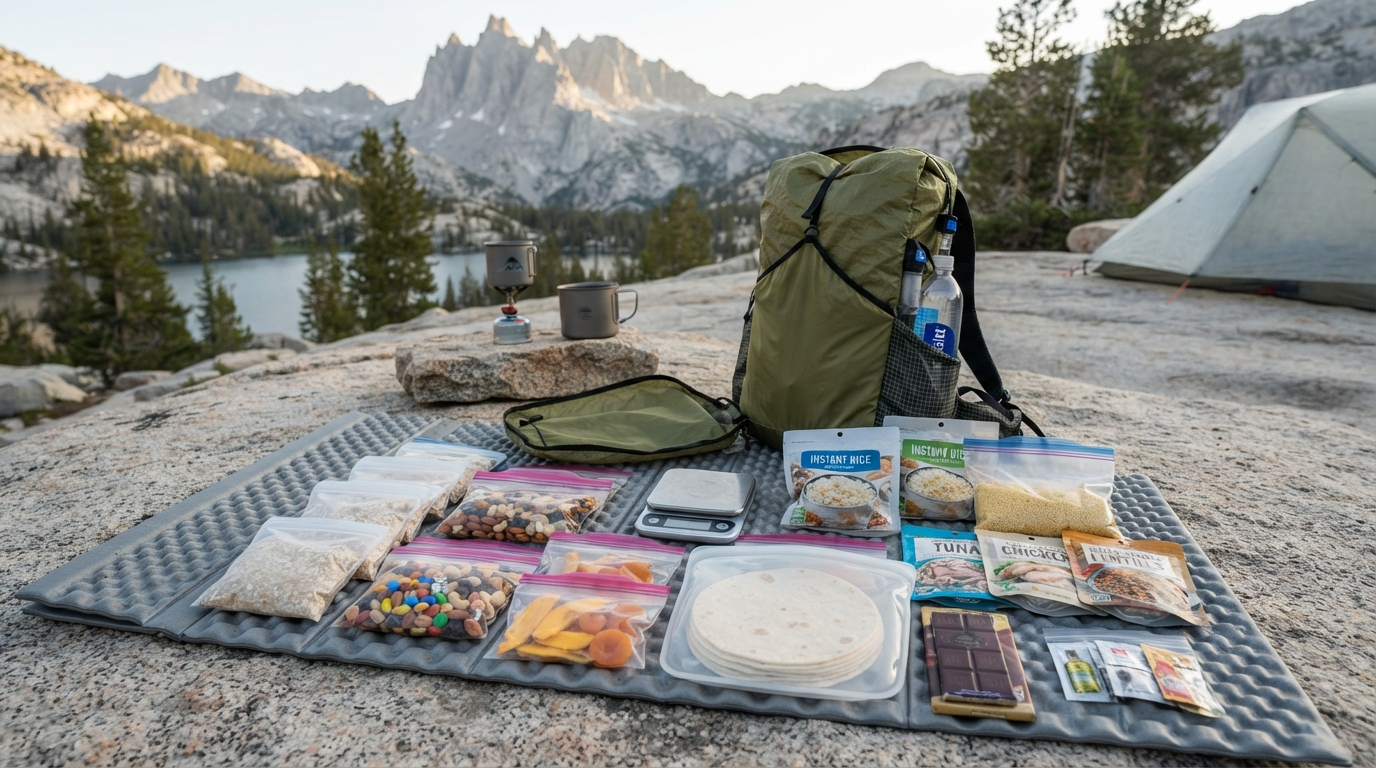
🍚 Instant rice
🐟 Tuna or chicken pouch
🥜 Nuts or a small oil packet
🧂 Seasoning
Or:
🌯 Tortilla
🥜 Nut butter
🍇 Dried fruit
You don’t need a completely different ingredient for every meal.
🥜 Choose Compact Snacks
Snacks can quietly become one of the heaviest parts of a backpacking food bag.
Instead of bringing many individual products, choose a few compact options you genuinely enjoy.
Useful categories include:
- Nuts
- Seeds
- Trail mix
- Dried fruit
- Granola
- Energy bars
- Nut or seed butter
- Crackers
- Chocolate
- Tortillas
A small variety is usually easier to manage than ten different snacks.
You can also portion trail mix into individual bags so you aren’t carrying a large package and guessing how much remains.
🍜 Keep Cooking Simple
If your goal is to avoid overpacking, complicated meals work against you.
A two-day trip usually doesn’t require elaborate cooking.
Consider three levels:
No-cook
Everything is ready to eat.
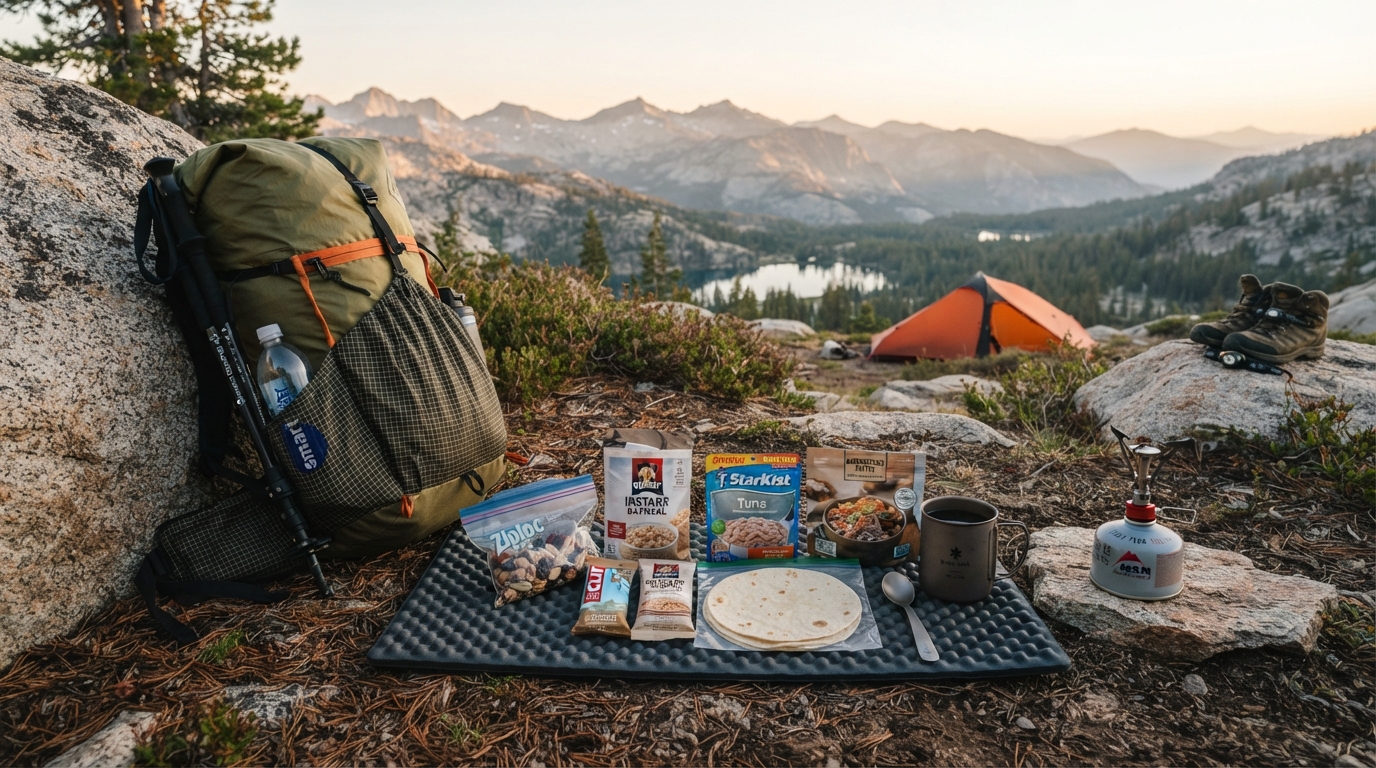
Examples include tortillas, nut butter, trail mix, bars, dried fruit, and appropriate shelf-stable protein.
Hot-water only
You boil water and add it to the food.
Examples include instant oatmeal, instant couscous, instant rice, or suitable dehydrated meals.
One-pot meal
You cook one simple combination in your pot rather than preparing multiple dishes.
The simpler the meal, the less equipment, fuel, time, and cleanup you may need.
🔥 Don’t Pack Extra Fuel Without a Reason
If you’re using a stove, food planning and fuel planning should be connected.
Count the number of times you actually need to boil water.
For example, if breakfast and dinner are your only hot meals, you may not need to carry fuel for several cooking sessions throughout the day.
However, follow your stove manufacturer’s instructions and account for conditions that can affect fuel use.
The goal isn’t to minimize fuel at all costs. It is to avoid carrying fuel for meals you never intended to cook.
💧 Plan Around Water
Water can also affect how you pack food.
Some backpacking meals require considerable water. Others require almost none.
Before your trip, determine:
- Where you’ll obtain water
- Whether the sources are reliable
- Whether treatment is necessary
- How much water you’ll need to carry
- How much water your meals require
Never assume a natural water source is safe simply because it looks clean.
If you’re using a dehydrated or instant meal, check its preparation instructions before deciding how much water you’ll need.
📦 Repackage Carefully
Large commercial packages often contain more packaging than you need for a two-day trip.
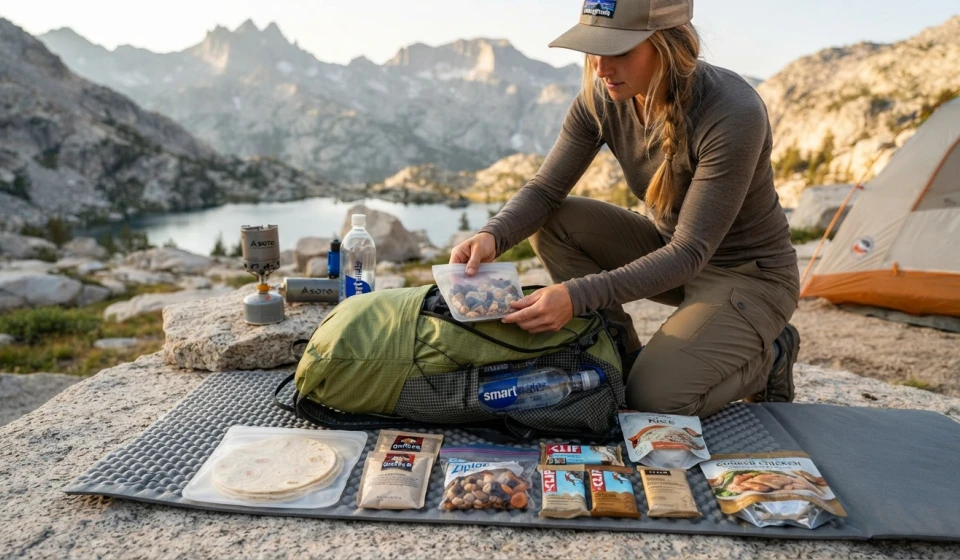
Where appropriate, portion foods into lightweight bags or containers at home.
For example:
Breakfast bag
- Instant oats
- Powdered milk
- Dried fruit
- Nuts
Dinner bag
- Instant rice or couscous
- Seasoning
- Shelf-stable protein
Snack bag
- Trail mix
- Bar
- Chocolate
Label each bag with the meal or day.
This makes your food easier to find and prevents the classic campsite problem of pulling everything out of your backpack just to locate breakfast. 😅
But don’t remove important information
If you repackage a commercial food, keep the original package or record important information such as:
- Cooking instructions
- Allergen information
- Expiration or best-before information
- Required storage instructions
This is especially important for people with food allergies or dietary restrictions.
🧹 Reduce Packaging and Cleanup
Less packaging can mean less bulk, but don’t sacrifice food safety or organization simply to save a few grams.
Use practical containers or bags that protect the food.
For cleanup:
- Avoid meals that create unnecessary dishes
- Use one pot when possible
- Wipe containers appropriately
- Pack out all food packaging
- Never leave food scraps behind
If you’re camping in an area with wildlife, follow local food-storage requirements and recommendations.
🧮 Create a Food Inventory
Before putting everything into your backpack, make a simple inventory.
For example:
| Food | Quantity | Eating occasion |
|---|---|---|
| Instant oatmeal | 2 servings | Breakfast |
| Tortillas | 4 | Lunch/snacks |
| Tuna/chicken pouches | 2 | Lunch/dinner |
| Instant rice | 1–2 servings | Dinner |
| Trail mix | 2 portions | Trail snacks |
| Energy bars | 2–3 | Trail/emergency |
| Dried fruit | 2 portions | Snacks |
| Chocolate | 1 portion | Evening |
The quantities are examples, not universal requirements. Adjust them to your appetite, itinerary, and expected activity.
The key is that every item has a destination.
🎒 Use the “One Extra” Strategy
You don’t need to pack an enormous emergency pantry for a normal two-day trip.
But having some additional food can be sensible because plans can change.
A practical approach is to carry a small amount of extra food that is:
- Compact
- Shelf-stable
- Easy to eat
- Familiar to you
- Not dependent on cooking
An extra bar, nuts, or another compact snack can be more practical than carrying a complete additional meal.
The appropriate amount depends on the trip, remoteness, weather, and your ability to exit or resupply.
🚫 Avoid These Common Overpacking Mistakes
Bringing too many flavors
Variety sounds great at home, but carrying six different snack types adds complexity.
Choose a smaller selection you genuinely enjoy.
Packing “just in case” foods repeatedly
One reasonable backup is different from bringing multiple backup meals.
Ask whether the item protects against a realistic problem or simply makes you feel more prepared.
Carrying full-size packages
Large bags and boxes can contain unnecessary packaging.
Portion what you realistically expect to consume.
Planning complicated meals
A recipe with multiple ingredients may taste great at home but become annoying after several hours on the trail.
Ignoring leftovers
If one meal produces leftovers that you don’t have a practical way to store safely, your plan may be more complicated than necessary.
🌄 Example of a Simple 2-Day Food System
Here’s a straightforward framework for one person:
Day 1
Breakfast: Eat at home before leaving, or carry a simple breakfast.
Trail: Nuts + dried fruit + bar
Lunch: Tortillas + shelf-stable protein + seasoning
Dinner: Instant rice or couscous + protein + seasoning
Evening: Chocolate or trail mix
Day 2
Breakfast: Instant oatmeal + powdered milk + nuts + dried fruit
Trail: Bar + trail mix
Lunch: Remaining tortillas + nut butter or protein
Before finishing: Small backup snack if needed
This is deliberately simple. You can swap ingredients without changing the basic structure.
📋 Final Food-Packing Checklist
Before leaving, check:
☐ Every meal has a purpose
☐ Snacks are portioned
☐ Food is appropriate for expected temperatures
☐ Water sources have been checked
☐ Water treatment is packed if necessary
☐ Stove and fuel are included if needed
☐ Eating utensils are packed
☐ Food-storage requirements are understood
☐ Packaging is protected from moisture
☐ Backup food is included where appropriate
☐ Allergies and dietary requirements have been considered
☐ All waste can be packed out
🌲 Final Thoughts
Packing food for two days doesn’t mean bringing two days’ worth of random snacks.
The easiest way to reduce weight is to plan the eating occasions first, choose versatile ingredients, simplify cooking, portion everything at home, and give every item a purpose.
Think of your food bag as a small system rather than a collection of food.
A few reliable meals, compact snacks, a sensible backup, and a clear water plan can give you plenty of flexibility without filling your backpack with food you never eat.
The goal isn’t to make your food bag as small as possible. It’s to make it as intentional as possible. 🥾🎒🌲