10 Ways to Save Fuel on Your Backpacking Stove
Every gram of fuel you carry on your back is a gram you have to haul uphill. For thru-hikers and weekend warriors alike, stretching that canister or bottle of white gas means lighter packs, fewer resupply stops, and lower costs. After thousands of trail miles and dozens of stove tests, I’ve distilled the most effective fuel-saving tactics into ten actionable strategies. These aren’t just theory—they’re proven on the Pacific Crest Trail, in the Rockies, and on countless rainy nights.
Smart Gear Choices: Set Yourself Up for Efficiency
The biggest fuel savings happen before you even strike a match. Choosing the right equipment and modifying your cook system can slash consumption by 40% or more. Let’s start with three game-changers that cost little or nothing.
1. Use a Windscreen and a Tight-Fitting Lid
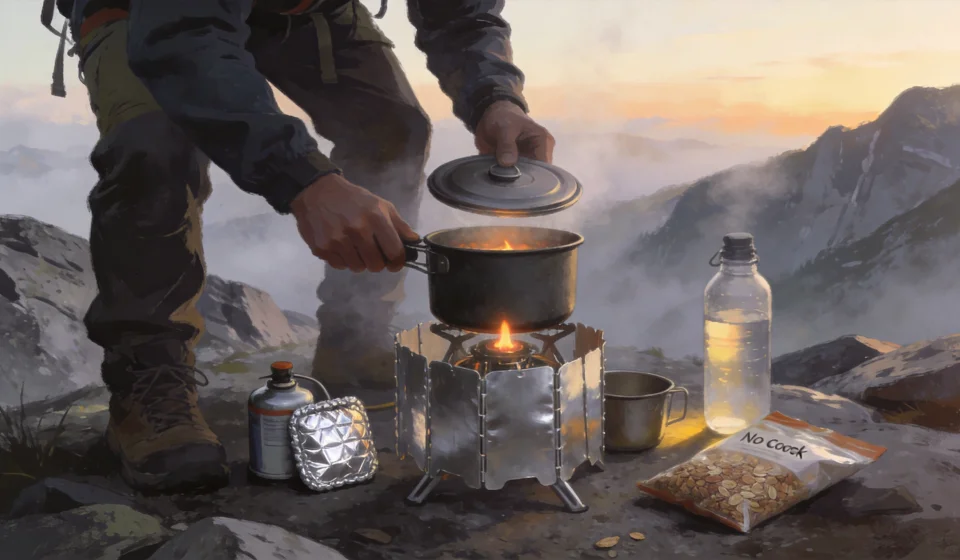
A steady breeze can double your boil time. A simple aluminum windscreen—bent from a disposable baking pan—redirects heat toward your pot instead of the sky. Pair it with a lid that fits snugly, and you trap steam that would otherwise escape. On a test with my MSR PocketRocket, using both a windscreen and a lid cut fuel use from 12 grams to just 8 grams to boil 500 mL of water. That’s a 33% improvement. Even better: a lid keeps dirt and pine needles out of your dinner. Pro tip: cut a small viewing slit in your windscreen to monitor the flame without removing it.
2. Upgrade to a Heat-Exchanger Pot
Heat exchangers—the finned bottoms you see on pots like the Jetboil or MSR Reactor—dramatically increase heat transfer to the water. They work by channeling exhaust gases along the sides of the pot, extracting almost every Btu. In side-by-side tests, a heat-exchanger pot boils water in half the time of a standard titanium pot on the same stove. That translates to roughly 40–50% less fuel burned. While these systems are heavier, the weight penalty is offset by carrying smaller fuel canisters. If you already own a standard pot, you can improvise: wrap the outside with aluminum foil tape (high-temp version) to create crude fins—not as good, but better than nothing.
3. Make a Pot Cozy and Use Residual Heat
A pot cozy is an insulating jacket that fits around your cookpot. Once you bring water to a boil, you can turn off the stove entirely and let the cozy do the rest. For example, when rehydrating freeze-dried meals or soaking oatmeal, bring the water to a rolling boil, pour it into your meal pouch (or pot), seal it, and slide it into the cozy. Wait 10–12 minutes instead of simmering for 5. You eliminate 2–3 minutes of burn time per meal. Over a week-long trip, that’s a half-canister saved. You can buy neoprene cozies or sew your own from reflective insulation or an old sleeping pad.
“I once helped a friend on the Colorado Trail who was burning through fuel twice as fast as me. The culprit? He never used a lid. After I lent him my windscreen and showed him the pot-cozy trick, his fuel consumption dropped by half. He finished the trail with two full canisters he didn’t need.” — Sarah K., thru-hiker and gear tester
| Technique | Fuel Saved per Boil (500 mL) | Weekly Savings (3 boils/day) |
|---|---|---|
| No modifications (baseline) | 0 g | 0 g |
| Add lid only | ~1.5 g | ~31.5 g |
| Add windscreen + lid | ~4 g | ~84 g |
| Heat-exchanger pot + lid | ~5.5 g | ~115.5 g |
| Pot cozy (after boil, no simmer) | ~2 g | ~42 g |
Master Your Cooking Technique: Less Flame, More Flavor
Even with perfect gear, poor technique can waste precious fuel. These four cooking habits are the difference between making a canister last four days or seven.
4. Don’t Run Your Stove at Full Blast
It’s tempting to crank the valve to max and watch the blue flame roar, but that’s the most inefficient way to cook. Most backpacking stoves achieve peak efficiency at 60–70% of full power. Beyond that, excess heat simply blows past the pot walls. Adjust your flame so it just licks the bottom of the pot; if it extends up the sides, you’re wasting fuel. For canister stoves, this often means turning the valve back a quarter turn after lighting. Test it at home: time how long it takes to boil 500 mL at full blast vs. medium flame. The medium flame might take an extra 30 seconds but uses 20% less fuel.
5. Soak Your Meals Instead of Boiling
Boiling requires constant energy input to maintain 100°C (212°F). But many meals—instant oats, couscous, ramen, and even some pasta varieties—can be rehydrated with water that was only brought to a boil and then allowed to cool. For example, to cold-soak instant mashed potatoes: add cold water to the pouch, stir, close it, and let it sit 20 minutes. No stove needed. For hot soaks (faster rehydration), bring water to a rolling boil, pour it over the food, seal, and wrap in your cozy. You never simmer; you save 2–5 minutes of burn time per meal. I’ve used this technique for years on the Appalachian Trail—my average boil time per day dropped from 8 minutes to 3 minutes. That’s fewer than 1 gram of gas per meal.
6. Simmer—Don’t Keep Boiling Vigorously
Once your water reaches a boil, turn the flame down to maintain a gentle simmer. A violent, rolling boil is overkill for most cooking (except at very high altitudes). The energy required to sustain a vigorous boil is roughly 30% higher than to keep a gentle simmer. For a pot of chili or soup, bring it to a boil, then immediately reduce heat until you see only occasional bubbles. That small adjustment can save 0.5–1 gram per minute of active cooking. Over a 10-minute simmer, that’s a meaningful dent in your fuel supply.
7. Preheat Your Water Using Nature’s Energy
If you camp near a stream or have access to solar warmth, you can start cooking with water that’s already close to ambient temperature. Fill your pot and leave it in direct sunlight for 30–60 minutes before lighting the stove. In summer, this can raise water temperature from 10°C (50°F) to 30°C (86°F) or more. Starting 20°C warmer means the stove has to provide 20% less heat energy to reach a boil. Another trick: tuck your water bottle against your body inside your sleeping bag overnight—by morning, it will be body temperature. Use that for your coffee; it boils in almost half the time.
- Preheat solar: Leave pot in sun for 30+ minutes.
- Preheat body heat: Sleep with water bottle in your bag.
- Preheat from fire: If you already have a campfire, set pot near coals to warm.
Pre-Trip Planning and Smart Habits
What you choose to eat (and how much you cook at once) can make or break your fuel budget. These last three strategies require foresight but deliver outsized returns.
8. Choose Quick-Cook or No-Cook Meals
Not all meals are created equal when it comes to fuel demand. Instant rice and couscous need only a brief boil and then off-heat soaking. On the other hand, whole grains like brown rice or lentils can require 15–20 minutes of simmering. For a typical week-long trip, swapping two slow-cook dinners for no-cook options like tortillas with cheese and pepperoni, or pre-made pesto pasta packs, eliminates 30 minutes of stove time—saving the equivalent of a small canister (110g). Even swapping one breakfast per day from hot oatmeal to cold granola with powdered milk will save you 3 grams per morning. Multiply by 7 days: 21 grams of fuel, which is a significant edge.
- No-cook lunch: Tortilla + nut butter + honey + dried fruit.
- Quick-cook dinner: Instant mashed potatoes + dehydrated vegetables + tuna (just add hot water, no simmer).
- No-cook breakfast: Muesli + powdered milk + cold water (pre-soak 10 min).
9. Cook for Two (or Three) and Share the Heat
Boiling a single 500 mL cup of water for one freeze-dried meal uses almost exactly the same amount of fuel as boiling 1 L for two meals, because the pot’s heat losses are nearly the same regardless of volume (radiation and convection depend mostly on surface area, not water volume). Therefore, combining two servings into one boil is nearly twice as efficient per person. If you’re hiking with a partner, use a larger pot (1.5–2 L), bring water to a boil once, then divide it between two pouches or bowls. Not only does this cut fuel use in half, but you also shorten cooking time—one long boil beats two separate short ones.
10. Measure Your Fuel—Don’t Carry “Just in Case”
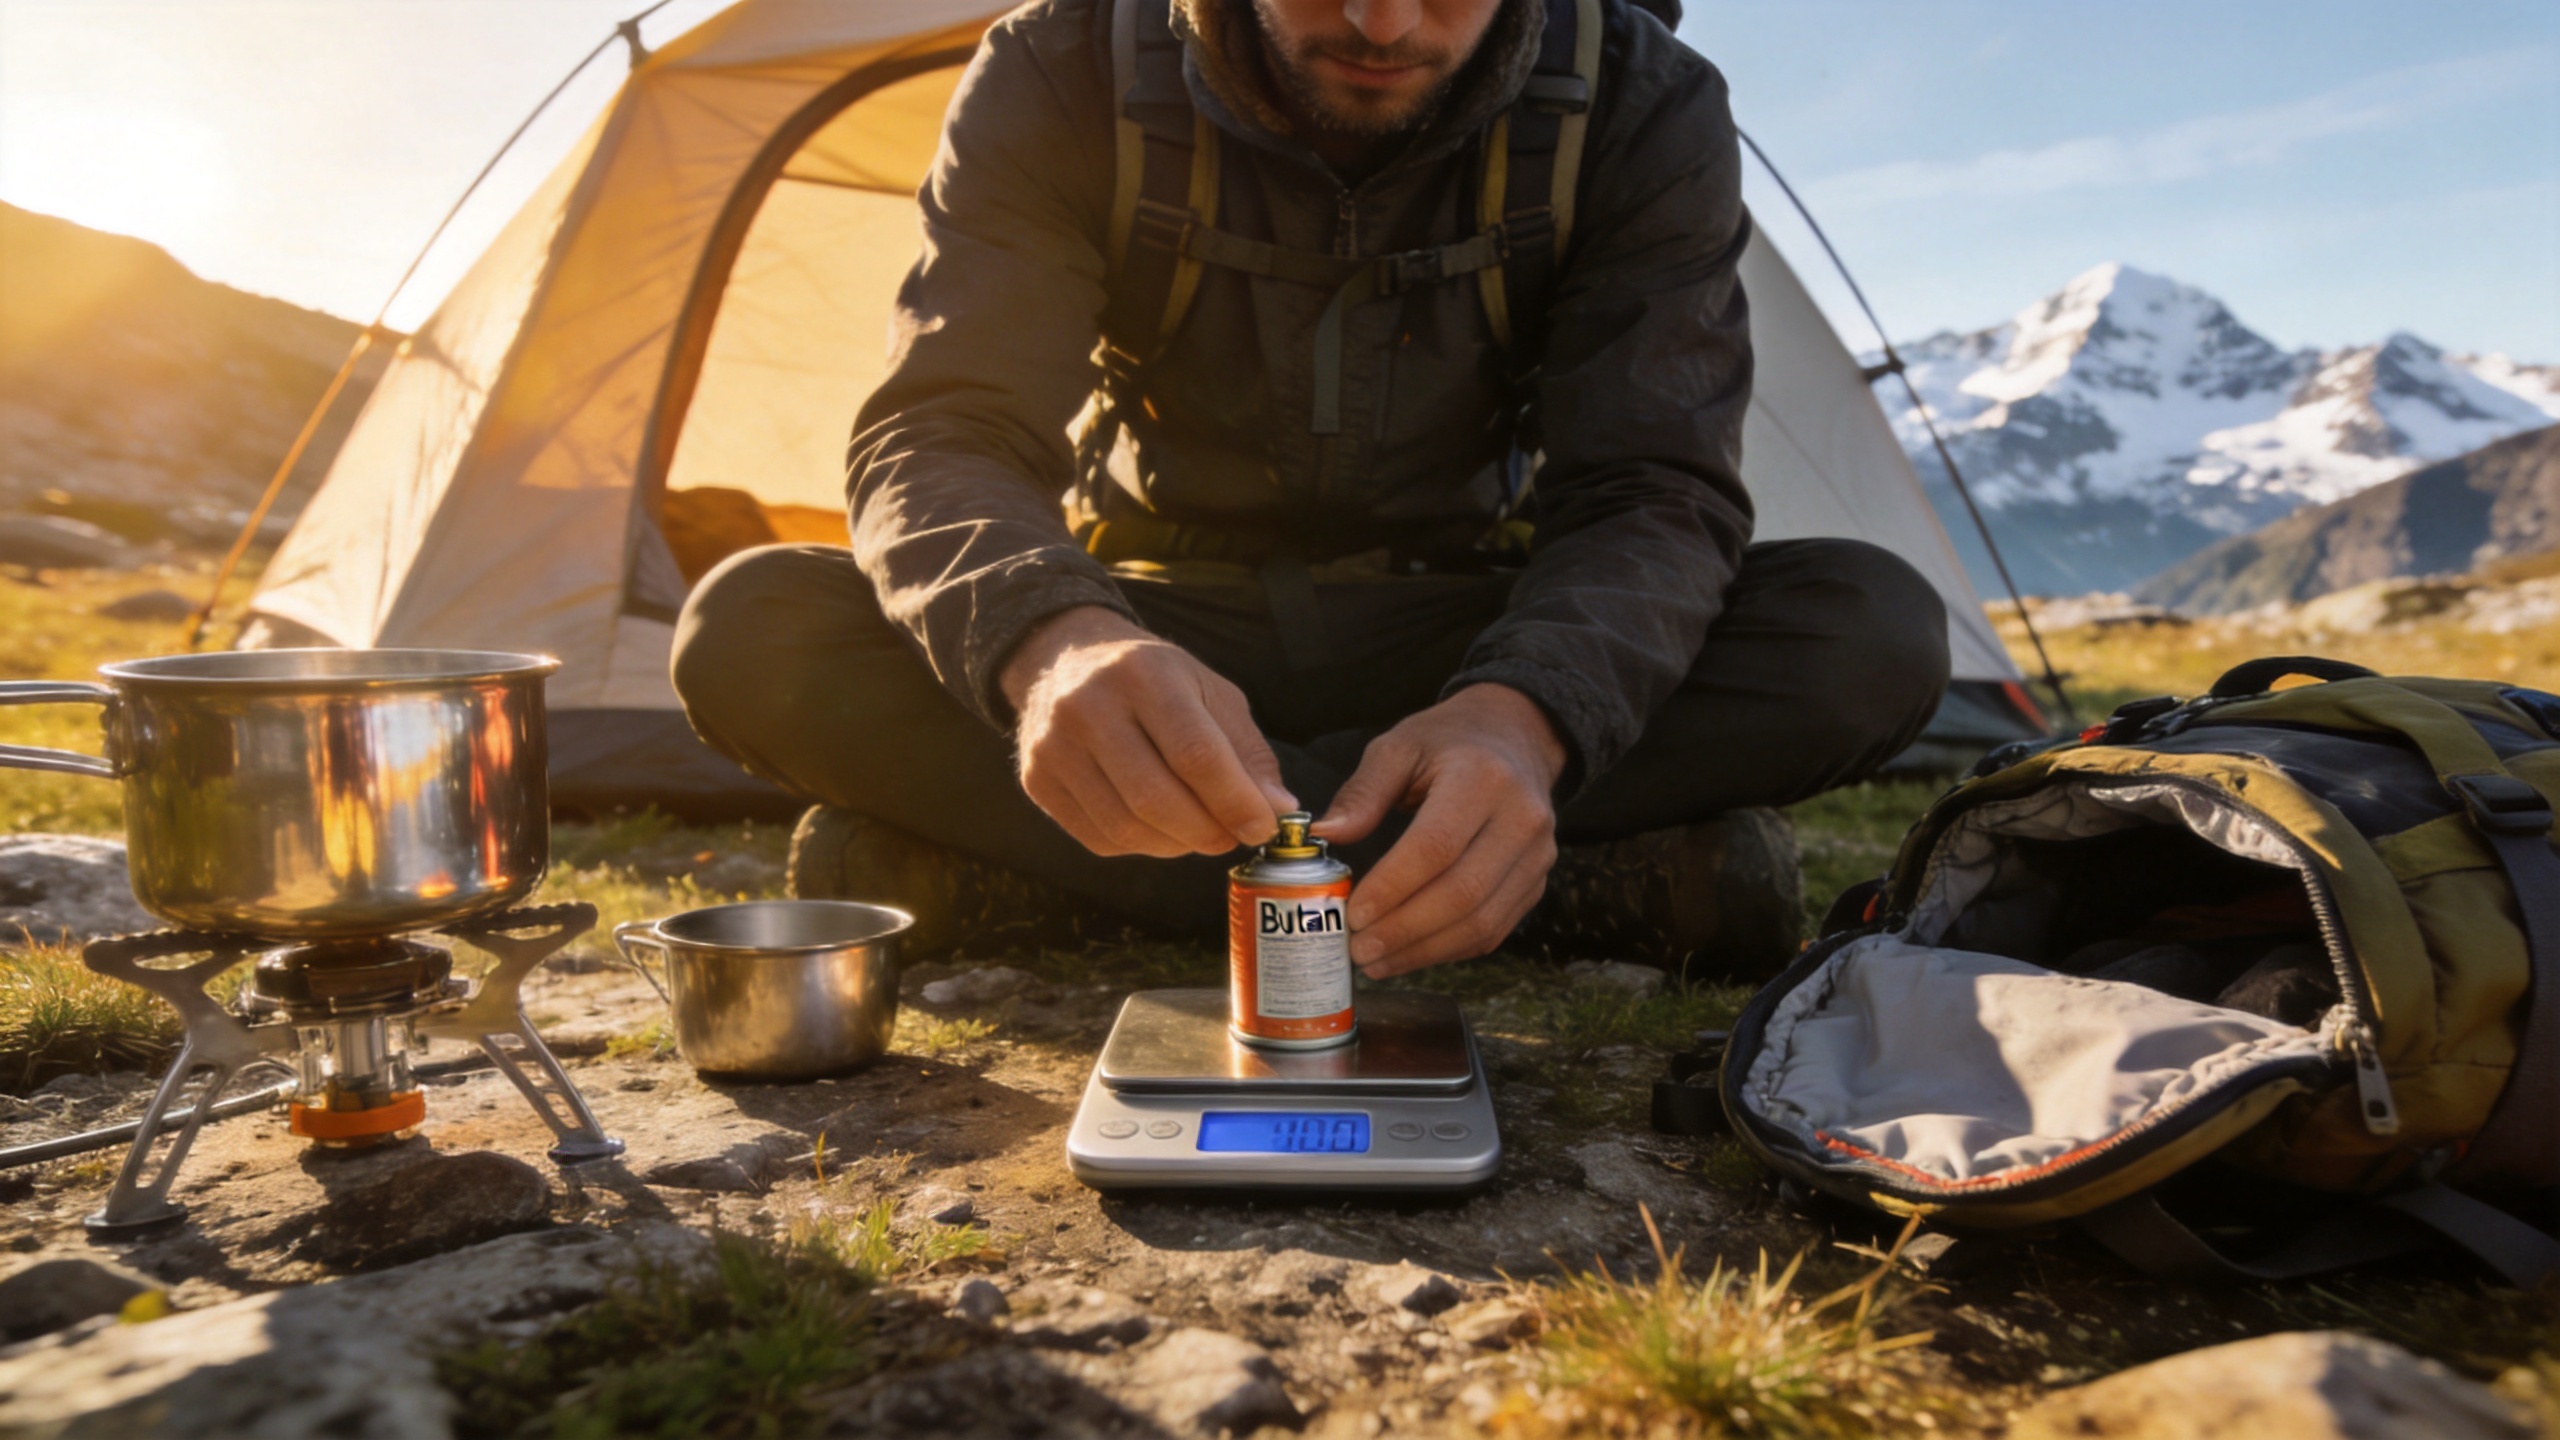
Most backpackers overpack fuel by 50–100%. A typical 100g canister holds enough fuel for roughly 8–10 standard boils (500 mL each) in calm, moderate conditions. Yet many hikers toss in an extra canister “just in case,” adding unnecessary weight. Instead, before your trip, test your actual consumption: time a full boil with your gear, weigh the canister before and after, and calculate grams per boil. Then for a 5-day trip with 2 hot meals and 1 hot coffee per day (15 boils), you can confidently bring a single 220g canister (which gives you a generous margin). Carrying only what you need can save 50–100 grams of pack weight per day. That’s more weight saved than any ultralight pot upgrade.
“I used to haul a 500g canister for a 3-day trip. After I started measuring, I realized I never used more than 80g of fuel. Now I pack a 110g canister and save 390 grams. That’s like carrying three extra Snickers bars—or leaving one heavy rock behind.” — Jake T., ultralight instructor
Conclusion
Saving fuel isn’t about suffering—it’s about working smarter. A windscreen, a lid, and a cozy can cut your fuel use by more than half. Pair them with intelligent techniques like cold-soaking, simmering small flames, and cooking for two, and you’ll carry less weight, spend less money, and stop worrying about running out of gas in the backcountry. Try just three of these tactics on your next outing; the savings will surprise you.