The Ultimate Guide to Fuel Planning for Backpacking
Few things ruin a backcountry trip faster than running out of fuel halfway through a dehydrated meal—or discovering your canister is too heavy to justify carrying. Proper fuel planning bridges the gap between a comfortable journey and a frustrating struggle. This guide walks you through the math, the gear, and the field-tested tactics to dial in your fuel consumption, whether you’re a weekend warrior or a thru-hiker logging 2,000 miles.
Calculating Your Daily Fuel Needs: From Theory to Trail
Every backpacker’s fuel equation starts with three variables: number of meals, water volume for rehydration and drinks, and cooking complexity. A common mistake is assuming one small canister fits all trips. In reality, a solo trip with no hot drinks will consume half the fuel of a group that likes morning coffee and simmered dinners.
The Baseline Formula
For a typical backpacking stove (isobutane canister), you can use the following rule of thumb:
- Boil 1 liter of water from 70°F (21°C) at sea level: ~6–8 grams of fuel (depending on wind and stove efficiency).
- Simmer for 10 minutes (e.g., instant rice, ramen): add 3–5 grams per minute.
- Hot beverages (coffee, tea, cocoa): roughly the same as boiling half a liter per cup.
Let’s put this into a concrete example. For a solo hiker averaging two hot meals per day (dinner + breakfast), plus two cups of coffee, the daily fuel burn looks like this:
| Activity | Water Volume (L) | Estimated Fuel (g) |
|---|---|---|
| Boil for dinner (dehydrated meal + hot drink) | 0.8 | 7 |
| Breakfast (oatmeal + tea) | 0.6 | 5 |
| Two cups of coffee (midday) | 0.4 | 4 |
| Total | 1.8 | 16 g/day |
That 16 grams daily means a standard 110 g isobutane canister (which actually contains about 110 g of fuel) should last roughly 6–7 days in ideal conditions. But conditions are rarely ideal.
Adjusting for Group Size and Cooking Style
For two people, the water volume roughly doubles, but you gain some efficiency by sharing a stove. You can estimate 80–90% of the two-person totals due to economies of scale. For three or more, plan on 70% additive per additional person. Here’s a quick-reference table:
| Group Size | Daily Fuel Estimate (g) | 110 g Canister Duration (days) |
|---|---|---|
| 1 person, light cooking | 12–16 | 7–9 |
| 2 persons, moderate cooking | 22–28 | 4–5 |
| 3 persons, heavy cooking (simmer + drinks) | 35–42 | 2.5–3 |
Note: These figures assume sea level, calm conditions, and efficient stove usage. Elevation, wind, and cold will significantly increase burn rates.
Weighing Canisters Before and After Trips: The Data-Driven Approach
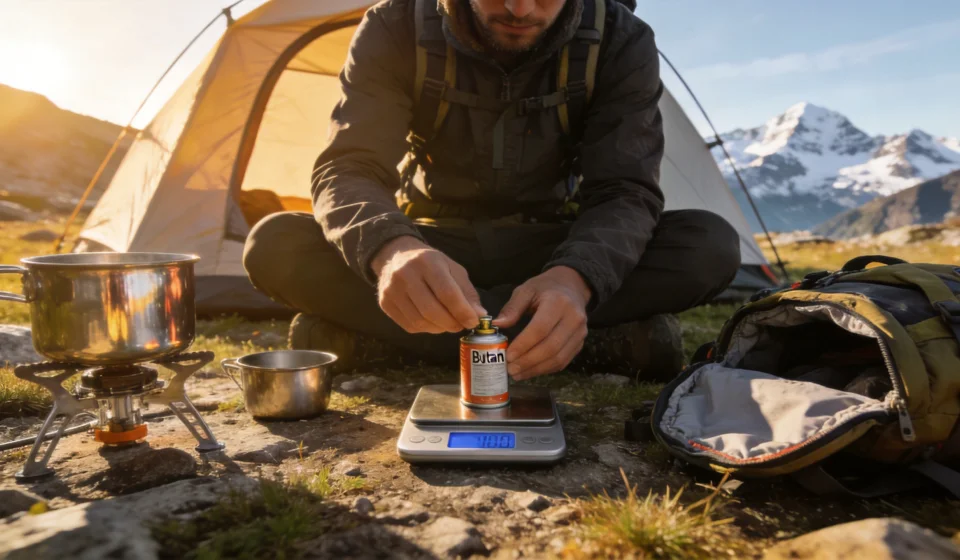
The single most reliable way to dial in your future fuel budgets is to weigh your canisters—both before departure and after return. This simple act transforms guesswork into hard data. You don’t need a laboratory scale; a 1-gram precision kitchen scale or a small digital luggage scale works fine.
Step-by-Step Recording
- Weigh the full canister (including the empty steel shell, which typically weighs 100–130 g for a 110 g canister). Record the total weight in a trip log or a notes app.
- Weigh the empty canister after the trip. Subtract the empty canister weight from the full weight to get the exact grams of fuel you burned.
- Divide by the number of cooking days to find your personal burn rate.
For example, if you started with a total weight of 230 g (canister + fuel) and ended with 180 g, you consumed 50 g over 4 days. That’s 12.5 g per day—a very lean pace. If your next trip is similar terrain and temperature, you can confidently pack a 110 g canister for 8 days.
Pro tip from veteran thru-hiker Jenn “TrailMom” Davis: “I weigh every canister I buy and record the grams I burn each resupply. After three trips, I know exactly how many miles I can cover per gram of fuel. It’s saved me from carrying unnecessary weight on the PCT and never once ran out.”
Use a spreadsheet or a small notebook to track your data. Over time you’ll notice patterns: cold trips use 20–30% more fuel, windy days burn 40% extra, and simmer-heavy meals like pasta double the consumption compared to a simple boil-and-eat pouch.
Why Weighing Beats Guessing
Many backpackers rely on the “squeeze test” (shaking the canister to feel how much fuel sloshes). This method is wildly inaccurate because the liquid fuel sloshes similarly until the canister is nearly empty. Weighing gives you the precise remaining fuel, so you can decide whether that 110 g canister will last another three days or if you need to replace it.
Conserving Fuel in Windy or Cold Conditions: Field-Tested Tactics
Wind and cold are the two biggest thieves of fuel efficiency. A stove that boils water in 3 minutes at home can take 8 minutes in a 15 mph breeze, doubling fuel use. Here are concrete strategies to keep your gas burns lean.
Use a Wind Screen (But Safely)
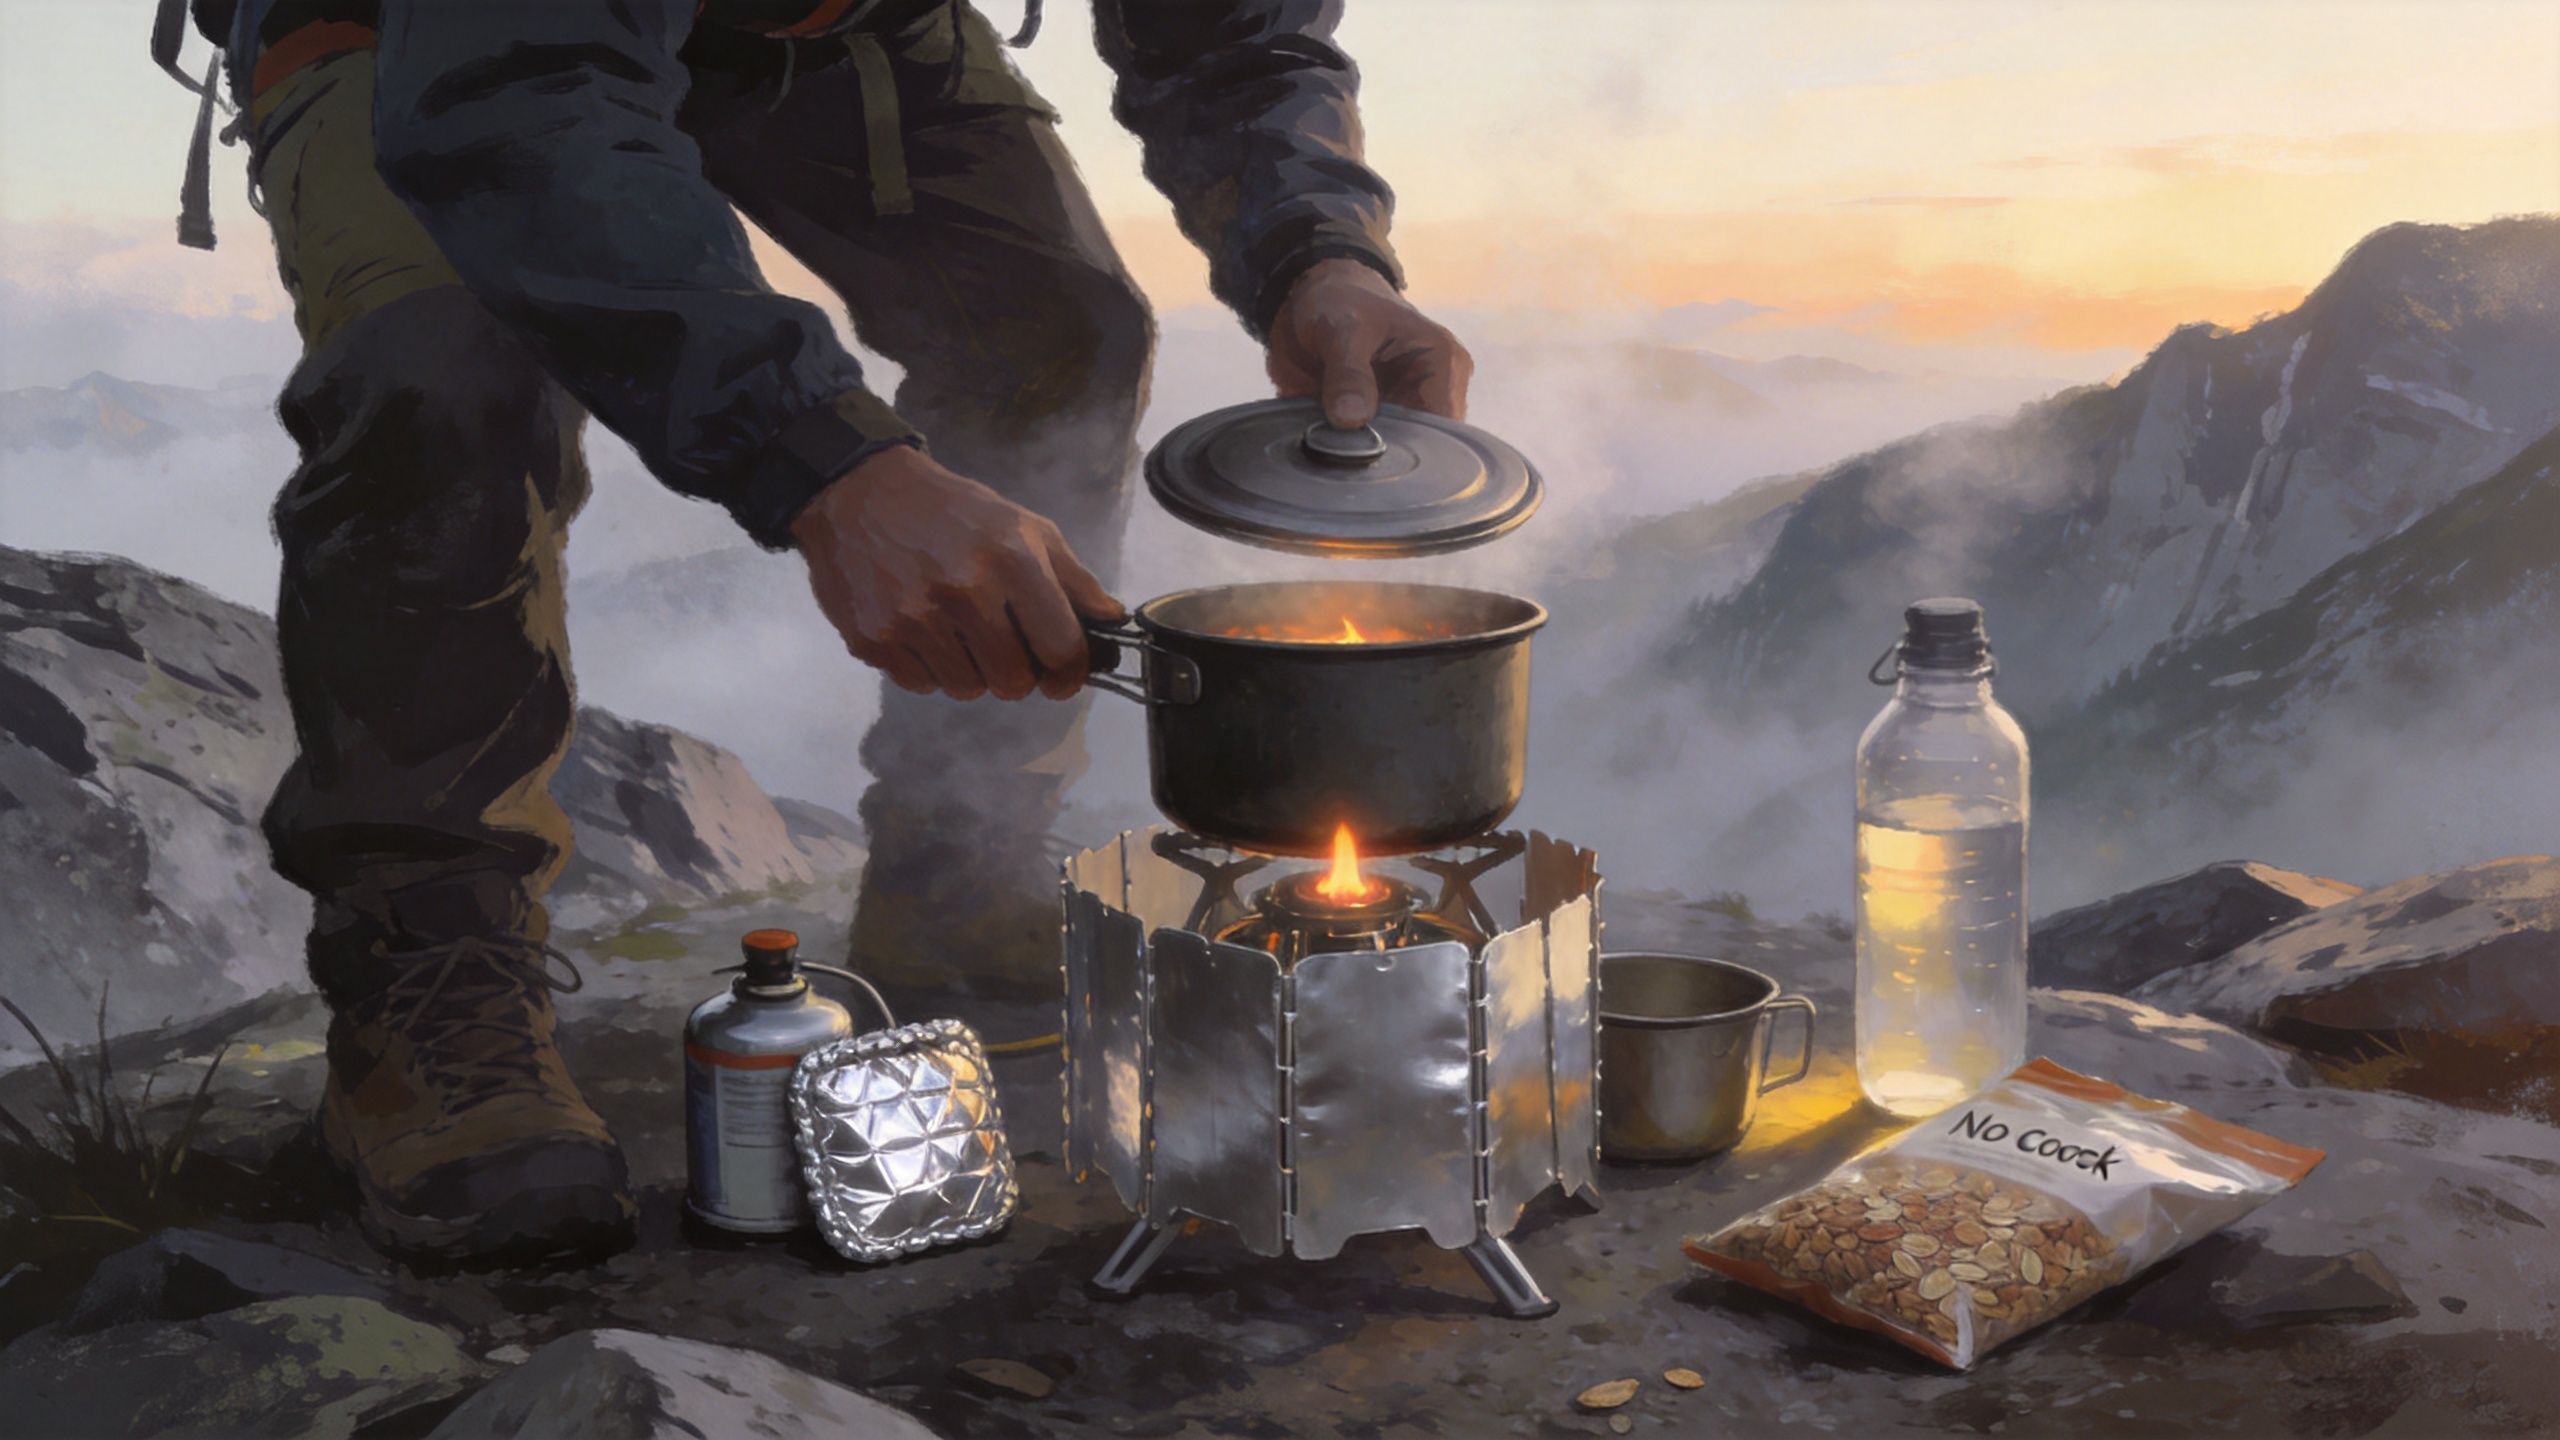
A proper windscreen can reduce fuel consumption by 30–50% in moderate wind. For isobutane canisters, use a flexible aluminum foldable windscreen that wraps around the pot without blocking the canister ventilation. Never use a solid windscreen that encloses the canister—it can cause dangerous heat buildup and potential explosion. Instead, place the screen only around the pot, leaving the lower third open for airflow.
Optimize Your Stove Handling
- Pre-heat the canister in your sleeping bag or jacket for 10 minutes before cooking in sub-freezing temperatures. This raises the vapor pressure and lets the stove burn efficiently.
- Use a pot lid. Every second steam escapes is fuel wasted. Lids reduce boil time by up to 25%.
- Cook in a sheltered spot: behind a boulder, in a tree well, or inside your vestibule (with proper ventilation and no fire risk).
- Turn down the flame once water reaches a rolling boil. A lower simmer uses far less gas than a full roar.
- Prepare cold-soak meals when possible. Many dehydrated meals (e.g., couscous, instant mashed potatoes) can be rehydrated with cold water—just wait 30 minutes. This eliminates fuel use entirely for non-critical meals.
Cold Weather Specifics
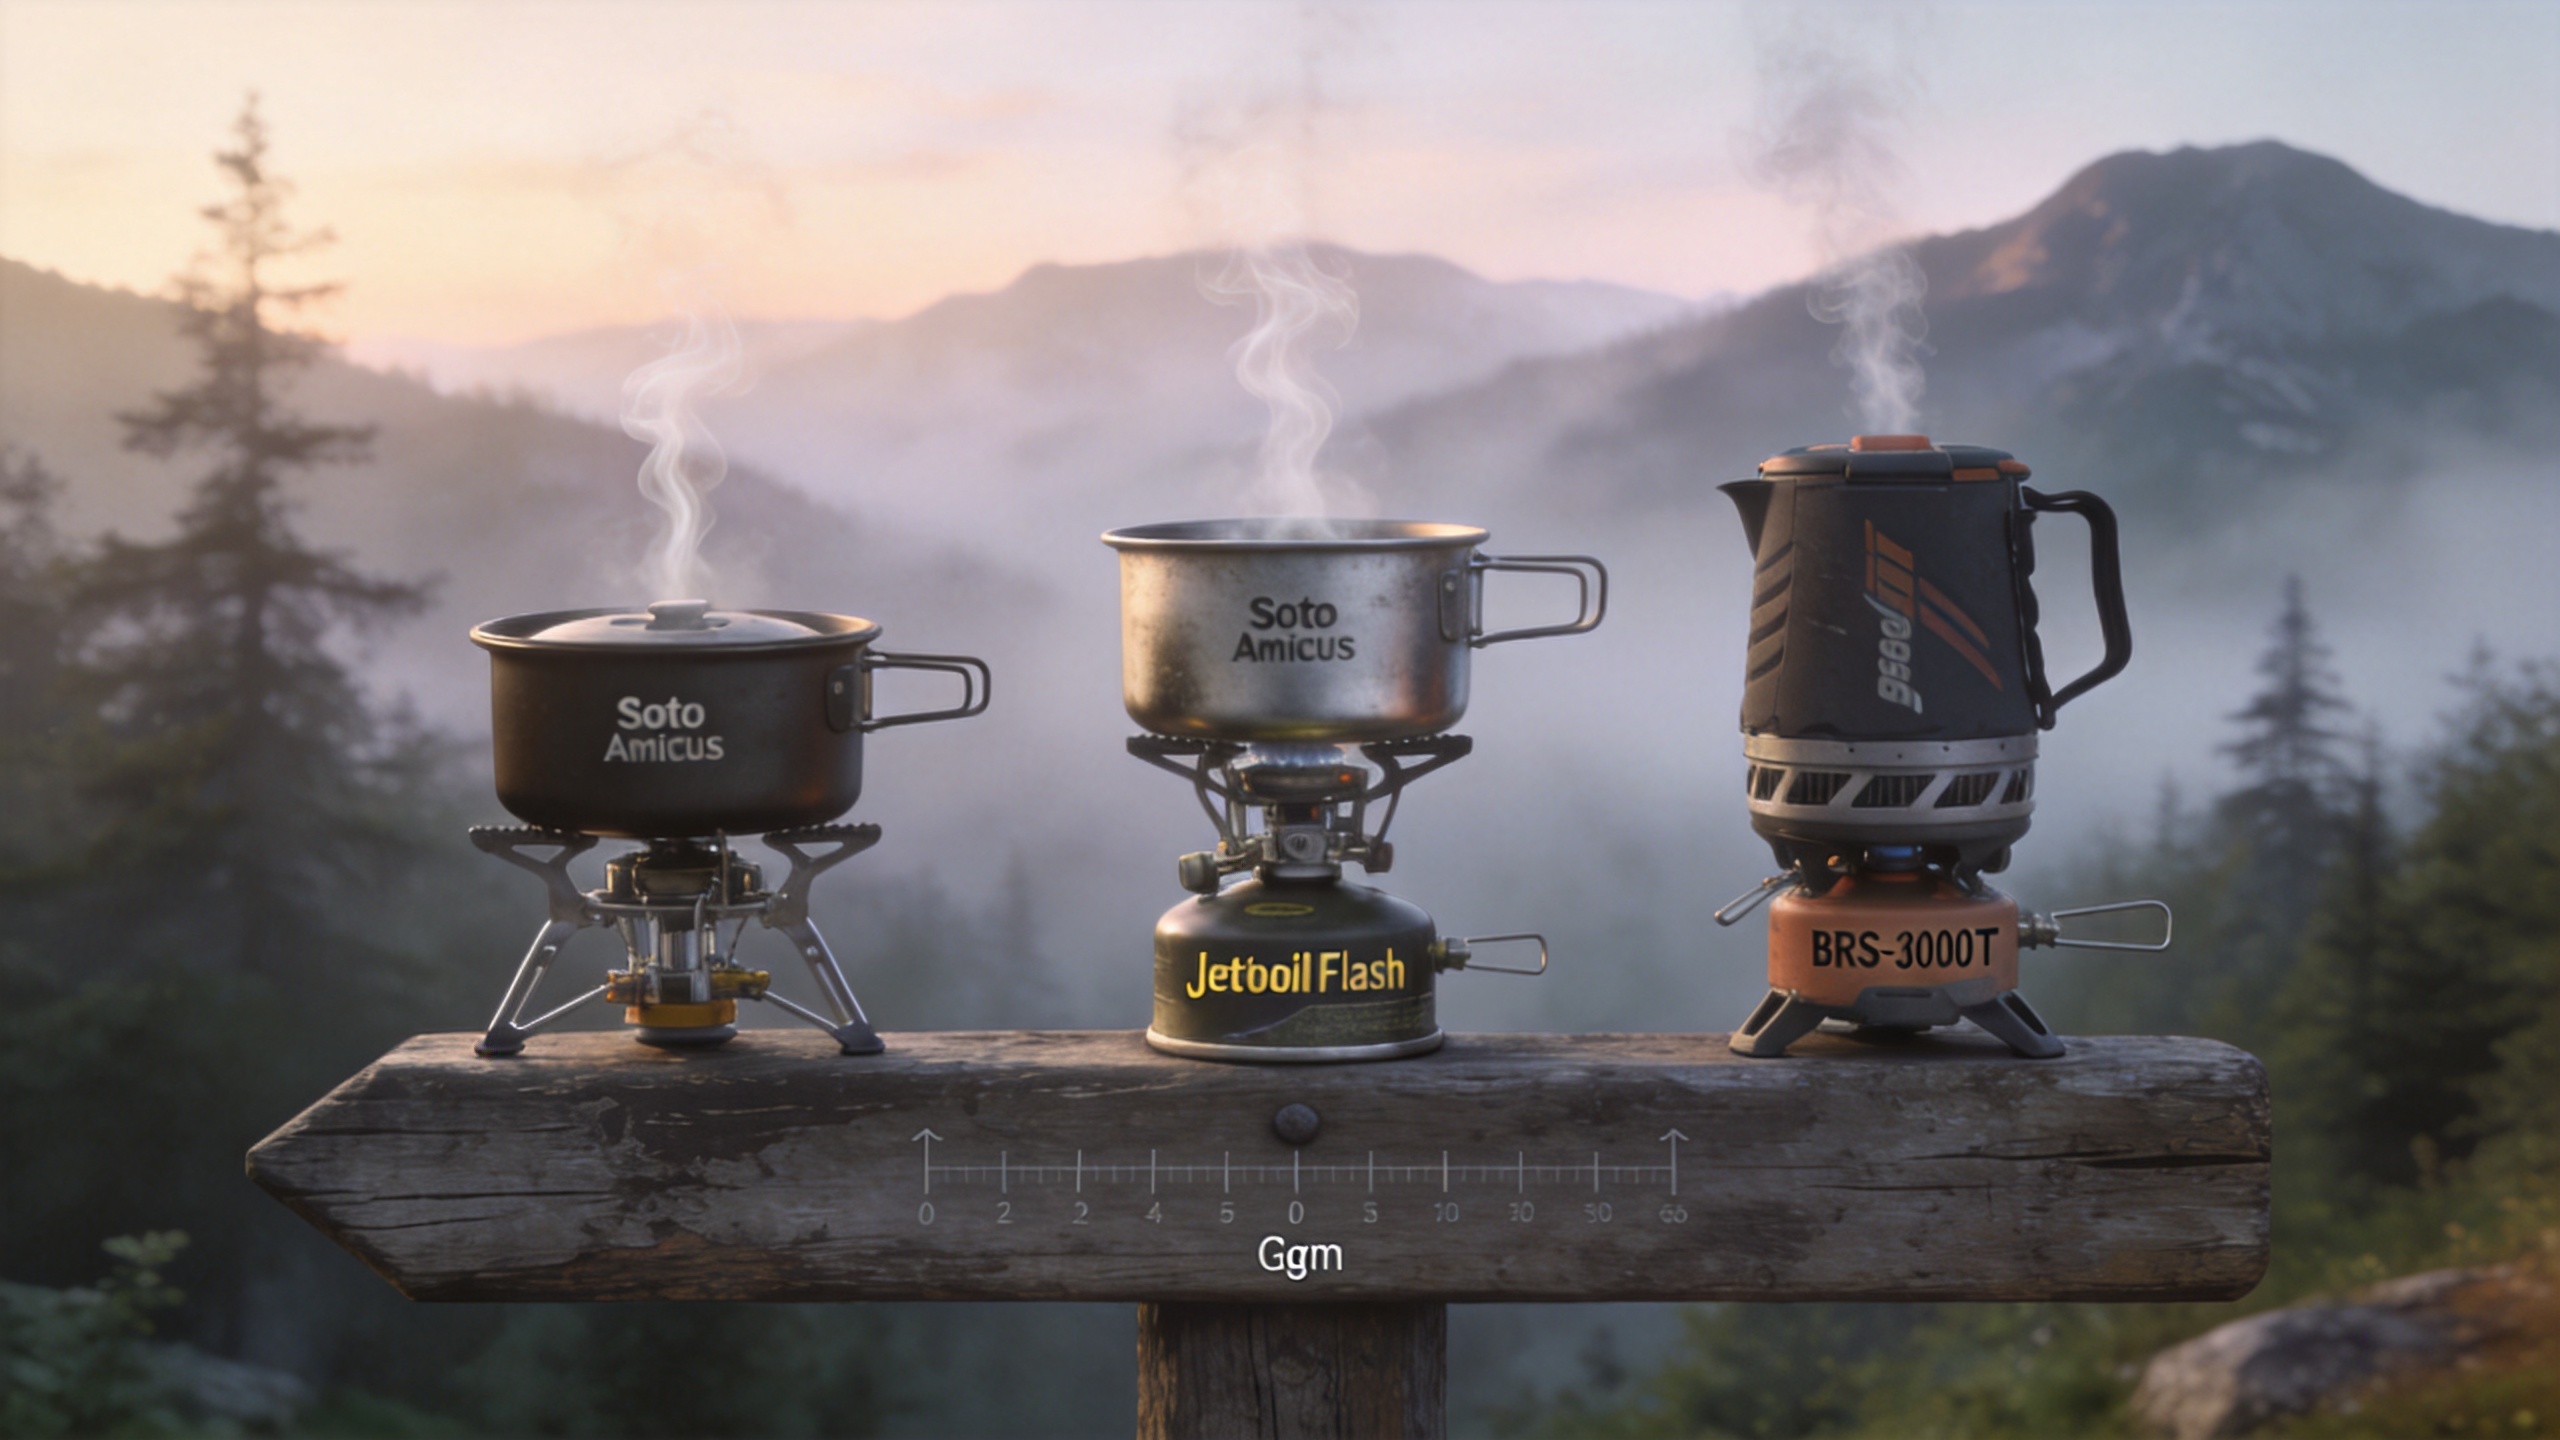
Below 40°F (4°C), isobutane canisters lose pressure. Your stove may sputter or burn orange. A simple trick: keep the canister inside your parka or sleeping bag overnight, and only attach it when you’re ready to cook. Some backpackers use a heat exchanger pot (like the Jetboil Minimo) that channels exhaust gases around the sides of the cup, improving efficiency by 20% in cold air.
Another advanced technique is the “canister inversion” method for some remote canister stoves (e.g., whisperlite universal). Inverting the canister lets liquid fuel flow directly into the burner, producing a hotter, more stable flame in sub-zero temps. However, this requires a stove designed for liquid feed and careful valve control to avoid flare-ups.
A Practical Comparison: Calm vs. Windy Day
Let’s illustrate with data from an overnight trip in Colorado’s Indian Peaks. The same cook (dinner and breakfast) was repeated under similar conditions but with different wind exposure:
| Condition | Boil Time for 0.5 L (min:sec) | Fuel Used per Boil (g) | Two-Meal Total (g) |
|---|---|---|---|
| Calm, 55°F, with windscreen | 2:30 | 4.5 | 9 |
| Windy (15 mph gusts), no screen | 6:10 | 11.0 | 22 |
That’s a 144% increase in fuel consumption. By simply using a windscreen and choosing a sheltered cook site, you saved 13 grams per day—enough for an extra day of hot drinks on a week-long trip.
Putting It All Together: A Seasonal Fuel Plan
Now that you have the tools—calculating daily needs, weighing canisters, and conserving fuel—you can build a personalized fuel plan for each trip. Start by estimating your daily burn from the tables above, then add a 10–15% safety margin for unexpected cold snaps or slower cooking. Record your actual consumption afterward, and update your formula. Over three to four outings, you’ll develop an intuition that beats any generic online calculator.
- For summer trips (above 50°F nights, calm weather):
- Assume 12–16 g per person per day for two hot meals + drinks. A 110 g canister covers 7–9 solo days.
- For shoulder season (40–60°F, some wind):
- Assume 18–25 g per person per day. Carry 2×110 g canisters for a 10-day solo.
- For winter trips (below freezing, snow cooking):
- Assume 30–40 g per person per day. Consider a white gas stove or extra large canisters (220 g). Never rely on a single small canister.
Always pack a small backup lighter or waterproof matches—fuel planning is worthless if your igniter fails. And don’t forget to empty your canister before flying (if traveling by air); most airlines require empty isobutane tanks.
Conclusion
Fuel planning isn’t complicated—it just requires a little math, a scale, and field awareness. By calculating your baseline needs, weighing canisters to build personal data, and deploying smart conservation tactics, you’ll never again suffer the frustration of a cold dinner in the backcountry. Start tracking your burns on your next trip; within a few outings you’ll have a fuel plan customized to your exact style, terrain, and weather.