🥾 How to Eat Cheap on a Backpacking Trip Without Sacrificing Calories
Backpacking food can get surprisingly expensive when you start buying specialty dehydrated meals, energy bars, freeze-dried ingredients, and individually packaged snacks.
But you don’t need expensive “backpacking food” to eat well on the trail.
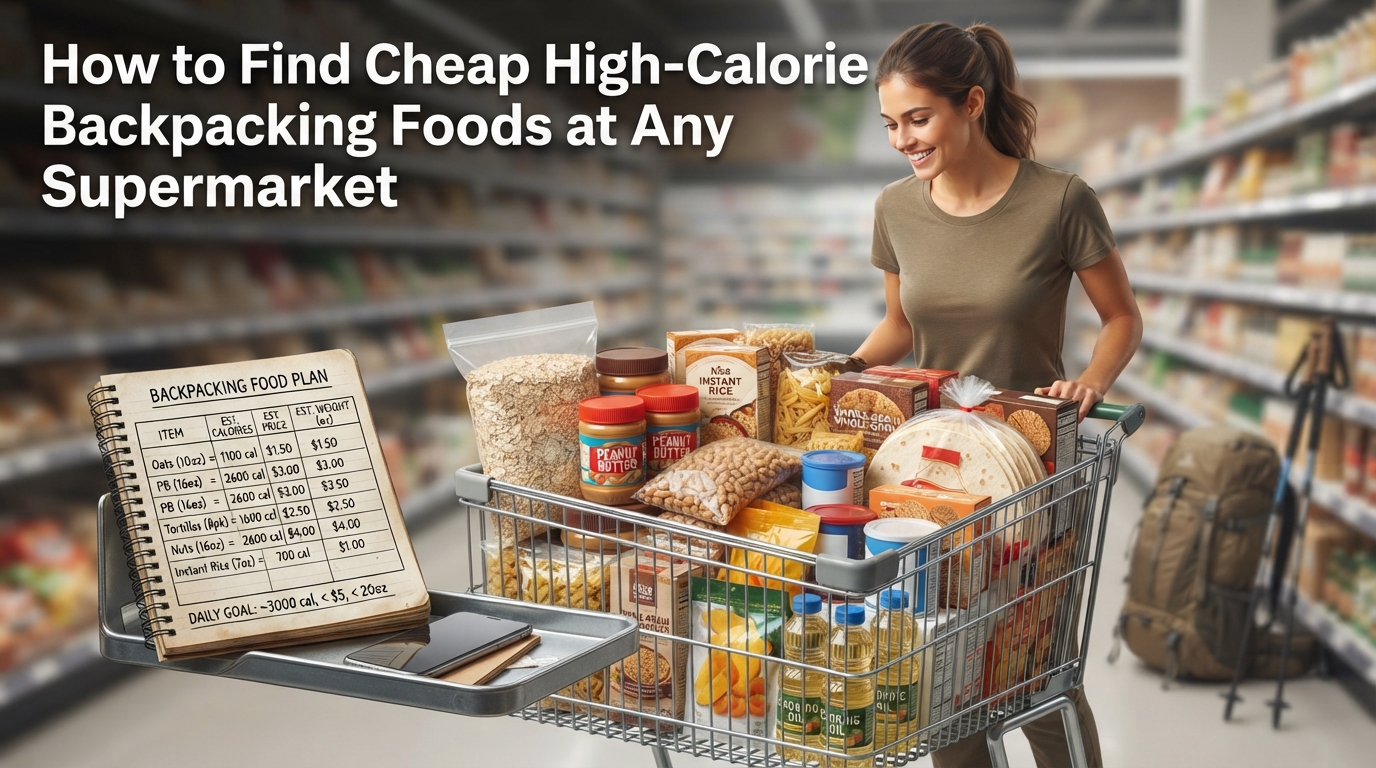
The smarter approach is to think about calories per peso or dollar, calories per ounce or gram, preparation time, and how much food you actually need. With a little planning, ordinary grocery-store foods can provide plenty of energy without making your food budget or pack weight explode.
Here’s how to build a cheaper backpacking menu while keeping calories high enough for long days on the trail. 🍜🎒
💰 Start With Calories, Not Individual Foods
One of the easiest ways to overspend is to shop for foods first and calculate calories later.
Instead, start by estimating how much energy you need each day.
Your calorie needs on a backpacking trip depend on factors such as:
- Your body size
- Hiking distance
- Elevation gain
- Terrain
- Pack weight
- Hiking pace
- Weather
- Trip duration
- Your usual energy needs
There is no single calorie target that works for every backpacker.
For planning purposes, some hikers may need several thousand calories per day during demanding trips, while shorter or easier days may require less. Your menu should be adjusted based on your actual trip and experience.
The important point: don’t cut calories simply because a food is cheap.
A ₱100 food that leaves you hungry can be less useful than a slightly more expensive food that provides substantially more energy.
🧮 Compare Foods by Calories Per Peso
When shopping on a budget, don’t look only at the package price.
Look at how much usable energy you’re getting for the money.
A simple calculation is:
Calories per peso = total calories ÷ price
For example, if a package costs ₱100 and contains 1,000 calories:
1,000 ÷ ₱100 = 10 calories per peso
You can compare this with another food that costs ₱150 but contains 1,800 calories:
1,800 ÷ ₱150 = 12 calories per peso
The second food costs more at the checkout, but it provides more calories for the money.
This is particularly useful when comparing staples such as:
- Oats
- Rice
- Pasta
- Peanut butter
- Crackers
- Tortillas
- Instant noodles
- Powdered milk
- Nuts
- Seeds
- Dried fruit
You don’t have to calculate this for every ingredient. Use it for the foods that make up a large portion of your menu.
🥜 Choose Cheap Foods That Pack a Lot of Energy
Some foods are naturally useful for backpacking because they provide substantial calories without requiring refrigeration.
Peanut butter
Peanut butter is popular for a reason.
It provides fat and protein and can be eaten without cooking. It works with crackers, tortillas, oatmeal, bread, or directly from a small squeeze container.
Nuts and seeds
Peanuts, sunflower seeds, and other nuts or seeds can provide concentrated energy in a relatively small amount of food.
Buying them in larger grocery packages can also be cheaper than purchasing individually packaged trail snacks.
Oats
Oats are inexpensive, easy to portion, and versatile.
Combine them with powdered milk, peanut butter, sugar or honey, dried fruit, or other ingredients to create a filling breakfast.
Pasta and instant rice
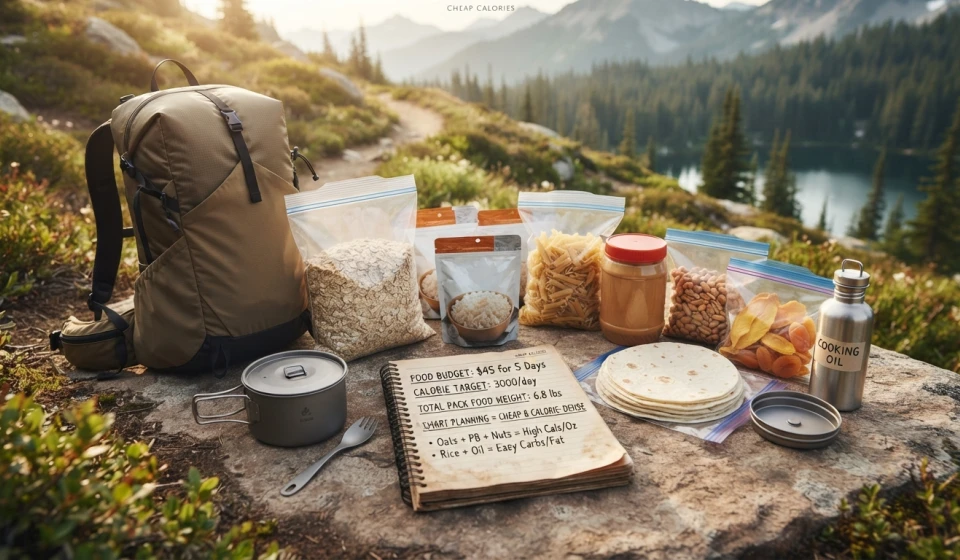
Dry pasta and instant rice can form the base of inexpensive dinners.
They become much more useful when paired with calorie-dense additions such as oil, peanut butter, cheese powder, powdered milk, or a suitable sauce mix.
Tortillas and crackers
These are convenient carbohydrate sources that require little or no preparation.
They also work well with spreads, cheese, tuna or other shelf-stable fillings when appropriate for your trip.
🫒 Don’t Forget Added Fat
One of the easiest ways to increase calories without dramatically increasing food volume is to add a source of fat.
A small amount of oil contains a lot of energy compared with the same weight of many carbohydrate-rich foods.
For backpacking meals, you might use:
- Olive oil
- Other cooking oils
- Peanut butter
- Nuts
- Seeds
- Cheese
A small leakproof bottle of oil can turn a basic dinner into a much more calorie-dense meal.
For example, instead of carrying a large additional portion of rice or pasta simply to increase calories, you can add an appropriate amount of oil to the meal.
But don’t add unlimited fat just because it is calorie-dense. Very fatty meals can feel heavy or cause digestive discomfort for some hikers. Test your combinations before relying on them during a long trip.
🍜 Build Meals Around Cheap Staples
A simple formula can make budget planning much easier:
Cheap carbohydrate + protein source + calorie booster + flavor
For example:
Breakfast:
Oats + powdered milk + peanut butter + dried fruit
Lunch:
Tortilla + peanut butter + dried fruit
Dinner:
Instant rice + tuna or another shelf-stable protein + oil + seasoning
Snacks:
Peanuts + crackers + dried fruit
This isn’t a universal menu. It is a framework you can adapt to your preferences, dietary needs, cooking system, and trip conditions.
🛒 Buy Ingredients Instead of “Backpacking Meals”
Specialty backpacking meals are convenient, but convenience often comes with a higher price.
For a budget trip, check the regular grocery store first.
Look for foods that are:
- Shelf-stable
- Easy to portion
- Easy to cook or rehydrate
- Calorie-dense
- Familiar to you
- Affordable in larger packages
You can then create your own meal combinations.
Instead of buying a prepackaged backpacking dinner, for example, you might combine instant rice, seasoning, powdered ingredients, and a protein source yourself.
This also gives you better control over portion size.
⚖️ Cheap Doesn’t Mean Carry Everything
There is another trap in budget backpacking: buying the cheapest food without considering its weight.
Food is one of the largest consumable categories in a backpack, so weight matters.
Imagine two foods that provide roughly similar calories. If one weighs substantially more, it may not be the better choice for a long trip.
A useful comparison is:
Calories per ounce = total calories ÷ food weight
Or, using metric units:
Calories per gram = total calories ÷ food weight
You don’t need to maximize this number at all costs. Taste, nutrition, preparation, and digestion matter too.
Instead, use calorie density as another filter.
Think in four dimensions:
Cost → Calories → Weight → Convenience
A food that performs reasonably well across all four can be a strong backpacking choice.
🍫 Make Your Own Trail Snacks
Prepackaged snack bars and specialty trail mixes can become expensive when you’re buying enough for several days.
Instead, assemble your own snack combinations.
For example:
DIY trail mix
- Peanuts
- Raisins
- Dried fruit
- Seeds
- Small amounts of chocolate if suitable for the weather
Simple snack kit
- Crackers
- Peanut butter
- Dried fruit
Breakfast snack
- Oats
- Powdered milk
- Dried fruit
- Sugar or another sweetener
The advantage is that you can control the exact ingredients and portion sizes.
It also becomes easier to calculate your total calories before leaving home.
📦 Repackage Food Before Your Trip
Large commercial packages contain packaging that you don’t need to carry into the wilderness.
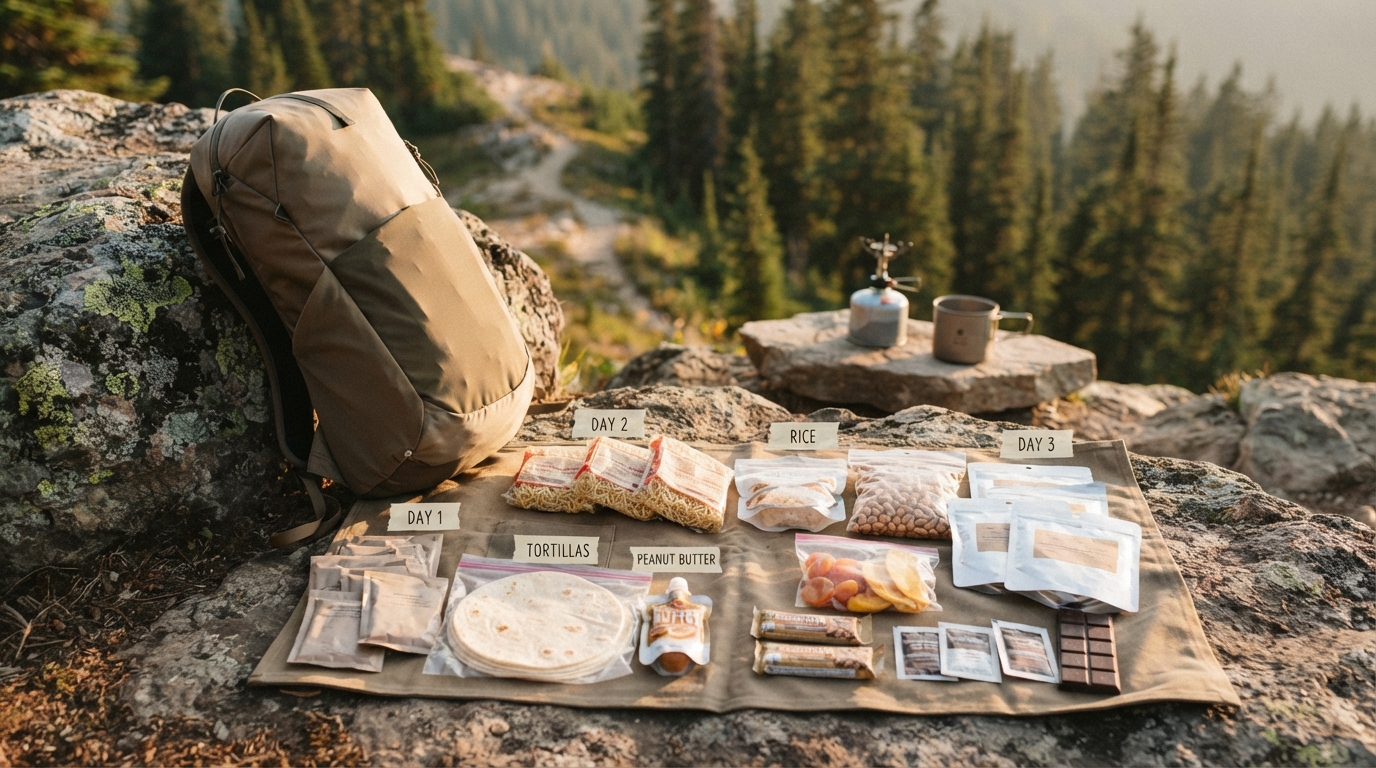
Before the trip, portion your food into individual meal bags or containers.
Label them clearly:
Day 1 — Breakfast
Day 1 — Lunch
Day 1 — Dinner
And so on.
This makes your food inventory easier to manage and reduces the temptation to eat too much early in the trip.
For foods that require cooking, include the amount of water needed when practical.
A simple meal system can save time and reduce decision-making when you’re tired.
🔢 Calculate the Entire Trip Before You Shop
One of the best ways to control your food budget is to plan the entire trip first.
For each day, list:
| Meal | Food | Calories | Weight | Cost |
|---|---|---|---|---|
| Breakfast | Oats mixture | — | — | — |
| Lunch | Tortilla + spread | — | — | — |
| Dinner | Rice + protein | — | — | — |
| Snacks | Trail mix | — | — | — |
| Daily total | Target | Total | Total |
Then multiply your daily quantities by the number of hiking days.
This prevents two common mistakes:
Buying too little: You save money but don’t bring enough food.
Buying too much: You spend more and carry unnecessary weight.
💡 Use a “Calorie Budget” Instead of a Food Budget Alone
Here’s a useful way to think about backpacking food:
You aren’t simply asking:
“How cheaply can I feed myself?”
You’re asking:
“How many calories can I get for the amount of money and pack weight I’m willing to carry?”
That changes your shopping decisions.
A cheap food with very low calorie density may not be particularly useful.
A moderately priced food with high calorie density may actually improve the overall efficiency of your food system.
The goal is not the cheapest possible meal.
The goal is a meal that provides enough energy, fits your budget, doesn’t weigh unnecessarily much, and is enjoyable enough that you will actually eat it.
🥤 Don’t Ignore Hydration and Electrolytes
Food planning isn’t the only part of trail nutrition.
You also need an appropriate hydration strategy for your conditions.
Water requirements vary substantially depending on temperature, exertion, altitude, and availability of water along the route.
If you’re sweating heavily for long periods, consider how your normal diet and electrolyte intake fit the conditions. Don’t rely on sugary drinks or supplements as a substitute for an appropriate hydration plan.
And remember: water availability affects food choices too.
A meal requiring lots of cooking water may be less convenient when water is scarce.
⚠️ Test Your Cheap Menu at Home
A bargain meal isn’t a bargain if you discover on Day 2 that you can’t stand eating it.
Before a longer trip, test your meals during a shorter hike or at home.
Pay attention to:
- Taste
- Portion size
- Fullness
- Digestion
- Cooking time
- Fuel consumption
- Packaging
- Water requirements
- How easy the meal is to eat when tired
Your backpacking menu should be based on foods you already know you tolerate well.
🎒 A Simple Budget Backpacking Formula
If you want a quick system, use this:
1. Estimate your daily calorie requirement
Base it on the actual trip rather than using a universal number.
2. Pick inexpensive staple foods
Think oats, rice, pasta, tortillas, crackers, peanuts, and other shelf-stable options.
3. Add calorie-dense ingredients
Use appropriate amounts of oils, nut butters, nuts, seeds, or other high-energy foods.
4. Include protein
Choose shelf-stable protein sources that work with your diet and cooking system.
5. Calculate calories and weight
Check both total calories and total food weight.
6. Divide food into daily portions
This makes packing and inventory easier.
7. Test the menu
Try it before committing to a longer trip.
8. Adjust after the hike
Record what you actually ate.
That last step is extremely useful.
If you consistently came home with food, you may have packed more than you needed. If you were regularly hungry despite eating everything you brought, your next menu may need more calories or better meal distribution.
🌲 Final Thoughts
Eating cheaply on a backpacking trip doesn’t mean surviving on tiny portions or sacrificing energy.
The key is to shop strategically rather than simply buying the cheapest food available.
Compare calories with cost. Consider food weight. Use inexpensive staples. Add calorie-dense ingredients where appropriate. Make your own snack combinations. Portion everything before the trip, and test your meals before depending on them in the backcountry.
The best budget backpacking menu is one that balances cost, calories, weight, nutrition, taste, and convenience.
Once you start thinking of your food this way, ordinary grocery-store ingredients can become a surprisingly efficient backpacking system. 🥾🍜💰