How to Plan a 5-Day Backpacking Menu Around Your Bear Canister Capacity 🎒🐻
Introduction
Planning food for a five-day backpacking trip is a little like solving a puzzle. You need enough calories to fuel long hiking days, meals you will actually enjoy, and a food system that fits inside your bear canister.
A common mistake is choosing meals based on weight alone. Lightweight foods can be surprisingly bulky, while compact foods may provide more energy in less space. Packaging, snack bags, and food you have not eaten yet all compete for the same limited room.
The solution is to start with your canister, choose your meals strategically, and test the complete packed load at home. Here is how to do it without relying on guesswork or compromising food safety.
1. Know Your Canister’s Actual Capacity
Before planning your menu, identify the exact model of bear canister you own or intend to rent.
Different models have different internal capacities, shapes, openings, and usable space. Even if two canisters look similar, their dimensions may affect how efficiently food containers and bags fit inside.
Check the manufacturer’s specifications for:
- Internal volume: The space available for food and other required items.
- Opening size: Determines whether larger food bags or containers can pass through easily.
- Shape and dimensions: Affect how efficiently you can stack and arrange food.
- Approved use: Check the manufacturer’s instructions and the rules for your destination.
Do not confuse external dimensions with usable internal capacity.
If you are using a BearVault BV500, for example, do not assume a five-day menu will fit simply because another backpacker packed five days of food into the same model. Their portions, packaging, food choices, and required storage items may be different.
The rule is simple: test your complete packed load in your own canister before departure.
2. Understand Food Volume Versus Food Weight
Food weight tells you how much your pack will weigh. Food volume tells you how much room that food occupies. Both matter.
Consider these examples:
| Food | Volume consideration | Packing advantage |
|---|---|---|
| Rolled oats | Can leave gaps in a container | Can be compressed into a suitable food-safe bag |
| Trail mix | Nuts and dried fruit have different shapes | Relatively energy-dense and easy to portion |
| Tortillas | Flat but can be awkward to fit around other items | Can be stacked or folded carefully |
| Dehydrated meals | May be compact before water is added | Convenient when packaged efficiently |
| Chips or popcorn | Often contain substantial air space | Usually less space-efficient for their weight |
| Hard cheese | Compact, but storage requirements depend on the product | Can provide variety and energy when safely stored |
The best choice depends on your overall menu, not just one ingredient.
Why calorie density matters
Foods such as nuts, peanut butter, and olive oil provide substantial energy relative to their weight. They can help reduce the amount of food you carry.
However, calorie density does not automatically mean a food will fit efficiently. A jar of peanut butter may be heavy and compact, but the jar itself occupies space and may be inconvenient to pack.
Use appropriately sized, leak-resistant containers for spreads and oils. Repack dry foods when practical, and test how the ingredients fit together.
3. Build Your Menu Before You Start Packing
Start with your daily energy needs, then choose foods that meet those needs within your available space.
Your requirements depend on body size, hiking distance, elevation gain, weather, pace, and pack weight. A five-day trip does not automatically require the same daily calorie intake for every hiker.
For each day, plan:
- Breakfast
- Lunch
- Dinner
- Snacks throughout the hiking day
- A modest reserve for delays or unexpected needs
Avoid reducing portions simply to make the canister close. If the planned menu does not fit, reconsider bulky packaging, ingredient choices, or your food-storage strategy while preserving adequate nutrition.
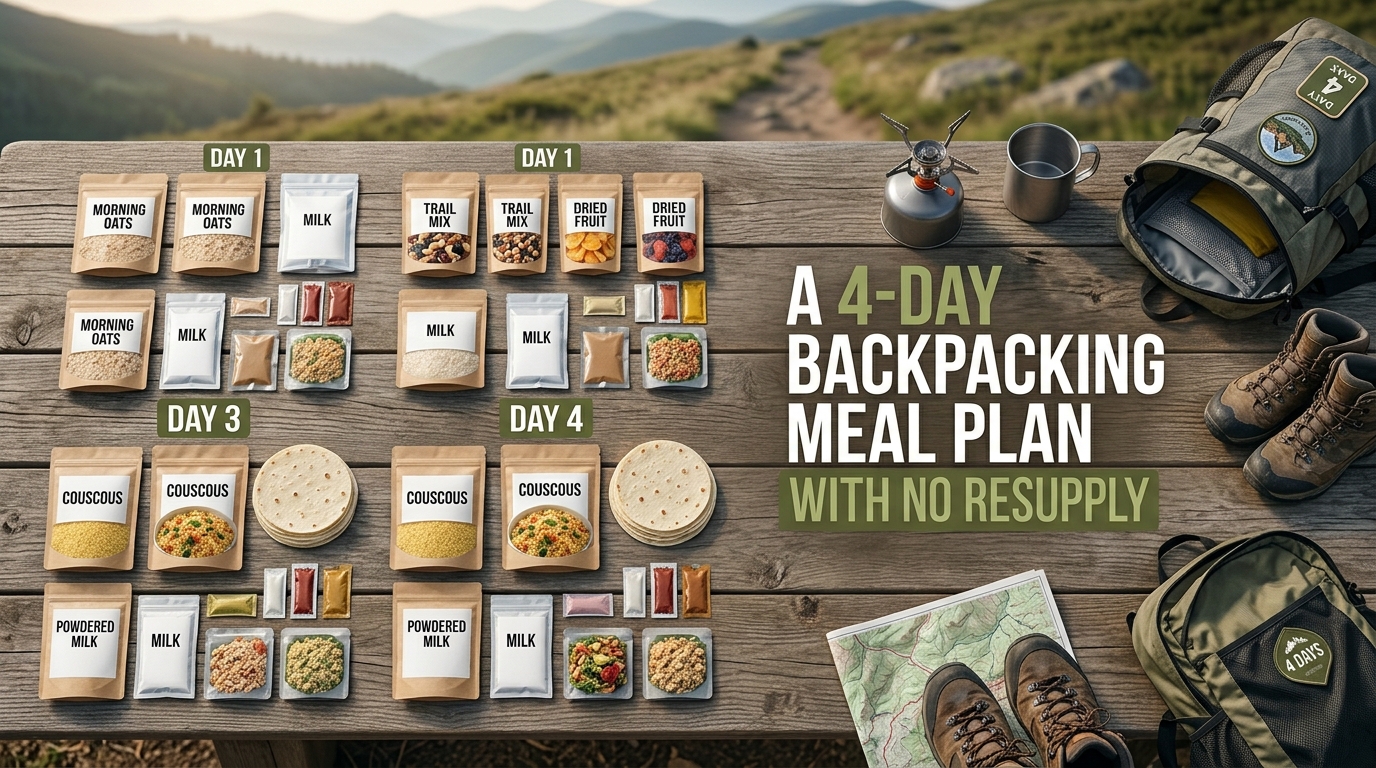
4. A Sample Five-Day Backpacking Menu
This example uses overlapping ingredients to reduce the number of separate packages. It is a menu framework, not a guarantee that the complete food supply will fit any particular canister.
| Day | Breakfast | Lunch | Dinner | Snacks |
|---|---|---|---|---|
| Day 1 | Oats, powdered milk, dried fruit | Tortillas with peanut butter | Couscous, dehydrated vegetables, protein | Trail mix, energy bar |
| Day 2 | Oats, peanut butter, raisins | Tortillas with a suitable shelf-stable filling | Instant mashed potatoes, jerky, vegetables | Nuts, dried fruit |
| Day 3 | Oats, powdered milk, chia seeds | Peanut butter tortillas | Couscous, lentils, dehydrated vegetables | Trail mix, chocolate |
| Day 4 | Oats, raisins, nuts | Tortillas with a suitable shelf-stable protein | Instant rice, vegetables, chicken pouch | Energy bar, nuts |
| Day 5 | Oats, dried fruit, peanut butter | Remaining tortillas and planned fillings | Quick-cooking noodles, dehydrated vegetables, protein | Remaining snacks and reserve food |
Choose fillings that can be stored safely for the duration of your trip. Perishable products require appropriate temperature control, so use shelf-stable alternatives when refrigeration is unavailable.
Before packing, verify the portions and nutritional information for your actual products. The table shows combinations, not fixed calorie or weight totals.
5. Pack in the Right Sequence 📦
A good packing system makes it easier to use every available space without creating a disorganized food pile.
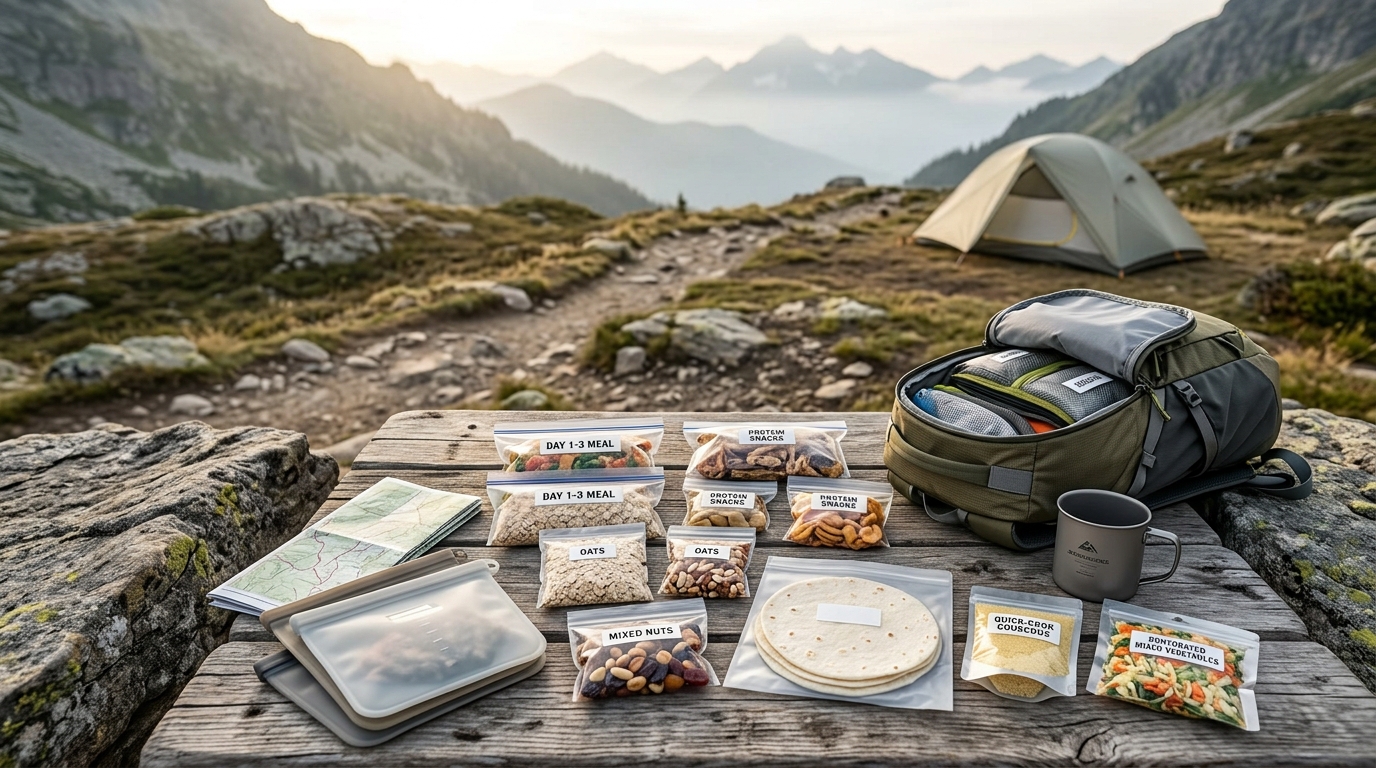
Step 1: Repackage suitable foods at home
Remove unnecessary outer boxes and bulky wrappers when doing so is safe and practical. Transfer dry ingredients into lightweight, food-safe bags or containers.
Keep essential cooking instructions, ingredient information, and allergen details. Label each portion with its contents and intended day.
Do not repackage food in a way that makes its storage requirements unclear.
Step 2: Organize meals by day
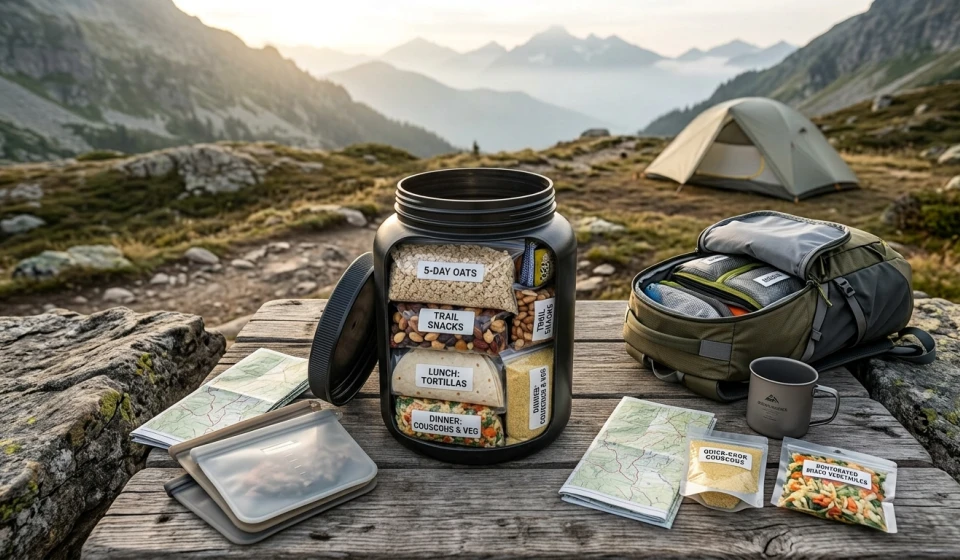
Group breakfast, lunch, dinner, and snacks into daily portions before putting them into the canister.
This helps you calculate the total food supply and identify ingredients that are easy to forget, such as cooking oil, powdered milk, or snacks intended for the final day.
Step 3: Place compact, sturdy items first
Arrange flat or firm packages along the bottom and sides where they fit naturally. Add smaller bags to fill gaps without crushing delicate foods or damaging containers.
Avoid forcing the lid closed. A canister that is difficult to close may indicate that the load is too full or poorly arranged.
Step 4: Fill gaps with flexible packages
Use appropriately sealed bags of dry ingredients to fill open spaces between larger items. Keep liquids and oily foods in suitable leak-resistant containers.
Do not assume that squeezing a package smaller will always save space. Some foods may be crushed, spill, or become harder to identify.
Step 5: Pack the complete load and test the lid
Include everything that your destination’s rules require to be stored in the canister, not just the main meals.
Test the actual load, close the canister according to the manufacturer’s instructions, and reopen it to confirm you can retrieve food in a practical order.
If everything does not fit, revise the menu or packaging and repeat the test.
6. Make the Most of Limited Space
These small adjustments can make a meaningful difference.
Choose overlapping ingredients. Oats, tortillas, couscous, nuts, and dried fruit can be used in multiple meals, reducing the number of different packages you need.
Limit bulky single-serving packaging. Portion ingredients at home when appropriate instead of carrying unnecessary boxes and oversized wrappers.
Measure condiments. Small amounts of oil, seasoning, or peanut butter can add flavor and energy, but large containers may waste space.
Avoid unnecessary rigid containers. Flexible packaging can fit around other foods more efficiently, provided it protects the contents adequately.
Keep a food inventory. Record each item, its weight, and its approximate packed volume. Your own measurements will be more useful than another hiker’s generic packing list.
Test before the trip. A trial packing session is the only reliable way to confirm that your chosen menu fits your actual canister.
7. Do Not Compromise Food Safety
Reducing packaging is useful, but it must not undermine safe food storage.
- Follow the canister manufacturer’s instructions and the applicable rules for your trail or campsite.
- Store all food and other items required by local regulations, including scented toiletries and trash where specified.
- Keep foods requiring refrigeration at safe temperatures. A bear canister is not a refrigerator.
- Prevent leaks and cross-contamination by using suitable containers.
- Pack out wrappers, food scraps, and leftover waste.
- Follow local instructions for where and how to secure your canister.
A compact food system is only successful if it protects both your food and the surrounding wildlife.
Final Thoughts 🌲
Planning a five-day backpacking menu around a bear canister starts with understanding the space you actually have. Choose meals based on your energy needs, compare food volume as well as weight, and reduce unnecessary packaging before departure.
Use a repeatable menu, label your portions, arrange packages carefully, and test the entire load in your specific canister. If it does not fit, adjust the packaging or food choices without cutting the nutrition you need.
The goal is not to fit the most food into the smallest possible space at any cost. It is to carry enough food safely, efficiently, and comfortably for the entire trip.