How to Build a Lightweight Backpacking Menu Without Eating Only Freeze-Dried Meals 🥾
Introduction
Lightweight backpacking doesn’t have to mean eating expensive freeze-dried meals every night. With a little planning, you can combine grocery-store staples, homemade dehydrated ingredients, and a few commercial backpacking meals to create a menu that’s lighter, more affordable, and enjoyable to eat.
The trick is balancing four things: food weight, calories, preparation time, and water requirements. Some foods are lightweight but require lots of water. Others are convenient but heavy. The best menu combines different options based on your route, cooking setup, appetite, and budget.
Whether you’re planning a weekend trip or several days on the trail, a flexible food system can help you save money without sacrificing variety or carrying unnecessary weight.
1. Understand What Makes Backpacking Food Lightweight
When choosing food, consider more than the weight printed on the package. Water content, packaging, preparation, and energy density all affect how useful an item is on the trail.
For example, fresh fruit contains water that adds weight, while dried fruit provides a more compact source of energy. Nut butter and nuts are calorie-dense, making them useful when you want substantial energy in a small package.
A simple comparison is calories per ounce:
Calories per ounce = total calories ÷ food weight in ounces.
A food that provides 150 calories per ounce carries more energy for its weight than one providing 30 calories per ounce. However, calorie density isn’t the only consideration. You still need enough carbohydrates, protein, fats, and variety to support your activity and appetite.
Also account for packaging and any water you’ll carry or collect. A meal that looks lightweight when dry may require a substantial amount of water to prepare.
2. Combine Three Types of Backpacking Food
A practical menu doesn’t need to rely on a single food category. Combining grocery-store staples, homemade dehydrated ingredients, and commercial meals lets you balance convenience and cost.
Grocery-Store Staples
These are often the easiest way to build a budget-friendly menu.
Useful options include:
- Instant oatmeal and powdered milk
- Instant rice and quick-cooking couscous
- Ramen or other quick-cooking noodles
- Instant mashed potatoes
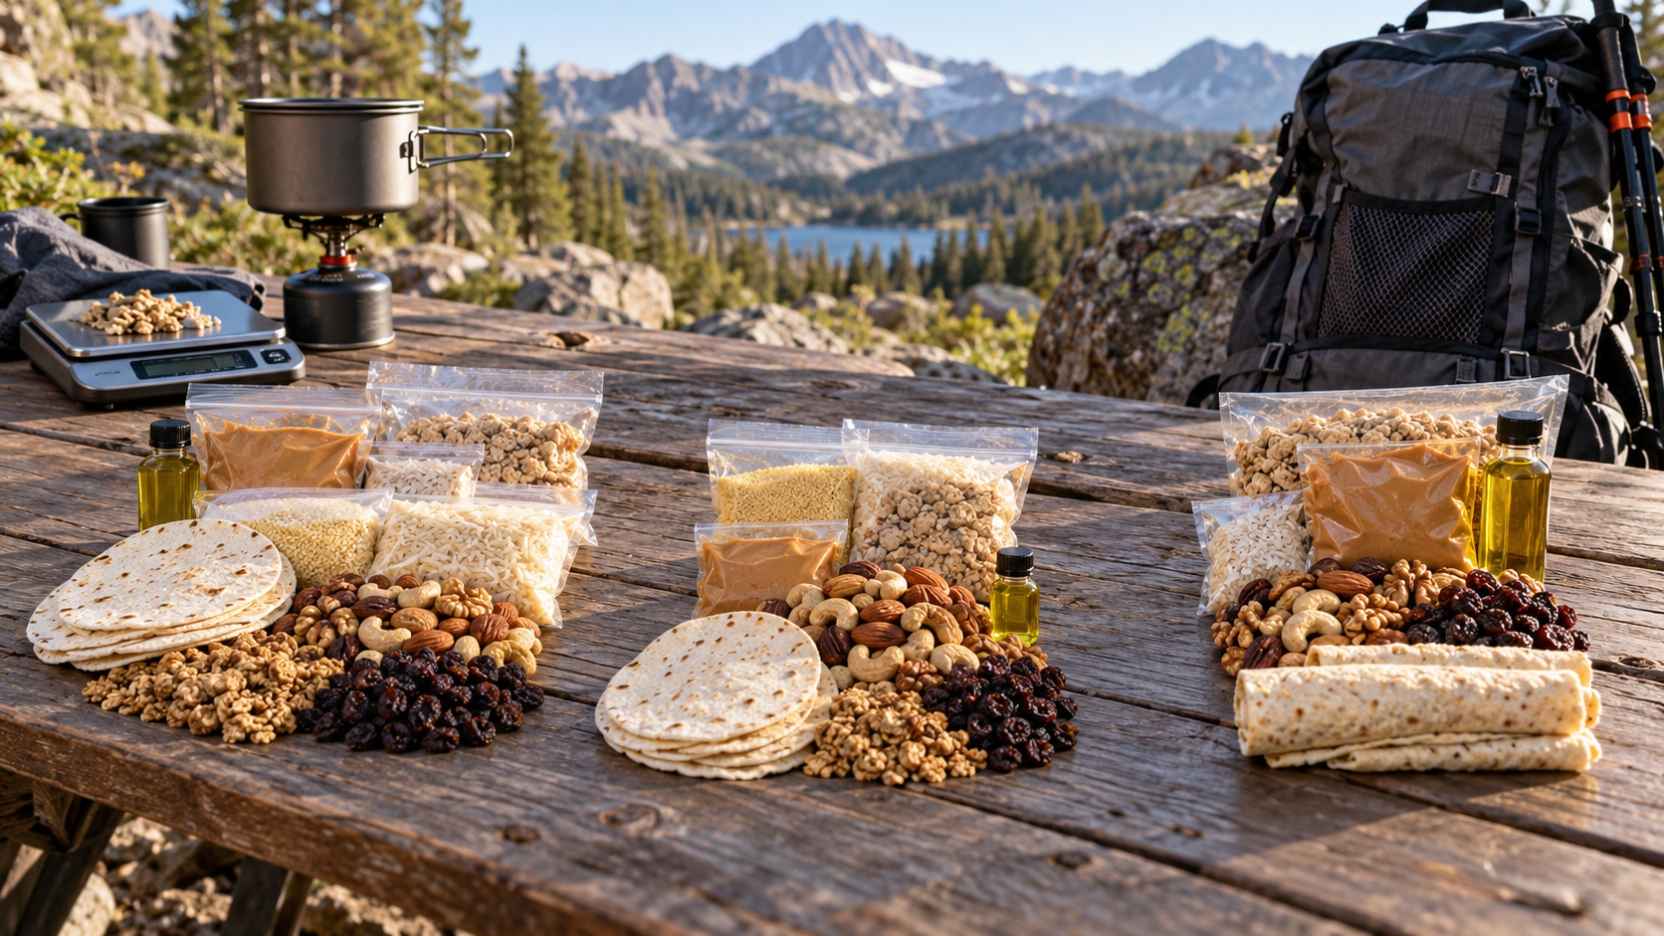
- Peanut butter and nuts
- Tortillas and crackers
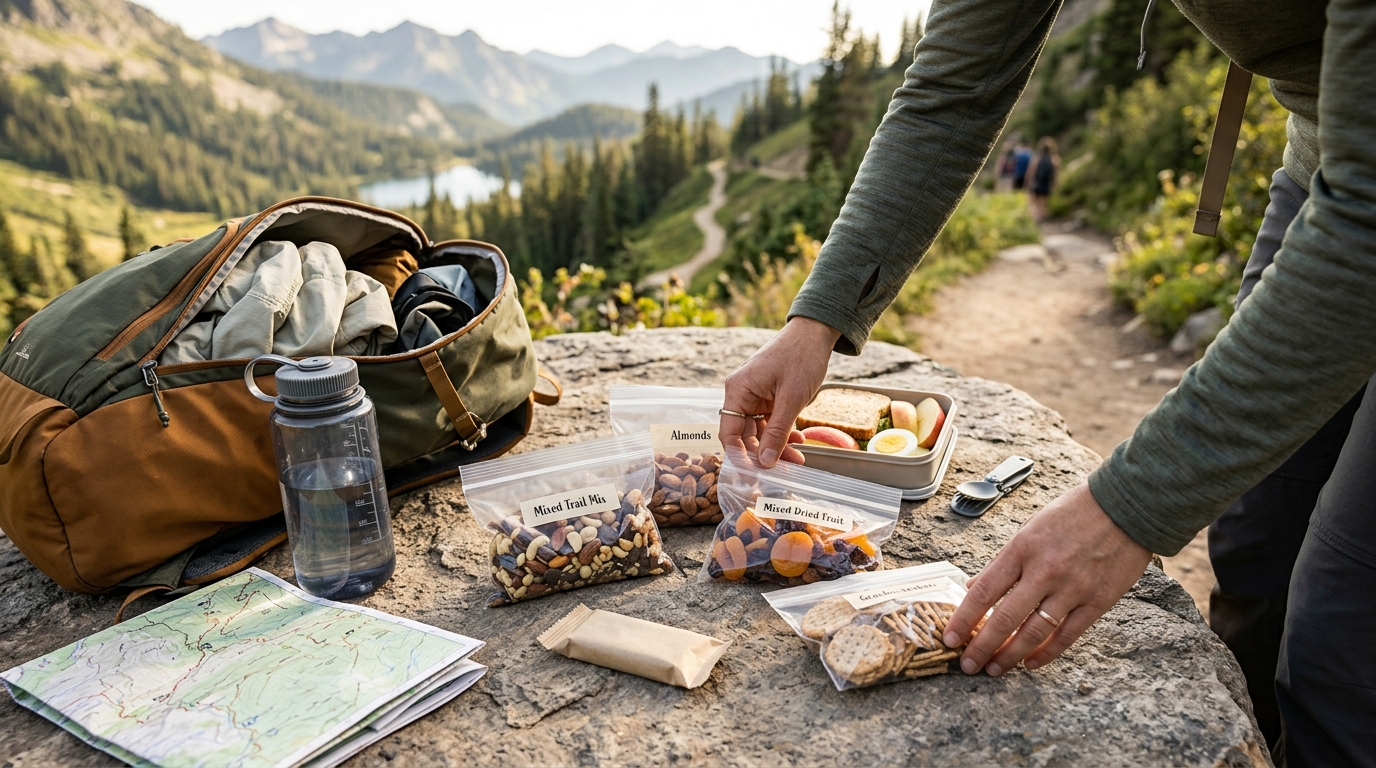
- Dried fruit and shelf-stable snacks
- Canned-style meal components sold in lightweight pouches, where suitable
Choose products that need little cooking or can be prepared with hot water. Check labels for serving size, calories, and preparation instructions.
Tortillas with peanut butter, instant oatmeal with dried fruit, or couscous with seasonings can provide simple meals without requiring specialty outdoor-food products.
Homemade Dehydrated Foods
Dehydrating ingredients at home can reduce food weight and allow you to customize flavor and portions.
Examples include properly dehydrated cooked vegetables, fruit, and suitable cooked meal components. You can combine dehydrated vegetables with instant rice, seasonings, and a protein ingredient to make a customized trail meal.
However, safe dehydration matters. Not every homemade dish is suitable for drying and storing at room temperature. Meat, dairy-rich meals, and other potentially hazardous ingredients require particular care. Follow tested food-preservation guidance, package foods properly, and use safe storage practices. If you cannot verify that a homemade meal is shelf-stable, keep it refrigerated or frozen until needed and don’t rely on it for an extended trip.
Homemade dehydrated meals may save money over time, but they require preparation, equipment, and planning.
Commercial Backpacking Meals
Freeze-dried or dehydrated commercial meals offer convenience, predictable portions, and straightforward preparation.
They’re particularly useful on days when you arrive at camp tired or want to minimize cooking and cleanup. Many require only boiling water, although preparation varies by product.
The trade-offs are price, packaging, and the need to carry enough water for rehydration. Compare the meal’s dry weight, calories, protein, sodium, and required water rather than judging it by package size alone.
You don’t have to eliminate commercial meals. Using them selectively can make a mixed menu easier to manage.
3. Compare Weight, Cost, Prep Time, and Water Needs
The best option depends on the demands of your trip. Use this comparison as a general guide; actual values vary by product and recipe.
| Food type | Weight | Cost | Preparation | Water needs |
|---|---|---|---|---|
| Instant oatmeal | Low | Low | Very quick | Usually hot water |
| Tortillas with nut butter | Moderate | Low to moderate | No cooking | Minimal |
| Instant couscous with seasonings | Low | Low | Quick soaking or hot water | Some |
| Homemade dehydrated meal | Often low | Low to moderate after setup | Requires planning and rehydration | Varies |
| Commercial freeze-dried meal | Often low when dry | Usually higher | Usually simple | Often moderate to high |
| Nuts and dried fruit | Low for the energy provided | Varies | Ready to eat | None for preparation |
Remember that a low-cost meal may require more fuel or water, while a convenient meal may cost more but save time and cleanup.
4. Build a Balanced Multi-Day Menu 🍲
A useful way to start is to plan three meals a day and add snacks according to your hiking duration, effort, and appetite.
Here’s an illustrative three-day menu for one person. Portions should be adjusted to meet your energy needs, and the menu is a starting point rather than a fixed calorie prescription.
| Day | Breakfast | Lunch | Dinner |
|---|---|---|---|
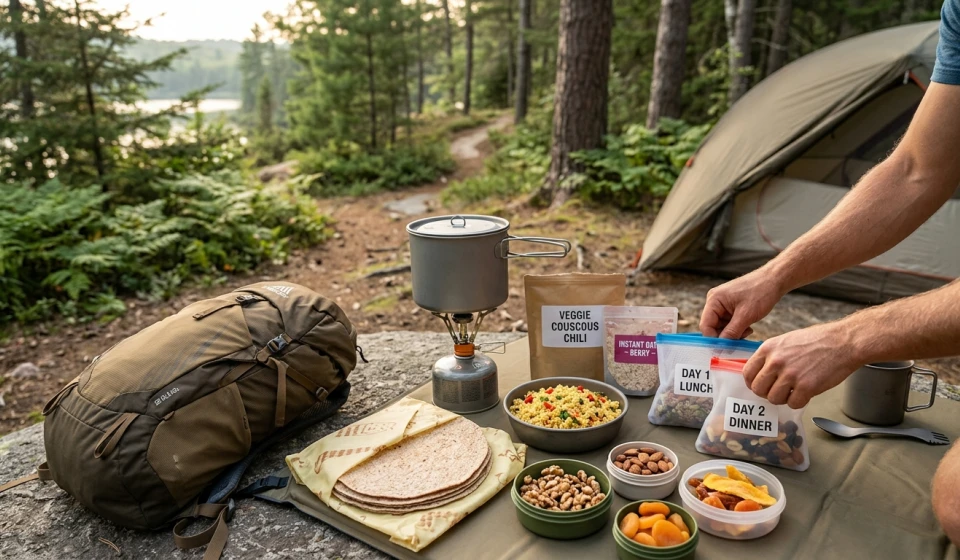
| Day 1 | Instant oatmeal, powdered milk, dried fruit | Tortillas with peanut butter and a trail mix snack | Couscous with dehydrated vegetables and a suitable protein |
| Day 2 | Oats with nuts and cinnamon | Crackers, nut butter, and dried fruit | Commercial freeze-dried meal |
| Day 3 | Instant oatmeal with powdered milk | Tortillas with shelf-stable fillings | Instant mashed potatoes with seasonings and dehydrated vegetables |
Add snacks such as nuts, energy bars, dried fruit, or crackers between meals. Carry a suitable extra food reserve in case your hike takes longer than expected.
For longer trips, rotate flavors and textures to avoid getting tired of the same food. A few familiar meals can be comforting, but variety often makes it easier to maintain your appetite.
5. Estimate Calories and Food Weight Before Packing
Your food needs depend on factors such as body size, hiking pace, elevation gain, weather, and trip duration. A demanding mountain route can require considerably more energy than an easy walk of the same length.
Instead of copying another hiker’s calorie target, start with your typical appetite and experience on similar outings. If you’re planning a challenging trip, consider guidance from a qualified sports dietitian or experienced outdoor professional.
Then create a simple food inventory:
- Record each meal and snack.
- Note the serving size and calories.
- Weigh the actual food you intend to carry.
- Add the total weight for each day.
- Check that the menu provides enough food for your expected effort.
- Pack an additional reserve for delays or unexpected changes.
Don’t reduce food so aggressively that you become underfueled just to reach a target pack weight. Saving a few ounces is rarely worth carrying too little food for a demanding day.
6. Plan Water and Fuel Alongside the Menu
A lightweight menu can still be inconvenient if it requires more water than your route can reliably provide.
Meals that need rehydration may be efficient when water is available, but they become less attractive when water sources are scarce or unreliable. No-cook foods can reduce fuel use and preparation time, although some may be heavier or less satisfying.
Before leaving, check the route’s water sources and seasonal conditions. Carry enough water for the expected distance between reliable sources, and bring an appropriate treatment method for untreated natural water.
Also consider cooking fuel. Meals that require prolonged simmering use more fuel than foods that can soak in hot water or be eaten without cooking.
7. Make Packing and Cleanup Easier
Organize food by day or meal so you can find what you need without unpacking your entire bag.
Use clearly labeled bags or reusable containers, and keep ingredients for each meal together. Remove unnecessary outer packaging when practical, but retain important cooking instructions and allergen information.
At camp, follow local regulations and Leave No Trace principles. Pack out wrappers, food scraps, and other waste. Store food securely according to local wildlife guidance, and don’t assume that lightweight packaging makes a food safe to leave unattended.
A little organization can reduce mess, save time, and make your food supply easier to track.
Final Thoughts 🌿
Building a lightweight backpacking menu doesn’t require expensive freeze-dried meals every night. Grocery-store staples can provide affordable everyday options, homemade dehydrated ingredients can add variety, and commercial meals can simplify the evenings when convenience matters most.
Start with meals you already enjoy, compare their weight and preparation needs, and plan enough food for the demands of your route. Consider water availability, fuel consumption, safe storage, and the extra food you may need if plans change.
The best backpacking menu isn’t simply the lightest one. It’s a practical balance of nutrition, convenience, cost, and foods you’ll genuinely want to eat after a long day on the trail.