High-Calorie Backpacking Foods You Can Find at an Ordinary Grocery Store 🥜
Introduction
Planning backpacking meals can feel complicated when you’re trying to carry enough energy without filling your entire pack with food. The good news? You don’t need expensive specialty backpacking meals to build a practical trail menu.
Ordinary grocery stores offer plenty of energy-dense foods, from peanut butter and tortillas to nuts, olive oil, granola, and instant meals. The trick is choosing foods that balance calories, weight, cost, taste, and how well they handle your expected conditions.
This guide explains what to look for and how to combine everyday groceries into meals that keep you fueled on the trail.
🥾 What Makes a Food High-Calorie for Backpacking?
For backpackers, calorie density matters because it describes how much energy a food provides relative to its weight.
Foods rich in fats often have high calorie density. Nuts, seeds, nut butter, and oils can provide substantial energy in small amounts. Dried foods also tend to be lighter than their fresh counterparts because much of their water has been removed.
However, the highest-calorie option isn’t automatically the best choice. A food may be energy-dense but too expensive, unpleasant to eat repeatedly, difficult to digest, or unsuitable for hot weather.
1. Ten High-Calorie Foods From Ordinary Grocery Stores
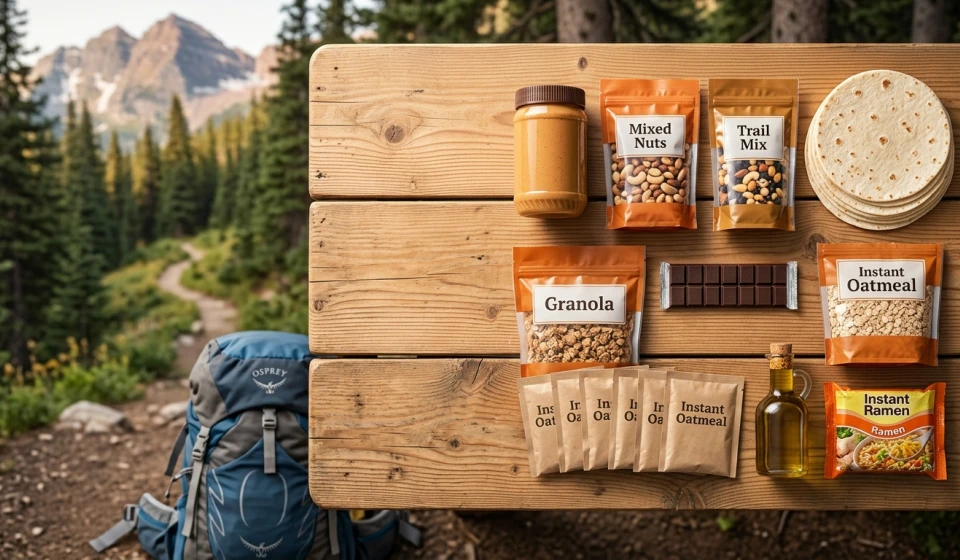
The calorie ranges below are approximate examples for common portions. Check product labels for your exact serving size and brand.
| Food | Example portion | Approx. calories | Main trade-off |
|---|---|---|---|
| Peanut butter | 2 tbsp | 180–200 | Compact, but can be sticky |
| Mixed nuts | 1 oz (28 g) | 160–190 | Portable, but may trigger allergies |
| Olive oil | 1 tbsp | 120 | Very calorie-dense, but can leak |
| Tortillas | 1 medium to large | 140–220 | Versatile, but may get crushed |
| Granola | ½ cup | 200–300 | Easy to snack on, but brands vary |
| Trail mix | ¼ cup | 150–250 | Convenient, but often sweetened |
| Dark chocolate | 1 oz (28 g) | 140–180 | Tasty, but may melt |
| Instant oatmeal | 1 packet | 100–180 | Lightweight, but may need additions |
| Cheese | 1 oz (28 g) | 90–120 | Useful for savory meals, but storage matters |
| Instant ramen | 1 packet | 300–500 | Quick and affordable, but sodium can be high |
These foods are examples, not a complete meal plan. A full day’s food should also account for protein, carbohydrates, fiber, vitamins, minerals, fluid needs, and personal dietary requirements.
2. The Best Grocery-Store Picks for Different Needs
🥜 Peanut Butter and Nut Butter
Nut butter is a backpacking staple because it provides fat, some protein, and substantial energy in a compact serving.
Spread it on tortillas, stir it into oatmeal, or eat it with crackers. Single-serving packets can reduce mess, while a small reusable container may be more economical.
Best for: Hikers who want portable energy with little preparation.
Trade-offs: Nut allergies are an important consideration. Nut butter can also become difficult to squeeze or spread in cold weather, depending on the product.
🌰 Nuts and Trail Mix
Almonds, peanuts, cashews, walnuts, and mixed trail snacks offer a combination of fats, protein, and carbohydrates.
They are easy to portion into snack bags and can be eaten while walking or during breaks.
Best for: Convenient snacks between meals.
Trade-offs: Nuts can be expensive in some stores, and trail mix containing chocolate may melt in warm conditions. Salted versions may also contribute substantial sodium.
🫒 Olive Oil
Olive oil provides approximately 120 calories per tablespoon, making it one of the most energy-dense ingredients you can add to a meal.
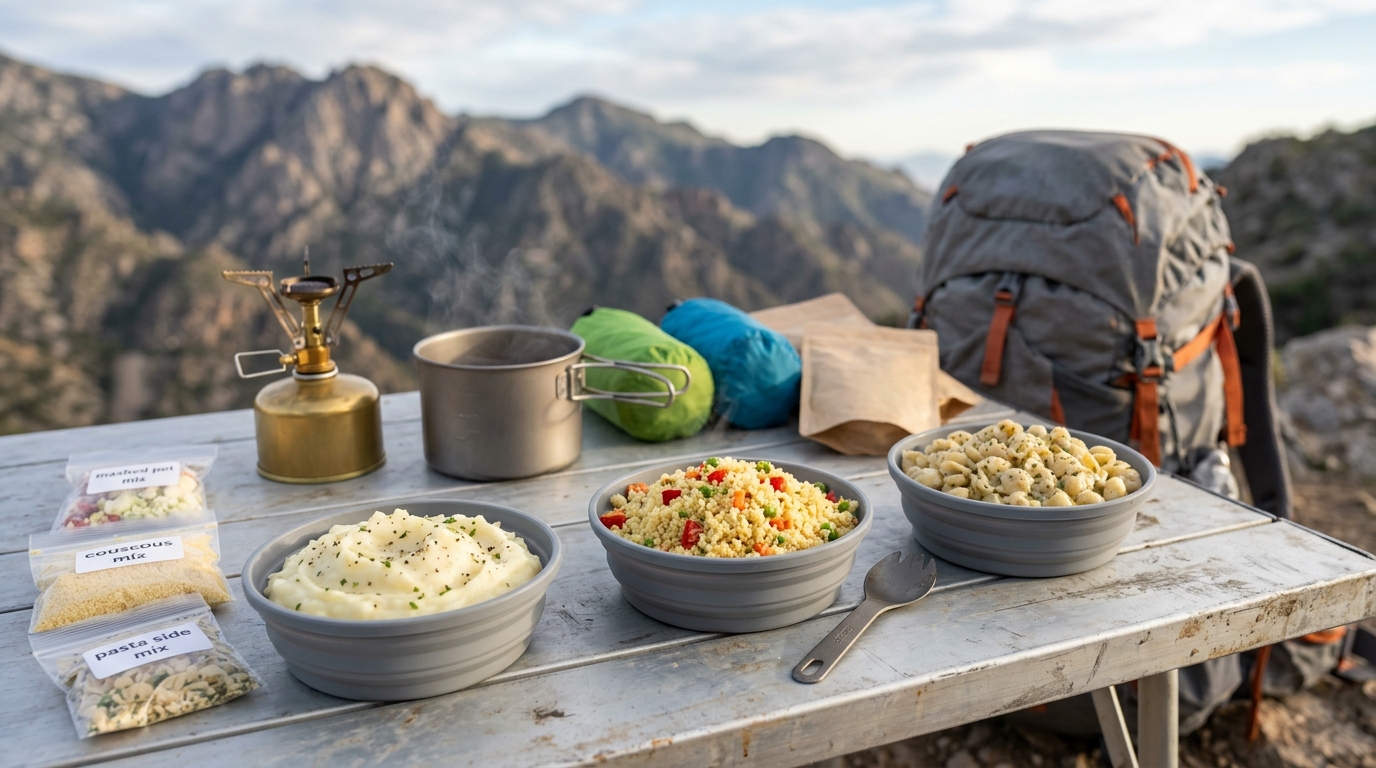
Mix it into ramen, couscous, rice, instant mashed potatoes, or pasta.
Best for: Increasing meal calories without adding much food weight.
Trade-offs: Oil supplies fat but not meaningful protein or carbohydrates. Leaks can ruin other food, so use a reliable container and pack it securely.
🌯 Tortillas
Tortillas are flexible, easy to eat, and useful for building meals without utensils.
Try peanut butter and banana, tuna with a shelf-stable condiment, or cheese with another suitable filling.
Best for: Quick lunches and simple no-cook meals.
Trade-offs: Tortillas may tear or become compressed inside a pack. Choose a type and package size that suits your storage space.
🍫 Dark Chocolate
Chocolate adds energy and can provide a welcome change from repetitive trail meals.
Pair it with nuts, granola, or dried fruit for a simple snack.
Best for: A compact treat that makes a long day feel more enjoyable.
Trade-offs: Chocolate can soften or melt in hot weather. It may also be less appealing in freezing conditions if it becomes hard.
🥣 Granola and Instant Oatmeal
Granola is convenient for breakfast or snacking, while instant oatmeal can be a simple hot meal when you have water and a stove.
Add powdered milk, nuts, seeds, dried fruit, or nut butter to increase energy and variety.
Best for: Easy breakfasts and low-effort snacks.
Trade-offs: Granola may contain added sugar, and some oatmeal packets provide relatively few calories on their own. Check labels and adjust portions to your needs.
🧀 Cheese
Harder cheeses can work on shorter trips or in cooler conditions, but suitability depends on the cheese, packaging, temperature, and manufacturer’s storage guidance.
Pair cheese with crackers or tortillas for a savory lunch.
Best for: Hikers who want a savory option and some protein.
Trade-offs: Not every cheese is safe to carry unrefrigerated for extended periods. For hot or long trips, shelf-stable alternatives may be more practical.
🍜 Instant Ramen
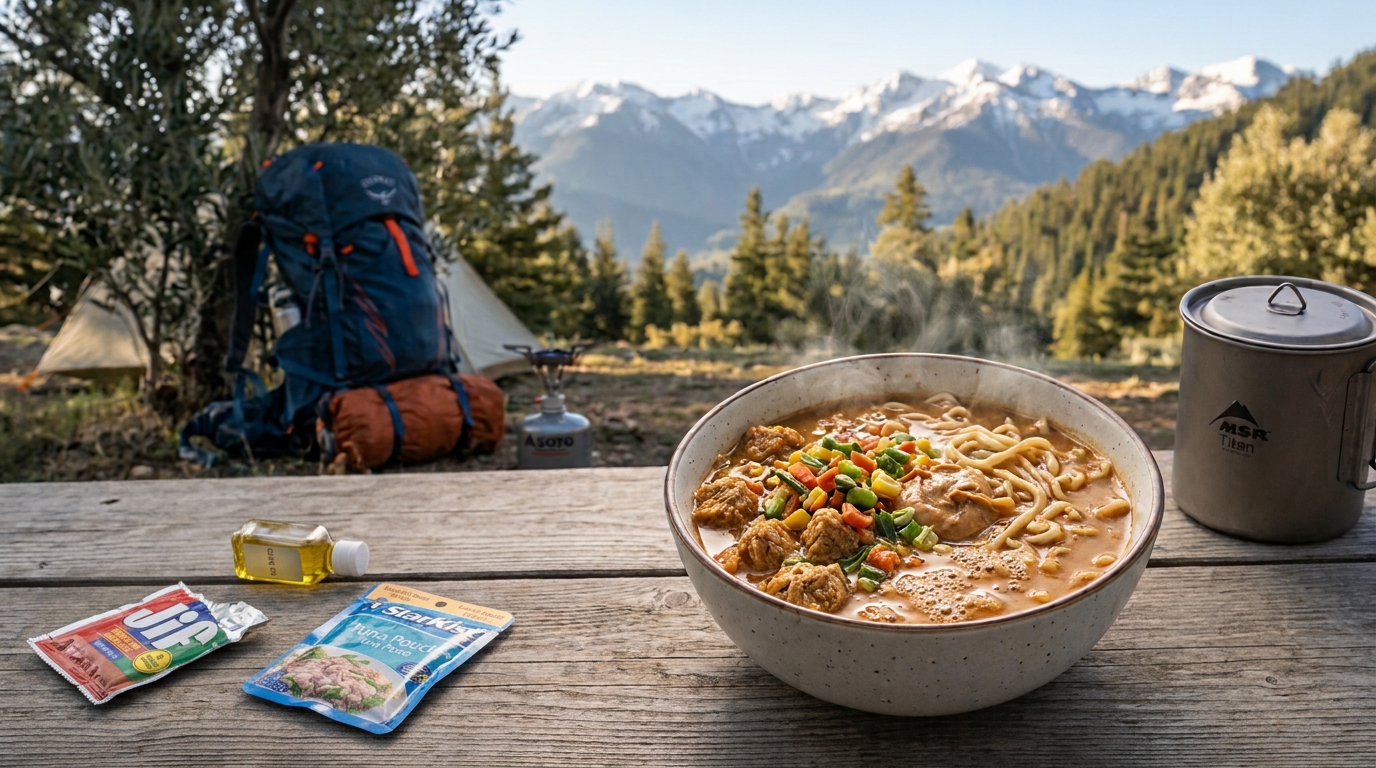
Ramen is affordable, easy to prepare, and widely available. Add peanut butter, oil, TVP, or a suitable tuna pouch to make the meal more substantial.
Best for: Budget-conscious hikers who want a warm dinner.
Trade-offs: Sodium can be high, and plain ramen may not supply enough protein or energy for every hiker.
3. Compare Calories, Weight, Cost, Taste, and Heat
The right backpacking food depends on more than calories alone.
| Food | Calorie density | Typical cost | Heat sensitivity | Preparation |
|---|---|---|---|---|
| Peanut butter | High | Low to moderate | Usually handles heat reasonably well; check storage guidance | None |
| Nuts | High | Moderate | Generally convenient, but quality can decline with heat | None |
| Olive oil | Very high | Low to moderate per serving | Protect from leaks and excessive heat | Add to meals |
| Tortillas | Moderate | Low to moderate | Can become stale or compressed | None |
| Chocolate | High | Moderate | High | None |
| Granola | Moderate to high | Low to moderate | Usually convenient | None |
| Instant oatmeal | Low to moderate alone | Low | Usually convenient when dry | Hot water optional, depending on product |
| Cheese | Moderate | Moderate to high | Depends on product and conditions | Usually none |
| Instant ramen | Moderate | Low | Dry noodles store conveniently | Usually hot water |
These ratings are broad comparisons. Actual cost, calorie density, and storage requirements depend on brands, packaging, serving sizes, and local prices.
4. Build Simple Backpacking Meals With Grocery Foods
You don’t need to eat each ingredient on its own. Combining foods makes meals more varied and can help you meet your energy needs.
Breakfast: Upgraded Oatmeal
Combine instant oatmeal with peanut butter, powdered milk, and dried fruit. Use the serving size that matches your appetite and planned activity.
Lunch: Peanut Butter Tortilla
Spread peanut butter on a tortilla and add dried fruit or another preferred topping. It is easy to pack and requires no cooking.
Snack: Trail Mix and Chocolate
Mix nuts, dried fruit, and a small amount of chocolate. Portion it into bags before leaving home to make trail access simple.
Dinner: Ramen With Added Energy
Prepare instant ramen and add a measured serving of olive oil or peanut butter. For more protein, consider TVP or a suitable shelf-stable tuna pouch.
Backup Meal: Crackers and Nut Butter
Keep a simple no-cook meal available for bad weather, stove problems, or days when you are too tired to cook.
5. How Much Food Should You Carry?
There is no single calorie target that suits every backpacker. Energy requirements depend on body size, pace, elevation gain, trip length, temperature, and individual appetite.
Instead of relying on a universal number, use a few practical steps:
- Estimate your daily needs. Use your experience on similar trips and adjust for expected activity.
- Plan meals and snacks. Include breakfast, lunch, dinner, and food you can eat during the day.
- Check total calories. Add the package-label values for the actual portions you will carry.
- Consider protein and variety. High calories alone do not make a balanced menu.
- Pack a backup. Bring food you know you can eat when your appetite or plans change.
- Test before leaving. Try the portions and combinations at home so you know what you enjoy.
If you’re planning a multi-day trip, remember that food weight adds up. Choose calorie-dense ingredients where they suit your needs, but don’t sacrifice every enjoyable or familiar food simply to chase the highest number.
6. Common Mistakes to Avoid
Choosing only by calories. A bag of oil may provide plenty of energy, but it doesn’t replace a varied diet.
Ignoring sodium. Instant meals and salted snacks can add up quickly. Compare labels and adapt portions to your dietary needs.
Forgetting heat and storage. Foods that are convenient at home may be unsuitable in a hot backpack or without refrigeration.
Packing foods you haven’t tested. A meal can look appealing on paper but be difficult to eat after a long day. Test your menu before committing to it.
Underestimating appetite changes. Some hikers feel less hungry during strenuous activity, while others need more food than expected. Carry a practical backup and adjust future plans based on experience.
Final Thoughts
High-calorie backpacking food doesn’t have to come from a specialty outdoor store. Peanut butter, nuts, olive oil, tortillas, granola, chocolate, and instant meals can all help create a practical trail menu.
The best approach is to balance energy, protein, cost, weight, taste, and storage conditions. Check the nutrition labels, portion your food before leaving, and test your combinations at home.
Most importantly, choose foods you genuinely enjoy eating. A backpacking menu works best when it fuels your adventure and makes you look forward to the next meal.