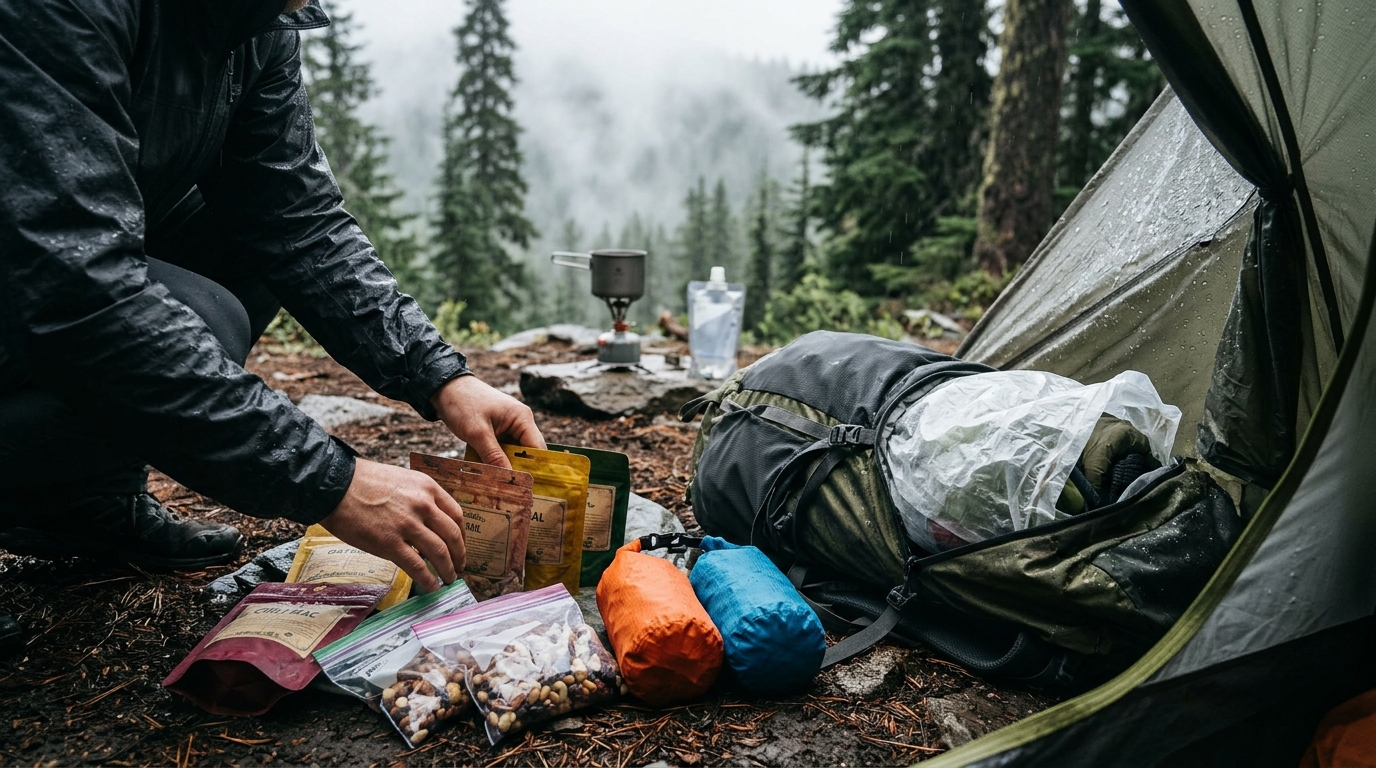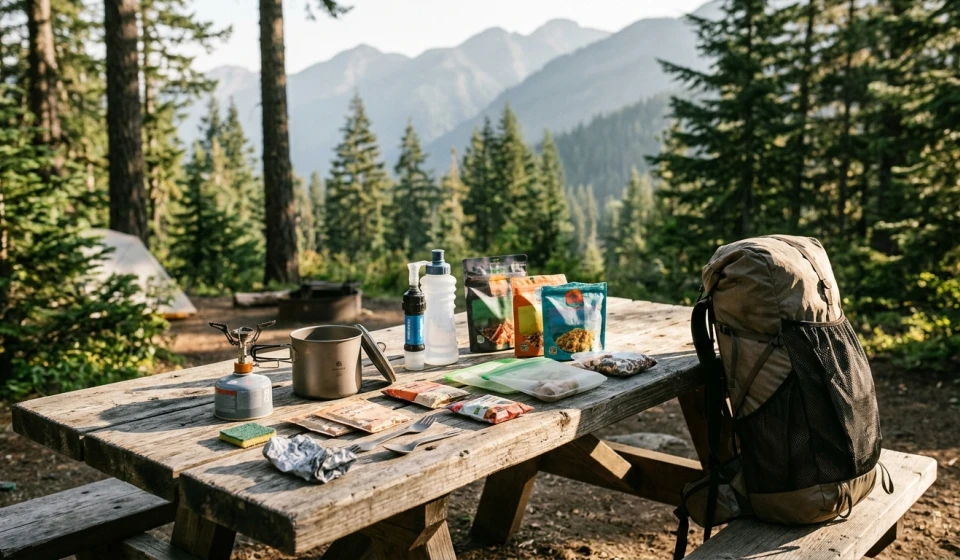
A Backpacking Kitchen Inventory: Food, Fuel, Water, and Cleanup Supplies
A successful backpacking trip requires more than packing enough food. You also need the right cooking equipment, sufficient fuel, safe drinking water, and a reliable cleanup system.
It’s easy to remember your favorite dehydrated meals and forget something less exciting, like a lighter, pot lid, water treatment tablets, or a small sponge. Unfortunately, missing one essential item can make meal preparation difficult, especially when you’re several miles from the nearest town.
The solution is a complete backpacking kitchen inventory.
Instead of treating food, cooking equipment, water, and cleanup supplies as separate packing tasks, organize them as one coordinated system. Every meal should have the ingredients, equipment, fuel, and water needed to prepare it safely.
This guide provides a practical checklist for weekend trips and longer multi-day hikes, including a printable pre-trip inventory to help you avoid forgotten essentials. 🥾
1. Start With Your Backpacking Meal Plan
Before packing your kitchen equipment, decide what you’ll eat.
Your meal plan determines how much food, water, fuel, and cooking equipment you’ll need.
For a typical three-day backpacking trip, plan for:
- Three breakfasts.
- Three lunches.
- Three dinners.
- Daily snacks.
- A small emergency food reserve.
Consider the preparation requirements of each meal.
| Meal | Example | Preparation requirements |
|---|---|---|
| Breakfast | Instant oatmeal | Hot water, mug or bowl |
| Lunch | Tortilla with peanut butter | No cooking required |
| Dinner | Dehydrated lentil meal | Hot water, pot or food pouch |
| Snacks | Nuts and dried fruit | No cooking required |
| Emergency food | Shelf-stable energy bars | No cooking required |
Important: Match your food quantities to your expected energy needs. Backpacking calorie requirements vary with body size, terrain, temperature, pack weight, and daily mileage. Don’t assume that a generic meal plan provides enough calories for everyone.
A useful approach is to calculate your estimated daily food weight and calories before purchasing or packing ingredients.
2. Food Inventory: Everything You Need to Eat
Food is usually one of the heaviest parts of a backpacking kitchen, so organization matters.
Separate your supplies into meals, snacks, drinks, and emergency food.
Breakfast supplies
- Instant oatmeal or overnight oats ingredients
- Powdered milk, if needed
- Dried fruit or nuts
- Chia seeds or ground flaxseed
- Coffee, tea, or breakfast drink
- Sweetener, if desired
Lunch supplies
- Tortillas or crackers
- Peanut butter or another shelf-stable spread
- Tuna or other suitable shelf-stable protein
- Dried fruit
- Trail mix
- Energy bars
Dinner supplies
- Dehydrated or freeze-dried meals
- Instant rice, couscous, or noodles
- Dried beans or lentils prepared for the intended cooking method
- Seasonings and sauce packets
- Additional protein ingredients
- Oil or other calorie-dense additions
Snacks and emergency food
- Nuts and seeds
- Dried fruit
- Chocolate
- Energy bars
- Crackers
- Extra meal or emergency food reserve
Food storage supplies
- Individual food packaging
- Resealable food-safe bags
- Waterproof food liner or dry bag
- Clearly labeled meal portions
- Approved wildlife-resistant food storage, where required
Packing tip: Organize meals by day. Label each package with its contents and preparation instructions. This reduces searching through your backpack and helps you track your remaining food.
3. Cooking Equipment: Pack Only What Your Meals Require
Your cooking system should match your menu.
If your entire meal plan uses cold-soaked or ready-to-eat foods, you may not need a stove. If you plan to cook rice, simmer beans, or prepare hot meals, your equipment requirements will be different.
Essential cooking equipment
- Backpacking stove
- Compatible fuel canister or approved fuel supply
- Cooking pot
- Pot lid, if needed
- Spoon or spork
- Insulated mug, if desired
- Lighter or ignition device
- Backup ignition method
- Small cleaning cloth
- Heat-resistant pot holder, if required
Optional cooking equipment
- Small frying pan
- Windscreen approved for your stove
- Lightweight cutting tool
- Measuring spoon
- Collapsible bowl
- Extra utensil
- Pot cozy for retaining heat during suitable rehydration methods
Not every backpacker needs every item.
For example, someone eating instant oatmeal and dehydrated dinners may only need a small pot, stove, spoon, and mug.
A more elaborate menu may require additional cookware.
Safety reminder: Use backpacking stoves outdoors in a well-ventilated area, never inside a tent or enclosed shelter. Follow the stove manufacturer’s instructions, particularly regarding windscreens and fuel-canister placement.
4. Fuel Inventory: Make Sure You Can Cook Every Planned Meal
Running out of fuel halfway through a trip can leave you with meals you cannot prepare.
Fuel planning should be based on your actual cooking schedule, not simply the number of days you’re hiking.
Consider:
- How many times will you boil water?
- How much water does each meal require?
- Will you simmer food or only boil water?
- Are you preparing hot drinks?
- Will cold temperatures or wind affect stove performance?
- Are you carrying backup food that requires cooking?
Fuel checklist
- Correct fuel type for your stove
- Sufficient fuel for all planned cooking
- Fuel quantity checked before departure
- Stove and fuel connection inspected
- Ignition device tested
- Backup lighter or ignition method
- Manufacturer’s instructions reviewed
How to estimate fuel requirements
The most reliable approach is to use your stove manufacturer’s fuel-consumption specifications or measure actual consumption during a test.
For example, if your stove uses approximately 10 grams of fuel to boil one liter of water under your test conditions, and your menu requires three liters of heated water daily for three days:
This is an illustrative calculation, not a universal fuel estimate. Real consumption varies with stove efficiency, wind, water temperature, altitude, pot design, and cooking technique.
Allow an appropriate reserve based on your conditions and experience.
Pro tip: Weigh your fuel canister before leaving and compare it with its known empty-canister weight if you want to estimate the remaining fuel. The weight printed on the canister generally refers to fuel content, not the total canister weight.
5. Water Inventory: Drinking, Cooking, and Cleaning
Water planning is one of the most important parts of backpacking preparation.
You need enough water for drinking and food preparation, plus a reliable way to obtain safe water along the route.
Remember that water requirements vary with temperature, elevation, activity level, and individual needs.
Water storage supplies
- Primary water bottle or reservoir
- Additional water capacity
- Water collection container
- Collapsible water bag, if needed
- Leak-proof drinking bottle
- Dedicated container for untreated water, if applicable
Water treatment supplies
- Water filter or purifier appropriate for the intended sources
- Chemical treatment tablets or drops, if appropriate
- Backup treatment method
- Manufacturer’s instructions
- Filter cleaning and maintenance supplies
- Water-source information for the route
Water planning checklist
Before departure, determine:
- Where reliable water sources are located.
- Whether water sources are seasonal.
- How much water you need between refill points.
- Whether your treatment method addresses the contaminants of concern.
- Whether you need additional capacity for dry sections.
Not all water treatment methods remove the same contaminants. Many common backpacking filters remove bacteria and protozoa but do not remove viruses. Some also do not address dissolved chemicals or heavy metals.
Check the treatment system’s specifications and local water advisories.
Important: Never assume clear mountain water is automatically safe to drink. Treat water according to the risks associated with the source.
6. Cleanup Supplies: Keep Your Campsite Clean
Cooking is only half the job. You also need a practical system for cleaning cookware and managing food waste.
A good cleanup routine reduces leftover food residue, unpleasant odors, and opportunities for wildlife encounters.
Cleanup inventory
- Small sponge or cleaning cloth
- Biodegradable or appropriate concentrated soap, where permitted
- Small scrubber
- Dedicated waste bag
- Paper towel or reusable cleaning cloth
- Small sealable bag for food scraps
- Hand hygiene supplies
- Separate container or bag for dirty cookware, if needed
A simple backpacking cleanup routine
Step 1: Remove leftover food.
Scrape remaining food into your designated waste container. Don’t scatter food scraps around camp.
Step 2: Clean your cookware.
Use a small amount of water and an appropriate cleaning method. Follow local regulations for soap use and wastewater disposal.
Step 3: Manage wastewater responsibly.
Strain food particles where appropriate and pack them out. Dispose of wastewater according to local land-management rules, away from natural water sources.
Step 4: Dry your equipment.
Wipe your pot and utensils before storing them to reduce moisture and odors.
Step 5: Secure your food and scented items.
Store food, trash, cookware with food residue, and other scented items according to local wildlife-storage requirements.
Remember that biodegradable soap is not permission to wash directly in lakes, streams, or rivers.
7. Coordinate Your Food, Fuel, Water, and Equipment
One of the biggest backpacking mistakes is packing each category separately without checking whether the items work together.
A meal might look perfect on paper but require more water or fuel than expected.
Use this coordination table before finalizing your inventory.
| Planned meal | Food | Equipment | Water and fuel |
|---|---|---|---|
| Instant oatmeal | Oats, milk powder, dried fruit | Pot, spoon | Heated water and stove |
| Cold tortilla wrap | Tortilla, peanut butter | No stove required | Drinking water |
| Dehydrated chili | Meal pouch or ingredients | Pot or suitable pouch | Water and heating |
| Instant couscous | Couscous, seasonings | Pot with lid | Hot water |
| Trail snacks | Nuts, fruit, bars | None | Drinking water as needed |
This simple exercise helps identify missing equipment before you leave home.
For example, if your dinner requires boiling two cups of water but your pot only holds one cup safely, you may need to prepare the meal in batches or choose a different pot.
Likewise, if a meal requires simmering for 15 minutes, your fuel estimate should account for that longer cooking time.
8. Common Backpacking Kitchen Packing Mistakes
Avoid these common problems before they become trail inconveniences.
Packing too much cookware: Choose equipment based on your actual menu instead of carrying a complete kitchen.
Underestimating fuel: Don’t assume one small canister will last an entire multi-day trip. Test your stove and calculate consumption.
Forgetting water treatment: Carrying empty bottles without a dependable water-treatment plan is not sufficient.
Ignoring cleanup: A spoon and pot still need to be cleaned. Bring a lightweight system for responsible campsite hygiene.
Packing meals without checking preparation requirements: Some dehydrated meals require longer soaking or simmering than others.
Forgetting backup ignition: A stove is useless if you cannot light it.
Ignoring wildlife storage: Food storage requirements vary by location. Check regulations before your trip.
9. Printable Backpacking Kitchen Inventory Checklist
Use this checklist before every multi-day backpacking trip. You can copy it into your notes or print it for your packing routine.
🥾 Backpacking Kitchen Pre-Trip Checklist
TRIP PREPARATION · PRINTABLE MASTER LIST
Packing progress
0/40
0% completed
FOOD & MEALSBreakfast portions packedLunch portions packedDinner portions packedDaily snacks packedEmergency food reserveSeasonings and drink mixesFood packages labeledFood storage bags or liner
COOKING EQUIPMENTBackpacking stoveCooking pot and lidSpoon or sporkMug or bowlLighter or ignition deviceBackup ignition methodStove instructions checkedAll equipment inspected
FUELCorrect fuel typeFuel quantity checkedFuel reserve includedCanister inspectedFuel compatibility confirmed
WATERWater bottles or reservoirAdditional water capacityWater filter or purifierBackup water treatmentFilter maintenance suppliesWater sources researchedWater requirements calculated
CLEANUP & HYGIENESmall sponge or clothAppropriate cleaning suppliesWaste bagsFood-scrap storageHand hygiene suppliesWastewater disposal rules checked
FINAL SAFETY CHECKMeal preparation requirements checkedFuel estimate completedFood storage regulations checkedWeather forecast reviewedEmergency food and water planAll food and equipment packed
40 items remainingReset checklist
Final Thoughts 🌲
A well-organized backpacking kitchen makes multi-day hiking more enjoyable, efficient, and predictable.
The secret isn’t carrying more equipment. It’s making sure every item has a purpose and every planned meal has everything necessary for safe preparation.
Start with your menu, calculate your food and water requirements, estimate fuel consumption, and build your equipment list around those needs.
Remember that your backpacking kitchen is a complete system. Food depends on water, cooking depends on fuel, and every meal creates a cleanup responsibility.
A successful backpacking kitchen isn’t the one with the most gadgets. It’s the one that has everything you need and nothing you don’t.
Prepare your inventory at home, check every category before departure, and spend less time worrying about forgotten supplies when you’re out on the trail. 🏕️