Alcohol vs Canister Stoves: A Side-by-Side Comparison
Introduction
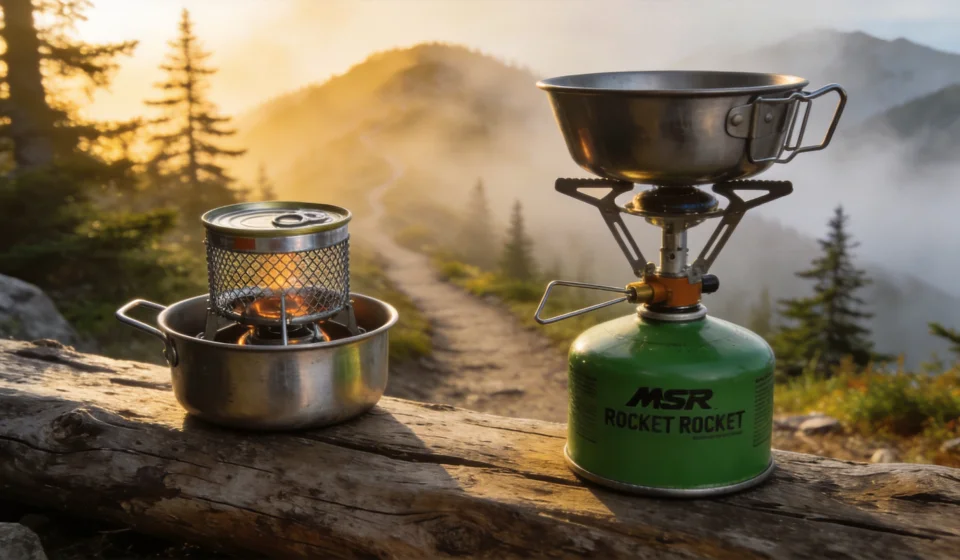
Choosing between an alcohol stove and a canister stove can feel like picking a favorite child—both have fierce advocates, and the wrong decision can turn a dream trip into a frustrating ordeal. This side-by-side comparison cuts through the hype, examining weight, fuel efficiency, ease of use, and real-world performance across different weather and trail conditions. By the end, you’ll have a clear framework to match the right stove to your hiking style.
Weight and Packability: The Ultralight Advantage
For thru-hikers and gram-counters, weight is often the first battleground. Alcohol stoves, such as the classic Trangia style or DIY cat-can burners, can weigh as little as 20–40 grams (0.7–1.4 oz). Add a simple windscreen and a small pot stand, and your entire cooking system might hit 100–150 grams. Canister stoves, like the MSR PocketRocket 2 or Soto WindMaster, typically weigh 60–90 grams for the burner head alone, but you must add the fuel canister—which itself weighs 100–250 grams (full), depending on size.
The Hidden Weight of Fuel
Here’s where the comparison gets nuanced: alcohol is lighter per burn in terms of stove hardware, but heavier per calorie of fuel. A typical 8-ounce (227 g) bottle of denatured alcohol holds about the same cooking energy as a 110 g isobutane canister. For a 3-day trip you might carry 200–250 g of alcohol (including the bottle), versus a 110 g canister plus the stove head. The total system weight often favors canisters for shorter trips, but alcohol closes the gap—or wins—for extended treks where you can refill from bulk containers.
“I’ve carried a 20-gram alcohol stove for 500 miles on the PCT. Yes, I had to carry more fuel volume, but I never worried about punctured canisters or finding replacements in remote towns.”
— Jake, triple-crown hiker
Packability tip: Alcohol stoves nest inside your cook pot, saving precious space. Canister stoves are slightly bulkier due to the rigid canister shape, but many models fold compactly. If volume in your backpack is critical, alcohol often wins.
Fuel Efficiency and Boil Time: Speed vs. Simplicity
Canister stoves burn hotter and faster. In calm conditions, a 1-liter boil with a high-output canister stove takes 3–4 minutes, while an alcohol stove needs 6–10 minutes. That difference matters when you’re cold and hungry after a long day. However, alcohol stoves are remarkably efficient in terms of fuel weight per meal if you master the technique—typically 15–25 ml of alcohol for a 500 ml boil. A canister might use 8–10 g of isobutane for the same task, but the canister’s overall weight ratio makes it less weight-efficient for more than a few meals.
Simmering and Control
Alcohol stoves provide no flame adjustment; you let it burn until all fuel is consumed. This makes simmering impossible—you either have a rolling boil or nothing. Canister stoves give you precise flame control, allowing slow simmering, which is essential for rehydrating meals or melting snow gradually. The ease of extinguishing also differs: you can turn off a canister instantly; with alcohol, you must wait for the fuel to burn out or use a snuffer (adding weight).
Ease of Use: Setup, Maintenance, and Refueling
Canister stoves are the ultimate in convenience: screw on the canister, open the valve, light with a match or piezo igniter, and you’re cooking in seconds. The fuel is self-contained, clean, and doesn’t spill. Alcohol stoves require careful pouring (or using a dedicated fuel bottle with a metering cap), a separate primer cup or priming paste, and a bit of practice to avoid flare-ups. Inexperienced users often dump too much fuel, leading to long boil times and smoke.
Maintenance and Durability
Alcohol stoves are nearly indestructible—no moving parts, no O-rings, no valve failures. A dented cat-can still works. Canister stoves have delicate valves that can jam with dirt or freeze in cold conditions. The O-rings degrade over time, and the canister threads can strip if overtightened. For reliability in the backcountry, alcohol stoves have a clear edge.
- Alcohol Pros
- No moving parts; field-repairable with a soda can; fuel is widely available (hardware stores, gas stations).
- Canister Pros
- Instant on/off; no priming; consistent flame; no spill risk.
- Alcohol Cons
- Requires priming; longer setup; no simmer; fuel can evaporate if bottle leaks.
- Canister Cons
- Non-refillable canisters create waste; performance drops in cold; O-ring failure possible.
Performance in Adverse Conditions: Wind, Cold, and Altitude
This is where canister stoves can fail dramatically, and alcohol stoves can shine—or suffer equally. In strong wind, both need a windscreen. However, alcohol stoves are notorious for being inefficient in wind because the heat is less focused. A good custom windscreen can boost alcohol efficiency by 300%, but without one you’ll waste fuel. Canister stoves with integrated heat exchangers (like the Jetboil) handle wind better, but the flame can still be blown out easily.
Cold Weather Performance
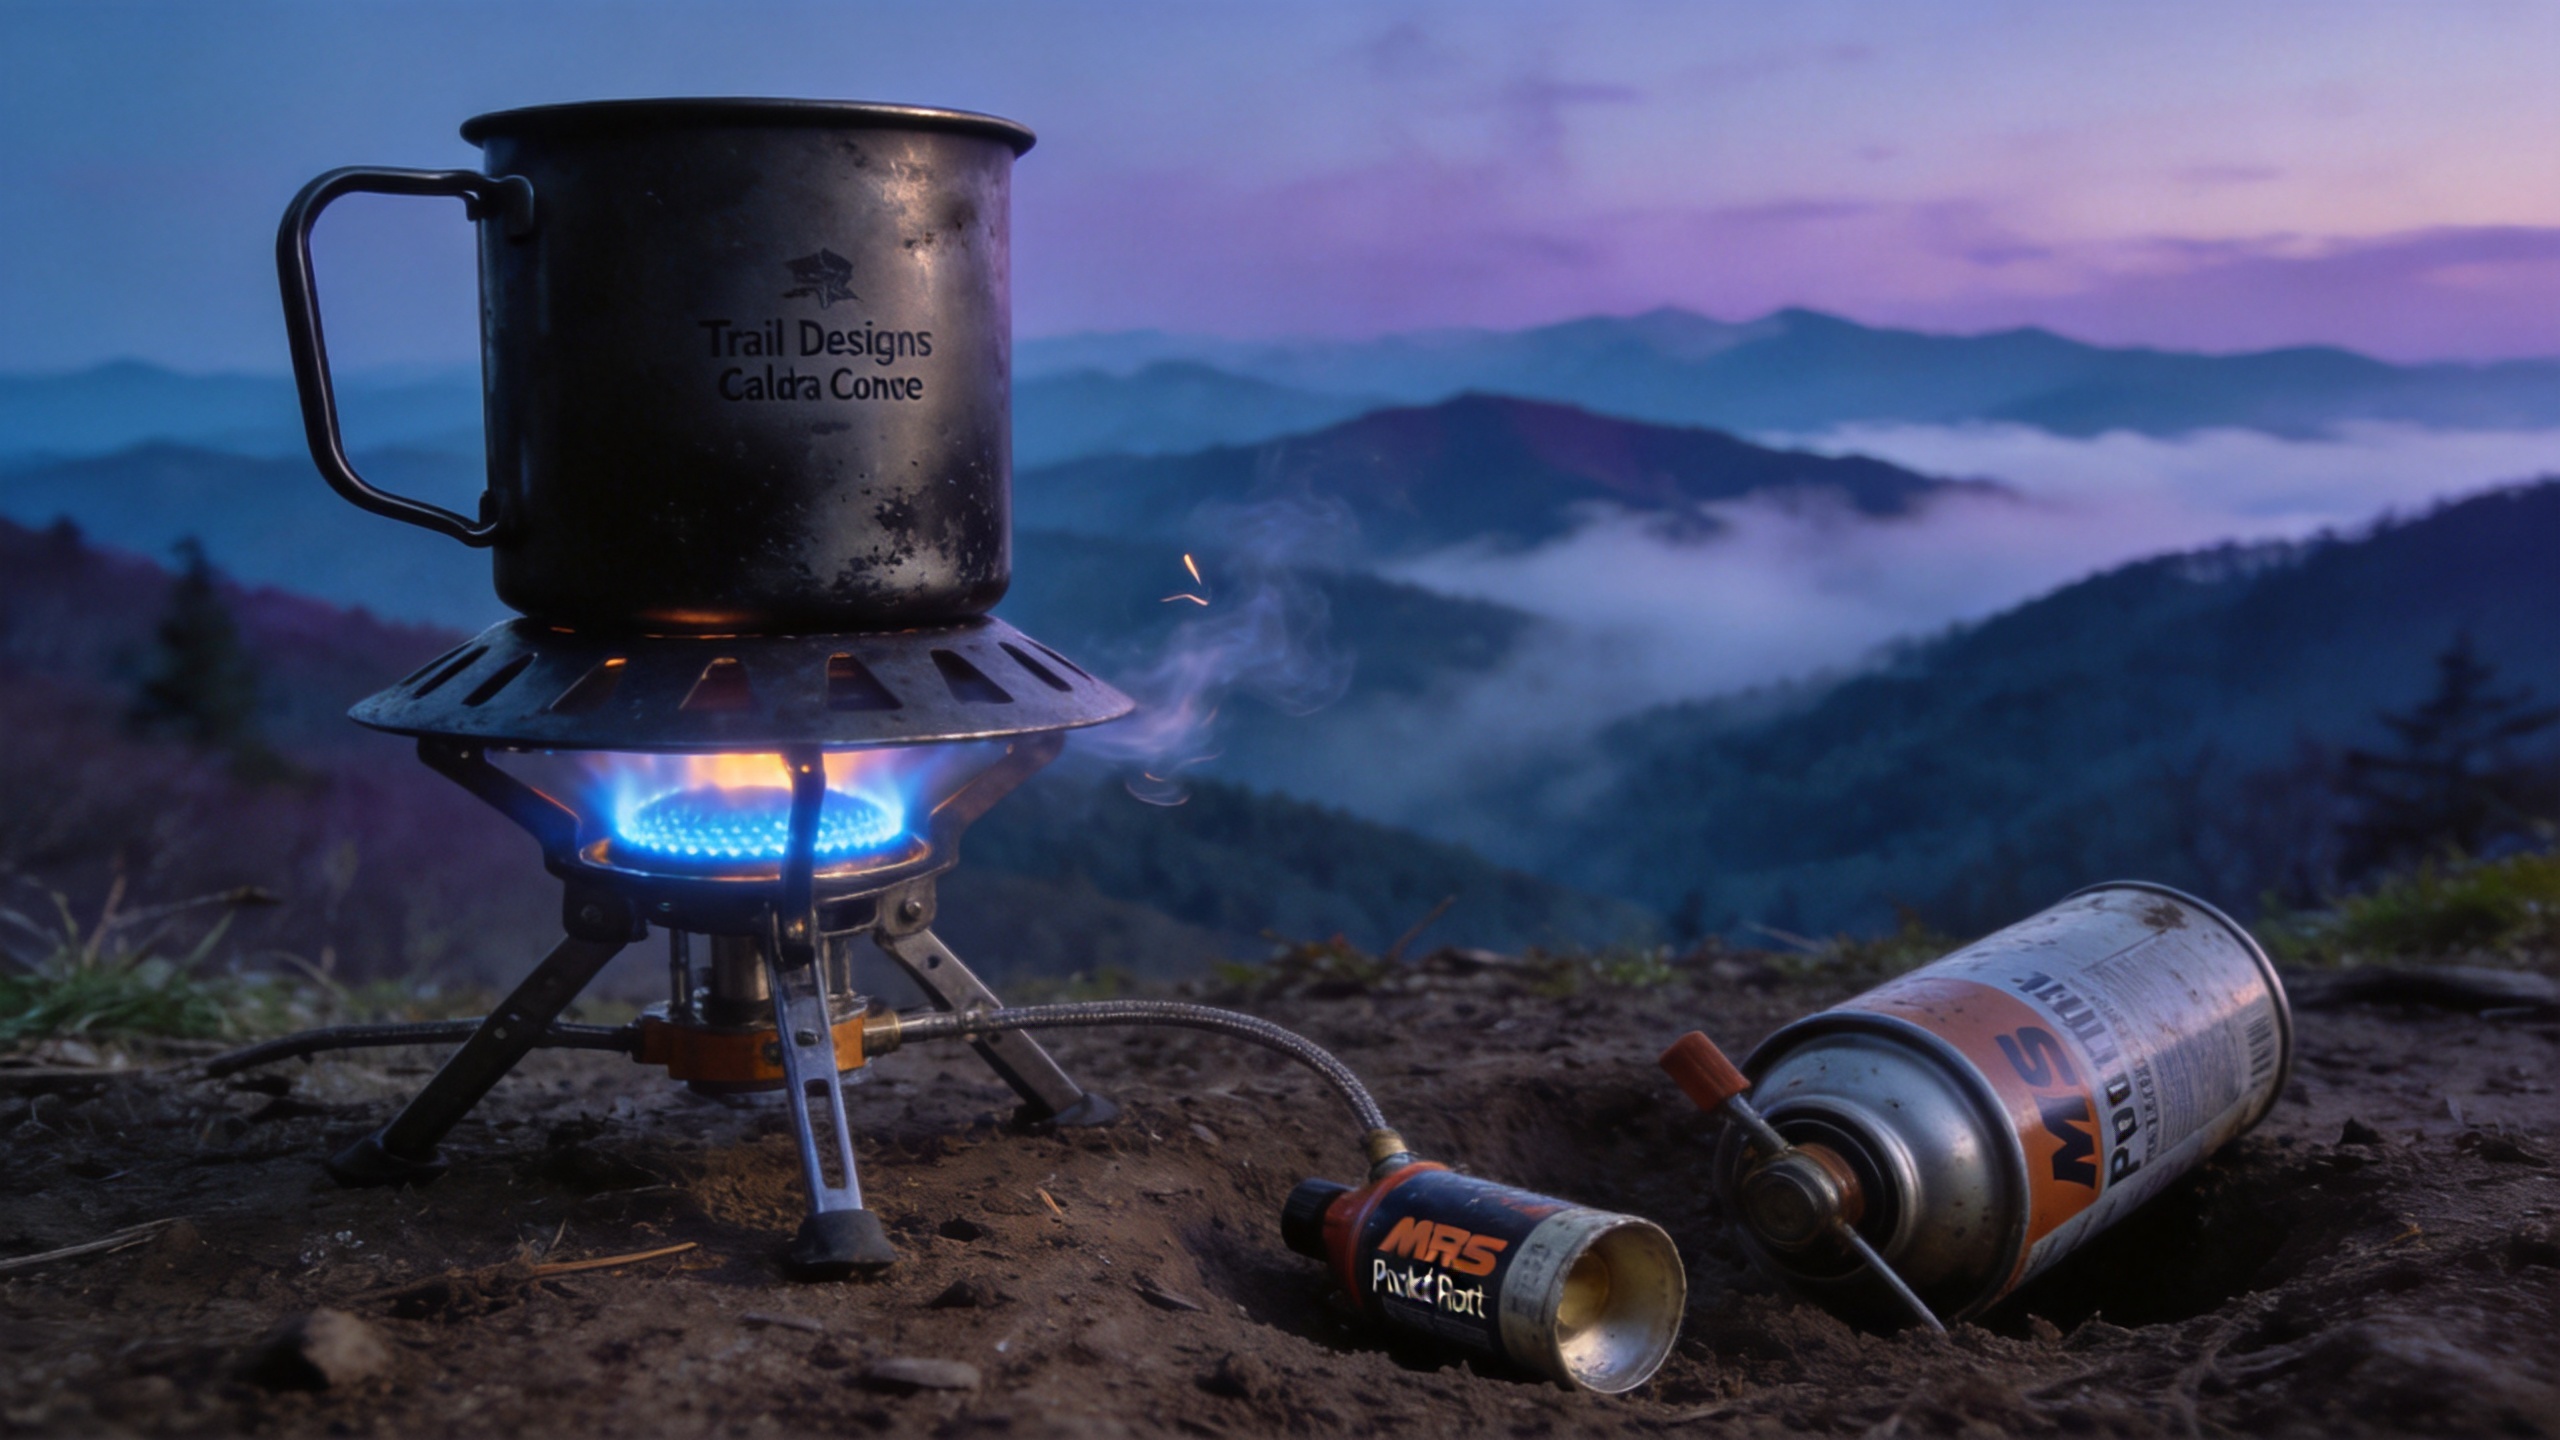
Below 30°F (-1°C), isobutane canisters struggle because the fuel mixture (typically 80% isobutane / 20% propane) vaporizes poorly. The canister pressure drops, and you get a weak, sputtering flame. You can warm the canister in your sleeping bag or use an inverted canister setup (e.g., MSR WindBurner), but that adds complexity and weight. Alcohol stoves are unaffected by cold—alcohol burns readily at -20°F as long as the liquid is liquid. That makes them a favorite for winter camping and high-altitude expeditions where temperatures plummet.
Altitude Considerations
At high altitude (above 10,000 ft), canister stoves also suffer due to lower ambient pressure; the fuel vaporizes more easily, leading to a harder-to-control flame and potential flare-ups. Alcohol stoves work the same at any altitude, though they may require slightly more fuel because of thinner air. For mountaineering, alcohol is simpler and more reliable.
Trail Environments: Long-Distance vs. Weekend Trips
The best stove depends on your typical trip profile. Long-distance hikers (thru-hikers on the PCT, AT, CDT) often prefer alcohol stoves because they can carry fuel in bulk and resupply from any hardware store. The lightweight hardware, simplicity, and repairability outweigh the slower boil times. Weekend warriors or those who hike in wet, cold conditions (Pacific Northwest, winter) lean toward canister stoves for their convenience and speed. If you’re car camping or base camping, weight is irrelevant—choose a canister stove for its instant heat.
- Thru-hikers (3+ months): Alcohol stoves win on weight, availability of fuel, and fewer moving parts to break.
- Weekend backpackers (2–3 nights): Canister stoves win on speed, ease of use in camp, and no mess.
- Winter / high-altitude: Alcohol stoves win on cold-weather reliability.
- International travel: Alcohol is easier to find in remote regions; isobutane canisters are common only in developed countries.
The Decision Matrix: A Practical Tool for Choosing
To make the choice tangible, evaluate each stove type across the key criteria using a 1–5 scale (5 = best). Then sum the weighted scores based on your priorities. The table below shows typical ratings for a generalist backpacker; adjust the weights (importance) to match your own needs.
| Criteria | Weight (1–5 importance) | Alcohol Stove Score | Canister Stove Score |
|---|---|---|---|
| Stove hardware weight | 4 | 5 | 4 |
| Total system weight (3-day trip) | 4 | 3 | 4 |
| Boil time / speed | 3 | 2 | 5 |
| Fuel efficiency (grams per meal) | 3 | 4 | 3 |
| Ease of setup / use | 4 | 2 | 5 |
| Simmering capability | 2 | 1 | 5 |
| Cold weather performance | 3 | 5 | 2 |
| Wind resistance (with screen) | 3 | 3 | 3 |
| Durability / reliability | 4 | 5 | 3 |
| Fuel availability on trail | 3 | 5 | 3 |
| Total weighted score | 117 (example) | 124 (example) |
Note: The weighted scores are calculated as sum of (importance × score). Change the importance weights to reflect your own priorities.
Real-World Case Studies: Two Hiker Profiles
Case 1: The Thru-Hiking Gram Counter
Maria is hiking the Pacific Crest Trail. She carries a 22 g BRS-3000T (canister stove) at first, but after 200 miles the canister valve gets sticky from dust, and she struggles to find replacements in small towns. She switches to a cat-can alcohol stove (12 g) and a 500 ml aluminum pot. She now resupplies denatured alcohol at any hardware store (1 pint lasts 7–8 days). Her total cook system weight drops from 160 g to 130 g. The sacrifice? She must plan for 10-minute boil times and avoid cooking in high wind. For her 2,650-mile journey, the simplicity and weight savings make alcohol the clear winner.
Case 2: The Weekend Family Camper
Tom takes his family on weekends in the Sierra Nevada. They cook for four people—pasta, hot drinks, and rehydrated meals. He uses a Jetboil Flash (canister stove with integrated pot). Boiling 1 liter takes under 3 minutes, and he can simmer soup by adjusting the valve. The canister lasts through a weekend with two adults and two kids. Setup is effortless; his 8-year-old can operate it. The only drawback: on a cold 20°F morning, the flame sputters, but Tom pre-warms the canister in his jacket pocket. For short, social trips, the convenience of a canister stove is unbeatable.
Conclusion
No single stove dominates every scenario. Choose an alcohol stove if you prioritize ultralight hardware, absolute reliability, and the freedom to refuel anywhere—ideal for long-distance hiking, winter camping, and DIY enthusiasts. Choose a canister stove if you value speed, precise control, and instant convenience—perfect for weekend trips, group cooking, and conditions where wind and cold are manageable. Let your trail personality, trip duration, and typical weather dictate the choice, and you’ll never be caught hungry with the wrong gear.