How to Build a Cheap Backpacking Breakfast, Lunch, and Dinner From One Grocery Run 🎒🥣
Introduction
Planning backpacking meals doesn’t have to mean buying expensive freeze-dried food, visiting several stores, or packing a different ingredient for every meal. With a little planning, one grocery run can provide breakfast, lunch, dinner, and snacks for a budget-friendly trip.
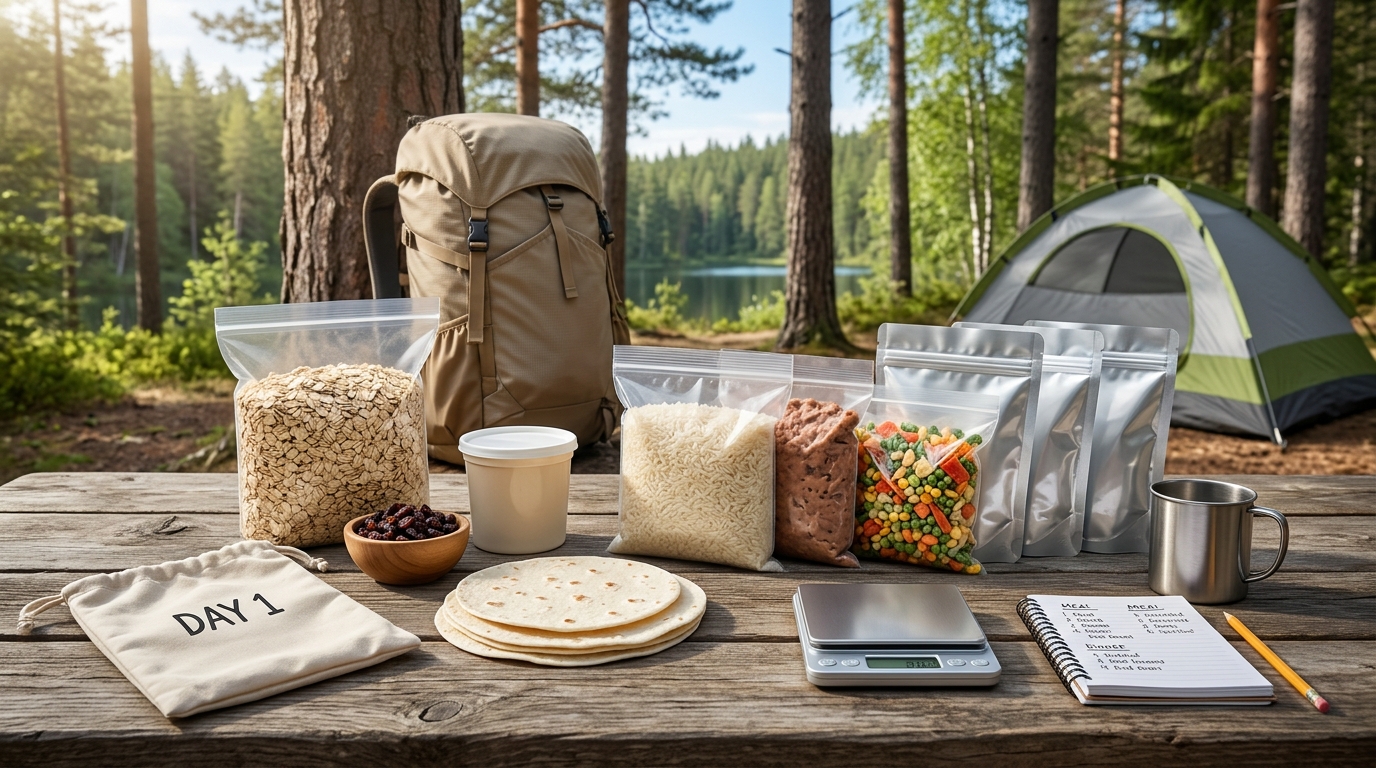
The trick is to choose versatile ingredients that work across multiple meals. Oats can become breakfast or a snack. Tortillas can hold peanut butter for lunch or beans for dinner. Instant rice, seasoning, and dehydrated vegetables can form the base of a quick evening meal.
This guide builds a simple one-person, one-day backpacking menu from a short grocery list, with an example cost breakdown, estimated food weight, and practical ways to use leftovers. Prices are illustrative rather than current store quotes, so you can substitute your local prices and brands.
1. 🛒 Start With a Short, Flexible Shopping List
Instead of shopping for separate recipes, choose ingredients that can be combined in different ways.
For this example, the menu uses shelf-stable foods that require little preparation and can be packed in measured portions.
Example shopping list for one person, one day
| Ingredient | Amount packed | Main uses |
|---|---|---|
| Rolled oats | 80 g | Breakfast |
| Powdered milk | 25 g | Breakfast and drinks |
| Raisins | 30 g | Breakfast and snacks |
| Peanut butter | 40 g | Breakfast or lunch |
| Tortillas | 100 g | Lunch and dinner |
| Instant rice | 100 g dry | Dinner |
| Instant refried beans | 50 g dry | Dinner |
| Dehydrated vegetables | 15 g | Dinner |
| Seasoning or bouillon | 5 g | Dinner |
| Total food weight | 445 g | All listed meals |
This is a compact starting menu, not a universal daily food target. Whether it provides enough energy depends on the actual products, your appetite, hiking intensity, weather, and trip conditions. You may need more food, additional snacks, or a different balance of ingredients.
Also, the 445-gram total covers only the listed food. It excludes packaging, cooking fuel, water, and any additional snacks or emergency food.
2. 🌅 Breakfast: Oats With Peanut Butter and Raisins
A warm bowl of oatmeal is an inexpensive way to start the day, and it uses ingredients that are easy to portion at home.
Ingredients
- 80 g rolled oats
- 25 g powdered milk
- 20 g raisins
- 20 g peanut butter
- Water as needed
Preparation
- Add the oats and water to your pot.
- Cook according to the oats’ package directions.
- Stir in the powdered milk and raisins.
- Add the peanut butter and mix until creamy.
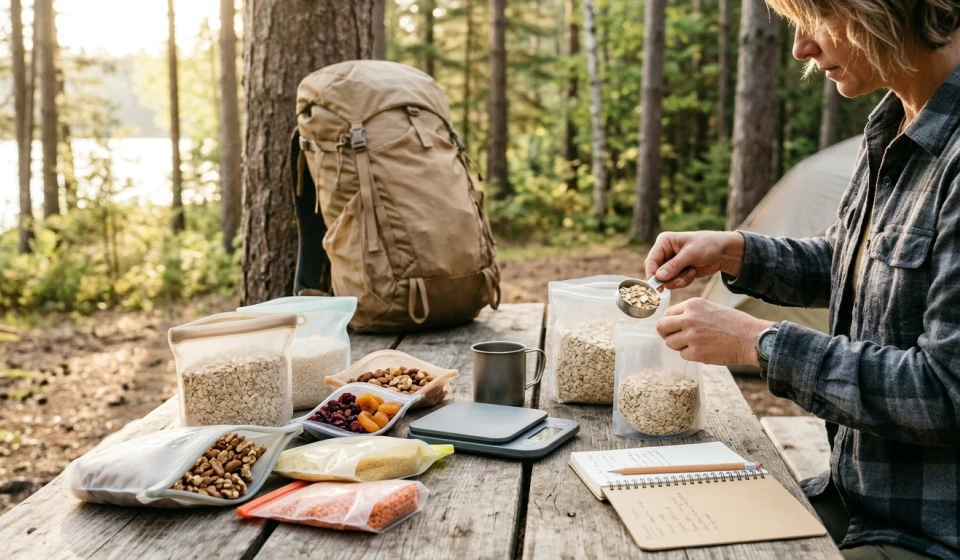
You can combine the dry oats, milk powder, and raisins at home in one labeled bag. Carry the peanut butter in a leak-resistant container or use a single portion from a larger jar.
Why it works: Oats provide carbohydrates and fiber, while peanut butter adds fat and energy. Powdered milk contributes protein and makes the meal creamier.
For a no-cook alternative, use an overnight-oats method only when you can safely manage the water, preparation, and storage conditions. Do not leave prepared food unrefrigerated for extended periods.
3. ☀️ Lunch: Peanut Butter and Raisin Tortilla
Lunch should be easy to prepare without stopping for a long cooking session. A tortilla with peanut butter is simple, compact, and requires no stove.
Ingredients
- 1 tortilla, approximately 50 g
- 20 g peanut butter
- 10 g raisins
Preparation
- Spread peanut butter over the tortilla.
- Sprinkle the raisins on top.
- Fold or roll the tortilla and pack it for lunch.
This lunch reuses the peanut butter and raisins from breakfast, which reduces the number of separate ingredients you need to carry.
If you prefer savory food, replace this combination with a tortilla filled with instant refried beans. Just remember that using the beans at lunch means reducing the amount available for dinner or buying a little extra.
Practical tip: Tortillas can become compressed or torn in a packed bag. Keep them in their original packaging or a protective food bag until you’re ready to eat.
4. 🌙 Dinner: Instant Rice and Refried Bean Bowl
Dinner should be satisfying, easy to portion, and practical after a long hiking day. Instant rice and refried beans create a flexible base that can be seasoned in several ways.
Ingredients
- 100 g dry instant rice
- 50 g instant refried beans
- 15 g dehydrated vegetables
- 5 g seasoning or bouillon
- 1 tortilla, approximately 50 g
- Water according to the product directions
Preparation
- Heat the water required by the rice, beans, and vegetables.
- Prepare the ingredients according to their package directions. If possible, combine compatible ingredients in one pot to reduce cleanup.
- Stir in the seasoning and adjust the texture with water as needed.
- Eat the rice-and-bean mixture with the tortilla.
Cooking times and water requirements vary by product, so follow the package directions rather than assuming every ingredient can be prepared identically.
Why it works: Rice supplies carbohydrates, while beans contribute protein and fiber. Dehydrated vegetables add variety without requiring fresh produce that may bruise or spoil.
If the mixture is too large for one meal, portion the ingredients before leaving home. Avoid preparing more food than you can safely eat under the conditions of your trip.
5. 💵 Example Grocery Cost Breakdown
The table below shows how to estimate the cost of the food actually packed. These are hypothetical example prices in US dollars, not verified current prices or a guarantee of savings.
| Ingredient | Example package price | Package size | Amount used | Estimated cost used |
|---|---|---|---|---|
| Rolled oats | $3.00 | 1,000 g | 80 g | $0.24 |
| Powdered milk | $6.00 | 500 g | 25 g | $0.30 |
| Raisins | $4.00 | 500 g | 30 g | $0.24 |
| Peanut butter | $3.00 | 500 g | 40 g | $0.24 |
| Tortillas | $3.00 | 400 g | 100 g | $0.75 |
| Instant rice | $4.00 | 500 g | 100 g | $0.80 |
| Instant refried beans | $3.00 | 300 g | 50 g | $0.50 |
| Dehydrated vegetables | $4.00 | 100 g | 15 g | $0.60 |
| Seasoning or bouillon | $2.00 | 100 g | 5 g | $0.10 |
| Total | 445 g | $3.77 |
The estimated cost of the listed ingredients used is $3.77 for the day under these example assumptions. Your real total may be higher or lower depending on store, brand, package size, local taxes, and portion sizes.
This is not necessarily the amount you pay at checkout. You may need to purchase full packages, which means your first grocery bill will be higher. The unused ingredients remain available for future meals if you store them properly.
To calculate your own costs, use this formula:
Cost of portion = Package price × (Amount used ÷ Package size)
For example, if a 1,000-gram bag of oats costs $3.00 and you use 80 grams:
$3.00 × (80 ÷ 1,000) = $0.24 of oats
Use the same calculation for every ingredient, then add the results. This gives you a more useful estimate than dividing the entire grocery receipt by one day’s meals.
6. ⚖️ Total Food Weight and Daily Planning
The listed menu weighs approximately 445 grams of food before packaging.
| Meal | Estimated food weight |
|---|---|
| Breakfast | 145 g |
| Lunch | 80 g |
| Dinner | 220 g |
| Daily total | 445 g |
These weights are ingredient weights, not calorie totals. The exact calories depend on the specific products and their nutrition labels.
A lightweight menu is useful, but don’t choose portions based on weight alone. Backpacking can require substantially more energy than an ordinary day, especially during long climbs, cold weather, or strenuous activity. Add snacks and increase meal portions as needed.
For a multi-day trip, multiply the ingredient quantities by the number of days, then review the plan for variety, adequate energy, and any dietary needs. You may also want to bring a small reserve of food in case your trip takes longer than expected.
7. ♻️ Use Leftovers Without Creating Waste
One grocery run becomes more economical when you plan how to use the remaining ingredients at home.
- Oats: Use leftover oats for overnight oats, porridge, or homemade snack bars.
- Powdered milk: Add it to coffee, soups, or future breakfasts according to the package directions.
- Peanut butter: Use it in sandwiches, oatmeal, or simple snacks.
- Rice and beans: Combine the remaining portions for quick lunches or dinners.
- Dried fruit: Add it to breakfast bowls, trail mix, or snacks.
- Dehydrated vegetables and seasoning: Keep them ready for future soups, rice dishes, and camping meals.
Store unused ingredients according to their labels, protecting them from moisture, heat, pests, and contamination. For longer-term storage, check whether the product needs refrigeration after opening.
For your next trip, keep a simple record of what you packed, what you ate, and what you brought home. That helps you adjust portion sizes and avoid repeatedly buying ingredients you don’t use.
Final Thoughts 🌲
A budget-friendly backpacking menu doesn’t require a complicated recipe collection or expensive specialty meals. Start with a short grocery list, reuse ingredients across breakfast, lunch, and dinner, and calculate costs using the quantities you actually pack.
The example menu provides a practical starting point, with an estimated ingredient cost of $3.77 and a food weight of 445 grams under the stated assumptions. Those figures are examples, not promises of what every hiker will spend or need.
The best strategy is to plan before shopping, portion before packing, and review what you actually eat after the trip. That way, each grocery run becomes easier, your food budget becomes more predictable, and less food goes to waste. 🎒