The Best Backpacking Foods to Buy in Bulk Without Wasting Money 🎒💰
Introduction
Backpacking food can become surprisingly expensive, especially when every meal comes in an individually packaged pouch or a specialty outdoor-food bag. Buying ingredients in bulk can help reduce costs, simplify meal planning, and give you more control over the calories and weight you carry.
But bulk buying is not automatically cheaper. A large bag of nuts that goes stale before you finish it, a container of oats you never use, or a bargain-sized package of food you dislike can waste more money than it saves.
The smartest approach is to buy ingredients you actually eat, compare prices by weight, portion them according to your trips, and store them properly.
Whether you’re planning a weekend hike or a five-day backpacking trip, this guide explains which foods are worth buying in bulk, how to avoid waste, and how to calculate the real cost of each trail serving.
1. 🥣 Bulk Oats: An Affordable Breakfast Staple
Oats are one of the most practical foods to buy in bulk. They are inexpensive in many grocery stores, easy to portion, and useful for more than breakfast.
Rolled oats work well for overnight oats, hot oatmeal, and homemade trail mixes. Instant oats are convenient when you want a quicker meal, although flavored individual packets may cost more per serving.
Best uses on the trail:
- Breakfast with powdered milk, nuts, and dried fruit.
- Overnight oats prepared with water and suitable add-ins.
- Homemade oatmeal mixes with cinnamon and sugar.
- Oat-based snack bars prepared at home.
How to save: Compare the price per 100 grams rather than the price of the package. Plain oats are often more economical than individually packaged flavored varieties.
For example, if a 1-kilogram bag costs $3.00, the oats cost $0.30 per 100 grams. A 60-gram serving costs just $0.18 before adding other ingredients.
Storage tip: Keep unused oats in a sealed, dry container away from heat, moisture, and pests. For backpacking, pack only the amount you need for each meal.
2. 🍚 Rice: Cheap Calories for the Trail
Rice is a familiar, affordable staple that can form the base of many backpacking dinners.
However, not all rice is equally practical outdoors. Ordinary white rice generally takes longer to cook than instant rice, while precooked or instant rice can reduce cooking time and fuel use.
That distinction matters on trips where fuel efficiency and short cooking times are priorities.
Best uses on the trail:
- Rice with dehydrated vegetables and seasoning.
- Instant rice with beans or lentils.
- Rice bowls with shelf-stable sauce mixes.
- Savory breakfasts with suitable dried ingredients.
How to save: Compare the cost of the dry product by weight, but also consider cooking time and fuel consumption. A cheaper rice variety may not be the most economical choice if it requires substantially more fuel.
For example, if a 2-kilogram bag costs $4.00, the dry rice costs $2.00 per kilogram. A 75-gram dry portion costs $0.15 before adding other ingredients.
Storage tip: Keep dry rice sealed against moisture and pests. Do not assume ordinary cooked rice is safe to leave at room temperature for extended periods. Cool and store prepared rice promptly when at home, and follow safe food-handling practices.
3. 🥜 Nuts and Seeds: Calorie-Dense Trail Fuel
Nuts and seeds are useful when you want a compact snack that supplies substantial energy without much preparation.
Almonds, peanuts, walnuts, sunflower seeds, pumpkin seeds, and mixed nuts can all fit into a backpacking food plan.
Their main advantage is energy density. Nuts contain considerable fat, which provides approximately 9 calories per gram, compared with approximately 4 calories per gram for carbohydrates and protein.
This makes nuts especially useful when pack weight matters.
Best uses on the trail:
- Snacks during hiking breaks.
- Add-ins for oatmeal.
- Trail mix with dried fruit.
- Crushed nuts added to couscous or other savory meals.
How to save: Compare plain bulk nuts with small snack packets. Buying a large bag may reduce the price per serving, but only if you can use it before the quality declines.
Storage tip: Nuts contain fats that can become rancid over time. Store unopened supplies according to the package instructions, keep them away from heat and light, and refrigerate or freeze longer-term supplies when appropriate. Portion only what you need for the trip.
Remember that nuts are calorie-dense, but they are not a complete backpacking meal by themselves. Pair them with carbohydrates and other foods to build a more varied menu.
4. 🍇 Dried Fruit: Sweetness Without Refrigeration
Dried fruit is convenient for hiking because much of its water has been removed, making it lighter and more compact than fresh fruit.
Raisins, dried cranberries, dried apricots, dates, and dried apples can add sweetness, carbohydrates, and variety to trail meals.
Best uses on the trail:
- Mixing into oats or granola.
- Adding to trail mix.
- Eating as a quick snack.
- Combining with nuts for a convenient hiking snack.
How to save: Compare the cost per 100 grams and check whether the product contains added sugar or oil if those ingredients matter to you. Store-brand raisins or dried fruit bought in larger packages may be cheaper than individually packaged trail snacks.
For example, if a 500-gram package costs $5.00, the cost is $1.00 per 100 grams. A 30-gram portion costs $0.30.
Storage tip: Keep dried fruit sealed and protected from moisture. Some varieties are sticky and can clump together, so small reusable food-safe bags or containers may make portioning easier.
Dried fruit is convenient, but it can be expensive compared with other carbohydrate sources. Buy the varieties you genuinely enjoy rather than stocking up just because they look useful for hiking.
5. 🫘 Beans, Lentils, and Other Affordable Meal Bases
Dried beans and lentils can be inexpensive sources of protein, carbohydrates, and fiber. They are especially useful for home meal preparation and some backpacking menus.
However, traditional dried beans require soaking and substantial cooking time. They are often less convenient for trips where water and fuel are limited.
For trail meals, consider:
- Instant refried beans.
- Dehydrated cooked beans.
- Quick-cooking red lentils, where cooking time is practical.
- Shelf-stable or dehydrated bean-based meal ingredients.
How to save: Compare the price of the dry ingredient with the cost of ready-to-eat or dehydrated alternatives. The cheapest option at home may not be the most practical on a trail.
For example, instant refried beans can be combined with tortillas, cheese powder, or seasonings for a quick meal. Dehydrated beans can be added to instant rice or couscous.
Storage tip: Keep dry legumes sealed and dry. If you prepare or dehydrate food at home, use a reliable food-safety method and ensure the food is thoroughly dried and stored appropriately.
6. 🍝 Other Bulk Foods Worth Considering
Oats, rice, nuts, and dried fruit are excellent starting points, but other ingredients can help make your menu more varied.
- Couscous: Often cooks quickly with hot water, making it convenient when fuel use matters.
- Instant mashed potatoes: Lightweight, easy to portion, and useful for quick dinners.
- Pasta: A familiar meal base, although cooking time varies by shape and type.
- Powdered milk: Useful for oatmeal, coffee, and creamy sauces when stored according to package directions.
- Peanut butter: Calorie-dense and versatile, although its weight and packaging should be considered.
- Crackers and tortillas: Convenient carbohydrate sources that require no cooking.
- Seasonings and bouillon: Small amounts can improve flavor without adding much weight.
- Dehydrated vegetables: Useful for adding variety to soups, rice dishes, and noodle meals.
The best ingredients are those that fit your cooking method, dietary needs, taste preferences, and trip length.
For a short trip, buying a small package may be more sensible than purchasing a bulk quantity you will struggle to use later.
7. 💰 How to Calculate the Real Cost Per Trail Serving
The most reliable way to compare backpacking foods is to calculate the cost of the amount you actually eat, not simply the price of the package.
Use this formula:
Cost per serving = Package price ÷ Number of servings in the package
For example, suppose a 1-kilogram bag of oats costs $3.00 and you use 60 grams per breakfast.
- Total package weight: 1,000 grams
- Serving size: 60 grams
- Number of servings: 1,000 ÷ 60 = approximately 16.7
- Cost per serving: $3.00 ÷ 16.7 = approximately $0.18
You can use the same method for rice, nuts, dried fruit, and other ingredients.
Here’s a hypothetical comparison using example prices, not current market quotes.
| Ingredient | Package price | Package size | Portion | Cost per portion |
|---|---|---|---|---|
| Rolled oats | $3.00 | 1,000 g | 60 g | $0.18 |
| White rice | $4.00 | 2,000 g | 75 g | $0.15 |
| Mixed nuts | $8.00 | 500 g | 40 g | $0.64 |
| Raisins | $5.00 | 500 g | 30 g | $0.30 |
| Couscous | $4.00 | 500 g | 75 g | $0.60 |
These are ingredient costs only. They do not include other meal ingredients, packaging, fuel, shipping, or food that goes unused.
To calculate the cost of a complete meal, add the costs of all ingredients used in that meal.
For example, an oatmeal breakfast containing oats, raisins, nuts, and powdered milk costs more than the oats alone. Calculate each ingredient separately, then add the amounts together.
Don’t forget calories and weight
Cost is only one part of backpacking food planning. You also need enough energy for your trip without carrying unnecessary weight.
Compare:
- Cost per serving.
- Calories per serving.
- Calories per gram.
- Protein and fiber, where relevant.
- Cooking time and fuel requirements.
- Water needed for preparation.
A slightly more expensive food may be worthwhile if it provides more calories per gram, requires less fuel, or is easier to prepare after a long hiking day.
8. 📦 Portion Bulk Foods Before Your Trip
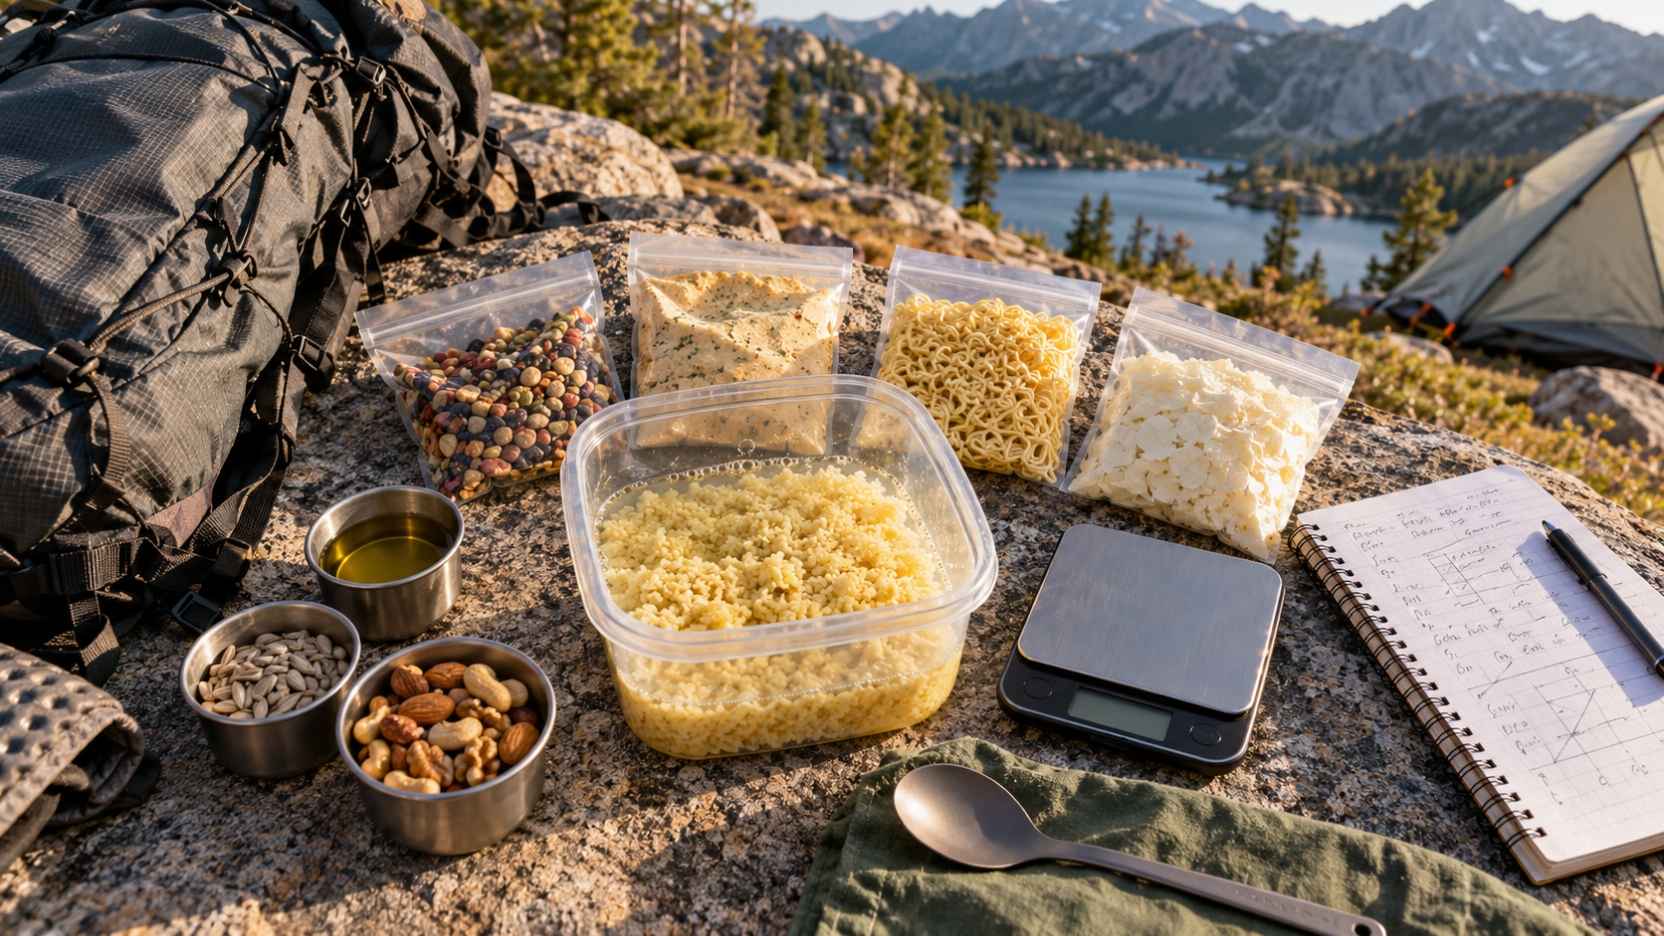
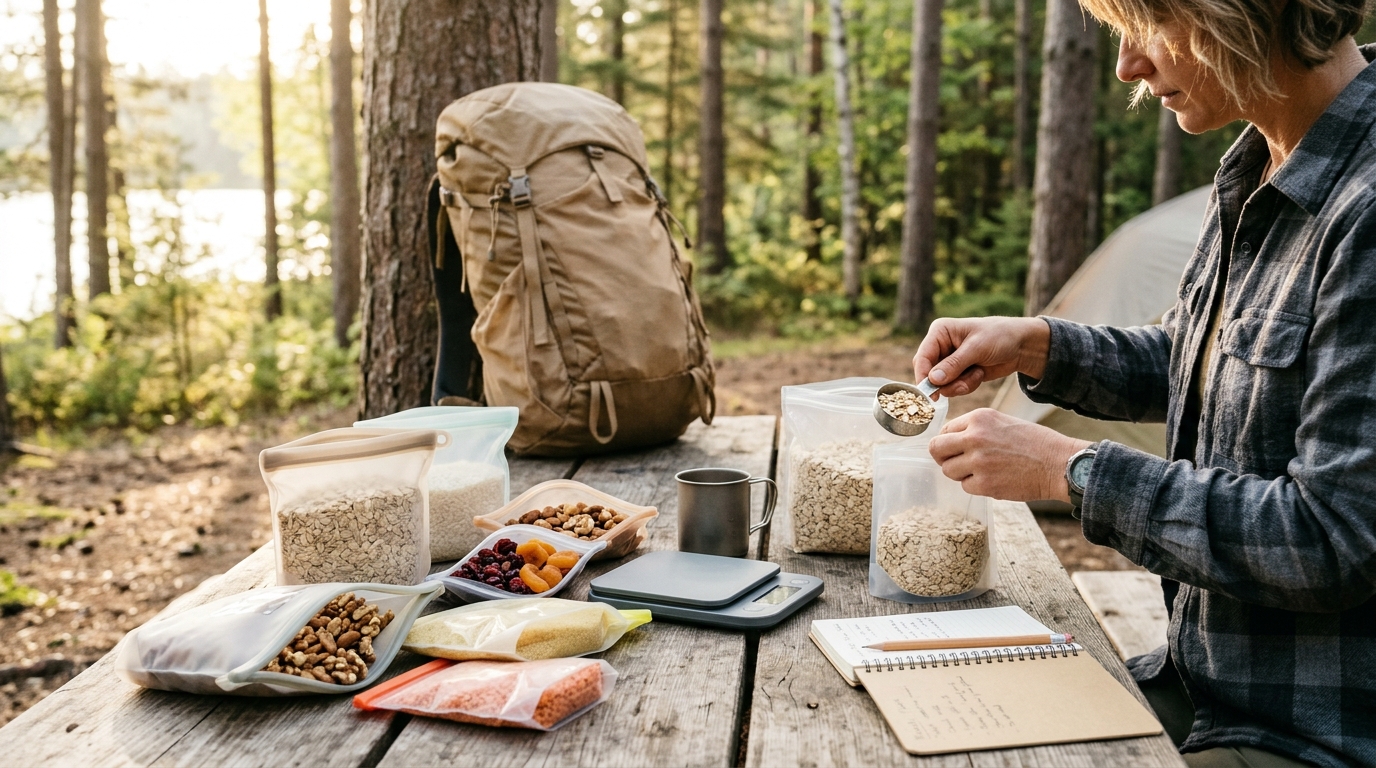
Buying in bulk saves money only when you can use what you purchase. Portioning ingredients at home helps prevent waste and makes daily food planning easier.
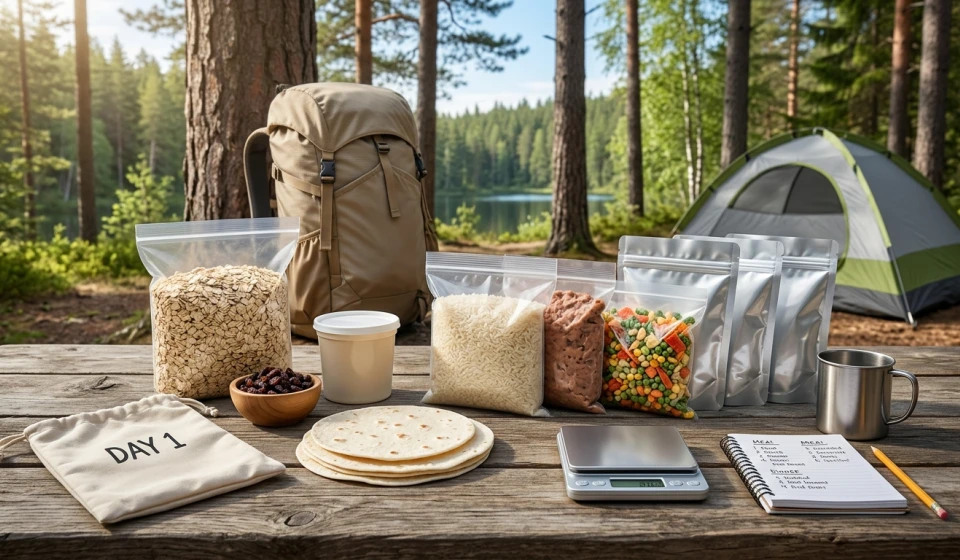
Start by writing down your meals and snacks for each day. Decide how much of each ingredient you need, then weigh and package those portions.
For example, a five-day trip might require:
- Five breakfast portions of oats.
- Five snack portions of nuts.
- Five portions of dried fruit.
- Five measured servings of rice or another dinner base.
Adjust the quantities to your appetite, activity level, expected conditions, and the rest of your menu.
Use food-safe bags or lightweight reusable containers. Label each portion with the meal or day, particularly if you are packing several ingredients that look similar.
For multiday trips, protect food from moisture and leaks. Keep packaging practical, but do not remove labels or essential preparation instructions when they are needed.
Important: Do not plan your food supply around an arbitrary minimum weight. Your calorie needs depend on your body, activity, terrain, weather, and trip duration. Carry enough food, plus a reasonable reserve for unexpected delays.
9. 🧺 Store Bulk Ingredients Properly to Avoid Waste
Bulk buying can backfire if food loses quality before you use it.
Different ingredients have different storage needs, so follow the package instructions and consider how long you intend to keep each item.
- Oats and rice: Store in sealed containers in a cool, dry place protected from pests.
- Nuts and seeds: Protect them from heat, light, and air. Refrigeration or freezing can help preserve quality during longer storage.
- Dried fruit: Keep it sealed and dry to reduce moisture exposure.
- Powdered milk: Protect it from moisture and follow the manufacturer’s storage guidance after opening.
- Cooking oils and nut butters: Check storage instructions and watch for changes in smell, appearance, or quality.
Buying a large quantity makes the most sense when you regularly use that ingredient. Otherwise, a smaller package may be the better financial decision.
For food prepared at home, especially homemade dehydrated meals, use a reliable food-safety process rather than assuming that food is safe simply because it looks dry.
10. 🧮 How to Tell Whether Bulk Buying Actually Saves Money
Before buying a large package, compare its unit price with the smaller package you normally purchase.
For example, a 1-kilogram bag priced at $3.00 costs $0.30 per 100 grams. A 300-gram package priced at $1.20 costs $0.40 per 100 grams.
The larger package is cheaper per gram. But if you only need 300 grams and the remaining 700 grams goes unused, the savings disappear.
A practical approach is to ask three questions:
- Will I use the ingredient regularly?
- Can I store the unused portion safely?
- Is the bulk price meaningfully lower after accounting for waste?
Also compare bulk ingredients with ready-made backpacking meals. Commercial meals often cost more per serving, but they may save preparation time and simplify cooking. Whether the difference is worthwhile depends on your budget and priorities.
Final Thoughts 🌲
Buying backpacking food in bulk can reduce meal costs, simplify packing, and give you more flexibility when planning trail menus. Oats, rice, nuts, dried fruit, couscous, and other shelf-stable ingredients are useful starting points because they can be portioned and combined in many ways.
The key is to compare unit prices, calculate the cost of each serving, store ingredients correctly, and buy quantities you can realistically use.
Don’t focus on the cheapest package alone. Consider calories, weight, preparation time, fuel, taste, and food safety alongside price.
The best backpacking food budget is one that saves money without leaving you short on energy or carrying food you never eat. Plan your meals first, buy strategically, and let your actual trail experience guide your next shopping list. 🎒