How to Build a Gluten-Free 3-Day Backpacking Meal Plan 🌾🥾
Introduction
A three-day backpacking trip is long enough for food planning to become important, but short enough that you can keep the menu surprisingly simple.
The challenge is that a gluten-free trail menu needs to do several things at once. It needs to provide enough food for your individual energy needs, fit inside your pack, work without refrigeration when necessary, and avoid ingredients or cross-contact that may be a problem for someone who needs to avoid gluten.
The easiest way to approach it is not to search for three completely different days of recipes.
Instead, build your menu from a small collection of verified gluten-free staples, then combine them into breakfasts, lunches, dinners, and snacks.
This gives you variety without turning your food bag into a complicated grocery store. 🎒
1. Start With Your Trip Conditions 🏕️
Before choosing food, write down:
- Trip length: 3 days
- Number of people
- Expected hiking hours
- Terrain and elevation
- Weather
- Water availability
- Cooking equipment
- Food storage conditions
- Whether you can resupply
Your energy needs are individual. A backpacker doing short, easy walks will not necessarily need the same amount of food as someone hiking long distances with significant elevation gain.
So don’t copy a fixed calorie number simply because it appears in a sample menu.
Instead, use the menu below as a structure and adjust portions based on your normal intake, previous trips, and the nutrition information on your actual products.
2. Create Four Food Categories
For each day, plan:
☀️ Breakfast
Something quick, warm, and filling.
🥙 Lunch
Something that can be eaten with minimal preparation.
🥜 Snacks
Small foods that can be eaten throughout the day.
🌙 Dinner
A more substantial meal that can be cooked at camp.
This simple structure makes it much easier to calculate how much food you actually need.
3. Choose Gluten-Free Staples First 🌾
Many useful backpacking foods are naturally gluten-free.
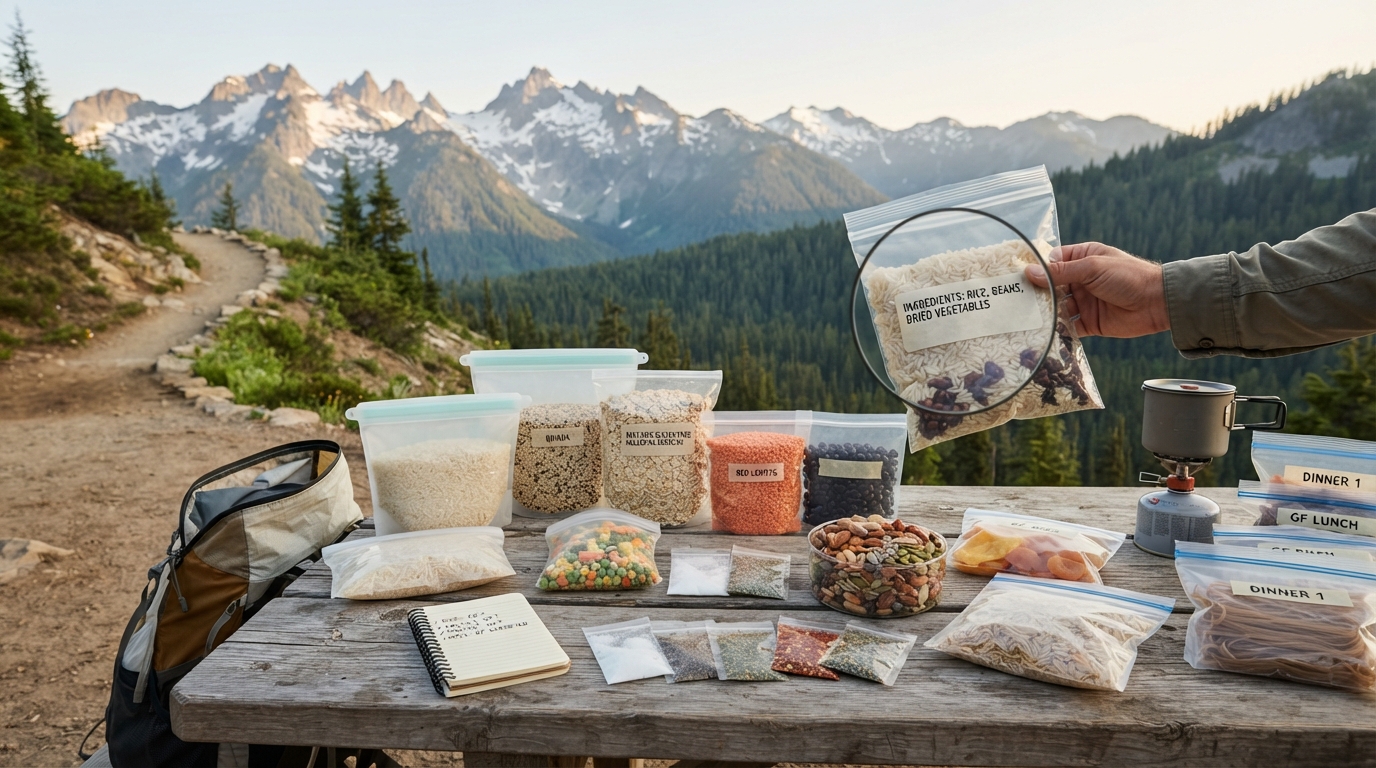
Examples include:
- Rice
- Potatoes
- Quinoa
- Buckwheat
- Corn
- Beans
- Lentils
- Nuts
- Seeds
- Dried fruits
- Dehydrated vegetables
However, the packaged version still needs to be checked.
For example, plain rice may be naturally gluten-free, but a flavored rice product could contain other ingredients that need verification.
The same applies to:
- Seasoning mixes
- Instant meals
- Sauces
- Protein bars
- Granola
- Oats
- Noodles
- Trail mixes
If you need strict gluten avoidance, don’t rely only on whether the main ingredient is naturally gluten-free.
Check the actual product label and relevant manufacturer information.
4. Plan Three Different Breakfasts 🥣
You don’t need complicated breakfasts.
Day 1: Peanut Butter Oatmeal
Use:
- Certified gluten-free oats
- Peanut butter
- Chia seeds
- Dried banana
- Cinnamon
Add hot water and let the oats soften.
For extra calories, increase the peanut butter or add nuts.
For additional protein, consider a verified gluten-free plant protein powder if it fits your diet.
Day 2: Quinoa Breakfast Bowl
Use:
- Quick-cooking or instant quinoa
- Dried fruit
- Pumpkin seeds
- Peanut butter
- Cinnamon
The exact cooking method depends on the quinoa product.
Pre-cooked dehydrated grains can be particularly convenient for backpacking because they reduce cooking time and fuel use.
Day 3: Gluten-Free Granola Bowl
Use:
- Verified gluten-free granola
- Certified gluten-free oats if included
- Dried berries
- Nuts
- Seeds
- Shelf-stable plant milk powder, if available and suitable
This can be a no-cook breakfast if your ingredients are ready to eat.
That’s useful when you want to pack up quickly in the morning.
5. Keep Lunch Simple 🥙
Lunch doesn’t need to be a second dinner.
A backpacking lunch should ideally be easy to assemble and eat.
Day 1: Nut Butter Wrap
Use a verified gluten-free tortilla or wrap with:
- Peanut or almond butter
- Dried banana
- Dried berries
- Chia seeds
If gluten-free tortillas aren’t practical for your trip, use another shelf-stable carbohydrate source such as gluten-free crackers or rice cakes, depending on how they pack.
Day 2: Chickpea Snack Box
Pack:
- Roasted chickpeas
- Nuts
- Dried fruit
- Gluten-free crackers
- Seeds
Everything can be portioned into a reusable or disposable meal bag before the trip.
Day 3: Rice and Bean Bowl
Use:
- Instant rice
- Dehydrated beans
- Dehydrated vegetables
- Gluten-free seasoning
- Olive oil
If you’re carrying a stove, this can be prepared with hot water.
If the specific rice or seasoning product isn’t clearly suitable for your gluten-free needs, choose a verified alternative.
6. Make Dinner the Main Event 🍲
Dinner is a good place to use hot, rehydrated meals.
Day 1: Mexican-Inspired Rice and Beans
Combine:
- Instant rice
- Dehydrated black beans
- Dehydrated corn
- Dehydrated peppers
- Gluten-free chili seasoning
- Olive oil
Add the required amount of hot water according to your ingredients.
The olive oil adds energy without adding much weight.
Day 2: Coconut Lentil Curry
Combine:
- Instant rice
- Dehydrated lentils
- Dehydrated vegetables
- Coconut milk powder
- Curry spices
- Gluten-free seasoning
This creates a completely different flavor profile from the first night’s meal without requiring a completely different food system.
Day 3: Potato and Bean Bowl
Combine:
- Instant mashed potatoes
- Dehydrated beans
- Dehydrated vegetables
- Nutritional yeast
- Olive oil
- Herbs or gluten-free seasoning
Instant potatoes are especially convenient when you want a meal that only needs hot water.
Again, verify the specific packaged ingredients rather than assuming every flavored potato product is gluten-free.
7. Build a Snack System 🎒
Don’t underestimate snacks.
Instead of eating only three large meals, divide some of your daily food into smaller portions.
Good possibilities include:
- Nuts
- Seeds
- Dried fruit
- Roasted chickpeas
- Nut butter packets
- Gluten-free energy bars
- Gluten-free crackers
- Dried banana
- Rice cakes
- Dark chocolate, if suitable for your dietary requirements
Check the packaging of processed snacks carefully.
A product that looks simple may contain flavorings, coatings, oats, malt ingredients, or other components that require verification.
8. Example 3-Day Meal Plan
Here’s the complete structure in one place.
| Day | Breakfast | Lunch | Dinner |
|---|---|---|---|
| Day 1 | Peanut butter oatmeal | Nut butter wrap | Rice & black beans |
| Day 2 | Quinoa breakfast bowl | Chickpea snack box | Coconut lentil curry |
| Day 3 | Gluten-free granola bowl | Rice & bean bowl | Potato & bean bowl |
Daily snacks
Use a combination of:
Nuts + seeds + dried fruit + verified gluten-free snack
The exact amount depends on your personal energy needs.
9. Calculate Calories Using Your Actual Products 🔢
This is where your meal plan becomes personal.
Don’t assume that every serving of oats, nuts, or granola contains the same amount of energy.
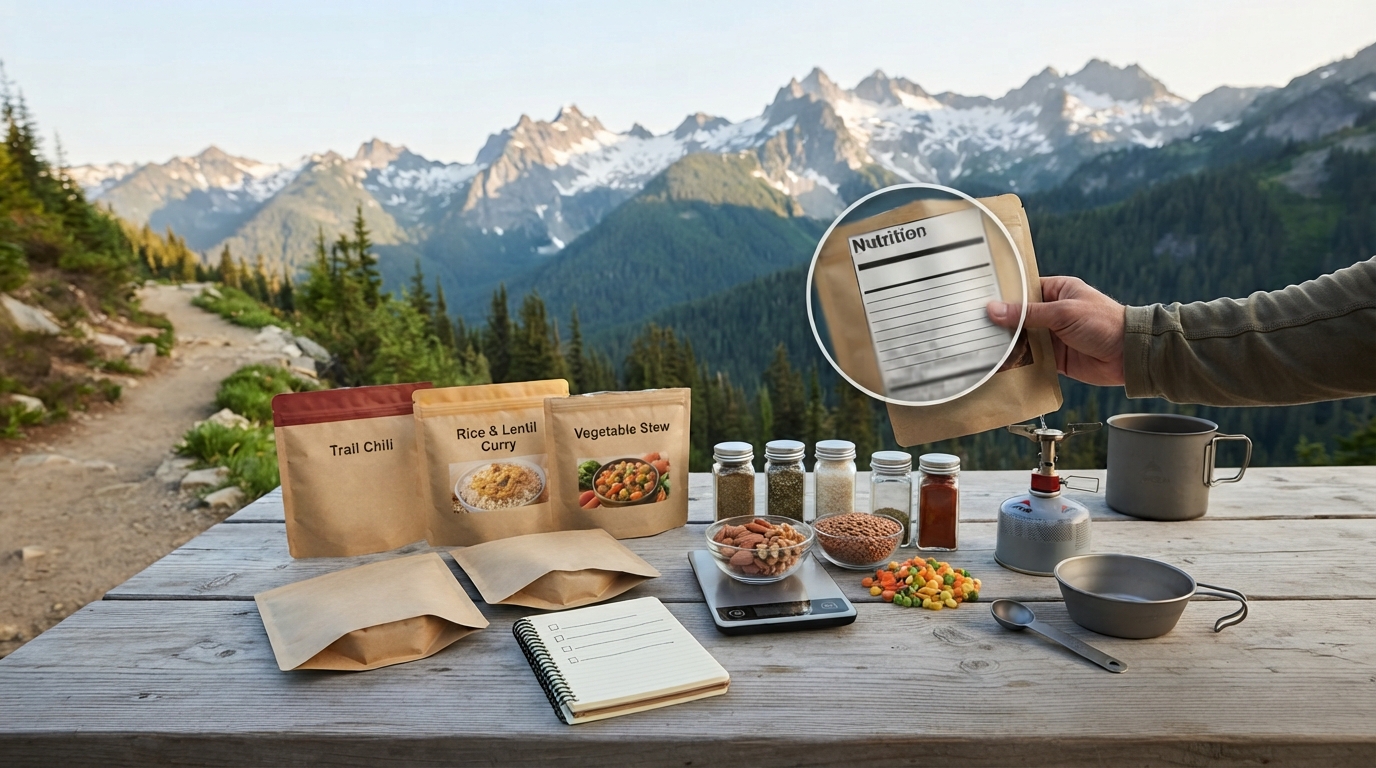
Read the nutrition label for each product.
Then record:
Food → serving size → calories → protein → weight
For example:
| Ingredient | Calories | Protein |
|---|---|---|
| Oats | Label value | Label value |
| Peanut butter | Label value | Label value |
| Chia seeds | Label value | Label value |
| Dried banana | Label value | Label value |
Add the values together.
Do the same for lunch, dinner, and snacks.
Then:
Daily calories = breakfast + lunch + dinner + snacks
You can adjust portions until the total matches your individual needs.
10. Check Protein Too 🌱
Protein can be calculated using exactly the same method.
Look at your labels and add the protein from:
- Oats
- Beans
- Lentils
- Nuts
- Seeds
- Protein powder
- Gluten-free bars
- Other protein-rich foods
You don’t need to make every meal extremely high in protein.
Instead, distribute protein-containing foods throughout the day.
For example:
Breakfast: oats + seeds + peanut butter
Lunch: chickpeas + nuts
Dinner: beans or lentils
Snacks: nuts + seeds
This creates multiple opportunities to consume protein without relying on one specialized product.
11. Pay Attention to Food Weight ⚖️
Calories aren’t the only number that matters in a backpack.
You also have to carry the food.
A useful calculation is:
Calories per gram = total calories ÷ food weight
Foods with little water and relatively high energy density can be useful for backpacking.
Examples include:
- Nuts
- Seeds
- Nut butter
- Oil
- Dried fruit
Dehydrated foods can also reduce the weight associated with water compared with fresh ingredients.
But don’t eliminate all lower-calorie foods simply to maximize calorie density.
You still want meals that you enjoy eating and that fit your nutritional needs.
12. Treat Gluten-Free Verification as Part of Meal Planning 🏷️
For someone who needs to strictly avoid gluten, food selection doesn’t stop at the nutrition label.
For every packaged ingredient, check:
1. Ingredient list
Look for wheat, barley, rye, and relevant derivatives.
2. Gluten-free statement
Check whether the manufacturer identifies the product as gluten-free.
3. Allergen information
Review the applicable allergen information on the package.
4. Precautionary statements
Pay attention to statements about possible cross-contact.
5. Current packaging
Check the package you are actually buying.
Product formulations can change, so an old shopping list should not replace checking the current label.
13. Think About Cross-Contact at Camp 🏕️
If you have celiac disease or another reason to avoid gluten strictly, your planning should also include preparation.
Consider:
- Cooking pots
- Utensils
- Cutting boards
- Shared stoves
- Shared condiments
- Crumbs
- Food preparation surfaces
A gluten-free ingredient can be contaminated by equipment or surfaces that have been used for gluten-containing foods.
This becomes especially important on group trips.
If you’re hiking with other people, explain your food requirements before the trip rather than trying to solve the problem at camp.
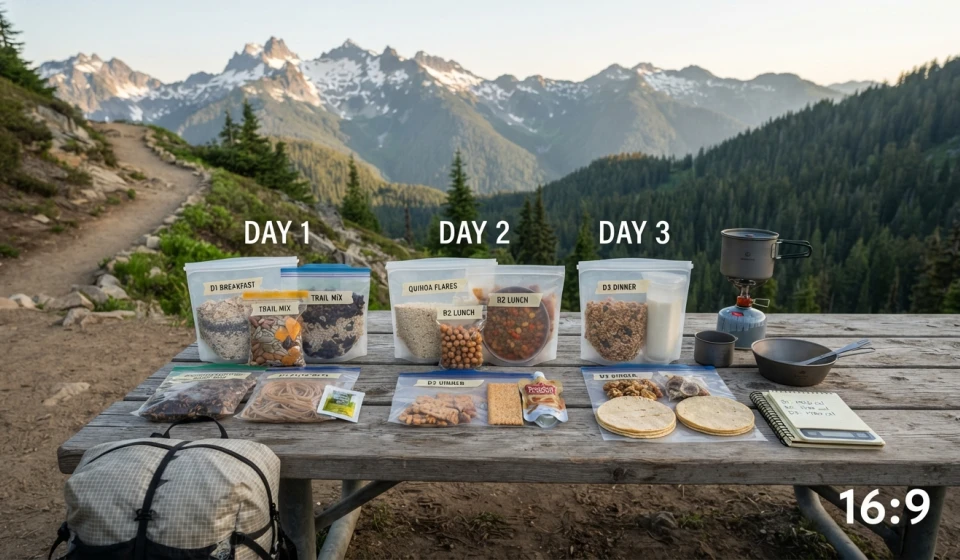
14. Prepackage Each Day
A simple packaging system can make a three-day trip much easier.
DAY 1
Breakfast bag
Oats + banana + chia + peanut butter
Lunch bag
Wrap + nut butter + dried fruit
Dinner bag
Rice + beans + vegetables + seasoning
Snack bag
Nuts + dried fruit + verified snack
Repeat for Days 2 and 3.
Label each bag with:
- Meal
- Water required
- Cooking time
- Additional ingredients
This prevents you from opening your entire food bag every time you need lunch.
15. Test One Full Day Before the Trip
Don’t wait until you’re standing at camp to discover that your dinner needs twice as much water as expected.
Make one complete day’s menu at home.
Test:
- Portion sizes
- Cooking time
- Water requirements
- Flavor
- Texture
- Satiety
- Cleanup
- Packaging
If you dislike the meal at home, you probably won’t suddenly love it after hiking for eight hours.
Your trail food should be practical and enjoyable. 😋
Gluten-Free 3-Day Packing Checklist 🎒
Breakfast
☐ Gluten-free oats
☐ Quinoa or granola
☐ Dried fruit
☐ Nuts and seeds
☐ Nut butter
Lunch
☐ Verified gluten-free wraps or crackers
☐ Chickpeas or beans
☐ Dried vegetables
☐ Nuts
☐ Dried fruit
Dinner
☐ Instant rice
☐ Dehydrated beans
☐ Dehydrated lentils
☐ Instant potatoes
☐ Dehydrated vegetables
☐ Verified gluten-free seasonings
☐ Olive oil
Snacks
☐ Trail mix
☐ Nuts
☐ Seeds
☐ Dried fruit
☐ Verified gluten-free bars or snacks
Before departure
☐ Check every current ingredient label
☐ Check gluten-free claims
☐ Check allergen information
☐ Consider cross-contact
☐ Weigh food
☐ Calculate calories
☐ Calculate protein
☐ Test meals at home
Final Thoughts 🌄
A gluten-free three-day backpacking meal plan doesn’t have to be complicated.
Start with a few reliable staples, build each day around breakfast, lunch, dinner, and snacks, and then calculate the actual calories, protein, and weight using the products you intend to carry.
The most important part is verification.
Rice, beans, oats, nuts, potatoes, and other naturally gluten-free foods can be excellent backpacking ingredients, but packaged versions still need to be checked. For strict gluten avoidance, pay attention to ingredient lists, gluten-free labeling, allergen information, precautionary statements, and cross-contact during preparation.
Once you’ve verified your ingredients, the rest becomes much easier.
You can create three days of meals that are light enough for your pack, simple enough for camp, and interesting enough that you won’t dread dinner on the third night. 🌱🥾