How to Plan Low-Sodium Backpacking Meals by Reading Freeze-Dried Food Labels 🥾🏕️
Introduction
Freeze-dried meals are one of the easiest ways to simplify backpacking food. Add hot water, wait a few minutes, and dinner is ready.
The problem is that some freeze-dried meals can contribute a surprisingly large amount of sodium to your daily intake.
If you’re trying to reduce sodium, choosing a meal based on words like “healthy,” “natural,” or “light” isn’t enough.
The useful information is already on the package.
You just need to know how to read it.
The most important numbers are:
Serving size → servings per package → sodium per serving → total sodium per package.
Once you understand those four pieces of information, you can compare freeze-dried meals much more accurately and build a lower-sodium backpacking menu without giving up convenience. 🌲
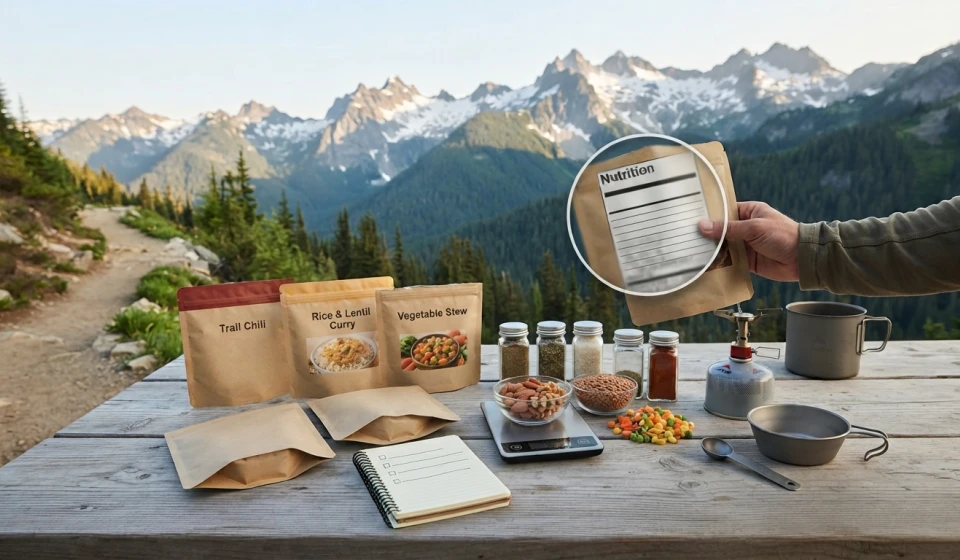
1. Start With the Nutrition Facts Panel 🏷️
When you pick up a freeze-dried meal, don’t start with the front of the package.
Turn it around and find the Nutrition Facts panel.
Look for:
- Serving size
- Servings per container
- Sodium per serving
- Calories
- Protein
- Other nutrients relevant to your needs
The sodium number is usually listed in milligrams (mg).
For example, imagine a package says:
| Nutrition information | Amount |
|---|---|
| Serving size | 1 cup |
| Servings per container | 2 |
| Calories per serving | 350 |
| Sodium per serving | 700 mg |
It is easy to see “700 mg” and assume that’s the sodium in the entire package.
But if the package contains two servings:
700 mg × 2 = 1,400 mg sodium
That’s the number you need to consider if you’re eating the entire package.
2. Always Check How Many Servings Are in the Bag 🔢
This is probably the most important habit when comparing freeze-dried meals.
A package can look like one dinner while the Nutrition Facts panel technically describes multiple servings.
For backpacking, the entire package may be one meal for one person, even when the label lists multiple servings.
So use this calculation:
Total sodium in the package
Sodium per serving × servings per package
For example:
650 mg × 2 = 1,300 mg sodium
That means eating the entire package provides approximately 1,300 mg of sodium.
Don’t compare a 650 mg meal with a 900 mg meal until you’ve confirmed that you’re comparing the same serving basis.
3. Compare Meals Using the Same Serving Basis ⚖️
Imagine you’re choosing between two freeze-dried dinners.
Meal A
- 500 mg sodium per serving
- 2 servings per package
Meal B
- 800 mg sodium per serving
- 1 serving per package
If you eat the entire package:
Meal A = 1,000 mg sodium
Meal B = 800 mg sodium
Looking only at the “sodium per serving” number would give you the wrong comparison for the amount you actually plan to eat.
This is why serving size matters so much.
4. Look at Sodium Per 100 Grams When Useful
For backpacking, there’s another interesting comparison.
You can calculate:
Sodium per 100 g = sodium ÷ food weight × 100
This can help when comparing foods with very different package sizes.
For example, if a dry meal contains:
- 900 mg sodium
- 150 g food weight
Then:
900 ÷ 150 × 100 = 600 mg sodium per 100 g
This isn’t a replacement for looking at total sodium.
It’s simply another way to compare products when you’re also thinking about pack weight.
5. Don’t Ignore Calories
A lower-sodium meal isn’t automatically a better backpacking meal.
You still need enough food to support your individual energy requirements.
Suppose one dinner provides:
400 calories + 1,000 mg sodium
Another provides:
700 calories + 1,100 mg sodium
The second meal contains slightly more sodium but also substantially more energy.
That doesn’t automatically make it the right choice for you.
Backpacking meal planning involves several variables:
- Calories
- Protein
- Sodium
- Weight
- Preparation time
- Taste
- Storage requirements
Think about the entire meal rather than chasing a single number.
6. Look Beyond the Main Meal 🍲
Sodium can add up from foods that don’t feel like “salty meals.”
Your daily total might include:
- Freeze-dried dinner
- Instant oatmeal
- Crackers
- Tortillas
- Jerky
- Cheese
- Seasoning packets
- Soup
- Bouillon
- Sauces
- Energy bars
- Nuts
- Trail mix
A lower-sodium dinner can be undermined by several high-sodium snacks and condiments.
That’s why it helps to calculate your whole day’s sodium, not just dinner.
7. Create a Simple Daily Sodium Spreadsheet
You don’t need complicated software.
A notebook or phone spreadsheet is enough.
| Food | Sodium |
|---|---|
| Breakfast | 250 mg |
| Lunch | 400 mg |
| Snacks | 300 mg |
| Dinner | 900 mg |
| Daily total | 1,850 mg |
The numbers above are simply an example.
Use the actual nutrition labels for your food.
If you eat multiple servings, multiply accordingly.
Basic formula
Daily sodium = breakfast + lunch + snacks + dinner
Then repeat the calculation for each day of the trip.
This makes hidden sources much easier to spot.
8. Use the % Daily Value as a Quick Screening Tool 📊
Nutrition labels may also show sodium as a % Daily Value.
This can be useful for quickly identifying whether a food contributes a relatively large share of the daily value.
However, don’t use % Daily Value as your only backpacking calculation.
The actual milligrams are more useful when you’re adding up several meals.
For example:
650 mg sodium
is much easier to add to a food spreadsheet than trying to compare percentages across different serving sizes.
Use the milligrams for your calculations and % Daily Value as an additional reference.
9. Choose Lower-Sodium Ingredients for DIY Meals 🌱
You don’t have to rely entirely on commercial freeze-dried dinners.
Build your own meals from ingredients whose labels you can verify.
Possible ingredients include:
- Plain instant rice
- Plain oats
- Dehydrated vegetables
- Unsalted nuts
- Unsalted seeds
- Dried lentils
- Dehydrated beans
- Plain instant potatoes
- Olive oil
- Dried fruit
Then add flavor yourself.
This gives you much more control over sodium.
For example:
DIY Trail Rice Bowl
Base: instant rice
Protein: dehydrated lentils
Vegetables: dehydrated carrots and peas
Fat: olive oil
Flavor: garlic, herbs, black pepper, and a small amount of verified lower-sodium seasoning
Instead of accepting the sodium level of a complete packaged meal, you’re building the meal ingredient by ingredient.
10. Be Careful With Seasoning Packets 🌶️
Seasonings can have a surprisingly large effect on a meal’s sodium content.
Common contributors include:
- Bouillon
- Soy sauce
- Instant soup powder
- Gravy mixes
- Seasoning packets
- Salt
- Processed sauces
If you’re trying to reduce sodium, don’t automatically add every packet that comes with a meal.
Taste the food first.
You can also bring your own spice blend made from salt-free herbs and spices.
Good options include:
- Garlic powder
- Onion powder
- Black pepper
- Smoked paprika
- Cumin
- Chili powder
- Dried oregano
- Dried basil
Check the ingredient list because some seasoning blends contain added salt.
11. Use Acid and Spice for Flavor 🍋
Reducing sodium doesn’t mean meals have to taste bland.
Flavor can come from more than salt.
Consider:
- Lemon or lime powder
- Vinegar powder
- Chili
- Garlic
- Ginger
- Curry spices
- Smoked paprika
- Black pepper
- Dried herbs
Acidic and spicy flavors can make a lower-sodium meal feel more interesting.
For backpacking, choose shelf-stable forms that are appropriate for your storage conditions.
12. Watch the Sodium in “Healthy” Ingredients
Some foods that appear wholesome can still contribute meaningful amounts of sodium when processed.
Examples include:
- Flavored nuts
- Seasoned rice
- Instant soups
- Plant-based meat products
- Flavored oatmeal
- Crackers
- Protein bars
- Sauces
Don’t assume a food is low in sodium because it is organic, plant-based, high-protein, or marketed as a natural product.
The Nutrition Facts panel is more useful than the marketing language.
13. Think About Hydration Separately 💧
It’s important not to turn sodium reduction into a blanket rule of “avoid salt at all costs.”
Long, strenuous activity and heavy sweating can affect fluid and electrolyte needs.
The appropriate approach depends on factors such as:
- Exercise duration
- Sweat rate
- Weather
- Individual health
- Water intake
- Diet
- Medical conditions
If you have been advised by a healthcare professional to follow a specific sodium restriction, use that individualized guidance rather than a generic backpacking target.
For ordinary meal planning, the goal here is simply to understand how much sodium your food contributes.
14. Build a Lower-Sodium Freeze-Dried Meal Formula 🥔
If you want the convenience of a freeze-dried-style dinner without relying entirely on commercial meals, use this formula:
Base
Choose:
- Rice
- Potatoes
- Quinoa
- Gluten-free grains if needed
Protein
Choose:
- Lentils
- Beans
- TVP
- Soy products
Vegetables
Choose:
- Peas
- Carrots
- Corn
- Spinach
- Mushrooms
Fat
Choose:
- Olive oil
- Unsalted nuts
- Seeds
Flavor
Choose:
- Garlic
- Herbs
- Curry powder
- Chili
- Pepper
- Lemon powder
Then calculate the sodium from each ingredient.
This gives you considerably more control than simply choosing a packaged dinner based on its front label.
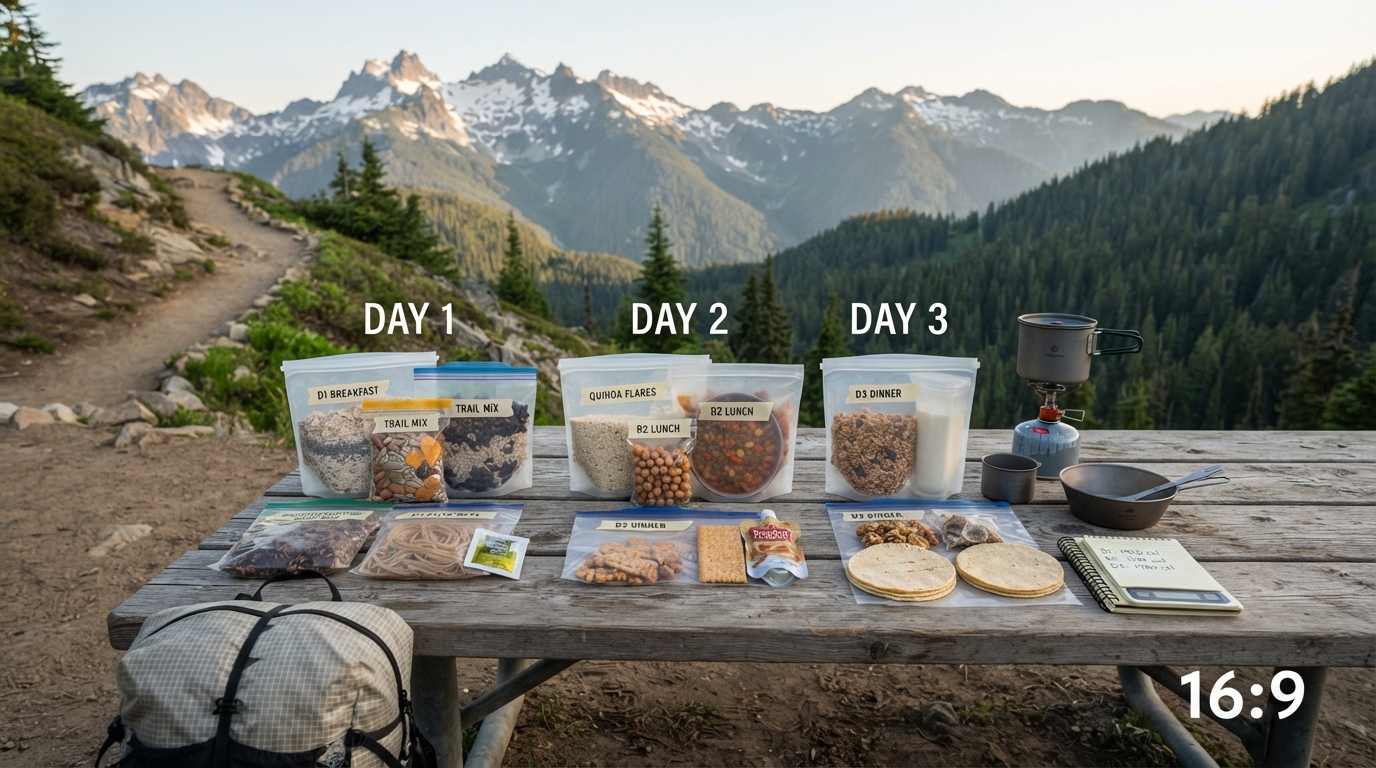
15. Build a Three-Day Example 📋
Here’s a simple structure.
Day 1
Breakfast: plain oats + peanut butter + dried fruit
Lunch: unsalted nuts + gluten-free crackers + dried fruit
Dinner: rice + lentils + dehydrated vegetables + olive oil + herbs
Day 2
Breakfast: oats + chia + dried berries
Lunch: rice cakes + peanut butter + nuts
Dinner: instant potatoes + beans + dehydrated vegetables + spices
Day 3
Breakfast: oats + seeds + dried banana
Lunch: homemade trail mix + crackers + nut butter
Dinner: rice + dehydrated vegetables + lentils + olive oil + curry spices
The exact calories and sodium depend on the products and quantities you choose.
That’s why the label calculation is the important part.
16. Make a “Sodium Per Meal” Target for Your Menu
Instead of trying to make every ingredient low-sodium, divide your overall plan.
For example, you could calculate:
Breakfast sodium + lunch sodium + snack sodium + dinner sodium = daily sodium
Then identify which meal contributes the most.
If dinner contains most of the day’s sodium, you don’t necessarily need to eliminate the dinner.
You could reduce its sodium and allow more flexibility elsewhere.
This approach is much more practical than treating every food as either “good” or “bad.”
17. Pack the Label Information With Your Food 🎒
Before leaving, take a photo of the Nutrition Facts panel for foods that you portion yourself.
You can also write down:
- Product
- Portion
- Calories
- Protein
- Sodium
- Weight
This becomes especially useful if you’re repackaging food into individual bags.
Once the original package is gone, you still have the information needed to calculate what you’re eating.
18. Test Your Meals Before the Trail
Make at least one complete day of your menu at home.
Check:
Does it taste good?
Is the portion large enough?
Does it require too much water?
Does it take too long to prepare?
Is the sodium level where you want it?
Are you comfortable with the amount of food?
This is also the time to adjust spices.
A lower-sodium meal that tastes great at home is much more appealing after a long day of hiking.
A Quick Freeze-Dried Food Label Checklist ✅
Before buying a backpacking meal, check:
☐ Serving size
☐ Servings per package
☐ Sodium per serving
☐ Total sodium if eating the entire package
☐ Calories per serving
☐ Total calories for the package
☐ Protein
☐ Package weight
☐ Ingredients
☐ Other foods and seasonings you’ll eat that day
Then calculate:
Total sodium = sodium per serving × servings eaten
Daily sodium = all food and drinks containing sodium
Calories per gram = total calories ÷ food weight
These three calculations can make your meal planning much more precise.
Final Thoughts 🌄
Planning lower-sodium backpacking meals starts with something surprisingly simple: read the label carefully.
Don’t judge a freeze-dried meal by its front-of-package claims. Check the serving size, multiply the sodium by the number of servings you actually plan to eat, and consider the rest of your day’s food.
From there, you can make practical changes.
Choose lower-sodium ingredients, use unsalted nuts and seeds, build some meals yourself, control seasoning packets, and use herbs and spices to create flavor without relying entirely on salt.
Most importantly, remember that sodium needs are individual. If you have a medical reason to restrict sodium, your healthcare professional’s advice should take priority over a generic backpacking target.
With a simple label-reading system, you can create a trail menu that balances convenience, calories, flavor, food weight, and sodium without turning meal planning into a complicated science project. 🥾🍲