How to Cut Backpacking Food Costs Without Carrying a Heavier Pack 🎒💰
Backpacking food can become surprisingly expensive. Individual oatmeal packets, energy bars, freeze-dried dinners, and single-serving snacks are convenient, but buying every meal in trail-ready packaging can quickly increase the cost of a multi-day trip.
The solution is not necessarily to eat less or carry cheaper food that weighs more. Instead, focus on calories per ounce, cost per serving, ingredient reuse, packaging, and smart bulk purchasing.
With a little planning, you can build a satisfying backpacking menu that meets your energy needs without spending your entire outdoor budget. Here is how to reduce food costs while keeping your pack weight under control.
1. Compare Calories per Ounce, Not Just the Price
When choosing backpacking food, the cheapest package is not always the best value. A low-cost food may provide relatively few calories for its weight, while a slightly more expensive ingredient may deliver considerably more energy per ounce.
A useful measurement is calorie density:
Calorie density = total calories ÷ food weight in ounces
For example, suppose you are comparing two snacks:
- Snack A: 200 calories in 2 ounces = 100 calories per ounce.
- Snack B: 300 calories in 1.5 ounces = 200 calories per ounce.
Snack B provides twice as many calories per ounce, although its actual price still needs to be compared.
Foods commonly used to increase calorie density include peanut butter, nuts, trail mix, olive oil, and some dried fruits. Oats, couscous, instant rice, and dehydrated meals can also work well in a varied menu.
However, calorie density is only one consideration. You still need adequate protein, carbohydrates, fats, fiber, and fluids, along with foods you can comfortably digest on the trail.
Practical tip: Compare the cost per 100 calories alongside calories per ounce. This helps you identify foods that are both economical and relatively weight-efficient.
2. Reuse Ingredients Across Multiple Meals
Buying a different ingredient for every meal creates unnecessary complexity. It can also leave you with small quantities of expensive products that are difficult to use elsewhere.
Instead, build a menu around a small group of versatile ingredients.
| Ingredient | Breakfast | Lunch or snacks | Dinner |
|---|---|---|---|
| Instant oats | Porridge | — | — |
| Peanut butter | Oatmeal topping | Tortilla filling | — |
| Tortillas | — | Wraps | — |
| Olive oil | — | — | Couscous or rice |
| Dried fruit | Oatmeal | Trail mix | Optional addition |
| Nuts or trail mix | Optional topping | Snacks | Optional topping |
This approach reduces the number of products you need to buy and makes leftovers easier to use.
For example, peanut butter can enrich breakfast oatmeal and serve as a filling for tortillas. Olive oil can add calories to dinner without requiring much additional weight.
Keep food safety in mind. Choose ingredients suitable for your expected temperatures and trip duration, and avoid relying on refrigerated foods when you cannot keep them safely cold.
3. Buy in Bulk, but Calculate the Real Savings
Bulk purchasing can reduce the cost of frequently used staples, especially when you backpack regularly.
Consider buying larger packages of:
- Rolled oats
- Peanut butter
- Couscous or instant rice
- Nuts and seeds
- Dried fruit
- Powdered milk, where suitable
- Seasonings and dehydrated vegetables
The important comparison is price per ounce or per usable serving, not simply the package price.
For example, assume a 16-ounce bag of trail mix costs $8. That works out to $0.50 per ounce. If a 4-ounce snack pack costs $3, it works out to $0.75 per ounce.
For the same 4-ounce quantity:
- Snack packs: 4 × $0.75 = $3.00
- Bulk trail mix: 4 × $0.50 = $2.00
- Potential saving: $1.00 per 4 ounces
These are illustrative prices, not a claim about current store prices. Your actual savings depend on the brand, retailer, and package size.
Bulk buying makes the most sense when you will use the remaining ingredients before they spoil. Buying a large package that sits unused for months may not be economical.
4. Reduce Packaging Without Sacrificing Convenience
Individual packaging can add cost and create extra trash. Repacking food at home is one way to make a backpacking menu more economical.
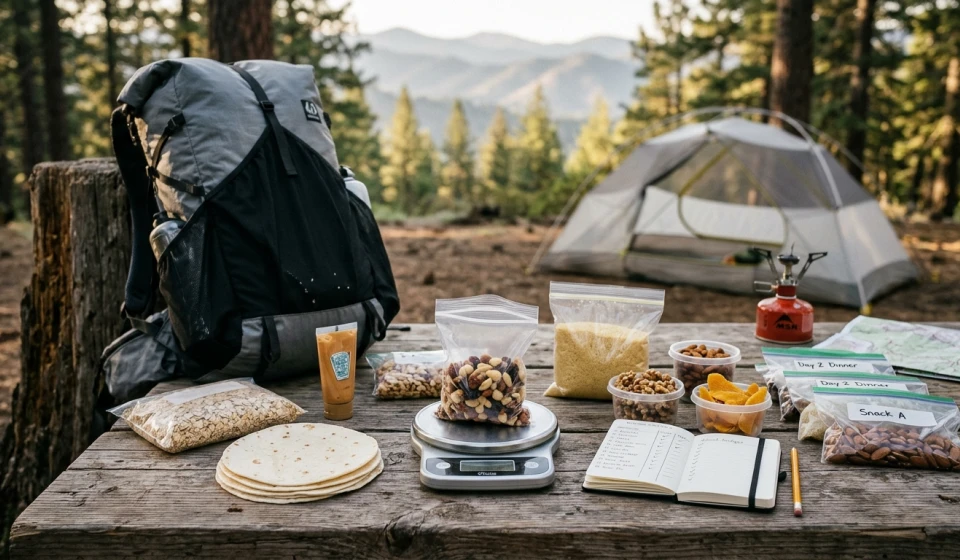
Instead of taking several individually packaged servings, consider measuring the required portions into lightweight, food-safe bags or reusable containers.
You can portion out:
- Oatmeal ingredients for each morning
- Couscous and seasonings for each dinner
- Trail mix for each hiking day
- Powdered drink mixes or suitable dehydrated ingredients
Label each portion with the meal and any preparation instructions. This makes camp cooking easier and reduces the risk of mixing up ingredients.
However, repacking does not automatically make food lighter. The actual weight saved depends on the original packaging and the replacement you use. Weigh both options if reducing pack weight is a priority.
Also, do not assume every food-safe bag is suitable for boiling water. Follow the container manufacturer’s instructions, keep food protected from moisture, and pack out all waste.
5. Build a Menu Around Foods That Work Together
A practical backpacking menu should provide enough energy, fit your budget, and use ingredients efficiently.
Here is an illustrative one-day menu designed around affordable staples.
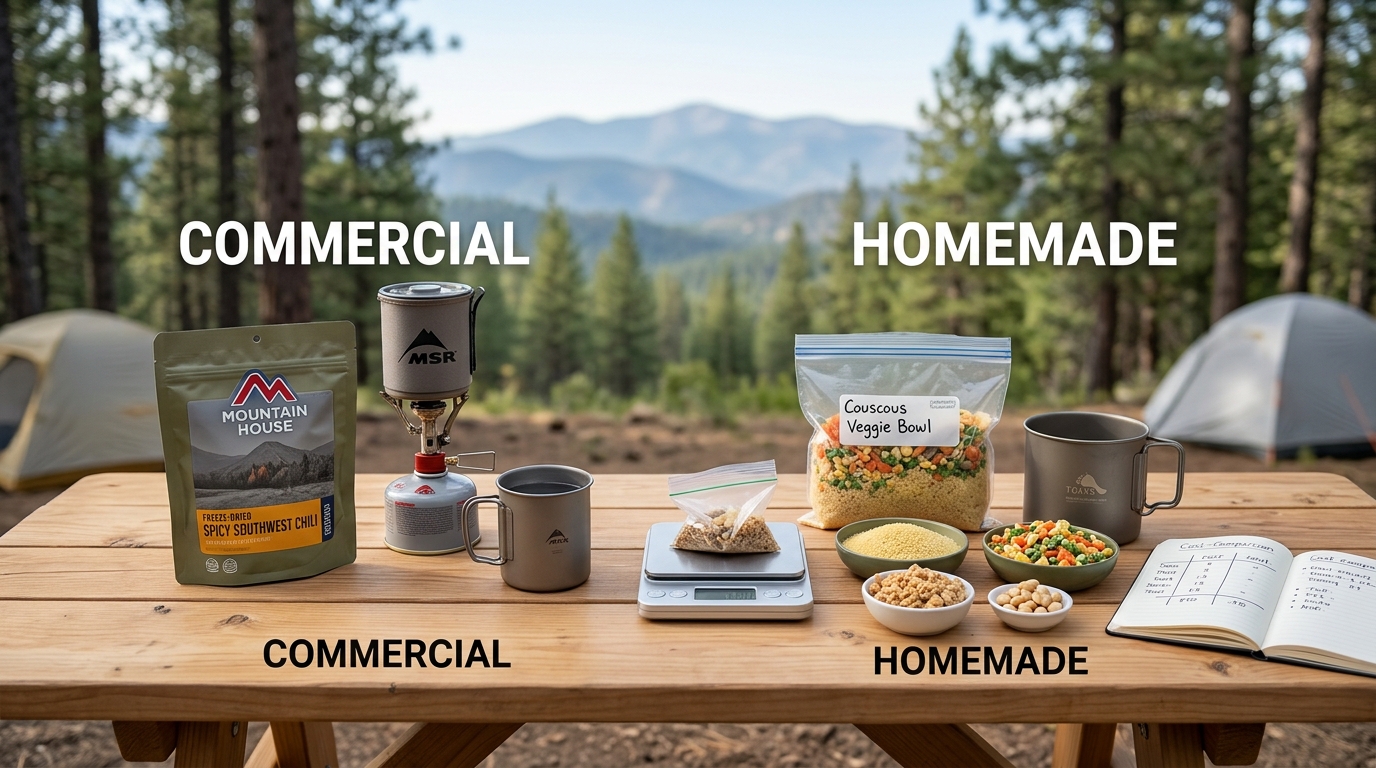
Before: Convenience-Heavy Menu
| Food | Estimated calories | Food weight | Illustrative cost |
|---|---|---|---|
| Packaged breakfast and snacks | 650 | 6 oz | $4.00 |
| Individual lunch products | 650 | 6 oz | $4.50 |
| Packaged freeze-dried dinner | 700 | 6 oz | $10.00 |
| Additional bars and snacks | 1,000 | 9 oz | $4.00 |
| Daily total | 3,000 | 27 oz | $22.50 |
This example represents a menu with individually packaged products and a relatively expensive prepared dinner. It is not a survey of typical retail prices.
After: Ingredient-Reuse Menu
| Meal or snack | Example ingredients | Estimated calories | Food weight | Illustrative cost |
|---|---|---|---|---|
| Breakfast | Oats, powdered milk, peanut butter, raisins | 775 | 6 oz | $1.05 |
| Lunch | Tortillas, peanut butter, honey | 575 | 5 oz | $1.00 |
| Dinner | Couscous, textured vegetable protein, olive oil, seasoning | 770 | 6.5 oz | $1.65 |
| Snacks | Trail mix, chocolate, granola bar | 855 | 6 oz | $1.85 |
| Daily total | Bulk staples and reused ingredients | 2,975 | 23.5 oz | $5.55 |
The portions and nutrition figures are approximate planning estimates. Actual calories, weights, and costs vary by brand and recipe. The dinner also assumes that the textured vegetable protein and other ingredients are suitable for the cook’s dietary needs.
What Do the Numbers Show?
Using the illustrative figures above:
- Calories: 3,000 versus 2,975, a difference of only 25 calories.
- Food weight: 27 ounces versus 23.5 ounces, a reduction of 3.5 ounces per day.
- Cost: $22.50 versus $5.55, a difference of $16.95 per day.
For five days, the arithmetic gives:
- Convenience-heavy menu: $22.50 × 5 = $112.50
- Ingredient-reuse menu: $5.55 × 5 = $27.75
- Illustrative difference: $84.75
These figures demonstrate how menu design can affect spending. They are not a guaranteed savings forecast: the example deliberately contrasts an expensive packaged menu with a very economical bulk-ingredient menu, and actual prices can narrow the gap substantially.
The lighter menu also saves 17.5 ounces over five days before accounting for packaging differences. Whether it is appropriate for your trip depends on your energy needs, food preferences, and the rest of your menu.
6. Protect Your Nutrition While Cutting Costs
Low cost and low weight are useful goals, but neither should come at the expense of eating enough.
Your energy needs depend on factors such as body size, hiking distance, elevation gain, weather, and individual metabolism. A 3,000-calorie menu is an example, not a universal requirement.
When adjusting a menu, check these essentials:
- Enough calories: Avoid choosing portions solely because they are cheap.
- Protein: Include suitable sources such as nuts, peanut butter, legumes, textured vegetable protein, or other foods you tolerate.
- Carbohydrates: Oats, tortillas, couscous, rice, and dried fruit provide useful hiking fuel.
- Dietary variety: Include different food groups across the trip rather than relying entirely on one calorie-dense ingredient.
- Hydration and preparation: Account for the water required to prepare meals, especially when planning dry foods.
If a cheaper menu leaves you hungry, exhausted, or unable to recover between hiking days, it may not be a worthwhile saving.
7. Use a Simple Food-Cost Checklist Before Every Trip
Before buying your backpacking groceries, ask yourself:
- Can I use one ingredient in more than one meal?
- Have I compared cost per ounce and cost per 100 calories?
- Can I buy commonly used staples in bulk?
- Am I paying extra for packaging I do not need?
- Have I weighed the actual portions, including packaging?
- Does the menu provide enough calories and a reasonable balance of nutrients?
- Have I included every day, snack, and planned meal in the food inventory?
- Have I considered food storage, preparation water, and any dietary restrictions?
A basic spreadsheet can help. Record each ingredient’s package price, package weight, calories per serving, planned portion, and total trip quantity. That makes it easier to compare different menus and reuse your calculations for future trips.
Final Thoughts 🌲
Cutting backpacking food costs does not have to mean carrying heavier food or eating the same bland meal every night. The most useful strategy is to design your menu around ingredients that offer good calorie density, work in multiple meals, and can be purchased economically.
Start with foods you already enjoy. Compare their cost per calorie, buy staples in quantities you will actually use, and repackage portions only when it makes sense. Then check your total food weight and energy intake before heading out.
The goal is not to find the cheapest possible menu at any cost. It is to create a budget-friendly, satisfying, and weight-conscious food plan that supports your hiking day without unnecessary spending.
A little planning before you leave home can make your next backpacking trip easier on both your shoulders and your wallet. 🎒