How to Build a Backpacking Food Bag That Is Easy to Track Day by Day 🎒🥾
Introduction
Packing backpacking food is easy. Knowing exactly what you have left on Day 4 is another story.
When several meals, snacks, drink mixes, and emergency foods are packed together, it can be surprisingly difficult to tell whether you’re eating according to plan or accidentally using tomorrow’s food today.
A good food-bag system should answer three questions quickly:
What am I eating today?
What do I have left?
Do I still have enough food for the rest of the trip?
The solution isn’t complicated. You simply need to organize food around the day, rather than treating your entire food supply as one giant collection.
1. Start With a Daily Food Plan 📋
Before putting anything into your backpack, decide what you will eat each day.
For example:
Day 1
- Breakfast
- Lunch
- Dinner
- 2 snacks
- Drink
Day 2
- Breakfast
- Lunch
- Dinner
- 2 snacks
- Drink
Repeat the process for every day.
This gives you a simple baseline for calculating how much food you actually need.
It also prevents the common problem of packing a large pile of food and hoping it will last.
2. Give Each Day Its Own Food Group
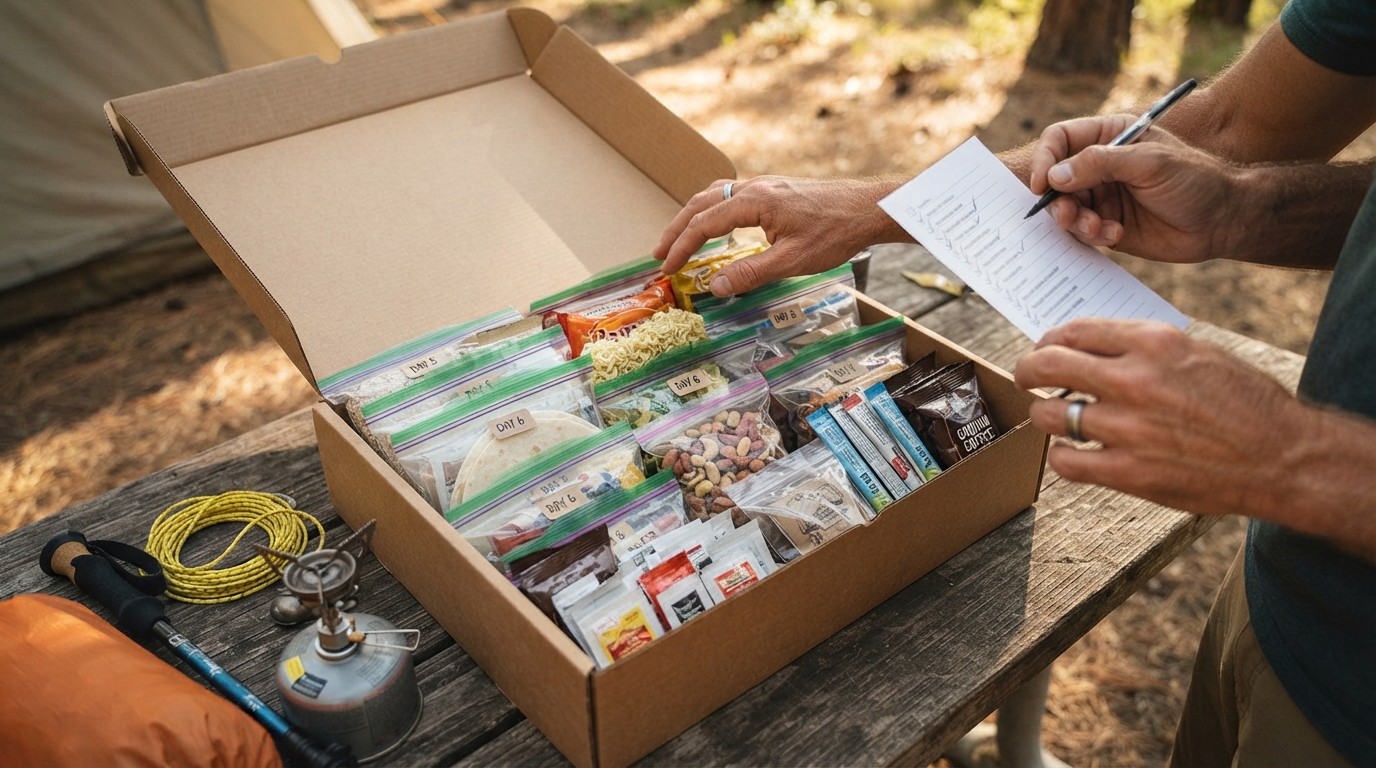
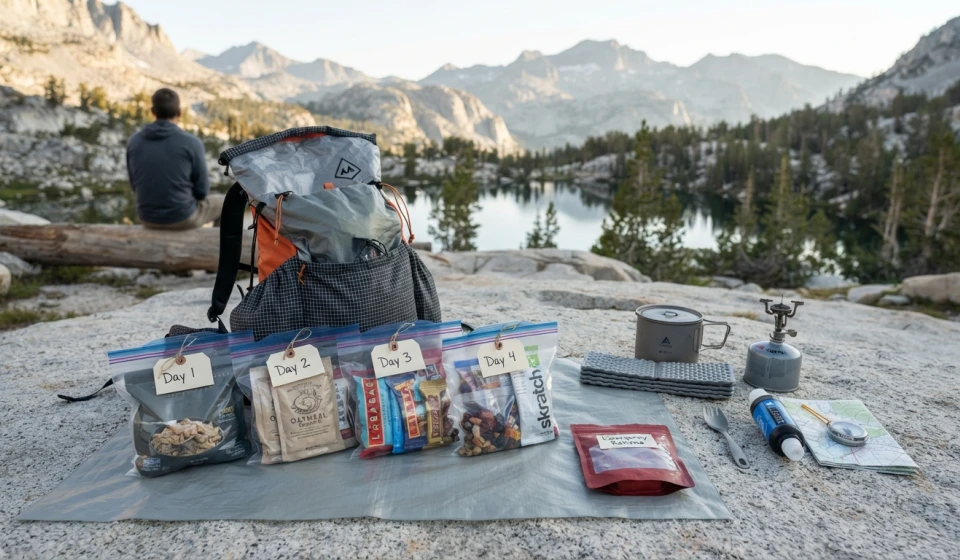
One of the simplest systems is to create daily food bags.
For example:
DAY 1
Breakfast + lunch + dinner + snacks
DAY 2
Breakfast + lunch + dinner + snacks
DAY 3
Breakfast + lunch + dinner + snacks
You can use lightweight bags, reusable pouches, or another organization method that works with your packing system.
The goal isn’t necessarily to use a new bag for every single day. The goal is to make each day’s food visually identifiable.
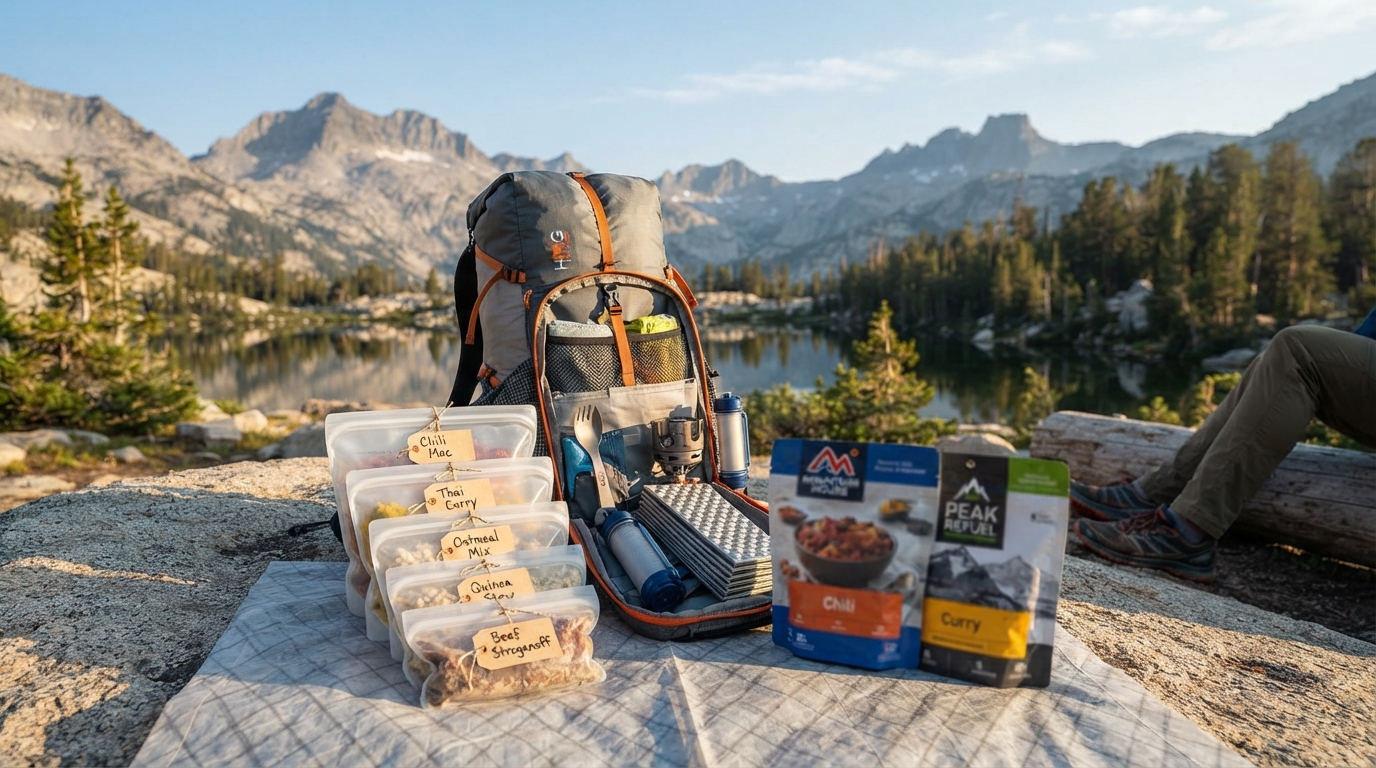
3. Label Everything Clearly 🏷️
A label should tell you what you need without requiring you to remember your entire meal plan.
For example:
DAY 4
Breakfast: oatmeal + coffee
Lunch: tortillas + tuna
Dinner: chicken rice meal
Snacks: trail mix + bar
You can also write preparation information directly on individual meal packages.
For example:
Dinner
Add 1½ cups water
Wait 10 minutes
This is particularly useful when you’re tired at camp and don’t want to search through your phone for instructions.
4. Separate Meals From Snacks 🍫
Snacks are easy to underestimate.
Instead of throwing every bar, nut packet, candy, or dried fruit package into one large bag, assign snacks to specific days.
For example:
Day 1: 2 snacks
Day 2: 2 snacks
Day 3: 2 snacks
You can still carry an emergency snack separately.
This makes it easier to notice when you’ve eaten more than planned.
It also prevents the classic backpacking problem:
“I thought I had another protein bar.”
5. Use a Dedicated Emergency Food Reserve 🚨
Keep emergency food separate from your normal daily supply.
This might be something compact and familiar that you don’t plan to eat unless necessary.
The exact amount depends on your trip, route, conditions, and personal planning.
The important part is not mixing it into your regular food bags.
Otherwise, you may accidentally treat your emergency reserve as an ordinary snack.
Label it clearly:
EMERGENCY FOOD — DO NOT USE UNLESS NEEDED
6. Track Calories Without Obsessing Over Every Bite 🔢
For longer trips, it helps to know approximately how much energy each day’s food provides.
Create a simple table:
| Day | Breakfast | Lunch | Dinner | Snacks | Approx. Total |
|---|---|---|---|---|---|
| 1 | 500 kcal | 600 kcal | 800 kcal | 500 kcal | 2,400 |
| 2 | 500 kcal | 650 kcal | 850 kcal | 500 kcal | 2,500 |
| 3 | 550 kcal | 600 kcal | 850 kcal | 550 kcal | 2,550 |
These numbers are examples, not universal requirements.
Energy needs during backpacking vary significantly depending on body size, activity, terrain, weather, trip duration, and other factors.
The purpose of tracking is to understand your food supply, not to create a perfect number.
7. Put Heavier Food Where It Makes Sense ⚖️
Organization and weight distribution should work together.
Dense foods can contribute a lot of calories without taking up much space.
Examples include:
- Nuts
- Nut butter
- Olive oil
- Cheese that is appropriate for your storage conditions
- Bars
- Tortillas
- Dried fruit
Keep your daily food organized while still considering how the total food weight is distributed inside your backpack.
As the trip progresses, your food load naturally becomes lighter.
8. Make Breakfast Easy to Find ☕
Morning is usually not the best time to search through every food bag.
Keep breakfast items easy to identify.
For example:
DAY 1 BREAKFAST
- Oatmeal
- Powdered milk
- Dried fruit
- Coffee
If you prefer, create a small breakfast pouch for the entire trip.
Just make sure you can clearly track how many breakfasts remain.
9. Organize Dinner Separately 🍲
Dinner usually requires more preparation than a snack, so make it easy to identify.
Keep the meal, seasoning, oil, or other additions together whenever possible.
For freeze-dried meals, label the package if the original packaging has been removed.
For DIY meals, include the preparation instructions directly on the bag.
A tired hiker should be able to grab the correct dinner without opening six different containers.
10. Do a Quick Food Inventory Every Evening 🌙
This is the habit that makes the whole system work.
Before going to sleep, take 30 seconds to check:
☐ Tomorrow’s breakfast
☐ Tomorrow’s lunch
☐ Tomorrow’s dinner
☐ Tomorrow’s snacks
☐ Emergency food still separate
If something is missing, you’ll know immediately.
You can also update a simple phone note:
Day 3 complete ✅
Breakfast ✅
Lunch ✅
Dinner ✅
Snacks ✅
Emergency food untouched ✅
No complicated spreadsheet is required.
11. Don’t Pack Your Food Plan Too Tightly
A rigid system can become annoying if something changes.
Maybe you’re hungrier than expected.
Maybe you don’t want the meal you planned.
Maybe weather changes your hiking schedule.
Your food system should provide structure without becoming a restriction.
You can swap meals between days as long as you continue tracking what’s left.
The purpose of organization is to prevent accidental shortages, not to force you to eat Tuesday’s dinner on Tuesday.
12. Use a “Remaining Food” Check 🔍
For longer trips, make a quick inventory at the halfway point.
Ask:
How many breakfasts remain?
How many lunches?
How many dinners?
How many snacks?
How much emergency food?
Compare those numbers with the number of days remaining.
If something doesn’t add up, you still have time to adjust your plan.
This is much better than discovering the problem on the final hiking day.
Final Thoughts 🌲
A well-organized backpacking food bag isn’t necessarily the one with the most expensive containers or the most complicated labeling system.
It’s the one that lets you answer three questions quickly:
What do I eat today?
What do I have left?
Will it last until the end of the trip?
Organize food by day, separate emergency supplies, label individual meals, track snacks, and do a quick inventory each evening.
That small amount of preparation can make a multi-day trip feel significantly more manageable.
Your food bag should be a system you can understand when you’re tired, hungry, and standing in the rain. 🥾🌧️