How to Repackage Freeze-Dried Meals for Less Bulk 🎒🍲
Introduction
Freeze-dried meals are convenient for backpacking, but their original packaging can take up more space than necessary.
Large pouches often contain extra air, bulky packaging, and serving formats that aren’t ideal for a tightly packed food bag.
Repackaging can make your food easier to organize and sometimes reduce pack volume and packaging waste. The key is doing it safely and keeping track of exactly what you’ve packed.
This isn’t about crushing food or removing packaging blindly. It’s about creating a smaller, organized system that still protects the meal from moisture and contamination.
1. Check the Meal Before Repackaging 🔎
Not every freeze-dried product should automatically be repackaged.
First check the manufacturer’s instructions and the product’s condition.
Don’t repackage food if the original package is:
- Swollen or damaged
- Torn
- Wet
- Showing signs of contamination
- Past its recommended storage period
- Otherwise questionable
Also check whether the meal contains ingredients that require special storage after opening.
For ordinary shelf-stable freeze-dried backpacking meals, the main concern after opening is protecting the food from moisture, contamination, and damage.
2. Use Appropriate Food-Safe Bags
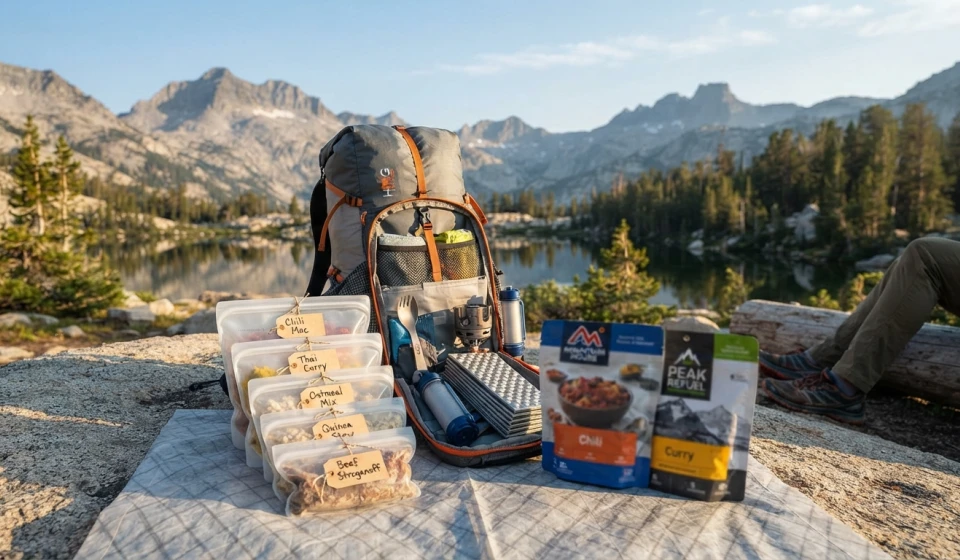
A common lightweight option is a sturdy, food-safe resealable bag.
Choose a bag that is:
- Food-safe
- Strong enough for your trip
- Appropriately sized
- Easy to seal
- Resistant to punctures from sharp food pieces
Avoid choosing the thinnest possible bag simply to save a few grams.
A punctured meal can create a mess inside your backpack and expose the food to moisture.
For longer trips, some hikers prefer more durable bags or specialized food-storage bags.
3. Remove Excess Air Without Crushing the Food 🎒
One major advantage of repackaging is reducing empty space.
After transferring the meal, gently press out excess air before sealing the bag.
Don’t aggressively compress fragile freeze-dried ingredients.
The objective is to remove unnecessary air and packaging volume, not to turn the meal into powder.
For meals containing pasta, vegetables, or larger freeze-dried pieces, leave enough room so the food isn’t unnecessarily crushed.
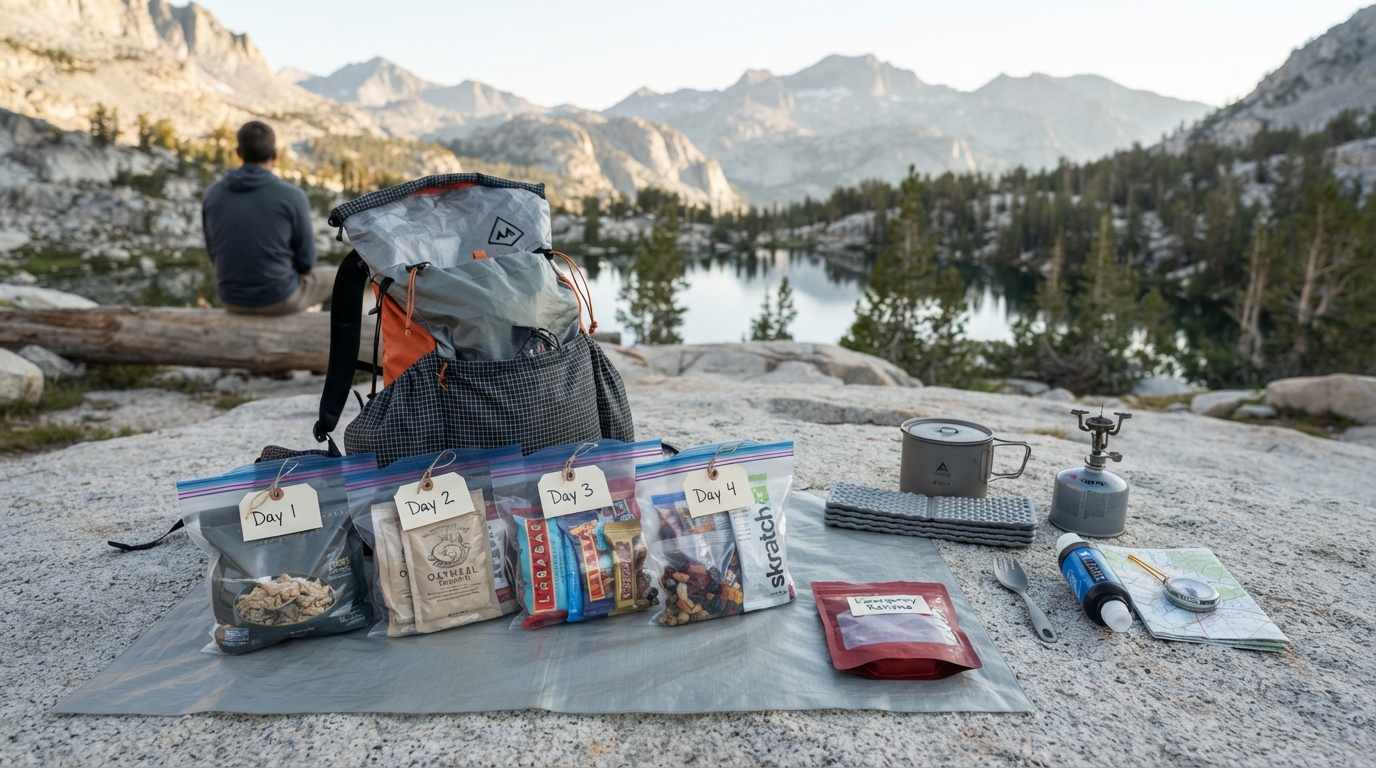
4. Label Every Meal Clearly 🏷️
This is one of the most important steps.
Don’t rely on your memory when you have several similar-looking bags.
Write clearly:
- Meal name
- Flavor
- Number of servings
- Water amount
- Preparation instructions
- Any relevant dietary information
- Date repackaged, if useful for your system
For example:
Chicken & Rice
1 serving
Add 1½ cups water
Wait 10 minutes
If you remove the original package, you lose the manufacturer’s printed instructions. Record anything you’ll need in the field.
5. Keep Important Allergen Information
If you have a food allergy or are packing for someone who does, don’t discard information you may need.
The original package may contain important allergen information and ingredient details.
A practical approach is to photograph the original label before repackaging.
You can also keep the original packaging information in a trip folder or digital note.
Never assume that two meals with similar names have identical ingredients.
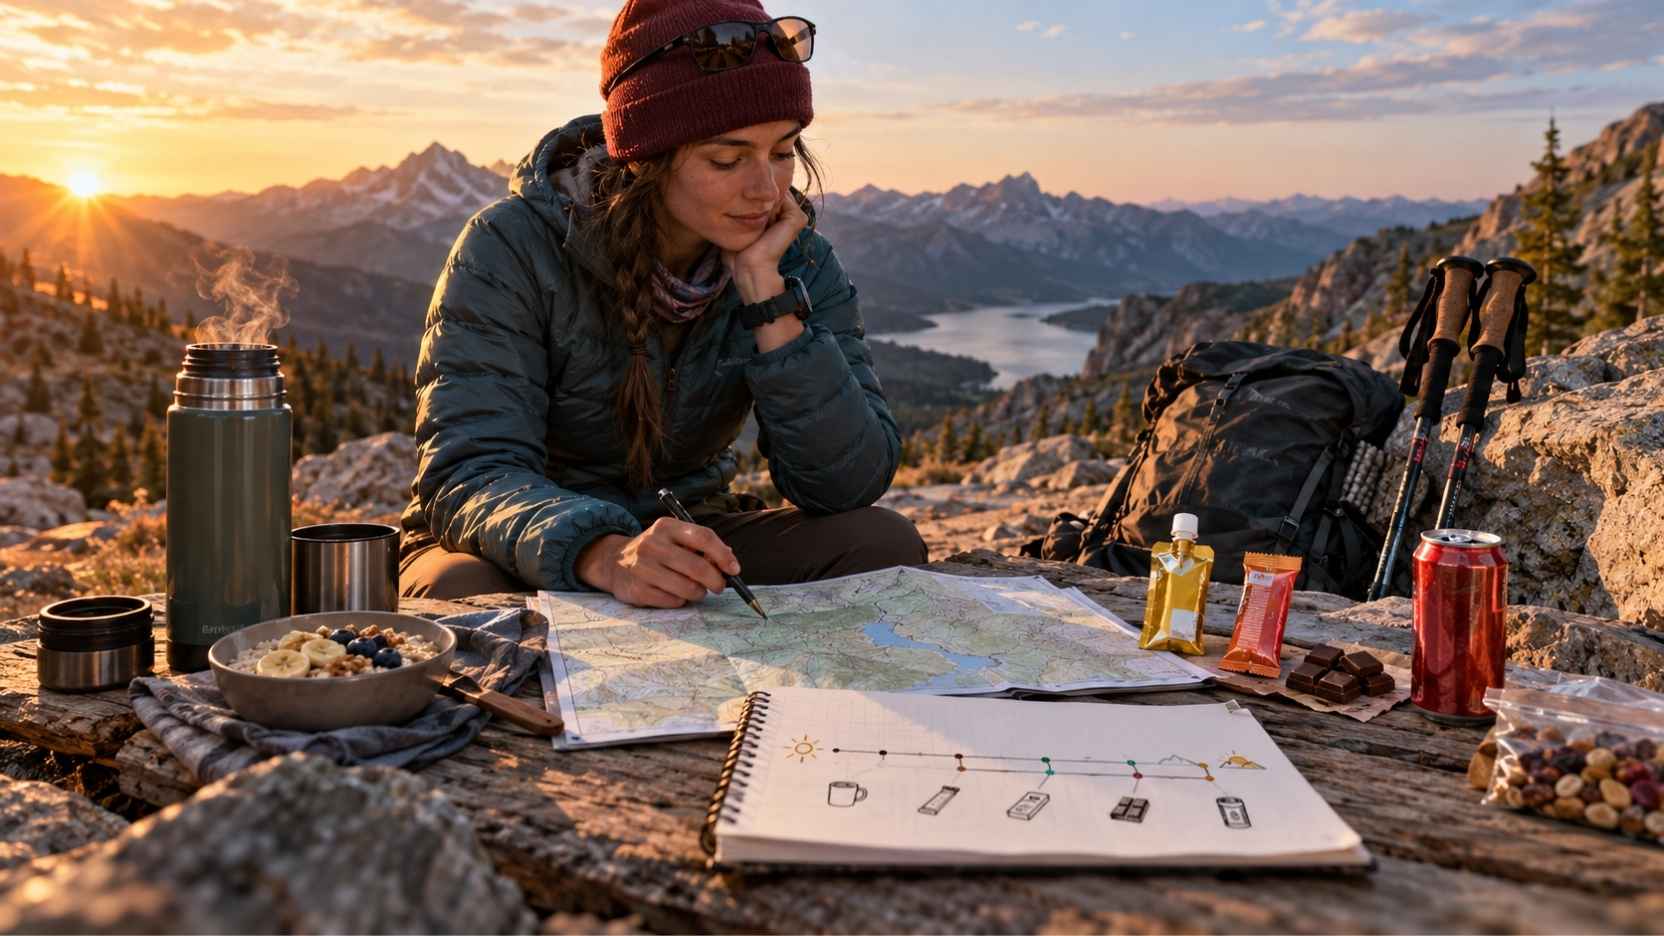
6. Organize Meals by Day 📅
Repackaging becomes even more useful when combined with meal planning.
Instead of carrying one large collection of individual meal packages, organize food into daily meal groups.
For example:
Day 1
Breakfast
Lunch
Dinner
Snack
Day 2
Breakfast
Lunch
Dinner
Snack
This makes food easier to locate when you’re tired or setting up camp in poor weather.
It also makes it easier to see whether you’ve packed enough food.
7. Don’t Forget the Calories
Reducing packaging bulk doesn’t mean reducing the amount of food you need.
Before repackaging, check the nutritional information.
Record the calories and serving size so you can calculate your daily food supply.
A lightweight meal that doesn’t provide enough energy for your activity level isn’t necessarily a better backpacking meal.
For longer trips, consider tracking:
Calories per meal + calories from snacks = daily intake
Your actual needs vary based on factors such as body size, activity level, terrain, weather, and trip duration.
8. Consider Separate Breakfast and Dinner Bags 🍳🍲
You can organize your food by meal type rather than simply by brand.
For example:
Breakfast bag
- Oatmeal
- Coffee
- Powdered milk
- Dried fruit
Dinner bag
- Freeze-dried meals
- Seasoning
- Oil or other additions
This can make food preparation faster and help prevent accidentally opening tomorrow’s dinner today.
9. Protect Repackaged Meals From Water 💧
A resealable food bag is not automatically waterproof.
Backpacking food may encounter rain, condensation, wet hands, or a leaking water bottle.
Consider keeping repackaged meals inside a larger waterproof or water-resistant food-storage system.
This is particularly important if your food is packed inside an exterior pocket or another area exposed to weather.
10. Don’t Repackage Too Far in Advance
For a short trip, you can prepare your food shortly before departure.
For longer storage, follow the original manufacturer’s storage guidance rather than assuming a repackaged meal has the same shelf life as an unopened commercial package.
Once the original packaging is opened, you’ve changed the food’s protection from the manufacturer’s packaging system.
For that reason, repackaging is best viewed as a trip-preparation technique, not a way to extend the product’s shelf life.
11. Save the Original Package Information 📱
Before throwing away the original pouch, take a clear photo of:
- Ingredients
- Nutrition facts
- Allergens
- Cooking instructions
- Manufacturer information
This takes seconds and can be extremely useful later.
You can store the photos in a dedicated backpacking folder on your phone.
12. Repackage the Right Things
Repackaging is particularly useful for meals where the original package contains a lot of unused volume.
It can also work well for:
- Instant oatmeal
- Dehydrated meals
- Rice dishes
- Pasta meals
- Powdered drink mixes
- Snack ingredients
However, don’t automatically repackage everything.
Some foods are already compact, and some packaging provides useful protection.
Repackage when it solves a problem, not simply because you can.
Final Thoughts 🌲
Repackaging freeze-dried meals is a small backpacking trick that can make a surprisingly big difference in organization.
Use food-safe, durable packaging, remove excess air gently, label everything clearly, preserve ingredient and allergen information, and protect the repackaged food from moisture.
Most importantly, remember that less packaging does not mean less food.
Your goal is a food system that takes up less unnecessary space while remaining safe, identifiable, and easy to use.
When every meal has a clear place in your pack, you spend less time digging through food bags and more time enjoying the trail. 🥾🏕️